|
A-4K
"Kahu"
Part
Two - Painting and Finishing
by
Anthony Papadis
 |
|
A-4K
"Kahu" Skyhawk |

Hasegawa's 1/72
scale Skyhawk is
still available online from Squadron.com
Click here to go back to Part One - Construction
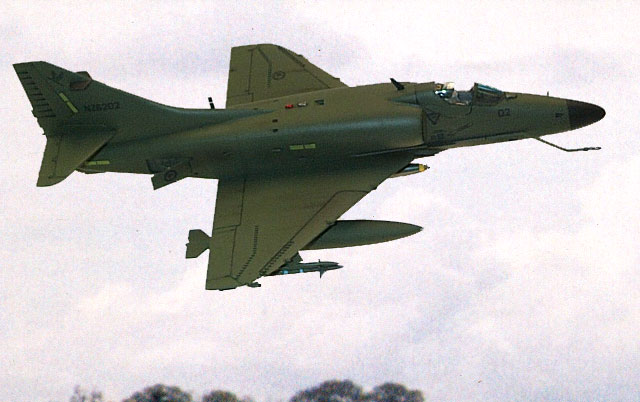
The final scheme that the Kiwi a-4K’s wore was of an overall green, FS 34079,
with matt black markings. I used the Gunze acrylic colours as these dry
semi-gloss, eliminating the need for a gloss coat and withstand my weathering
process, as I prefer to use artist oils.
I used the Hawkeye Models decals for this kit. I have found these to be
excellent, being well printed and not prone to silvering when applied to a
smooth surface. The decals from Hawkeye are printed with an overall gloss coat
so you will need to cut each decal out individually, but you would have to do
that anyway. The sheet provides all the tail codes for the surviving aircraft as
single blocks, so there are no alignment problems. The only gripe I had was that
the instruction sheet for their decals clearly shows the low voltage formation
strips, but these are not included!
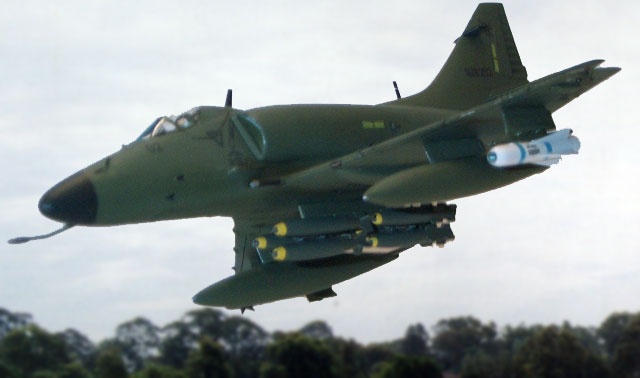
Kiwi A-4K’s had the markings for both A-4 units painted on all their aircraft,
with 75Sqn on the left and 2 sqn on the right. The sheet has these very nicely
printed.
The ordnance was now added to the aircraft, as was the exhaust. The A-4k’s
feature a couple of antennas. One of these is a small rectangular blade aerial
on the lower fin leading edge. the other is located just aft of the cockpit
canopy. Both were made from thin plastic sheet and painted black. There are also
a couple of horizontal antennas on either side of the top of the fin, also made
from plastic sheet and painted black.
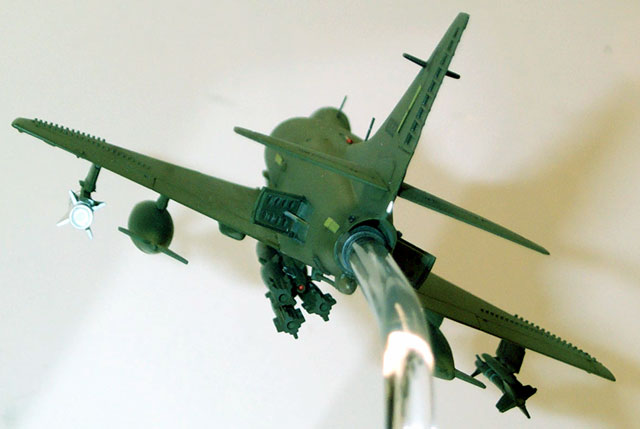
The model was now mounted onto its display base, by placing the acrylic rod into
a pre-drilled hole.
Although it seems like a lot of work, the work is really just a
few items which if worked on in sections is not a great deal. It took me about a
week of evenings plus a weekend to complete. I enjoyed building the kit and
although I would have preferred to use the hard to find Fujimi kit, the Hasegawa
kit provides a perfectly adequate base kit.
Model, Images and
Article Copyright © 2002 by Anthony
Papadis
Page Created 08 March, 2002
Last updated 04 June, 2007
Back to HyperScale Main Page
Back to Features Page |
 Home
| What's New |
Features |
Gallery |
Reviews |
Reference |
Forum |
Search
Home
| What's New |
Features |
Gallery |
Reviews |
Reference |
Forum |
Search