|
Hawker Hurricane Mk. I
by
Ian
Robertson
 |
|
Hawker Hurricane Mk. I |

Hasegawa's 1/48 scale Hurricane Mk. I
is available online from Squadron.com
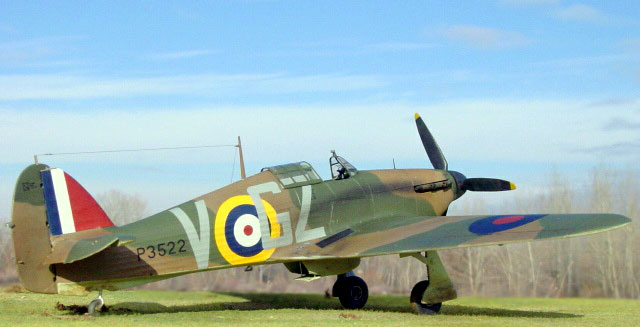
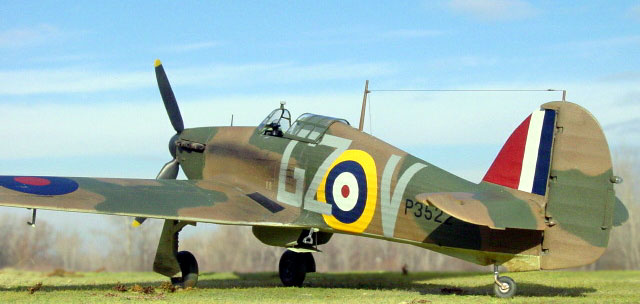
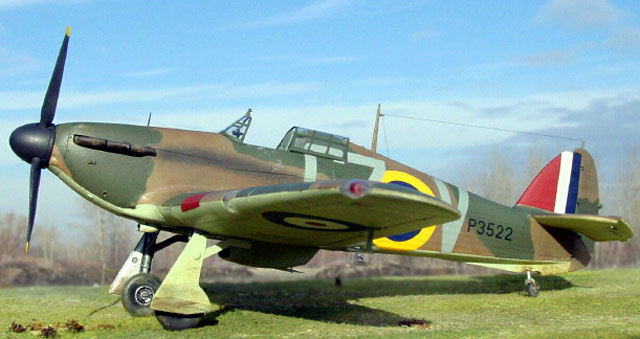
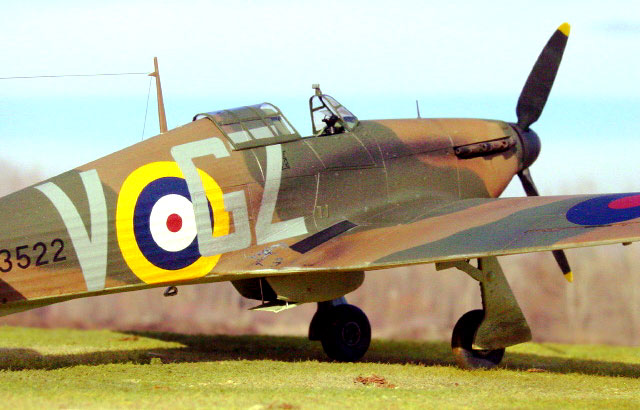
This is Hasegawa's 1/48 Hurricane Mk.I shown in the markings of an aircraft
from RAF No. 32 Squadron, presumably in 1940.
Hasegawa's kit is straightforward and makes a great out of the box project.
Nevertheless, I decided to make a few additions and
modifications:
Additions
-
CMK resin control surfaces (tail only)
-
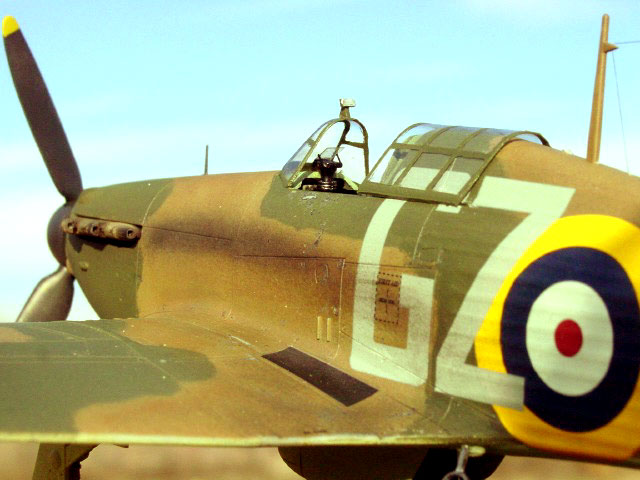
Squadron vacuform canopy (necessary to show
canopy in open position and eliminate the diagonal molding flaw in the front
windscreen which seems to be present in all Hasegawa Hurricanes)
-
etched brass seatbelts
Modifications
-
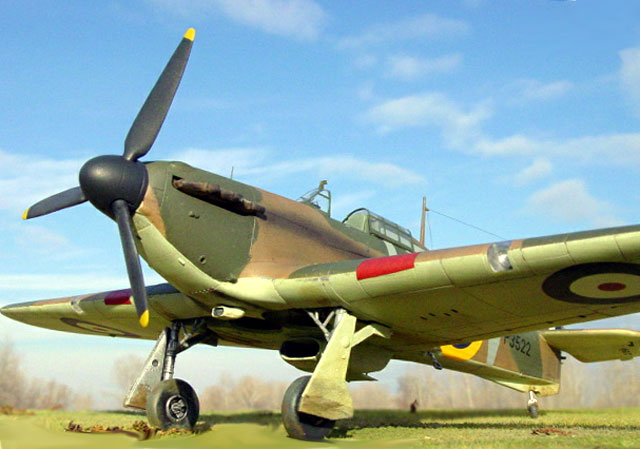
radiator flap was opened
-
cockpit gun sight improved using wire and clear
acetate
-
exhaust tubes hollowed out with drill
-
antennae wire (stretched sprue) threaded through
flag on antenna mast
-
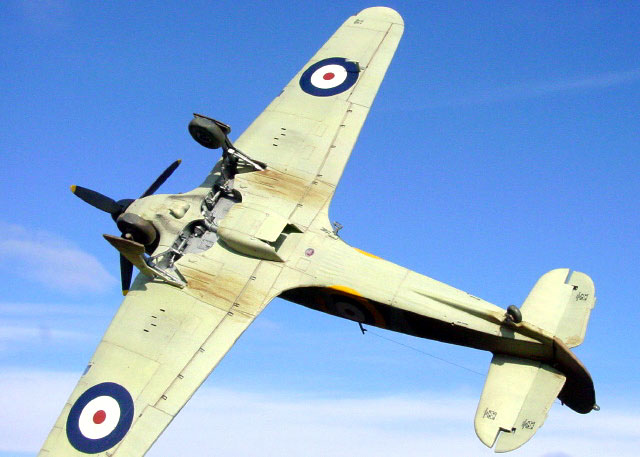
clear plastic light added to rudder (to replace
solid resin light)
-
wing tip lights drilled out and painted with
Tamiya clear red (port) and green (starboard) to simulate light bulbs.
SnJ aluminum metallizer was applied to the leading edge of the wings, the wing
roots, and the fuselage beneath the cockpit entrance. This paint was later
exposed in small areas using fine grain sand paper to simulate worn paint.
British Sky Type "S" was used for the underside of the aircraft. The upper
camouflage was a standard scheme of British Dark Green and Dark Earth. The
camouflage was applied using paper masks held as close to the surface of the
model as possible to reduce overspray. Exhaust stains were airbrushed using
highly thinned black paint. The exhausts themselves were painted with burnt iron
metallizer and then later brushed lightly with orange/brown chalk pastel.
The underside of the aircraft and landing gear doors were subjected to streaks
of light brown paint to simulate mud splash from the wheels.
All decals used were supplied from the kit and went on beautifully. I was
concerned that the yellow on the fuselage roundels would show through the gray
letters, but it did not. Before applying the decals I sprayed the model with
several light coats of Model Master clear metallizer sealer. After the decals
had dried I applied a coat a Model Master clear flat lacquer.
The photographs were taken outdoors using a SONY digital camera. Minor
touchups to the images were made using Photoshop's "blur" tool in order to help
blend the model base with the background trees.
Click the thumbnails below to view
larger images:
Model, Images and
Article Copyright © 2002 by Ian
Robertson
Page Created 31 March 2002
Last updated 04 June 2007
Back to HyperScale Main Page
Back to Features Page |
 Home
| What's New |
Features |
Gallery |
Reviews |
Reference |
Forum |
Search
Home
| What's New |
Features |
Gallery |
Reviews |
Reference |
Forum |
Search