Bandai 1/144 scale
Star Wars AT-ST
Text & Pictures by Kit Headley
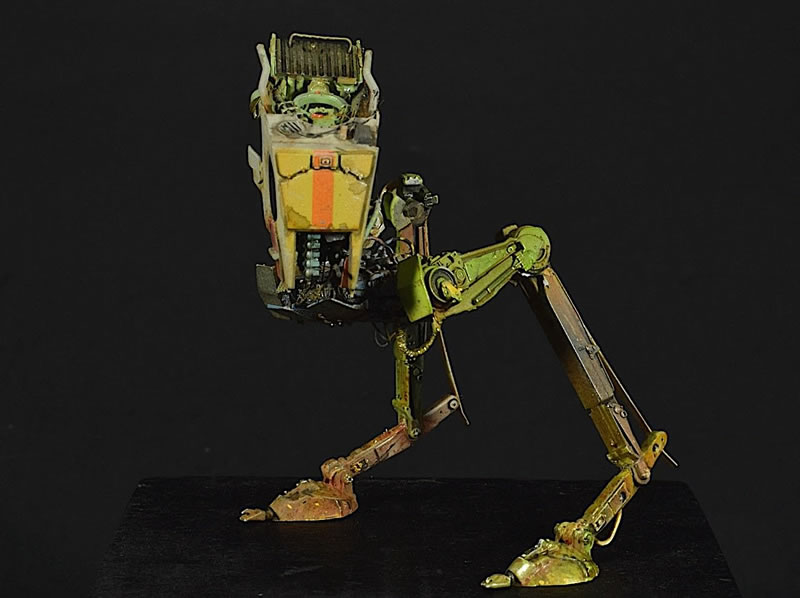

Description: Star Wars AT-ST
by Kit Headley
Kit #:
008
Scale:
1/144
Review Type:
Build
Introduction
I consider myself to be an average fan of the Star Wars universe but more than anything I'm interested in the vehicle design done by the ILM team. My all-time favorite is the bi-pedal AT-ST. For the past 4 years I've done a 24 hour Star Wars build on May the fourth, and so far they've all been the Bandai 144scale AT-ST from The Empire Strikes Back. But just because I'm experienced with it, doesn't mean it's easy.
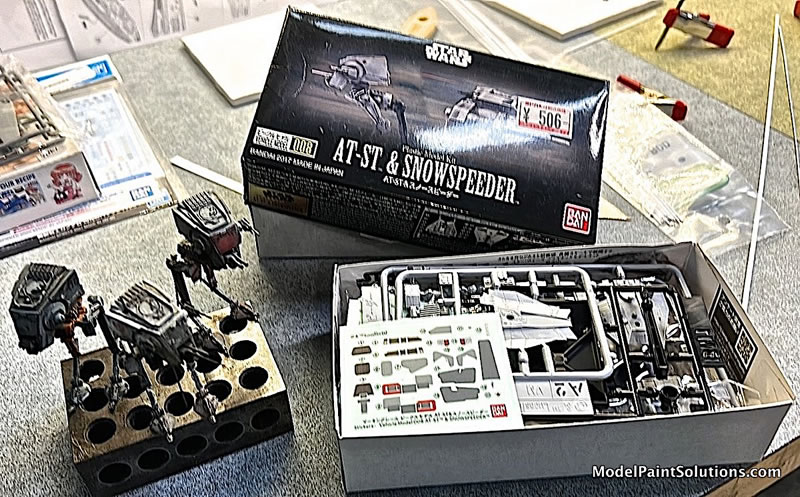
Pic of the box and previous years builds
Each year I try to build on the previous year's effort. In 2020 the build was straight out of the box. I did omit a few of the weapons in order to make it look more like some kind of re-purposed construction mech but the scratch building and modifying was absolutely minimal.
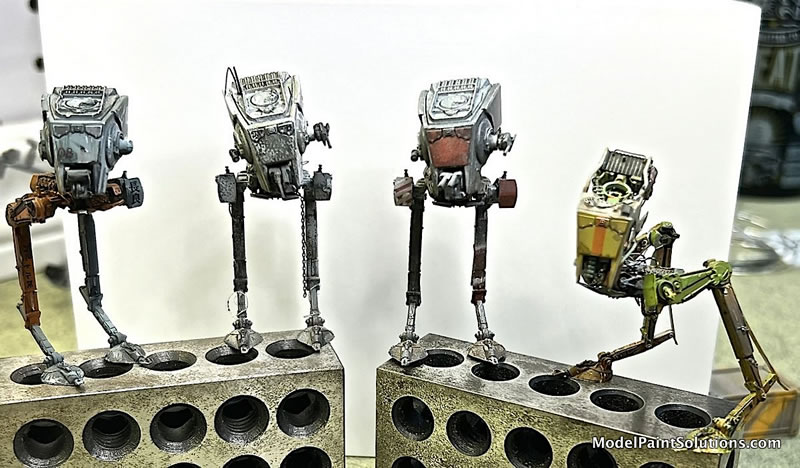
Pic of all of them together (Build #17)
For 2021 I added some kit-bashed details and gave it a winter white wash as a hairspray chip layer to do some fun weathering experiments. 2022 was essentially right out of the box because I was limited on time, but I decided to address one of my least favorite details about this kit; the boring stance. The puppet models that ILM built for the Return Of the Jedi movie have a second "thigh" joint that seems to often get ignored by the toy and model companies. Bandai fused these limbs with the torso of the vehicle so that the legs are held perfectly parallel. One of the best things you can do to make this look just a little more dynamic is to cut these segments from front to back until there's enough flexibility to splay the links outwards. This creates a slightly toed out stance, the difference is slight, but the appearance is significantly improved.
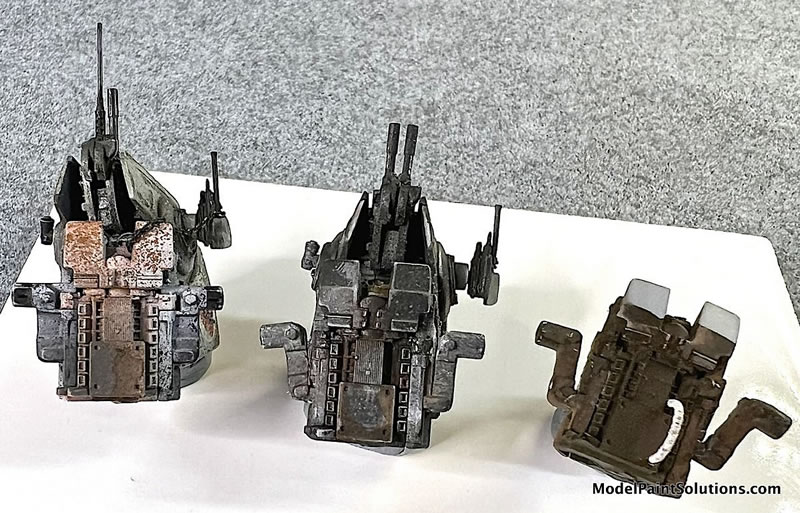
Pic of the three torsos with modified hips (Build #5 and 2)
Fir the 2023 build I knew I wouldn’t have much time so I went ahead and gave myself some extra time by starting early. Having given myself too much time to work on it, I decided that I wanted to build up the interior and strip this one down even more than the first one that I'd built. I imagined a scenario where all of the armor plates had been removed leaving the interior of the cabin and the operators exposed. Without much of a plan I started to glue pieces of styrene together trusting that eventually my little experiment would start to look like something. When I ended up with a motorcycle style seat in the middle of the cabin, I threw cannon out the window and embraced it. The seating inside would be three place with the boss positioned in the middle where they could look over the shoulders of the two operators.
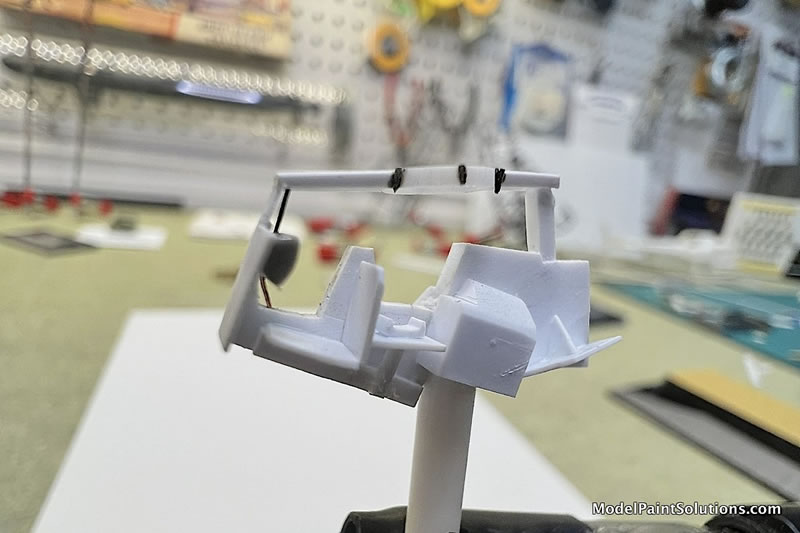
Pic of the white styrene interior build (Build #2, 13, and 1)
This is the "Everything is terrible" part of the process. I've been creating things for a long enough time that I'm very familiar with this project stage. No matter if it's a painting, a sculpture, a drawing, a home remodel, writing this article, or anything else that requires some creative vision, at some point you'll end up here. Don't misunderstand me as suggesting that knowing it's coming makes it any easier. The vision is broken, invisible, and you can't see how you'll ever get there. The only way past it is through it, just persevere, add detail, make mistakes. If it works out, you're good, if it doesn’t, you've identified a direction that you don't want to go. Or, just find a way to cheat, that's what I did. I went to a local big name hobby store in search of inspiration. I've heard all the stories of how the ILM team collected model kits to scrounge parts for their builds. I had also heard that a lot of those parts came from Formula One kits so I looked at those, but they weren't working for me. Since the little robot that I was working on was tiny, I needed tiny parts and the shop had a handful of 700 scale ships. With a beautiful Takom 1/700th scale Gearing destroyer in my bag, I headed home.
Having mocked up the interior cabin with a center, and two forward seats, I used some ribbed Evergreen styrene sheet to make some tiny tuck and roll seat cushions and used Tamiya tape that I cut super thin to make seatbelts to keep everyone safe. The rest of the interior and head was a process of puling interesting shapes out of my spares box, stealing parts off the 700th scale sprue, and adding as much rigging line as I could fit into it. There are some ships bulkheads in there, depth charge racks, along with FAV headlights and Orlekin gun mounts.
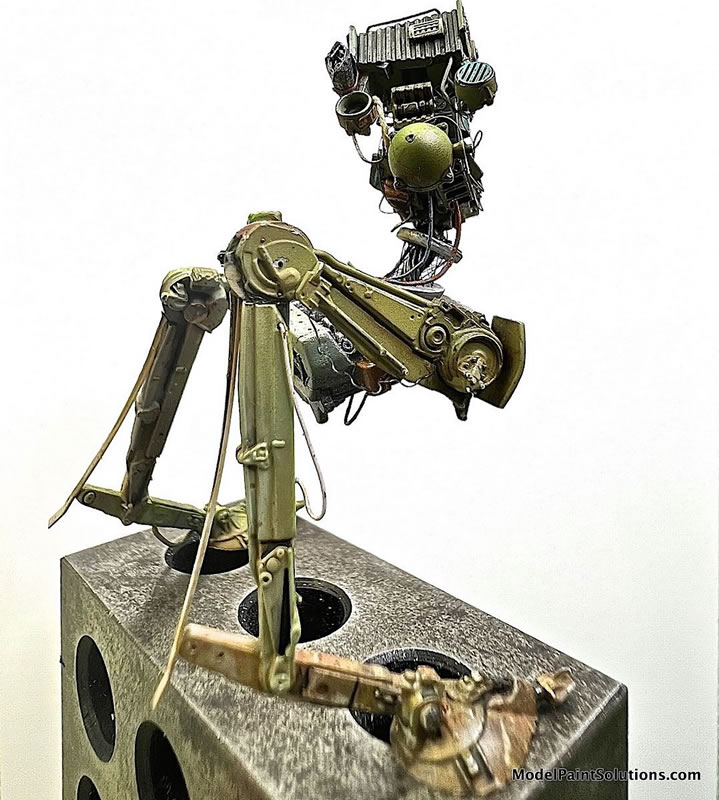
Pic showing rear head details (Build #11)
The neck joint bellows was never my favorite part of the AT-ST design so I tried to imagine what might be underneath it and decided on a dense series of tensioned cables which I used Infini nylon rigging to make. This was just done by drilling a series of holes in coins of styrene that I made and threading the line though them.
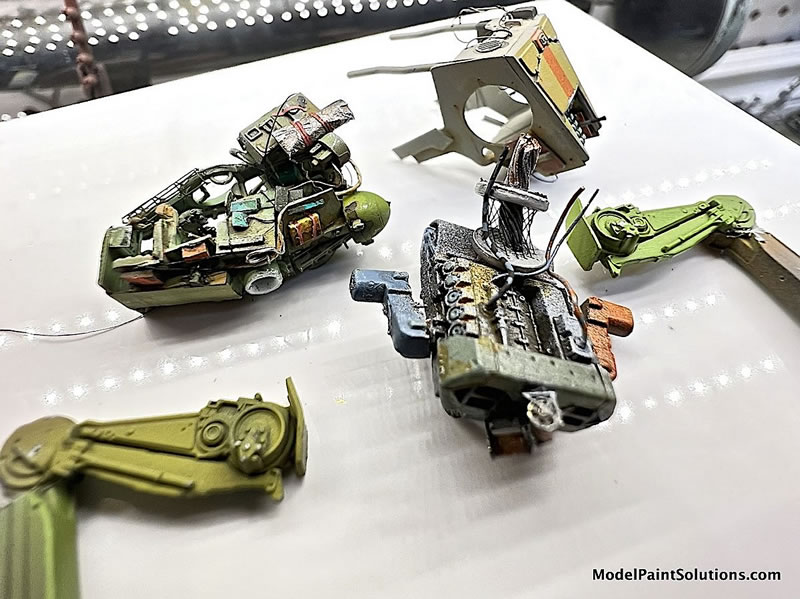
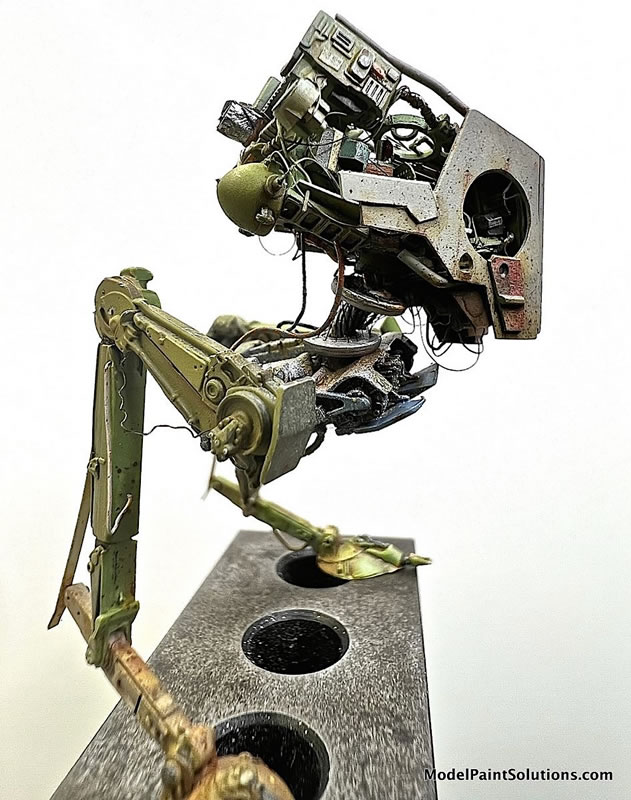
Pic showing neck detail (Build #7 and 15)
The legs were a bit more complicated. I didn't have a well defined plan for this, I just knew that I wanted it to look dynamic. I used a razor saw to cut apart all of the segments and stuck balls of BluTack on to the ends of the segments which I used to stick them all together while keeping it posable. I also used the articulated third hands that I built into my desk to work on nailing down the pose. Once I was happy with it I broke out the styrene solvent (most people use Extra Thin) and started to glue parts together. The solvent allows a little more "gooey" time to fine tune the pose. It's critical here to make sure that the two feet are nice and flat on the ground, mess that up and all the work can fall apart visually. I like to cheat a little here and put rare Earth magnets in the feet (Google K&J magnets.) Adding magnets to the feet early will help keep it stable forever and it's nice that it can walk up the side of my fridge. Even after all of the joints were as set as they were going to get, a few of them were still too weak so I had to drill through them and add brass wire to keep them pinned.
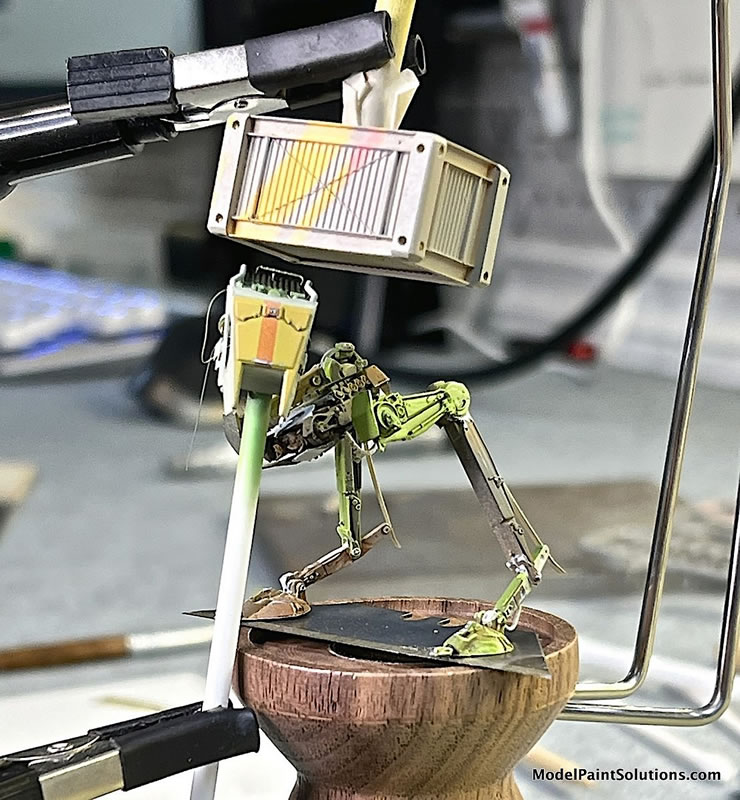
Pic showing BluTack in the joints and the third hand (Build #6)
You can't go wrong with a Bandai kit if you're looking for a quick build. They snap together to the point that glue is optional. I pick up one of these Bandai AT-ST/Snow Speeder kits whenever I come across one of them, but they are getting a little harder to find and I'm now on my last one. I look forward to next May 4th, but I'm not sure yet what that next build will be…
Cheers!
Kit Headley
For more on this article visit ModelPaintSolutions.com
https://modelpaintsol.com/builds/bandai-144th-star-wars-at-st
Text and Images Copyright © 2024 by Kit Headley
Page Created 22 November, 2024
Last updated
22 November, 2024
Back to HyperScale Main Page
Back to Reviews Page

|
Home
| What's New |
Features |
Gallery |
Reviews |
Reference |
Forum |
Search