Making Photo-Etch-Like Parts
with Tape
Model, Text & Photos by Kit Headley

I completed Special Hobby’s 1/72 scale AH-1G back in 2021 and used a fantastic photo-etch set from MPM Productions (#72028). I loved the paneling detail that it added to the typically forgotten underside of the aircraft.
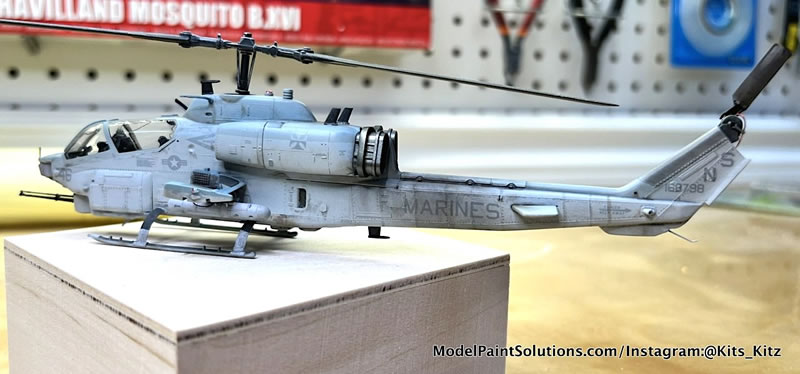
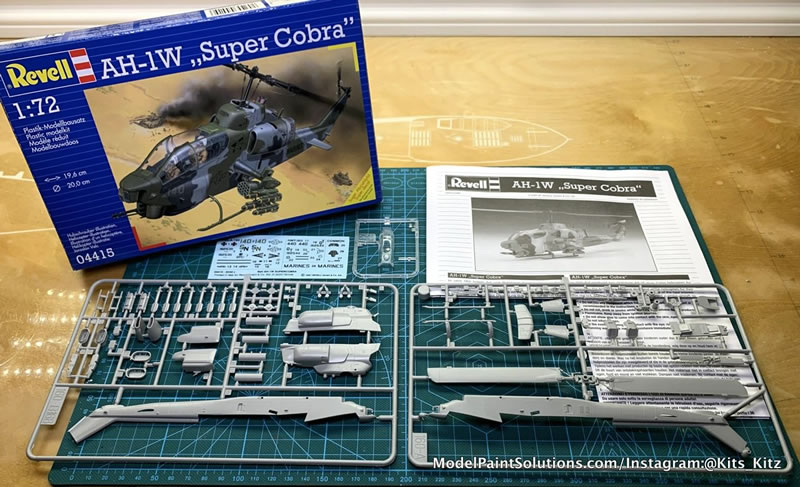
When I volunteered to contribute a build to a Black History display put on by the NorthWest Scale Modelers and curated by Tim Nelson at the 2023 Model Mania show in Seattle’s Museum of Flight, I started researching black helicopter pilots and discovered Vernice Armor; the first African American female naval aviator in the Marine Corps. She was also the Marine Corps first female combat aviator flying the AH-1W Super Cobra attack helicopter in the 2003 invasion of Iraq. I had one of those in my stash and it was an easy choice.
Before I even started the kit, I wanted to use that same MPM photo-etch set for the build. I was on a deadline with the show approaching and I could not find the set to order, so I had to find another way. I wanted to create panels, latches, and details that stood out from the surface, but were as subtle as possible. In the past I’ve noticed that tape I’ve used as masking seemed to take paint well and it occurred to me that I might be able to leave it in place permanently to replicate some of these details.
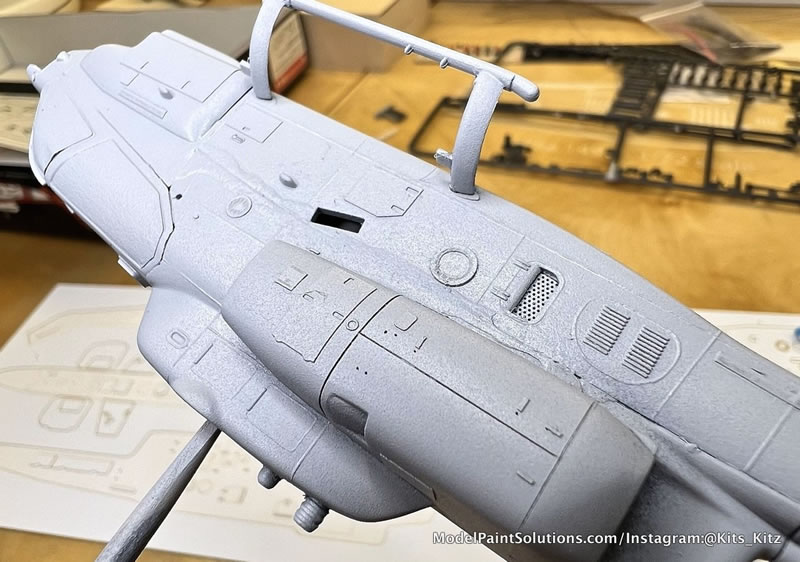
I knew that the minimum I wanted to add would be the access panels on the underside. The details of the Revell kit are fairly minimal and there are several parts that are entirely missing. The ammo compartment door is indicated here by a strange double line, slime lights are missing, driveline wrap is missing, etc...
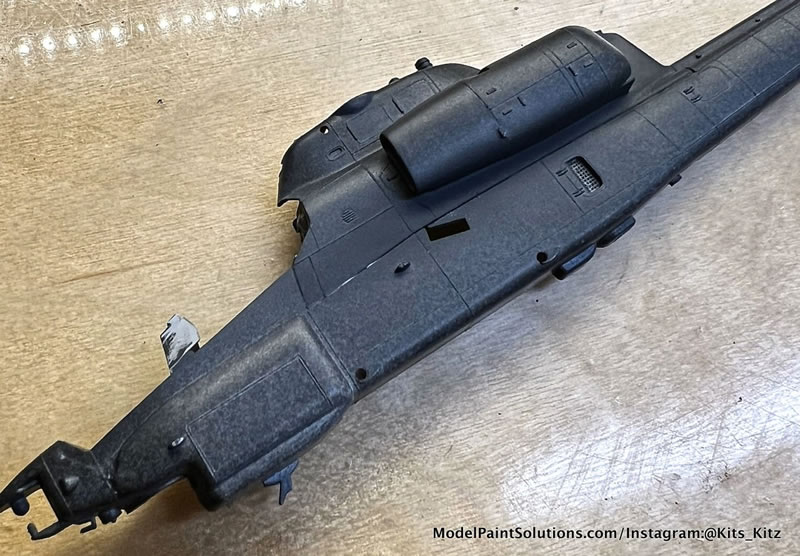
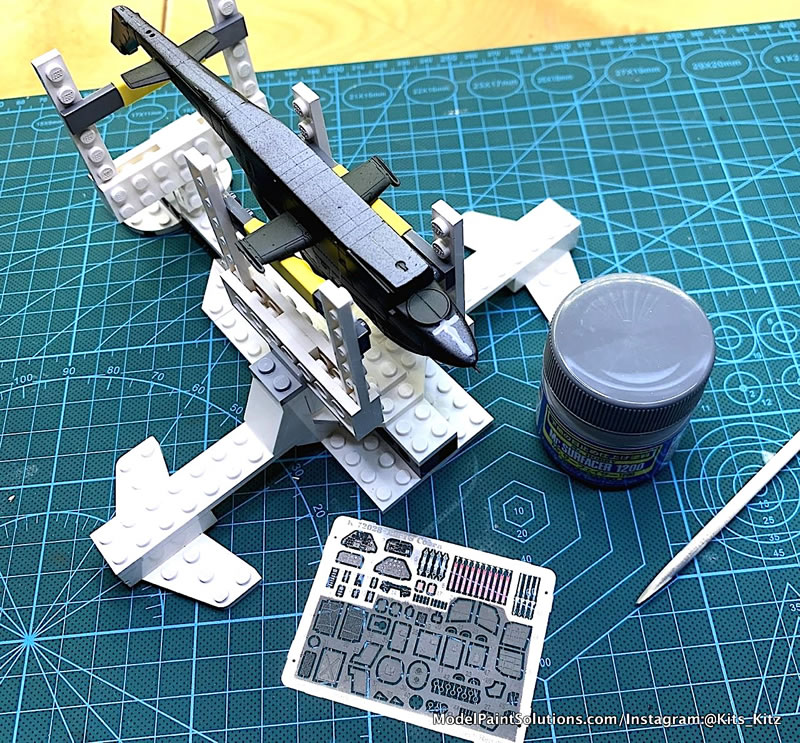
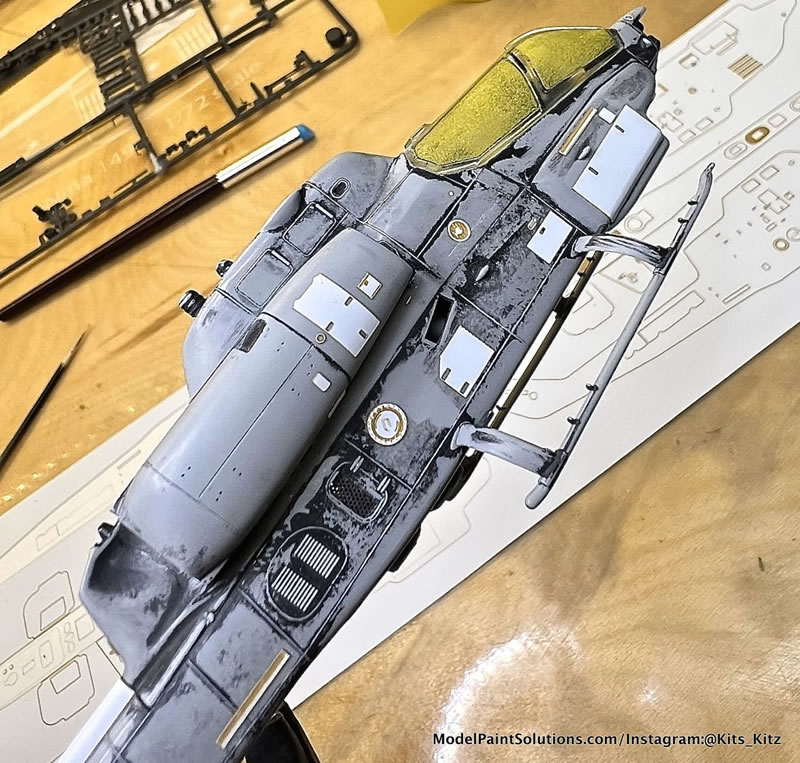
The first thing I wanted to do was sand off any of the details that I would be replacing with my new stickers. But, in order to be able to replace the details in the same place, I drilled reference holes into the fuselage where these panels were so that I could place the new panel over them.
I have access to some great tools in the shop where I work and was able to use a laser cutter to cut thin, adhesive-backed, vinyl based on a pattern that I designed in Adobe Illustrator. But, a similar result could be achieved with a Cricut Cutter or by hand if you’re careful.
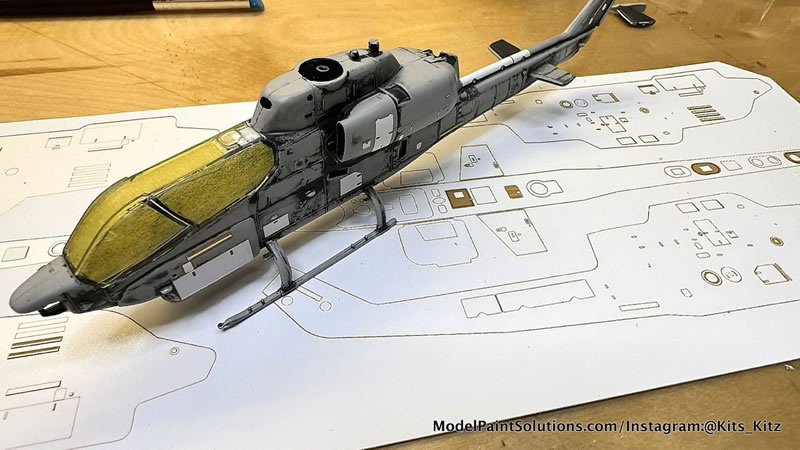
Brown “burned” areas are where I used the laser to etch the surface of the vinyl away to create a recess. I could have also achieved this by stacking up layers of vinyl.
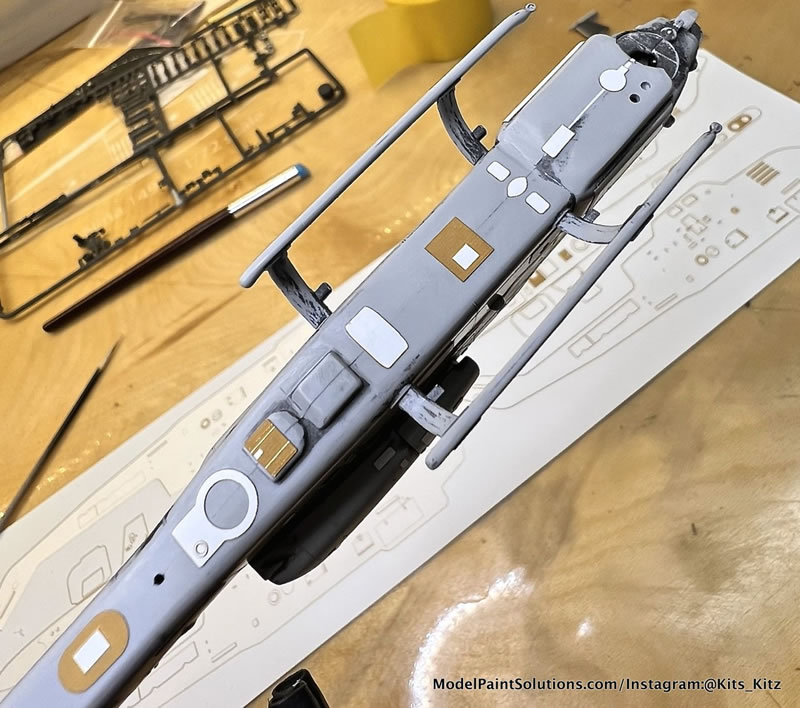
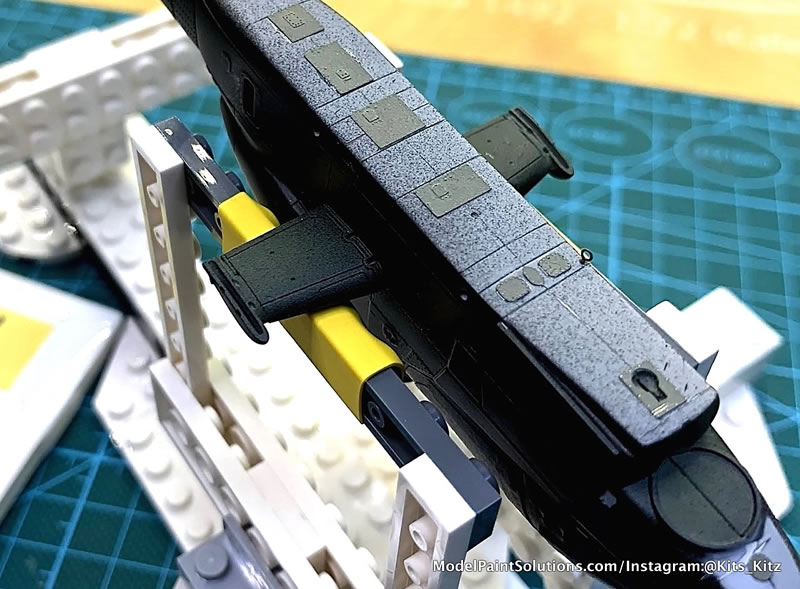
Note the small suitcase latches on the engine inspection covers. This was the limit of the size that I could get away with. There was so little adhesive left on these tiny parts that they were barely hanging on and I lost many of them during the painting process.
Note the holes in place on the engine covers to define the locations of the replacement latches:
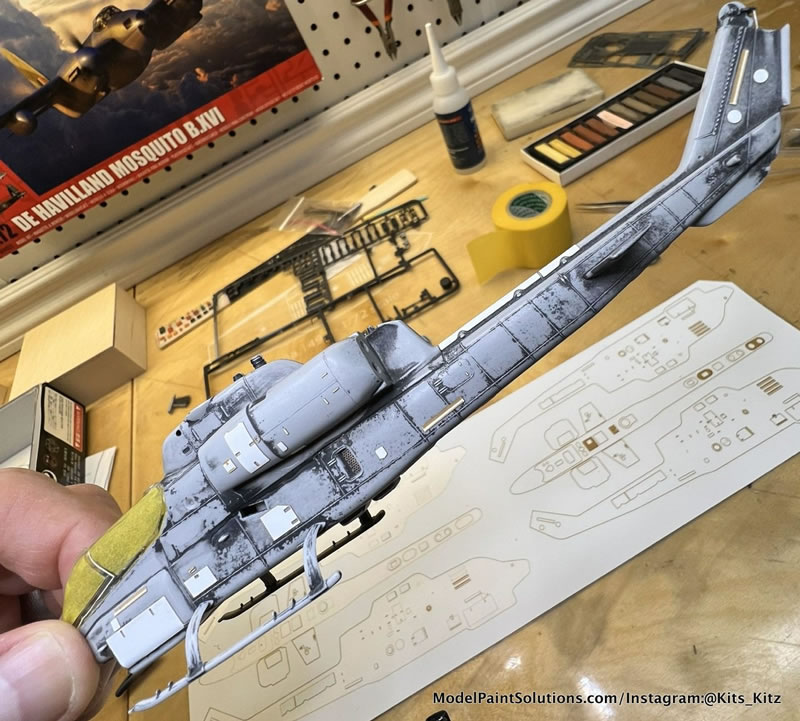
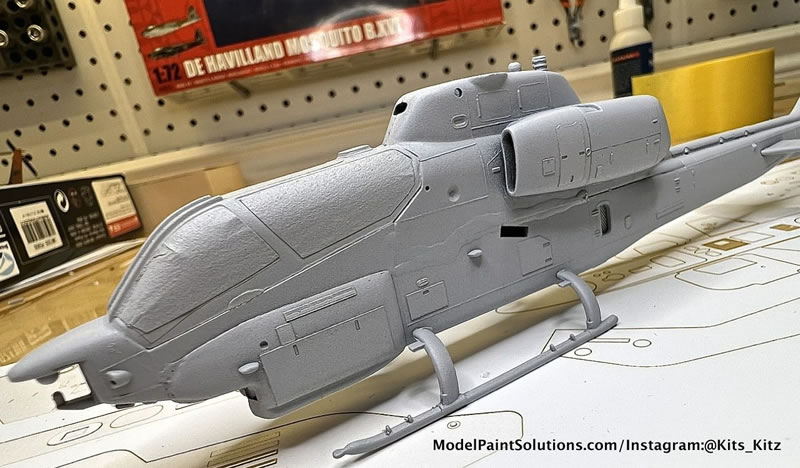
Primer coat. A light sanding is advised at this step as most cutting processes will raise the edges of the material and it all looks more cohesive if that’s knocked down a bit. Take care to not lift any tape edges during this process.
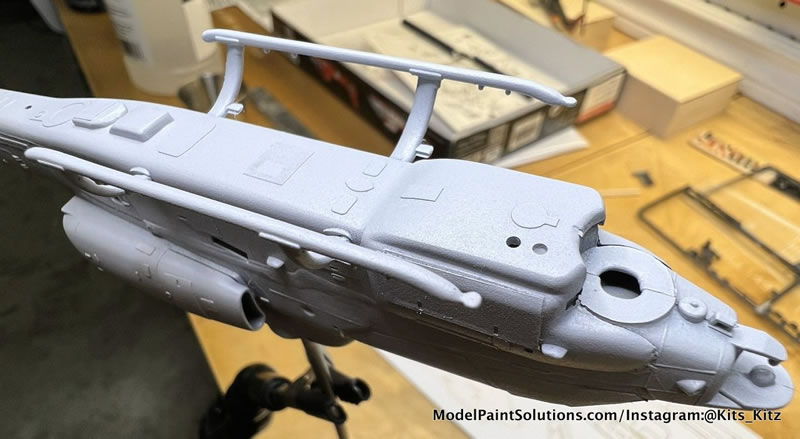
Note the holes left where some of the latches let go. I just decided to accept this as it’s just a little visual noise that works near as well as the latch piece itself.
Primer coat and subsequent paint coats will do a nice job of sealing in any adhesive edges of the tape “photo-etch.”
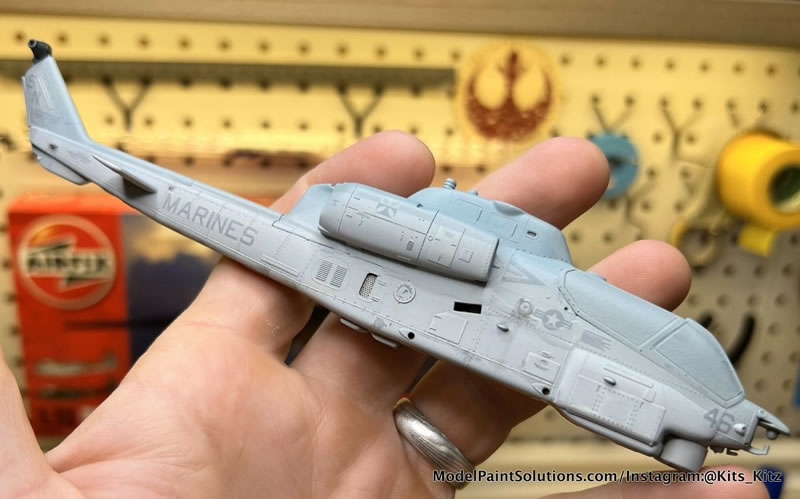
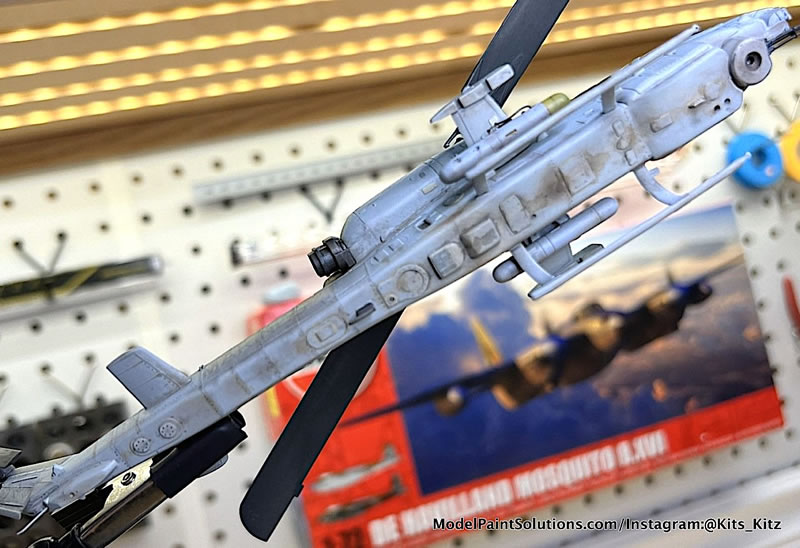
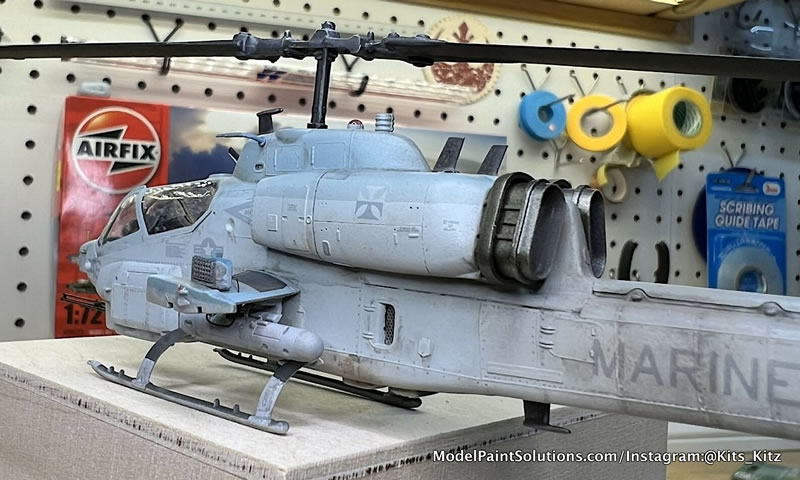
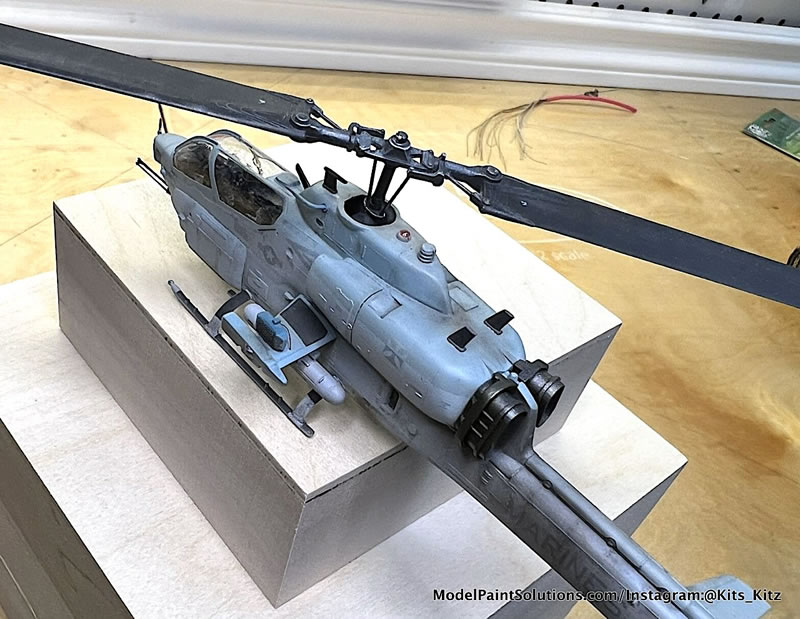
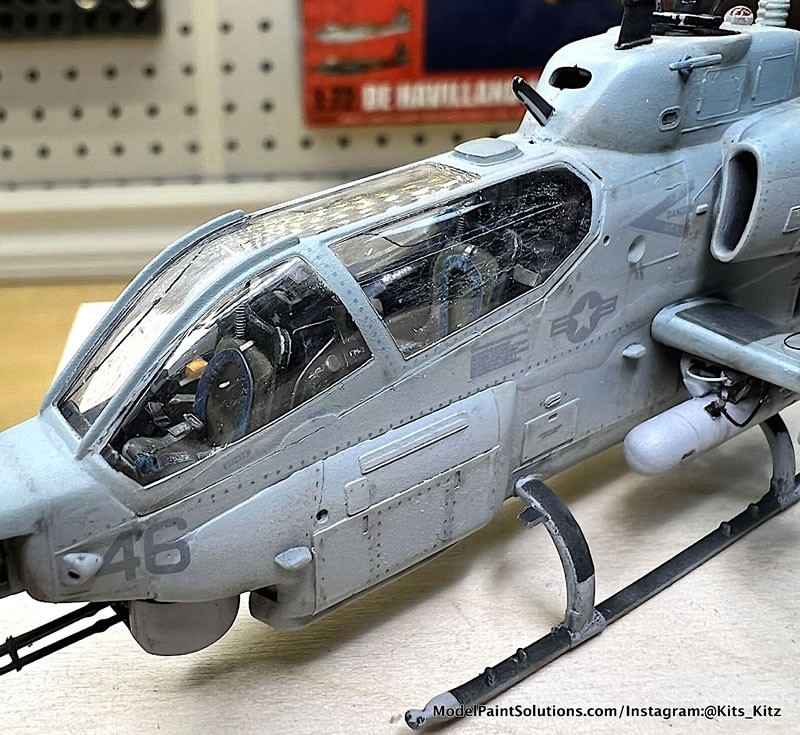
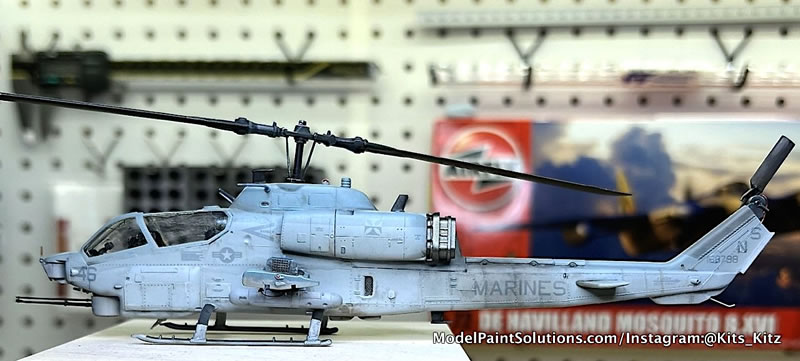
Photo-etch is great for adding awesome details. But if you just want thin panel definitions and you can’t find the right set or it doesn’t exist, tape or vinyl is a great option for creating your own. The fact that you can use something that’s already adhesive backed is a nice bonus and the flexibility to wrap and stretch tape or vinyl around all kinds of complex surfaces might even make it superior to metal photo-etch in some cases.
Happy modeling!
Kit
Instagram@Kits_Kitz
For more on this build, visit ModelPaintSolutions.com
https://modelpaintsol.com/guides/making-paneling-parts-with-tape
Text and Images Copyright © 2023 by Kit Headley
Page Created 27 April, 2023
Last updated
28 April, 2023
Back to HyperScale Main Page
Back to Reviews Page

|
 Home
| What's New |
Features |
Gallery |
Reviews |
Reference |
Forum |
Search
Home
| What's New |
Features |
Gallery |
Reviews |
Reference |
Forum |
Search