Revell 1/24 scale
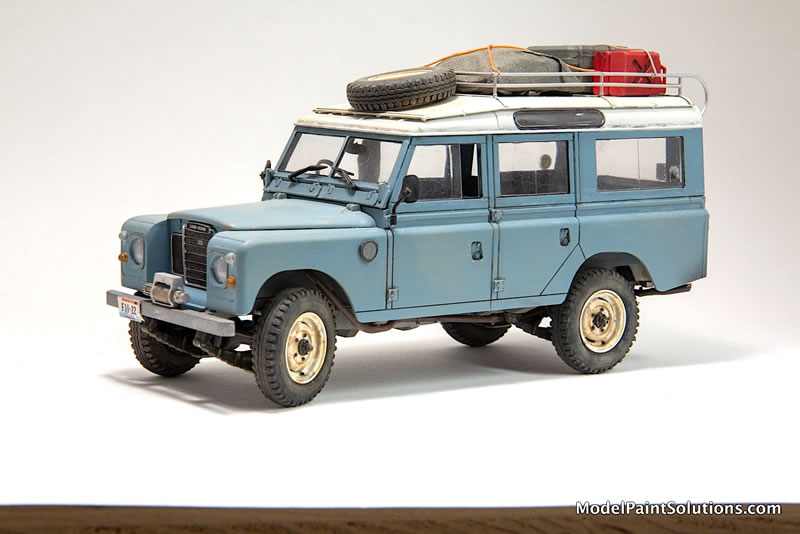
Land Rover Series III 109
by Brad Huskinson

I wanted to create my own "go anywhere" landscape photographers dream vehicle. I scratch made a camera, tripod, laptop computer, maps, coffee mug, and a rooftop tarp, which covers the switch and battery to power the LED interior dome lights. Several aftermarket pieces include a duffel bag, gas cans, winch, cooler, and watertight camera cases.
Essentially the kit was built right out of the box with quite a few prop-like enhancements which are mentioned in the article. All parts were removed from the sprues with sprue cutters and cleaned up with sandpaper and sanding sticks. Other tools used extensively for removing flash and refreshing parts were a sharp X-Acto blade and a Holly Scriber.
Tamiya Thin Cement was used for affixing unpainted parts while CA glue (Bob Smith Industries) was used for parts that had been painted. Occasionally I will use white glue for certain applications involving paper based items. Testors’ Clear Parts Cement was used for all windows and other clear parts.
There were no real difficulties.
This kit is an amazing piece of molding. Parts fit perfectly. No warpage. No issues. The only thing that could be considered difficult was keeping track of left- or right-hand side driver considerations. I decided on right hand drive, so I carefully went through the instruction booklet and very clearly crossed out all of the left hand drive segments.
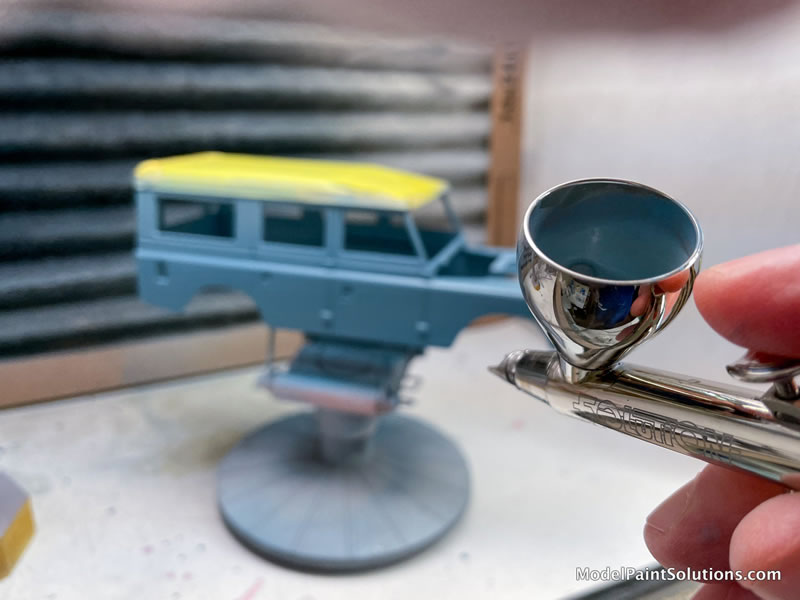
I used both a Harder & Steenbeck Infinity and Evolution for this build. Based on amount of surface area/size of part and desired effect, I would switch between a 0.2 needle and 0.4 needle.
Virtually every part was airbrushed, as I don’t like brush painting.
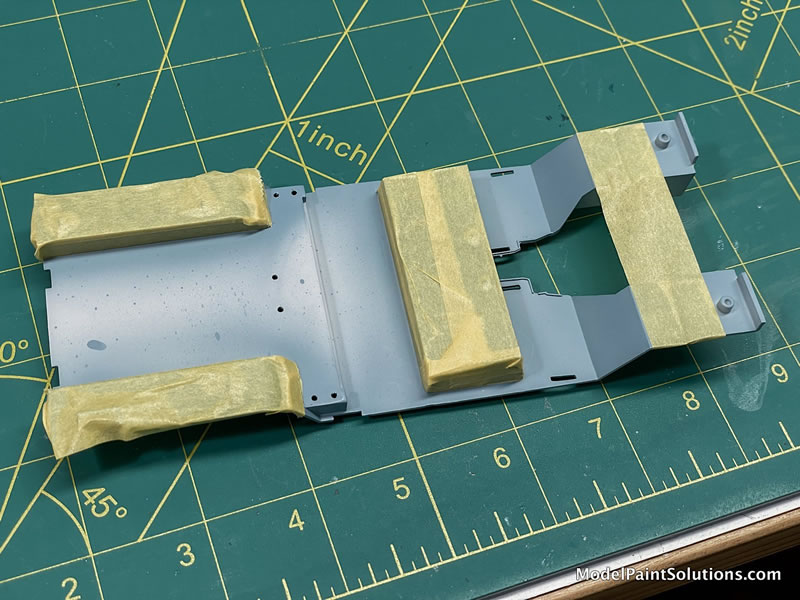
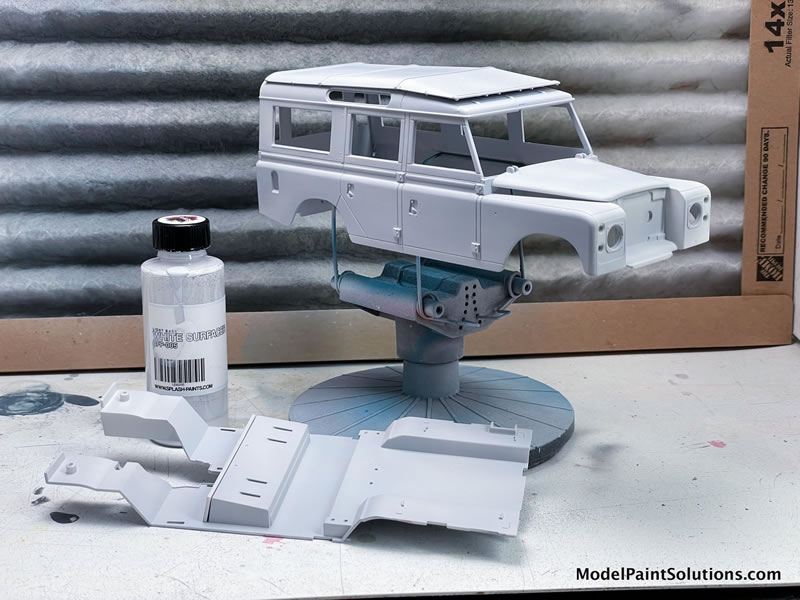
Similarly painted parts were grouped together to save painting- and cleanup-time. The body, interior side panels, and floor pan were primed with Splash White Surfacer. The chassis frame was primed/painted AK Steel. The engine and transmission were primed with AK Flat Aluminum.
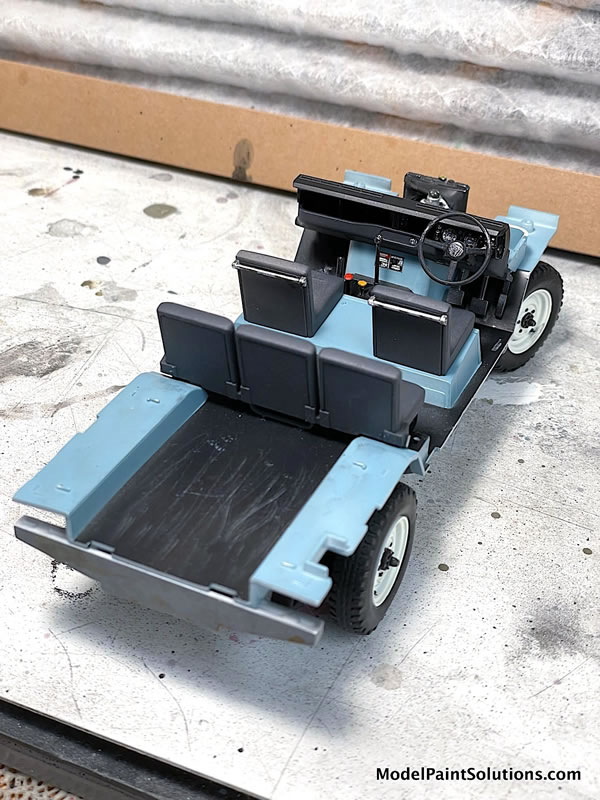
A lot of custom mixes were test spraying onto spoons to identify a combination that produced the appearance of oxidized blue paint I was looking for. I finally settled on 35% Splash Marine Blue and 65% Splash Pure White. The roof was painted with a mix of AK Flat White and AK Creamy White. The wheels were painted the same white as the roof. The interior was painted the blue body color along with a faded black for the upholstered door panels and seats. The faded black was created by mixing Splash Black and Splash White Surfacer. All other parts, except the chassis, were painted with a combo of Mr. Surfacer, Tamiya, and AK Metalizer paints.
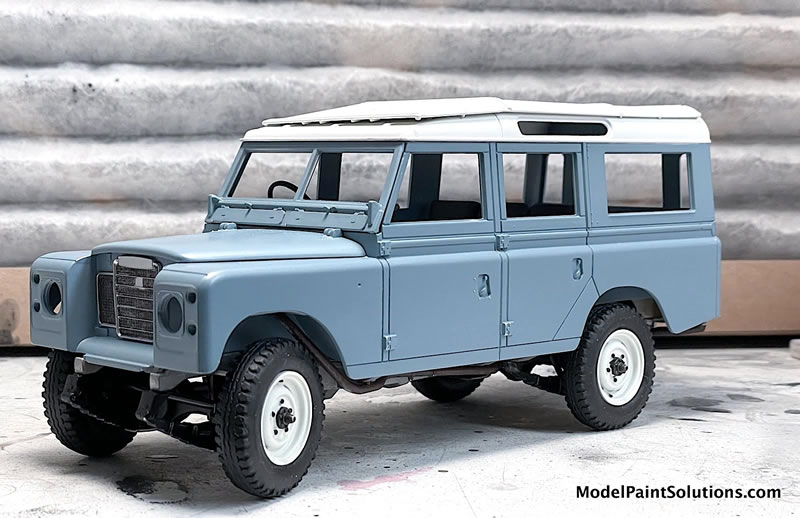
Splash lacquers require very little thinning. I add somewhere between 10- 15% by volume of Mr. Color Leveling Thinner. The AK whites used for the roof and wheels were diluted to 20% paint with hardware store lacquer thinner. A fellow modeler said to try this. I thought he was crazy, but it worked well. It does take multiple coats to build up, but it turns out great and very smooth. The chassis was clear coated with Vallejo Matte Clear over the AK Steel as was the hood after using white oil paint to enhance fading of the blue body color.
Decals
The kit supplied decals were used for the dashboard and engine bay. A drop of clear epoxy glue was put over the gauge decals. Once dry it makes a perfect glass/plastic gauge cover.
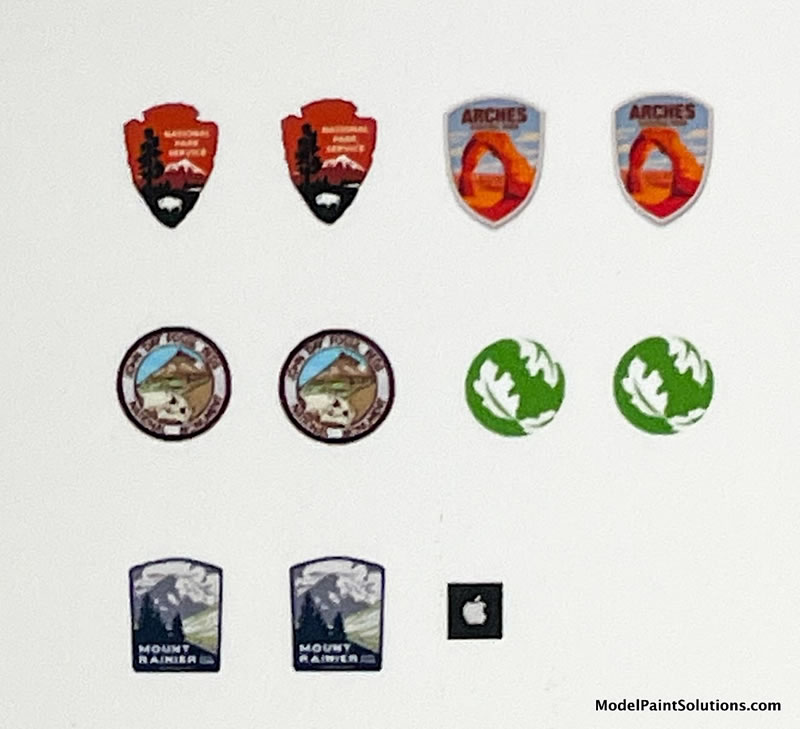
This was my first attempt at making my own decals which consisted of National Park logos that were placed on several of the rear windows. Micro-Set and -Sol were used to apply the decals. The license plates were printed on photographic paper. The front plate was glued to a piece of the soft metal wrap from the top of a wine bottle. This allows me to bend it like most unprotected license plates end up.
This is where most of the work came in. Being a retired photographer/film maker, I wanted this to feel real and used. Between the front seats I made a tray from a piece of wood veneer. In it I placed two maps I reduced in Photoshop, a self-made Canon camera and dirty coffee mug.
The camera was made by layering 3 pieces of sheet styrene followed by lots of sanding and filing to achieve the shape of my Canon DSLR. The lens was made from a piece of aluminum tubing that was flared at one end. A very short length of styrene tubing fit perfectly inside the aluminum tube which allowed a strong glue point for the lens to the camera body. A couple of drops of 2-part epoxy was added to the flared end of the aluminum tube to attain the glass lens feel. The whole camera is 1⁄4” wide by 1⁄4” tall and a bit longer dimension with the lens.
The coffee mug is styrene tubing filed at the top edge to make it appear to scale. Tamiya Brown Panel Liner was dribbled into it to represent old coffee.
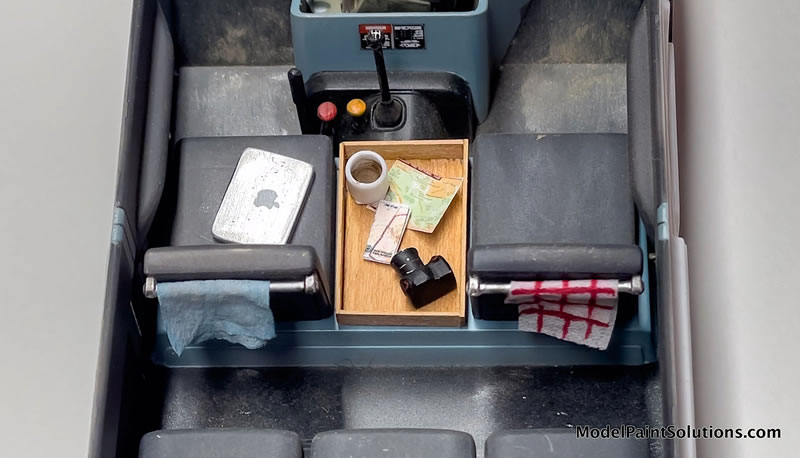
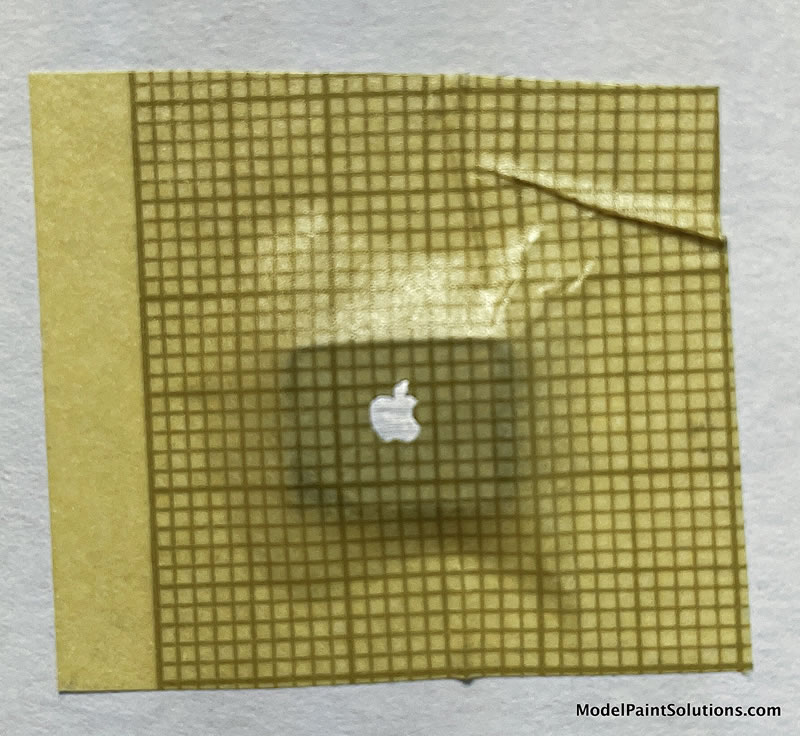
The laptop computer on the front passenger seat was made from a thin piece of aluminum sheet that I folded over, cut to size, and then sanded to achieve the rounded corners. A good friend of mine (Steve “Sir-Rigs-A-lot” Kramer) made an Apple logo stencil which I used to airbrush a light coat of white paint.
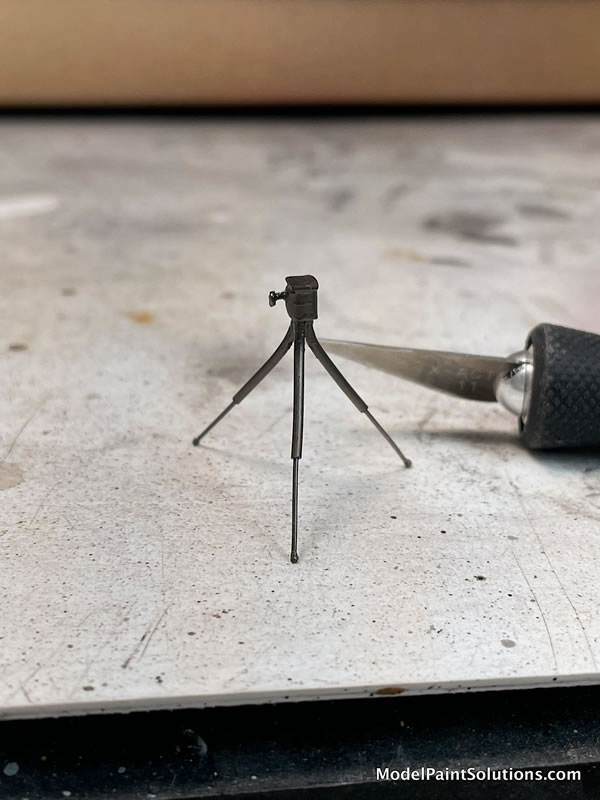
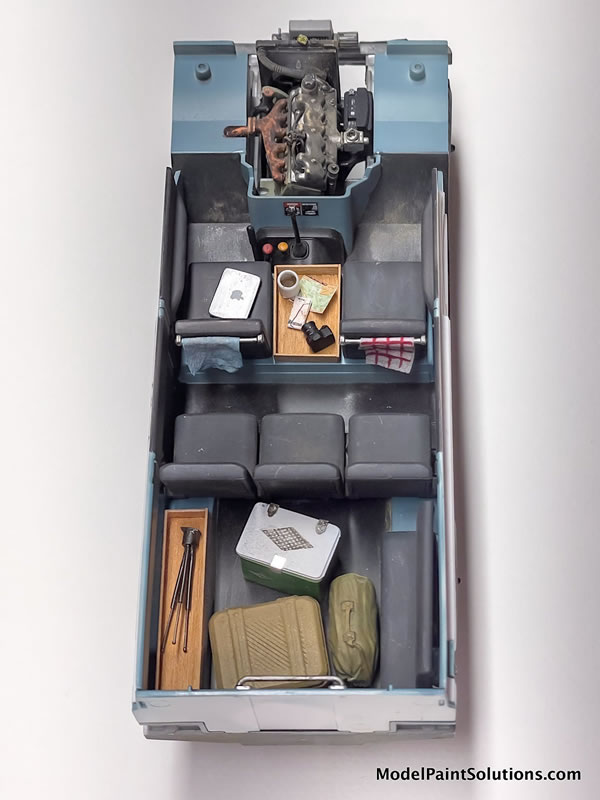
The rear section of the Land Rover has a duffle bag, graciously supplied by Steve (of Apple logo stencil fame), another wooden box which holds a tripod, a vintage cooler, and a 3D printed camera case.
The roof rack holds another camera case, two gas cans and a tarp covered mystery. Under the tarp is a lump of Sticky Putty which holds a battery and switch for the LED dome lights inside the Rover. I did this because the interior was so dark and having done so much detail work I wanted to make sure it could be seen.
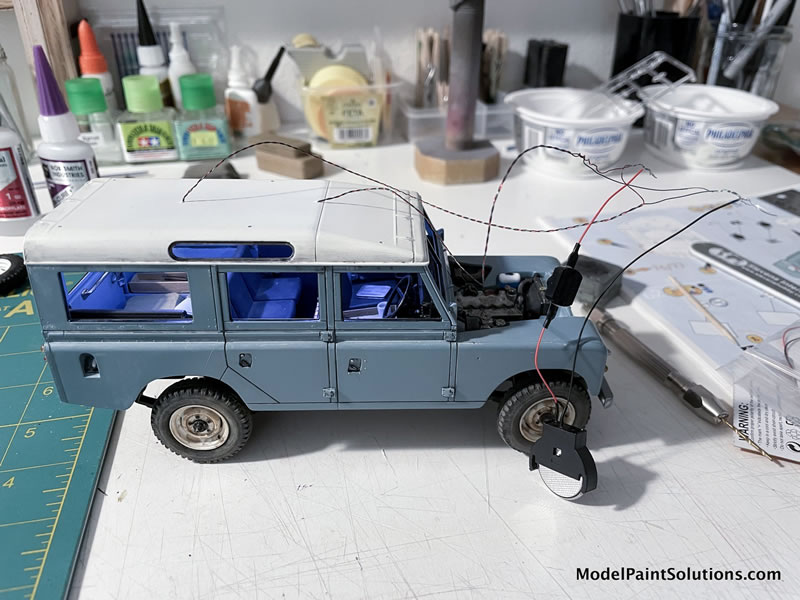
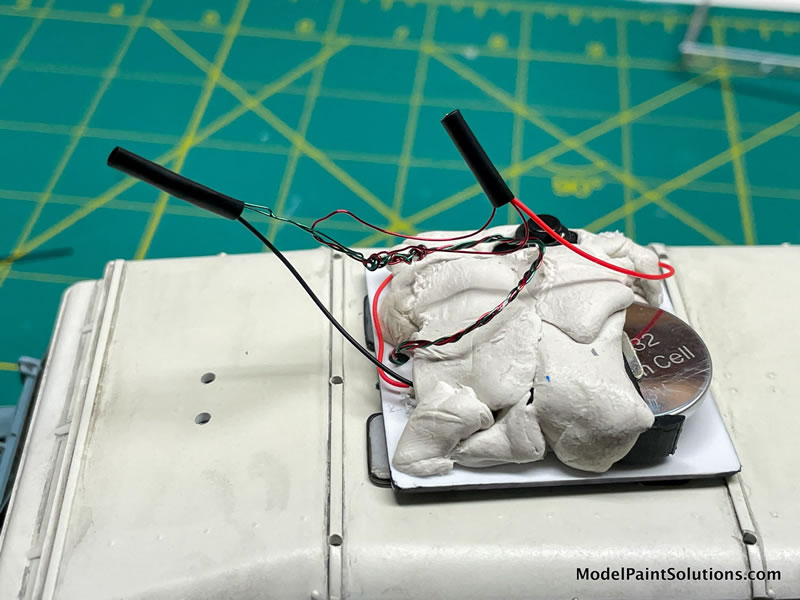
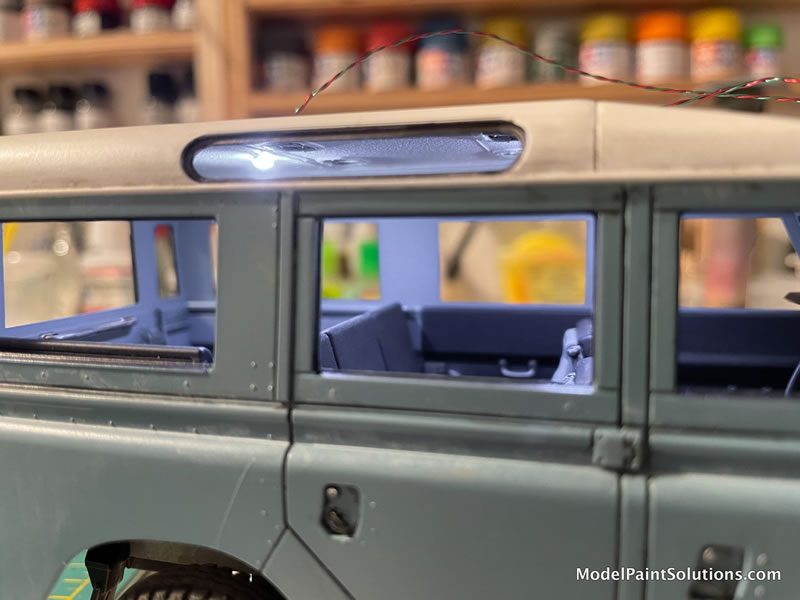
The tarp was made by folding a KimWipe tissue in half and carefully folding it over the Sticky Putty light set-up, making sure that the folds and wrinkles looked real. The base for the putty blob was a square piece of styrene. I put double stick Scotch tape on the bottom of it to hold the tarp. Since this was the last thing I could do for the lighting, I had to paint it while wired to the Rover. To do this, I took a sheet of printer paper, cut a slit, slid the wires through, wrapped the paper around the Land Rover and proceeded to paint the tarp several shade of dark brown with light tan accents over the top. And just in case I got really stuck while out photographing, I added a winch to the front bumper. The winch and gas cans were 3D printed by Chris at Bolidemodels.com.
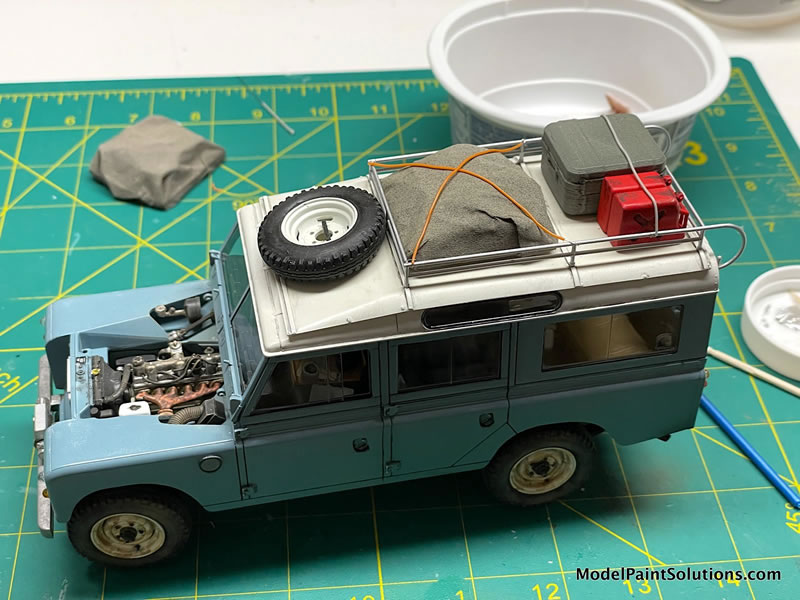
The entire Land Rover was weathered to appear like it had been out in dry, dusty country most of its life. This was achieved by using several different shades of tan and brown pigments applied with soft brushes. AK Pigment Fixer was then very carefully airbrushed over it.
The engine bay is grimy and dusty. The oily engine was achieved by careful use of both Tamiya Black and Brown Panel liner. The distributor was drilled out and wired. Vallejo rust washes were used for the rusty exhaust header.
Whew! I’m finished. It took a long time, but it was definitely worth it! I highly recommend this kit if at all interested. It offers lots of opportunities for personalizing and/or weathering into a unique model.
Thanks for reading along,
Brad
For more on this review visit ModelPaintSolutions.com
Text & Images Copyright © 2022 by Brad Huskinson
Page Created 20 January, 2023
Last updated
20 January, 2023
Back to HyperScale Main Page
Back to Reviews Page

|
Home
| What's New |
Features |
Gallery |
Reviews |
Reference |
Forum |
Search