Esci's 1/72 scale
Douglas A-4E Skyhawk
by Arkut Yuksel
 |
Douglas A-4E Skyhawk |

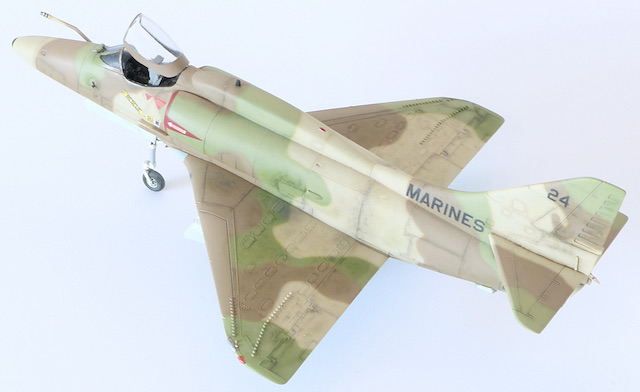
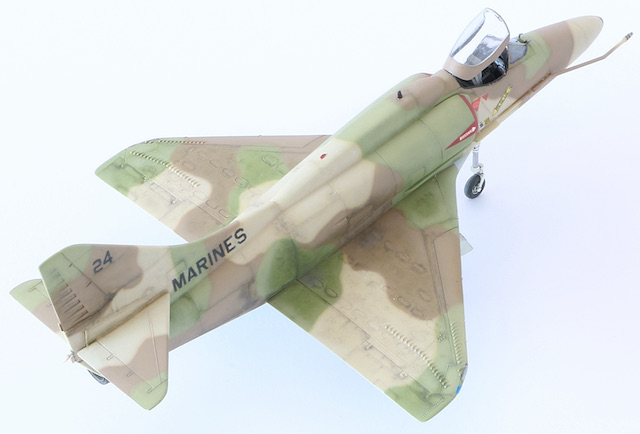
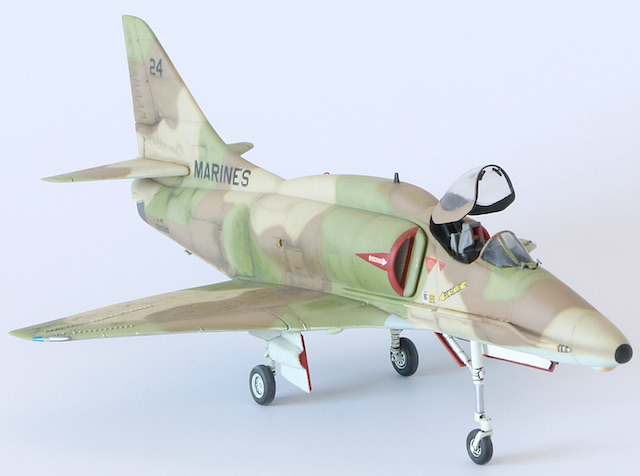
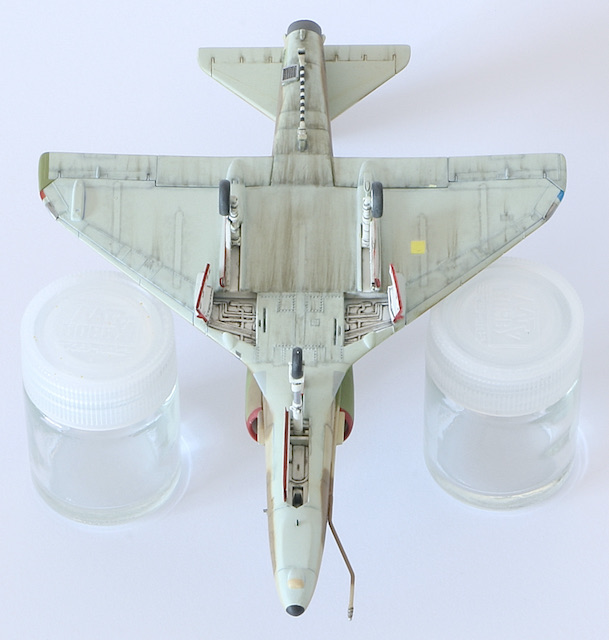
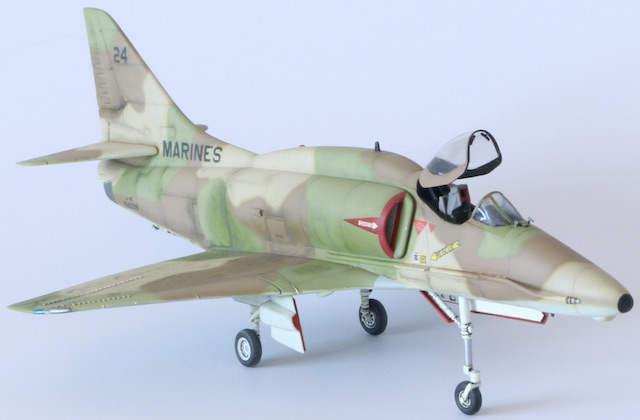
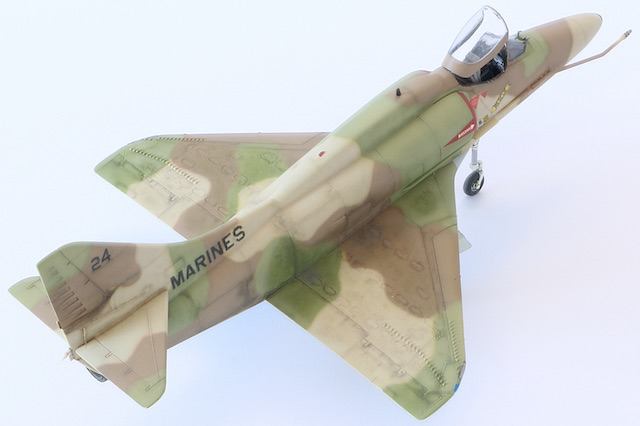
This is a try for nostalgia build. The model itself is an Esci 1/72 scale A-4E Skyhawk boxed with Aggressor decals.
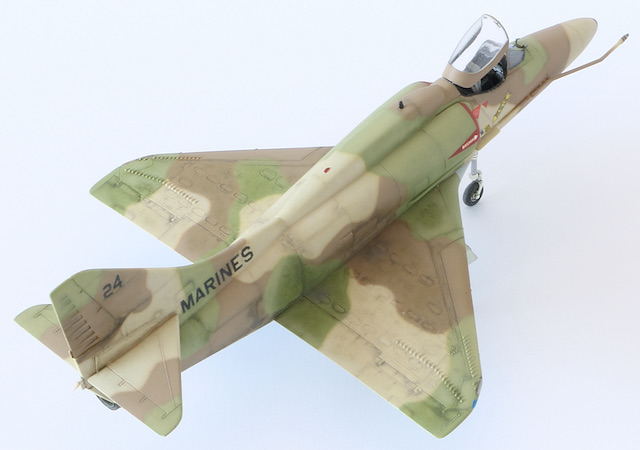
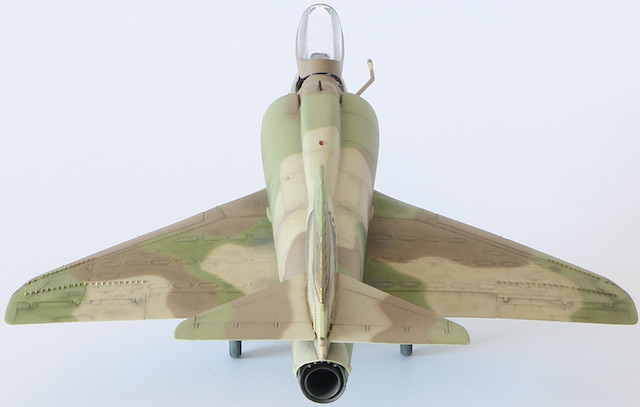
I decided to build the one painted with IDFAF colours that are sand, brown, green and light blue.
The boxing is old. Still the parts show that the mouldings had already started to old hence the fuselage parts were a bit warped.

It might only be obvious for the well trained eyes when the model is finished. I am not one of them but I built the model so I marked it during the construction. Unfortunately I do not have the ability to correct the off-set.
The detail lines are mixed. That is the ones on the fuselage are recessed and the ones on the wing and elevators were raised. I left them as they were.
The model is built almost out of box; as usual with my other models. But there are some parts that I tried to correct and add according to the photographs of the real plane I could find on internet. Those are:
-
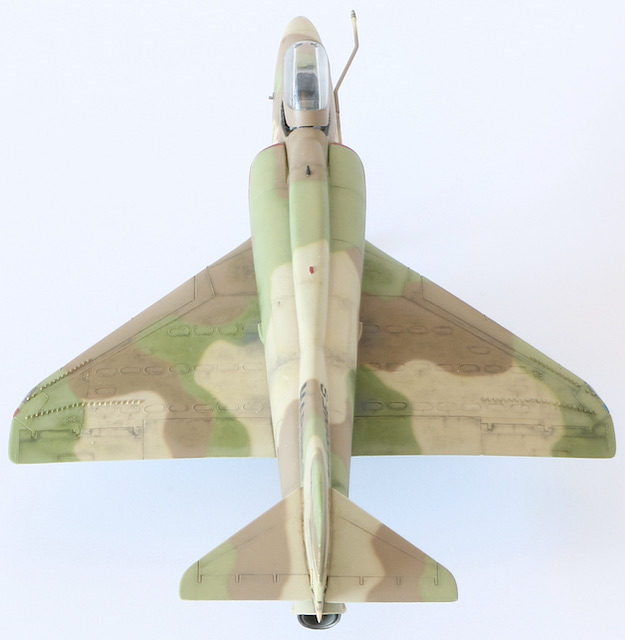
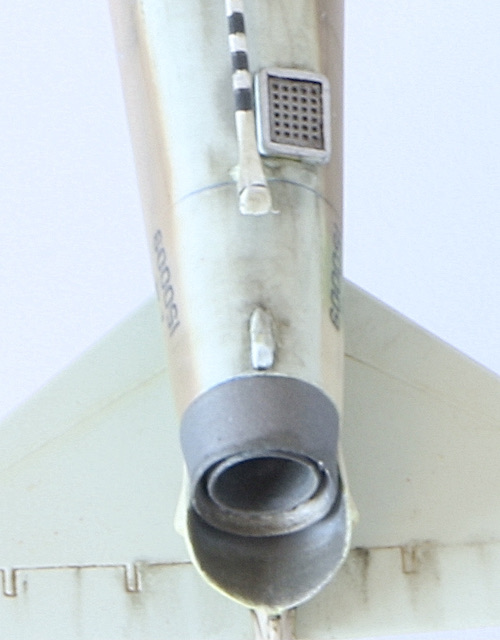
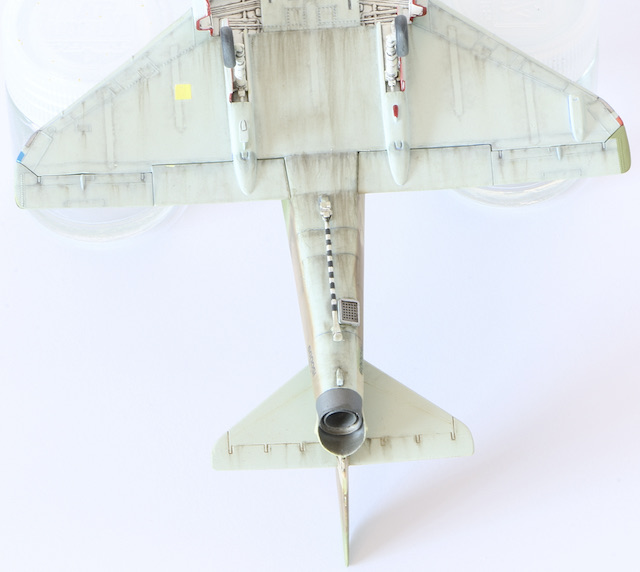
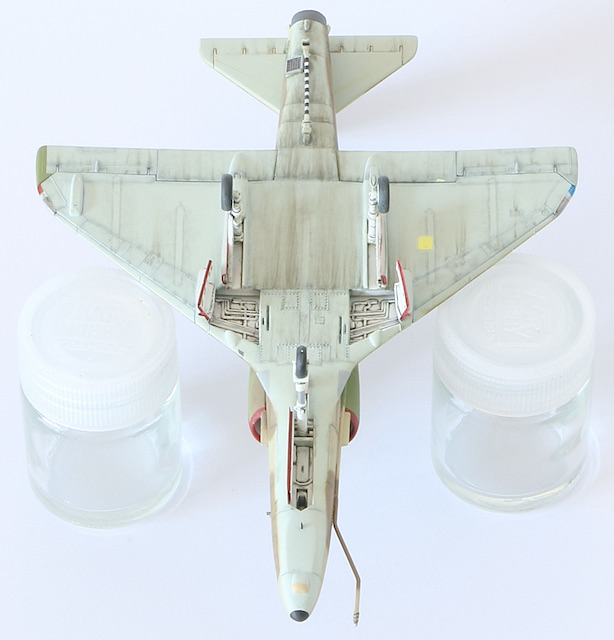
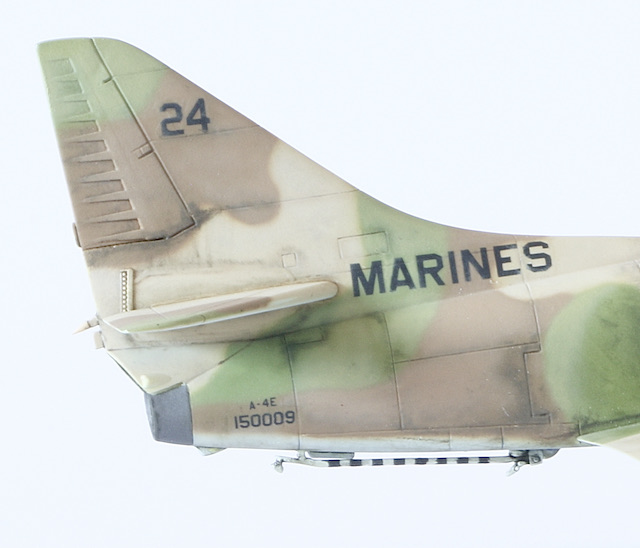
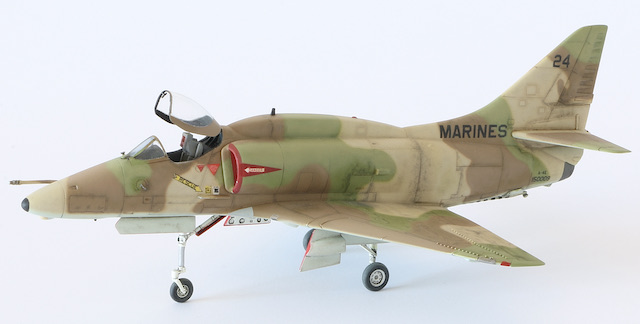
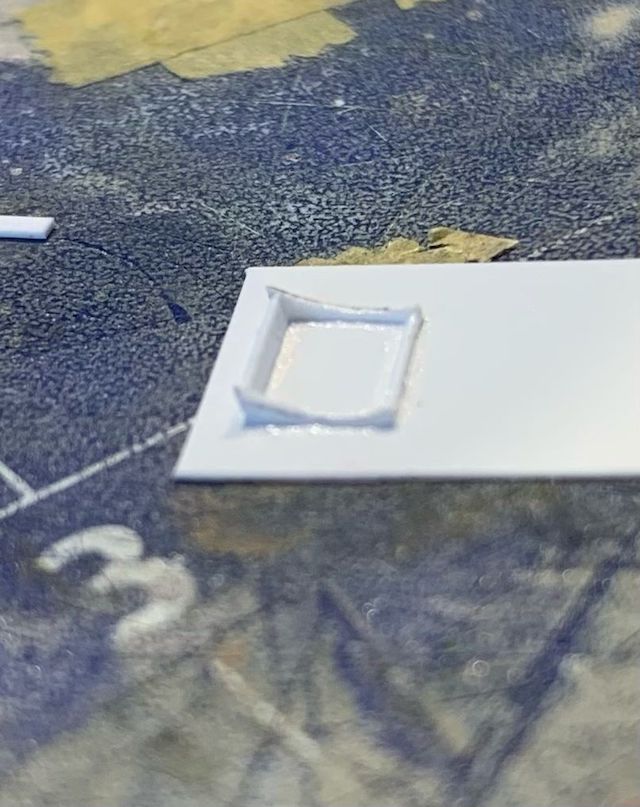
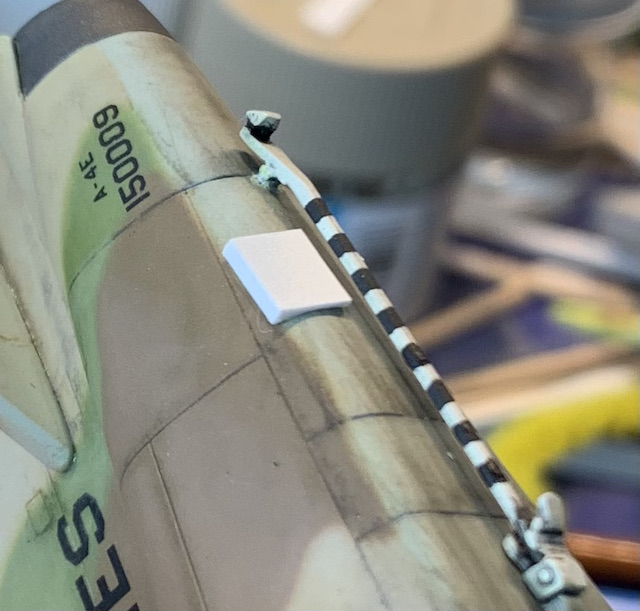
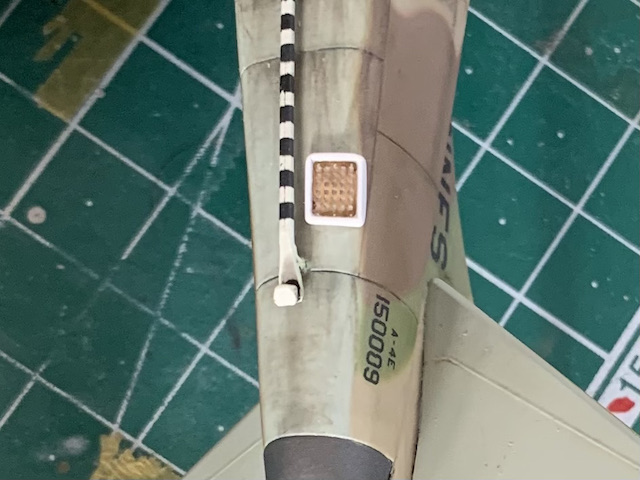
The chaff/flare box under the tail was added (The chaff/flare PE set in 1/48 from Furball Decals contained the necessary PE for 1/72 scale!)
-
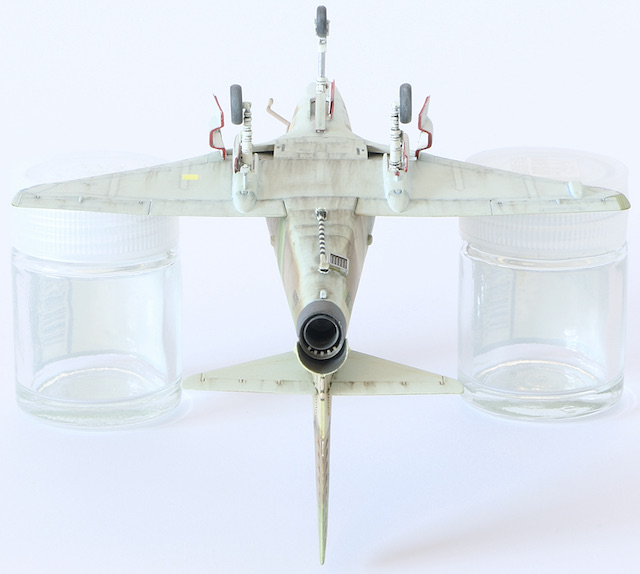
The antenna base under the exhaust was added
-
The antennas above the exhaust were added
-
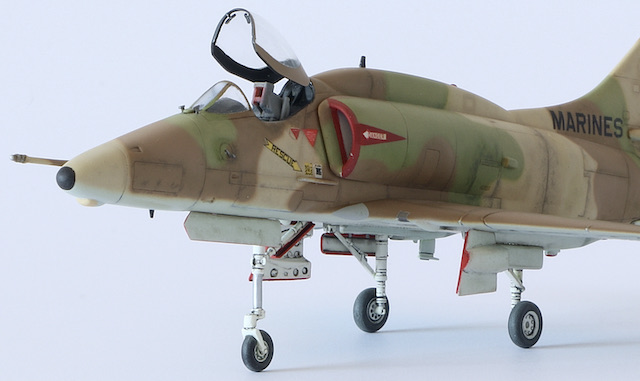
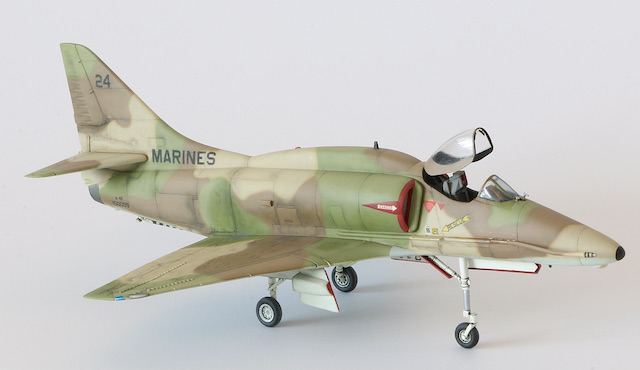
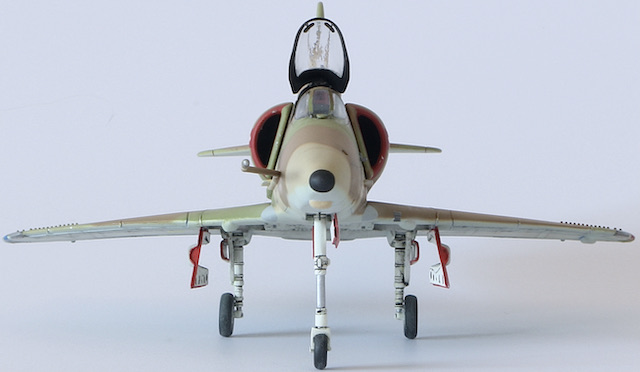
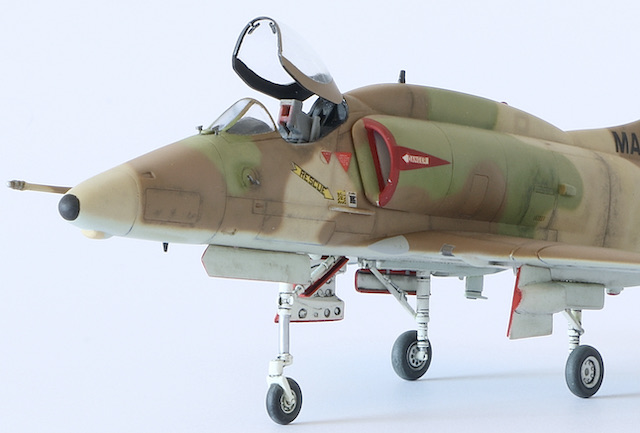
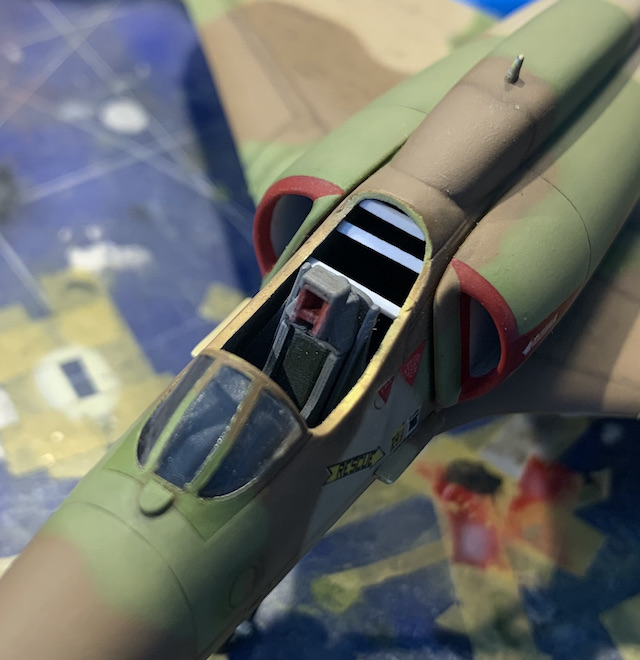
A pair of mirrors to the canopy were added (Model Technologies mirror set was used).
-
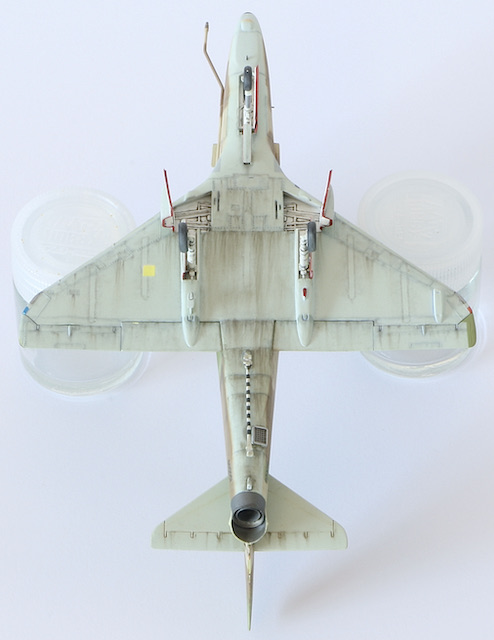
The canopy was cut and posed open
-
The area behind the seat, below the canopy was covered with scratch built parts.
-
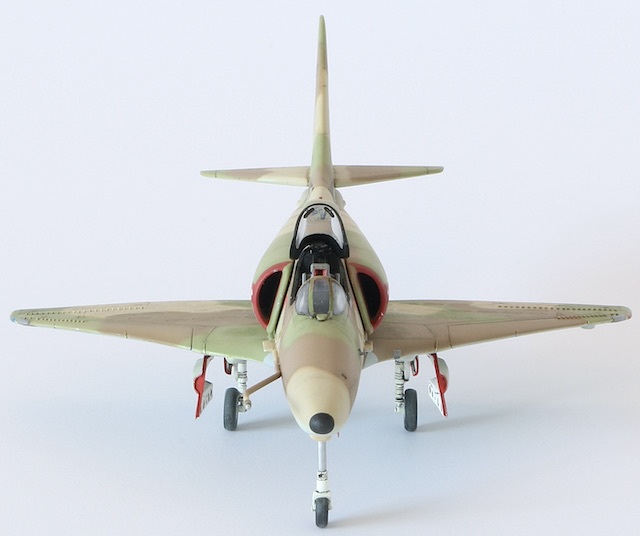
The landing gear covers, exhaust area were thinned to scale
-
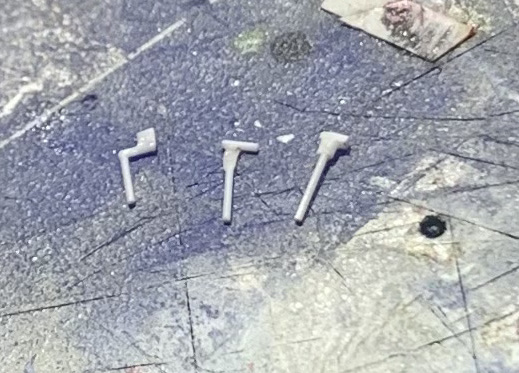
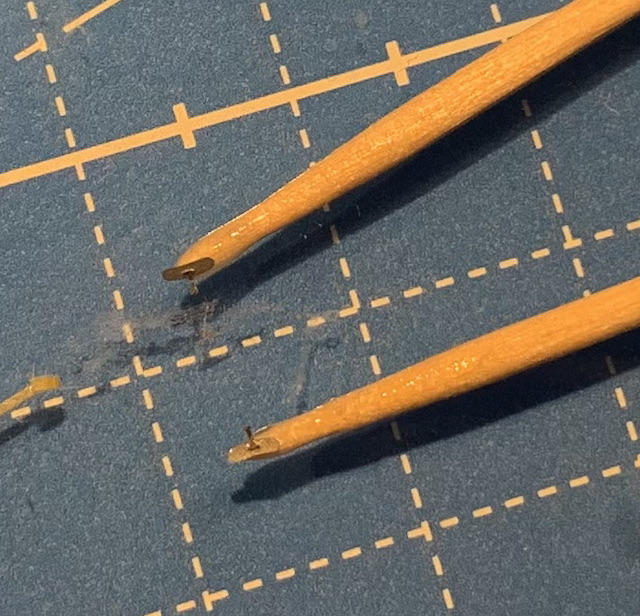
Wing leading edge vortex generators were remade
-
The wingroot cannons were deleted and smoothed out with putty.
-
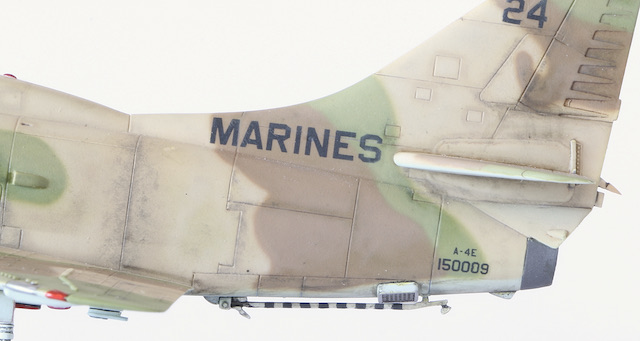
The actual number ’24’ had had the serial number of 150009. The box contains serial 156283 for ’24'. It was corrected to 150009 by using the other decals in the box and converting an ‘8’ to ‘0’
-
The tail number ’24’ was big in the box. Another tail number, which was ’04’, was converted to 24 and used.

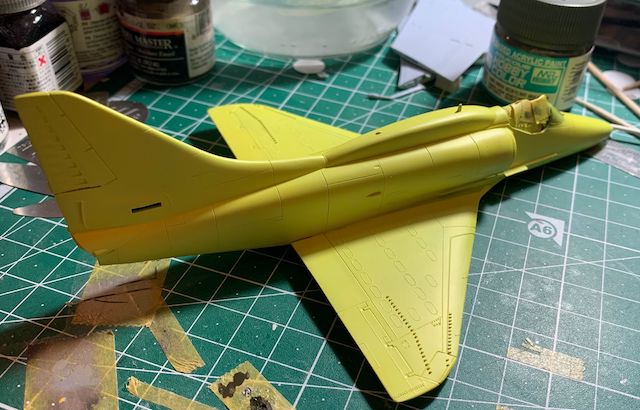
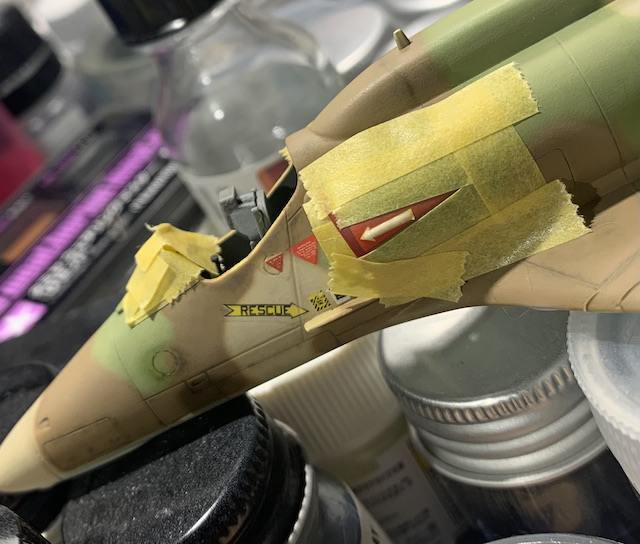
After main parts are constructed the model received a White Surfacer from GSI Creos with 1500 grade. Following this Mr. Paint 163 Sulfur Yellow was airbrushed on to simulate the primer under the camouflage colours.
The camouflage colours of Aggressor squadrons are attractive. This example is not an exception.
The actual colours are FS 33531, 30219 and 34258 for upper side and FS 35622 for underside. I used GSI Creos water based acrylic lacquer colours for all of them except the green.(FS 33531= H313, FS 30219= H310, FS 35622= H314)
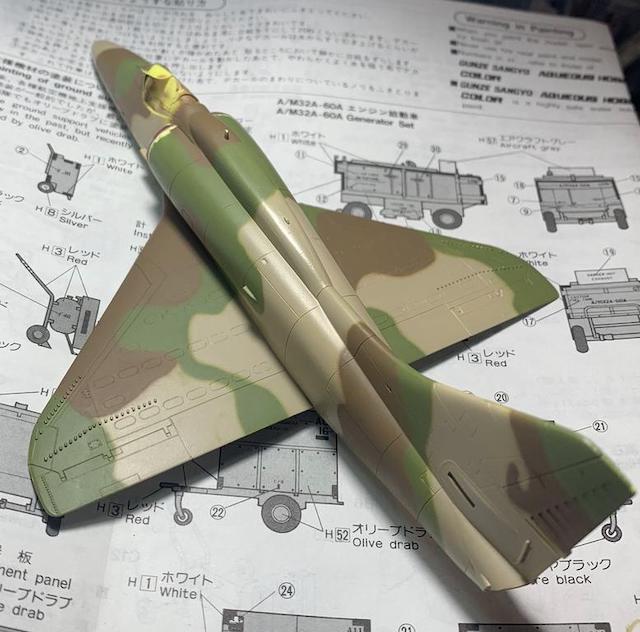
The green came from Testors/Model Master enamel paints. (FS 34258= 2029)
Tha camouflage was applied using Iwata Custom Micron-B airbrush without masking.
The GSI Creos paints were thinned with pure edible alcohol. The paint from Testors was thinned with a mixture of naphtha and Mr.Hobby Color Thinner.
After the camouflage is painted I sprayed a clear coat and applied wash to the detail lines. The wash contains darkened hue of the main colour for each section of the camouflage.
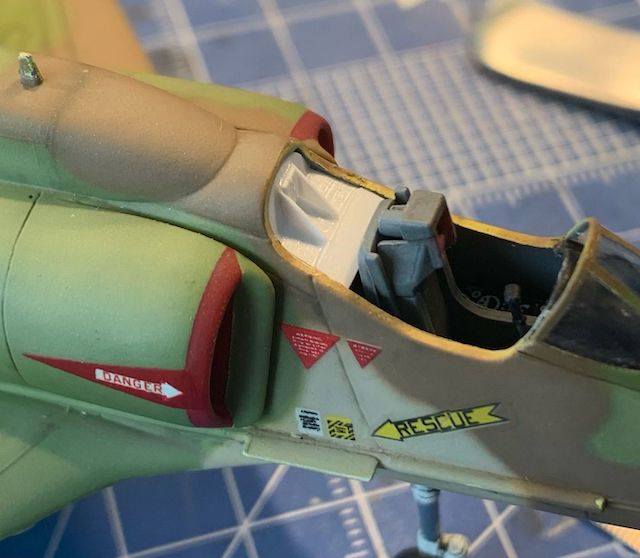
And another clear coat followed for the decals. Most of the decals are from the box with some from spare box.
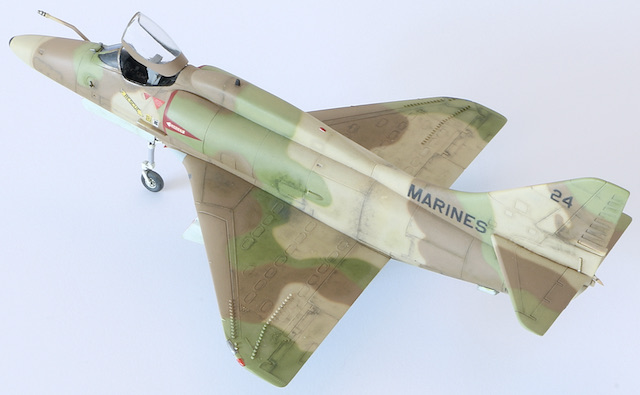
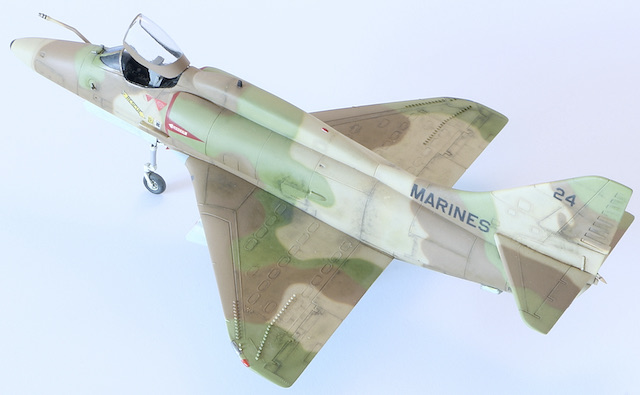
I tried to simulate the dirt and weathering in a concept of what-if. Normally the aircrafts do taken care of very well. But in my assumption not for this subject.
The areas where the technicians would be working and where the wing would leak fuel (!) received the dirt and the rest received fading of the colours as appropriate. Oil dirt was simulated where the surfaces are moving.
I applied all the darkening and fading for the upper side after appropriately mixing in with necessary hues of other colors to the main paints.
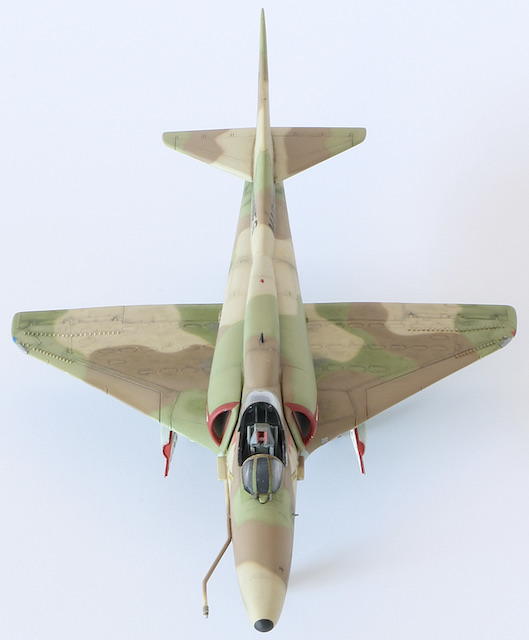
The dirt is the GSI Creos Smoke (H95) colour for the underside.
These dirt and fading were again applied with the airbrush.
Only the oil streaks underside of the aircraft were applied using the Oil from Tamiya Weathering Set D with a thin brush.
The model took more time in applying the weathering. Construction was almost straightforward.
I find the result acceptable.
Happy modeling!
Model, Images and Text Copyright ©
2023 by Arkut Yuksel
Page Created 9 October, 2023
Last Updated
9 October, 2023
Back to
HyperScale Main Page |
 Home
| What's New | Features | Gallery | Reviews | Reference | Resource Guides | Forum |
Home
| What's New | Features | Gallery | Reviews | Reference | Resource Guides | Forum |