A&A's 1/72 scale
Beechcraft 200 King Air
by Roland Sachsenhofer

Did you know this? Almost all of my kits tend to have a long to very long stay in the various stacks and storerooms of my model building sanctuary before they actually make it to the workbench.
Not so with this Beechcraft 200 King Air from the manufacturer A&A! No sooner was the parcel at the front door than it was unpacked and the contents inspected. In the evening of the same day, the plastic came into contact with glue for the first time.
Why did the "King Air" end up on the workbench so quickly? I can think of three reasons: firstly, after several projects in camouflage colours with a clearly warlike background, it was time for a more civilian-looking project. Secondly, the shapes of the "King Air" are simply so beautiful and elegant that they demand to be realised as soon as possible. In my opinion, the colours of the Royal Air Force suit the elegant construction particularly well, so there was no doubt from the beginning which "King Air" I would build.
In the Box
If the two reasons just mentioned refer to the prototype, then one characteristic of the A&A kit itself has also had a highly inspiring effect. This manufacturer reliably puts high-quality masking for the clear parts as well as well-made etched part boards in the box. The plastic parts from A&A are also generally of high quality, even if they are short run products with missing locating pins, rather large sprue pins and massive material thicknesses. Another advantage of these kits are the decals, which are usually of good quality and easy to use. All in all: under these conditions a kit from A&A can usually be built quite comfortably and quickly!
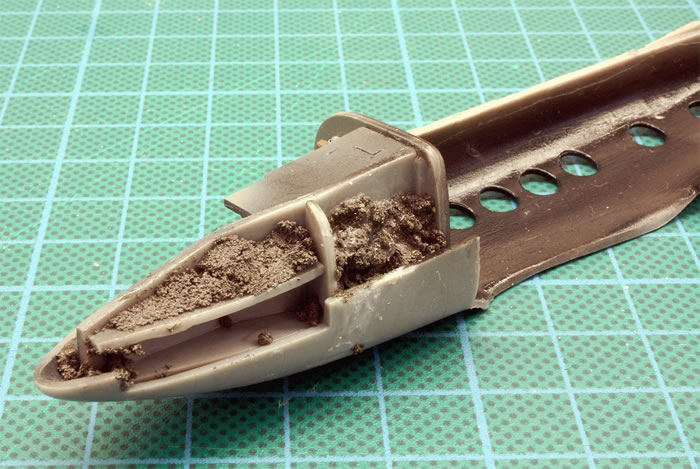
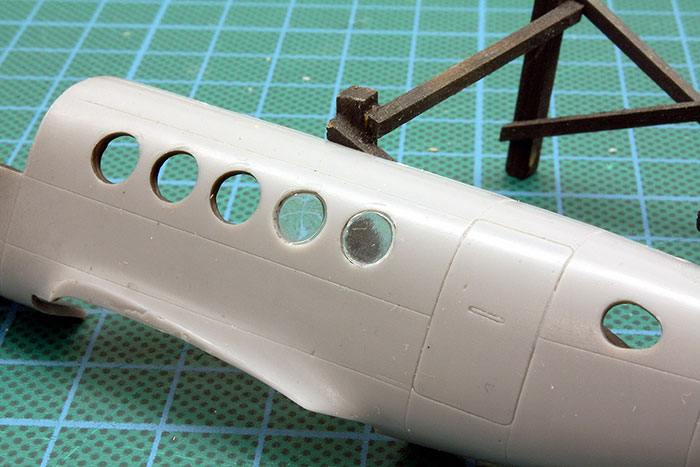
In general, this characterisation also applies to the "King Air" kit. Only the moulding of the cabin windows caused an unpleasant surprise this time. On the one hand, these clear parts were slightly scratched and also cast quite thickly, on the other hand, these parts appeared with exactly the same diameter as the window openings in the fuselage sides - moreover, without any protrusion that would serve as a glue tab. This means that they have to be fitted exactly flush with the curved course of the fuselage shape, an endeavour that with my skills would only end up with unsightly glued windows.
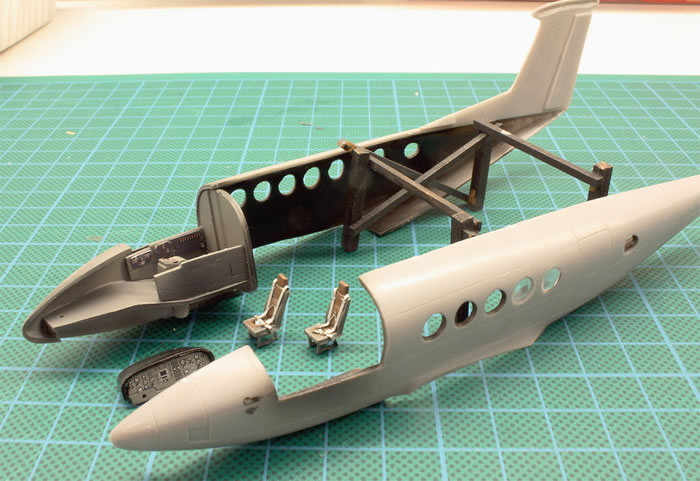
The search for a way out of this dilemma led me down a rather unusual path, which in the end turned out to be quite a good solution. But before I conclude this text, I would like to present some information on the rather interesting example, the Beechcraft 200 King Air of the RAF.
The Beechcraft 200 King Air
The Beechcraft "King Air" can now look back on an amazingly long and equally successful history: The maiden flight of the first King Air, originally designated "C90", took place as early as 1963. Over the years, the King Air has been constantly modernised. The early "90 series" was followed in the early 70s by the 200 series, which with its new high T-tail gave the King Air its familiar appearance. As a widespread touring aircraft of the upper class, the King Air was also used by numerous air forces as a personnel transporter or for training purposes. For example, the King Air has been in service with the US Air Force for years under the designation "C-12 Huron". The popular model is still being further developed and modernised today; machines of the so-called 300 series are currently coming off the production line. To date, over 7000 Beechcraft King Airs have been produced, a truly astonishing number!
To round off the picture, here is some key data:
Equipped with two Pratt & Whitney PT6 turbines, the King Air, which weighs 3983kg empty, performs comfortably: designed to carry 8-10 passengers, it has a cruising speed of 570 km/h and a range of 2954 kilometres. To give an idea of the size: the wingspan is 16.61m, the length 13.36m.
Since 2004, the Becchcraft King Air 200 has been in service with the RAF, which uses it as a multi-engine advanced trainer. The aircraft are flown by No 45 (Reserve) Squadron, which is based at RAF Cranwell, Lincolnshire as part of No 3 Flying Training School. The trainee pilots learn the basics of multi-engine flying with the King Air, including asymmetric flying with one engine, various emergency procedures, advanced navigation and generally working as part of a multi-engine team.
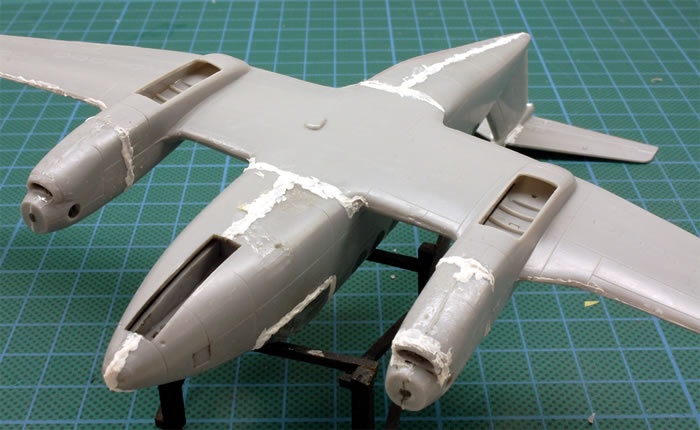
As the course progresses, the requirements become more complex: mastery of the advanced avionics of the King Air, formation and low-level flight in multi-engine flight, as well as the development of what is called "crew resource management". After successful completion of the course outlined here, the next step will lead to an "Operational Conversion Unit", where the pilots will become acquainted with their actual operational models. Aircraft such as the BAe 125, BAe 146, C17, Hercules, Nimrod, Sentinel, Sentry, Tristar or the VC10 await them. Incidentally, the minimum requirement for successful completion of the courses with the King Air is 100 flying hours, but in practice the flight logbooks show considerably more hours.
I would like to conclude my remarks with a look at the construction process. On the one hand, the King Air turned out to be one of those projects where it is practically impossible to put down the putty tube. Especially on the engine nacelles, but in principle all over the fuselage, a lot of filling and sanding had to be done.
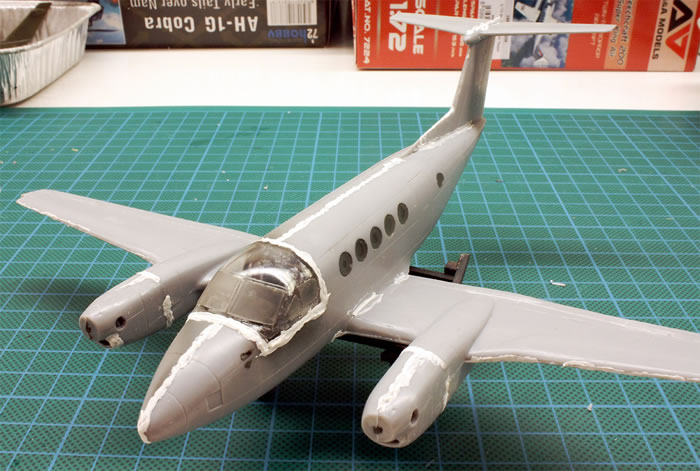
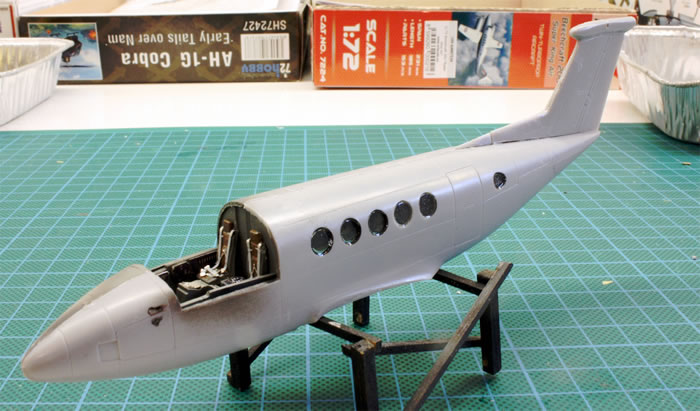
Generally speaking, this would not have been a bad thing, but what complicated things a bit was the layout of the cabin windows described above. After some deliberation, I finally just tried an idea that is actually obvious with the circular windows of the King Air: I filled them with liquid "crystal klear" using a toothpick and waited a day to see what would become of it. And indeed: the material dries crystal clear and without edges, the surface tension ensures that the future pane actually stretches perfectly within the frame. The prerequisite for a beautiful result, however, is that the filling with "Kristall Klear" is of uniform thickness and without inclusions. The thinner the material, the more transparent the result!
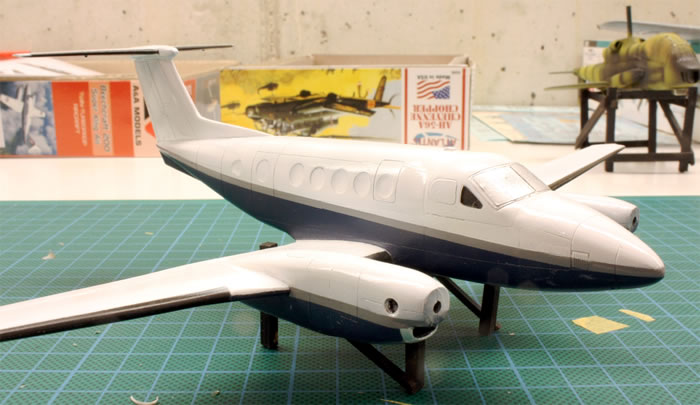
On the model, brake lines were added to the undercarriage and the two pitot tubes on the nose were replaced with ones from the etched parts-collection.
In conclusion I can say that I have not regretted the quick building decision. Even after this rather elaborate project, I would quickly bring back to the workbench any A&A Beechcraft 200 that comes to my doorstep! Who knows, maybe I'll treat myself to such a small, fine modelling challenge with a King Air again? In any case, the experiences so far have made me want to do it!
If you are interested in the building process, please have a look here on Scalemates:
https://www.scalemates.com/profiles/mate.php?id=10148&p=albums&album=82709
As ever, remarks will be appreciated:
ro.sachsenhofer@gmx.at
Model, Images and Text Copyright ©
2022 by Roland Sachsenhofer
Page Created 5 August, 2022
Last Updated
5 August, 2022
Back to HyperScale Main Page

|
Home
| What's New | Features | Gallery | Reviews | Reference | Resource Guides | Forum |