Special Hobby's 1/32 scale
Westland Whirlwind Mk.I
by Brett Green

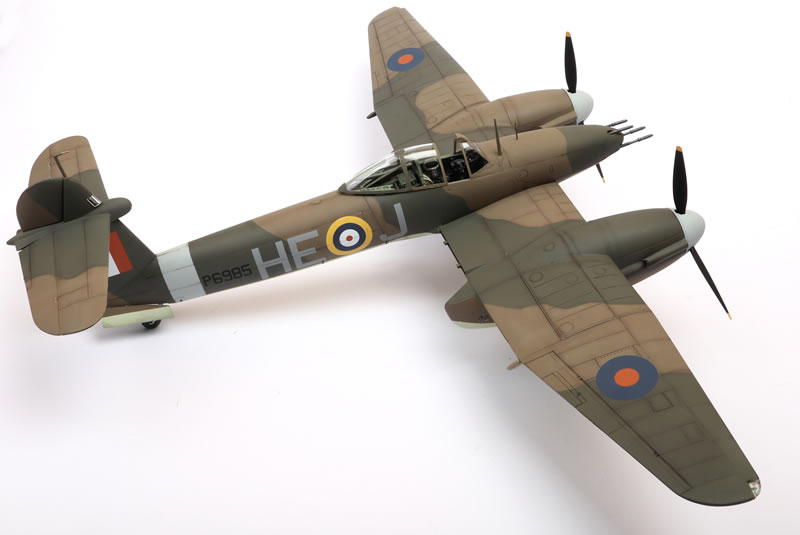
Here is my latest completion - Special Hobby’s brand new 1/32 scale Westland Whirlwind Mk.I.
I found this kit to be an enjoyable and engaging build.
You can see my in-box review by following this link.
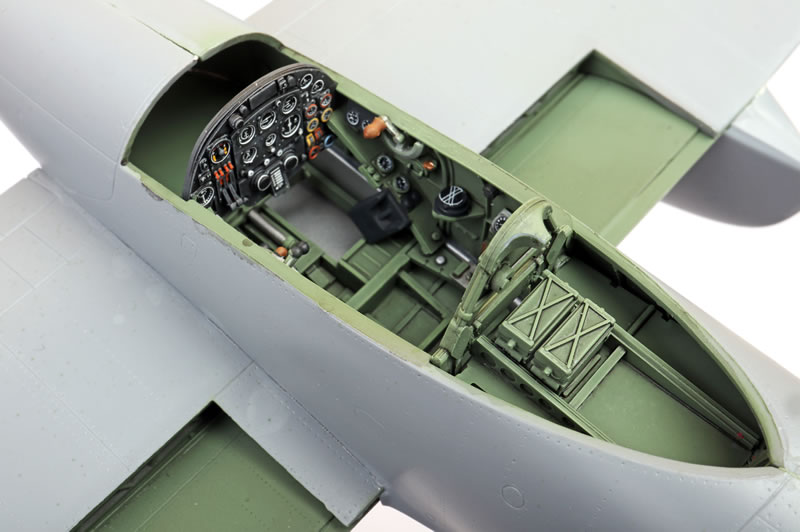
Detail in the all-plastic cockpit is excellent. The instrument panel looks great with its decal dials.
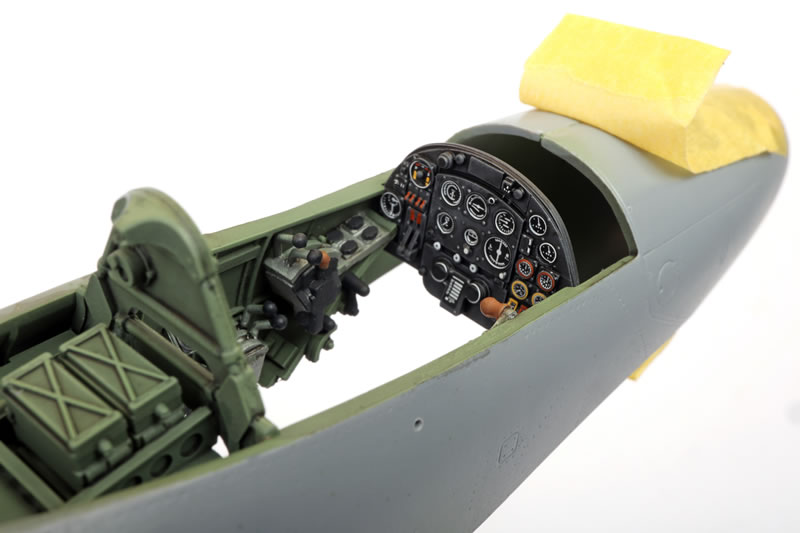
I added photo-etched harness straps to the seat from Eduard but that was the only supplement to the box contents.
Fit was generally very good but don’t expect a shake and bake assembly process. Test fit regularly, take your time and you’ll be fine.
Here are the areas you should look out for in construction:
-
One of my lower wing tips was slightly short shot, which was easily repaired with Milliput White two-part epoxy putty. This may have been a one-off issue with my kit, but check your parts before assembly.
-
I could not get the forward bulkhead of the landing gear bays to fit without modification. I had to thin down the forward lip on the engine nacelle openings to allow the two locating nibs of the front bulkheads to finish up in the correct position. These nibs are the mounts for the main landing gear legs so you really need to get this right.
-
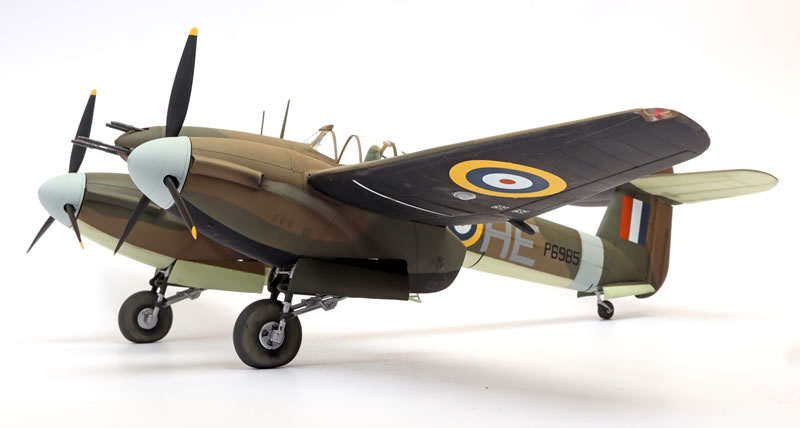
The undercarriage is quite delicate so take extra care here. It looks terrific when finished though, and the wheel wells even include a protruding rear section of the Rolls Royce Peregrine engines.
-
My windscreen was not a perfect fit, being a bit narrower than the fuselage and with a couple of steps and gaps. I did not discover this until the model and windscreen were painted. It wasn’t a difficult issue to fix but it was messier than it needed to be due to its late identification. I would recommend that the windscreen should be glued in place and masked before painting.
- In another example of “do as I say, not as I do”, I recommend that the wing tip navigation lights should be glued in place and masked before painting.
I used Mr Color lacquer paints for my early RAF fighter colours.
There has been some suggestion that the black lower stabiliser was just in shadow and should actually be sky like the other one. Consult your references and decide for yourself.
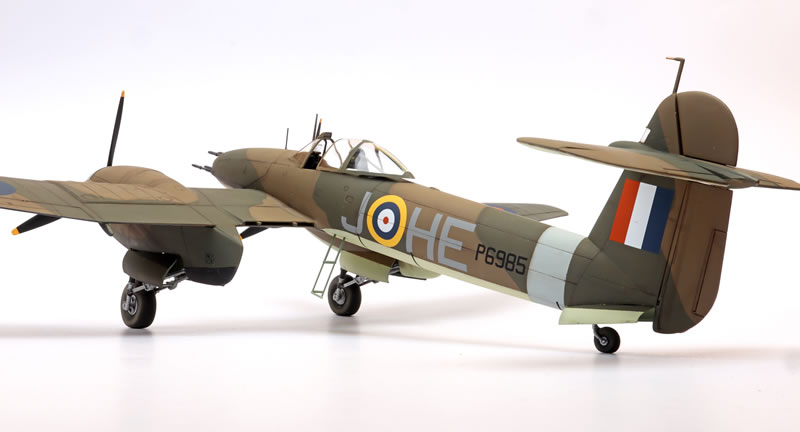
Special Hobby’s 1/32 scale Mk.I is a lovely kit that will be well within the skill set of any modeller who has built a short-run kit or two. It is impressive in size, surface textures are convincing and detail is very good.
I can’t wait to see what Special Hobby will have in store for us as their next 1/32 scale release.
I’ll be writing this one up for a big article crossing Issues 193 and 194 of Model Airplane International magazine.
Thanks to Special Hobby for the sample.
Model, Images and Text
Copyright © 2021 by Brett Green
Page Created 31 May, 2021
Last Updated
1 June, 2021
Back to HyperScale Main Page
|
 Home
| What's New | Features | Gallery | Reviews | Reference | Resource Guides | Forum |
Home
| What's New | Features | Gallery | Reviews | Reference | Resource Guides | Forum |