Special Hobby's 1/48 scale
Hawker Tempest Mk.II
by Brett Green

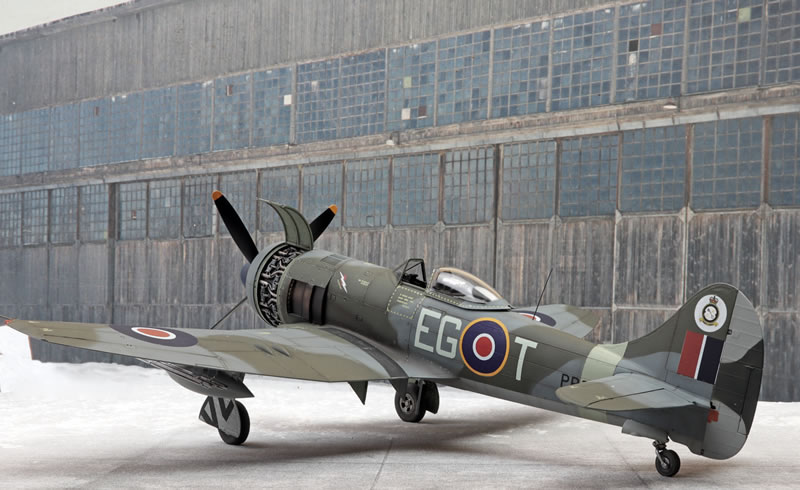
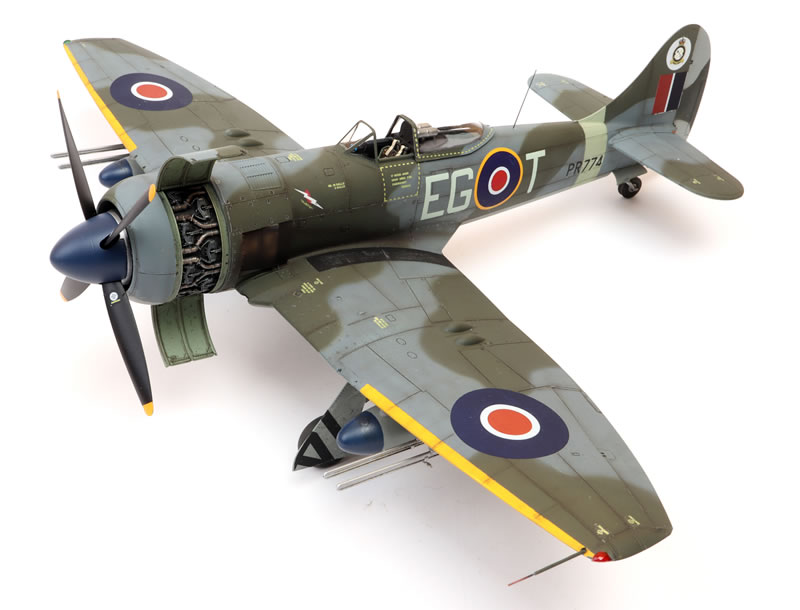
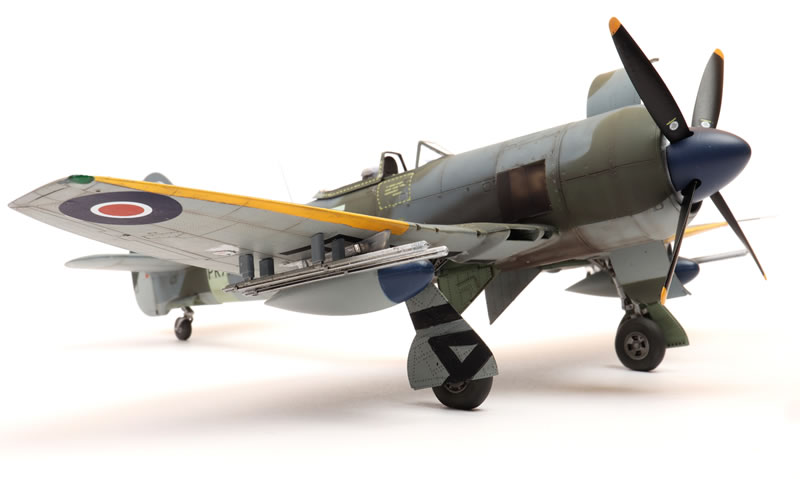
Here is my latest completion - Special Hobby’s 1/48 scale Hawker Tempest Mk.II.
The kit comprises Eduard plastic sprues with resin parts from Special Hobby / CMK. These include a resin half engine plus two cowls, which I thought looked too interesting not to use!
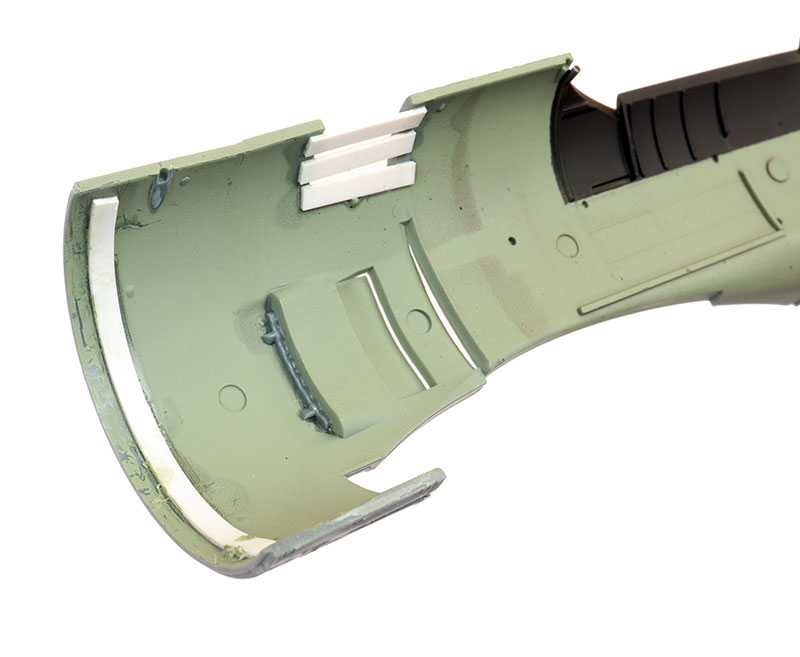
I didn’t have any problems building the kit. Fit was close to perfect and I enjoyed the experience. I did pre-empt a couple of potential issues though. These included blanking off the open space underneath the upper fuselage vent insert.
I also inserted and glued the exhaust stacks from the inside of the fuselage halves before the fuselage was joined. Finally, I glued a strip of plastic on the inside of the starboard fuselage half as a locating aid for the front engine plug (thanks to Andreas Beck for some handy hints).
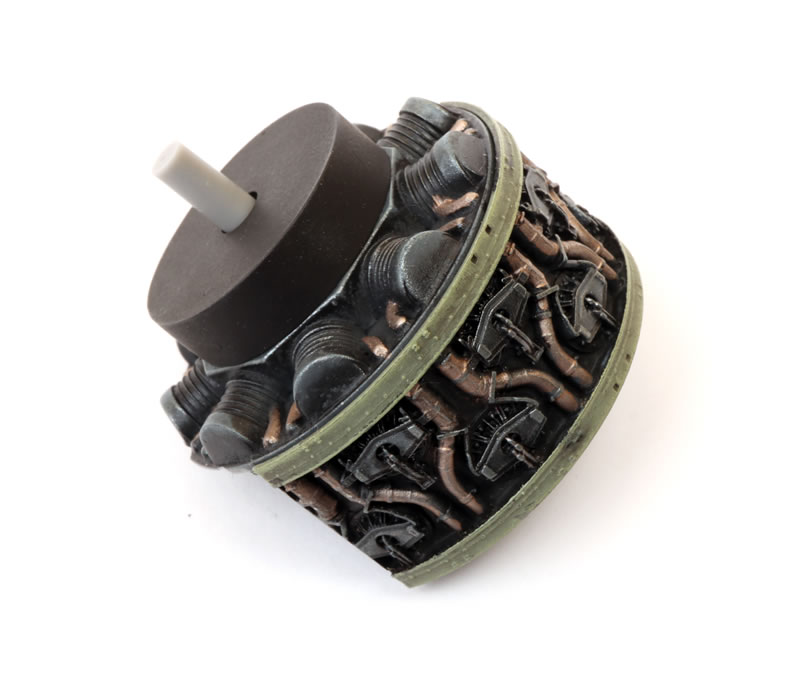
The engine half is a single casting for the side and two new parts to replace the kit engine cylinder ring and crank case.
The exposed engine side is nicely detailed and responds well to painting, washing and dry-brushing. You will need to be very careful and precise removing the port side cowlings from the kit fuselage though. This is probably best suited to the more experienced modeller, but the engine half is entirely optional so you don’t have to use it if you do not feel confident.
In the cockpit, I employed Eduard’s LooK pre-painted resin instrument panel (Item No. 644104) and Barracuda Studios’ resin Tempest seat with harness straps cast in place (Item No. BR48397).
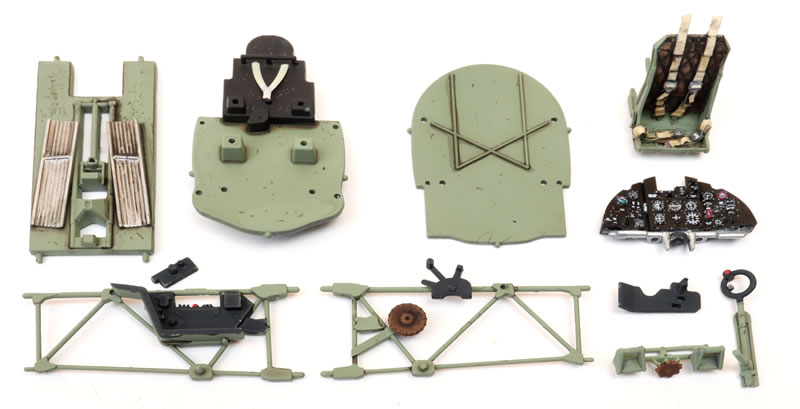
I also used Eduard’s luxurious cast bronze undercarriage legs with resin undercarriage doors (Item No. 648637) and BRASSIN resin wheels with smooth tyres (Item No. 648636).
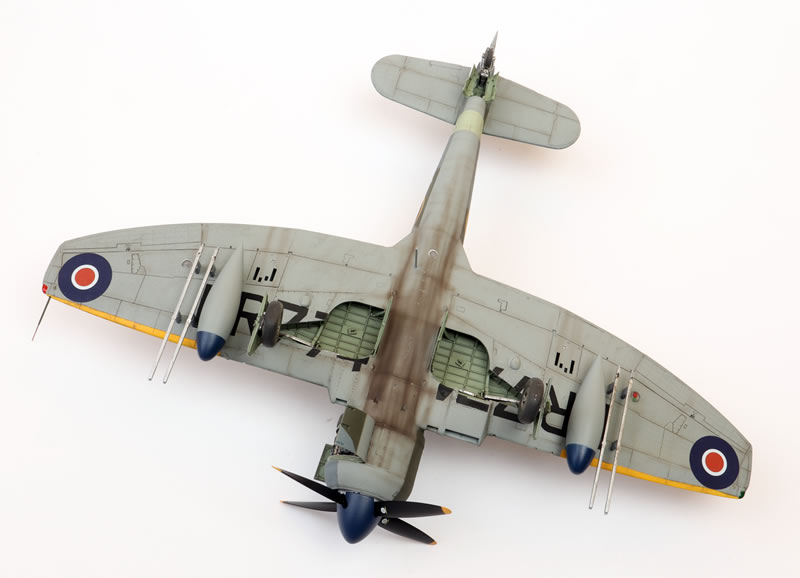
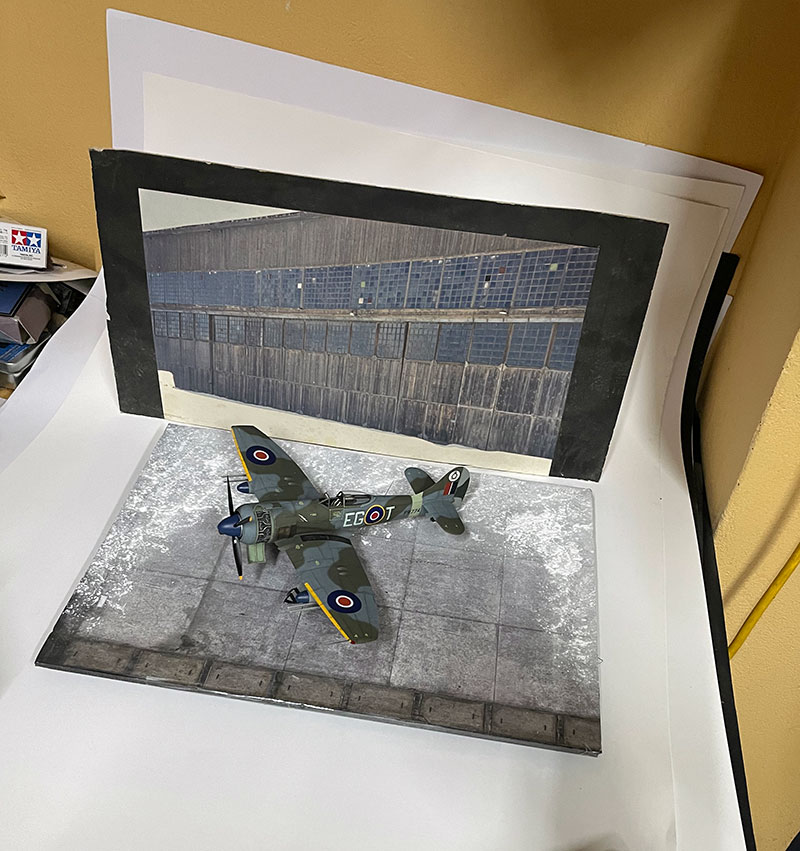
I based my model on a post-war colour photo that I found online. The Special Hobby kit includes the drop tanks and rockets needed for this subject although they are marked “not for use” in the instructions.
Markings were dug up from a number of sources - Aeromaster codes (48-237, which I bought in 1995!), Fantasy Printshop codes (Item No. FP 864, 865 and 866) Fantasy Printshop for the big replacement serial letters under the wings (Item No. FP904) and the kit’s decal sheet for stencils and serials.
I note that some online builds mention difficult fit when building Eduard’s 1/48 scale Tempest Mk.V from a couple of years ago. In no way do I dispute these accounts but I had no such recollections from when I built my Mk.V in 2019. I actually checked back to look at my construction photos and fit seemed to be almost perfect - hardly a smear of putty on the whole model.
Keeping this in mind I was very careful to take note of any issues of difficult fit when I was building my new Mk.II but there really was nothing much to report apart from a step on the bottom of the leading edge cannon inserts. These were easily filled with Milliput two-part epoxy putty.
It's funny how these things go - different modellers can have wildly different experiences with the same kit. One earlier example is the Airfix 1/48 Meteor Mk.8. I have read some glowing reports but I thought it was a bit of a pig to build.
My advice for this one? Test fit regularly, take care when handling and assembling the cockpit and you’ll have an impressive replica of this ultimate RAF piston-engine fighter.
I’ll be writing this one up for a couple of detailed articles in Model Airplane International (I took more than 200 photos!) starting in Issue 194.
Thanks to Special Hobby for the sample.
Model, Images and Text
Copyright © 2021 by Brett Green
Page Created 10 August, 2021
Last Updated
11 August, 2021
Back to HyperScale Main Page
|
 Home
| What's New | Features | Gallery | Reviews | Reference | Resource Guides | Forum |
Home
| What's New | Features | Gallery | Reviews | Reference | Resource Guides | Forum |