Hasegawa's 1/48 scale
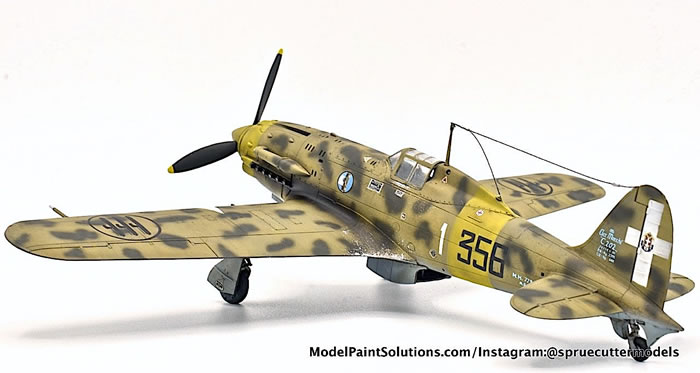
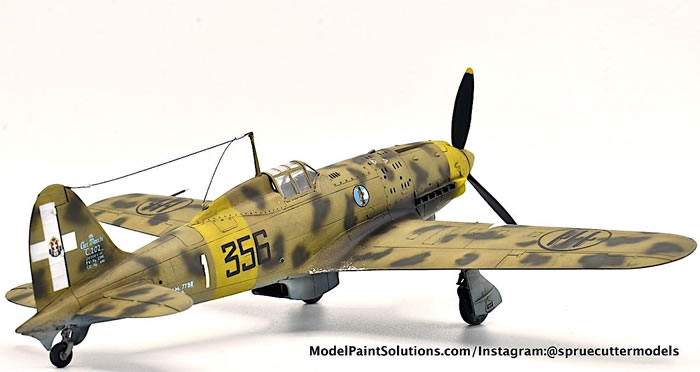
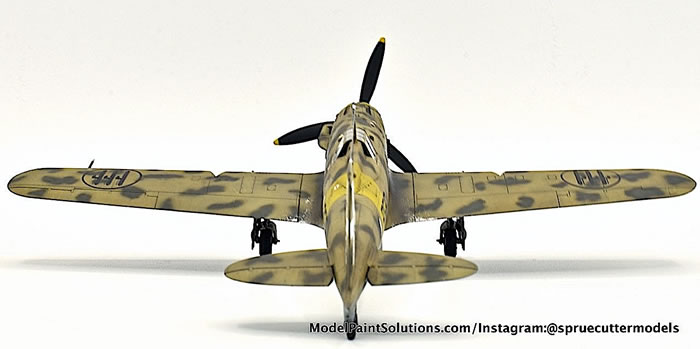
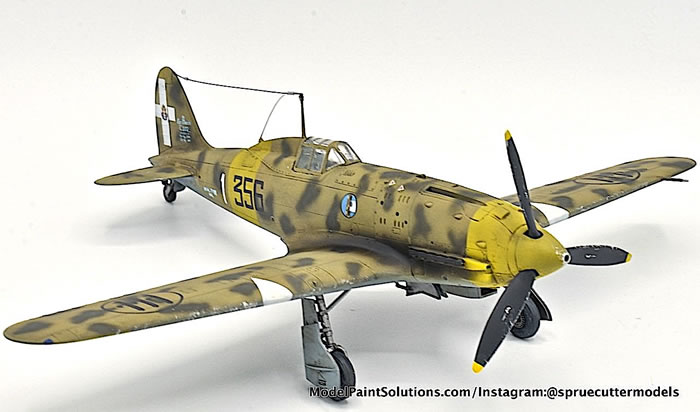
Macchi C.202 Folgore
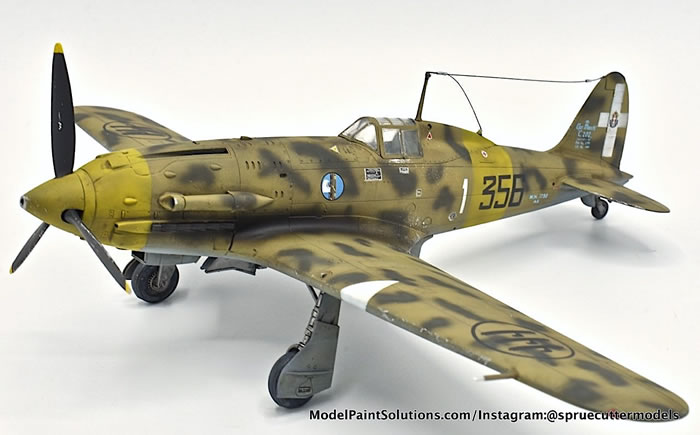
by Mat Mathis

October 1st hit and it was time for me to crack open my kit for the Mottle Mania Group Build/Contest hosted by yours truly (@spruecuttermodels) and sponsored by Model Paint Solutions (@modelpaintsolutions). In addition to MPS’s main sponsorship, additional prizes were supplied by @ace_of_spades_modelworks_, @fuzzysghostmodels, and @sour_kraut_models. Go support all the sponsors by following them on Instagram!
Let’s talk about this great Hasegawa Macchi c.202 Folgore kit (Hasegawa #09139). I purchased this kit a few months ago (I didn’t know I needed it, until I saw it) because of the look of the airframe and the possibilities for painting. I didn’t know a single thing about Italian planes prior to starting this build, so it’s safe to say I learned a thing or two. Time to dive in!
I decided to throw a bunch of aftermarket items into this build. In addition to the Montex masks for the markings, I decided to go with some resin wheels from Aires, metal gun barrels from Master Models, and some interior PE from Eduard. All in all, I’m happy that I included these upgrades, but they certainly weren’t required.
I first started with the interior PE work as well as the overall build of the interior. I don’t know why I torture myself with PE. It certainly does influence the look of the interior, but I’m not 100% sure if it ends up being worth it, once the cockpit is all closed up, especially if a closed canopy version is going to be done.
Once the interior was complete and painted it was time to build out the main airframe. This being my second Hasegawa build, I had a limited understanding and expectation of the quality of detail on the kit and the fit I should expect. I can say that I was not disappointed during the main build phase. There were only limited bits of putty needed to fill some gaps on the underside of the wing and the seams were removed with not much trouble.
I then primed the model with Alclad Black Primer with Microfiller and touched up a couple of spots with a sanding stick. A final re-prime on those spots was necessary and then it was time to move into paint!
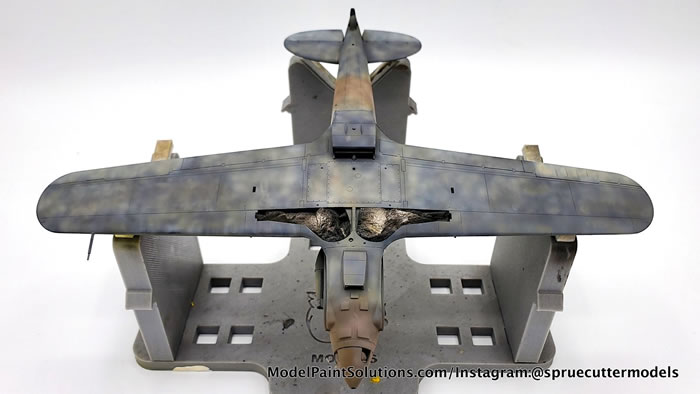
In my opinion, this is the phase that makes or breaks the model, especially when a mottled paint scheme is planned. It’s a good thing that I have the Harder and Steenbeck Infinity. This airbrush is truly a game changer when fine lines are needed. Once the primer was down, I started my shading techniques, starting with white and then moving on to dunkelgelb, buff, deck tan, khaki, and red brown on the top and various greys (these aren’t important – just pick a few varying shades) and field blue on the bottom.
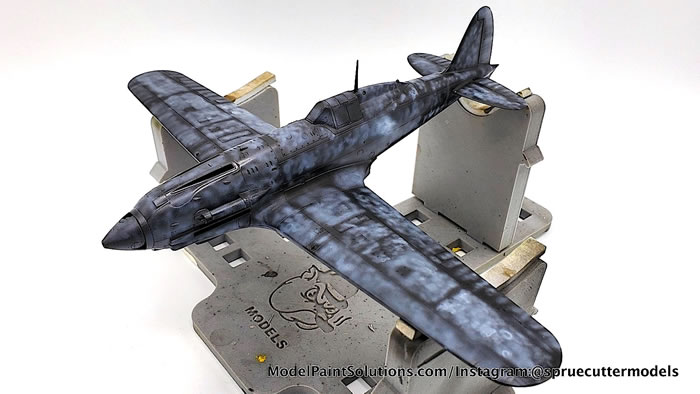
I especially focused the red brown on areas that would be blocked out in yellow. I have read and seen that using pink underneath yellow is a good technique but didn’t have the courage to go full pink on this one.
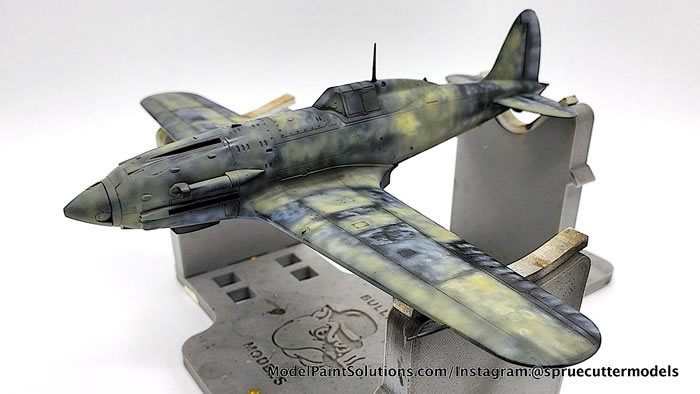
The red-brown on top of the other colors gave a very deep hue, which I liked, and it worked well underneath the yellow.
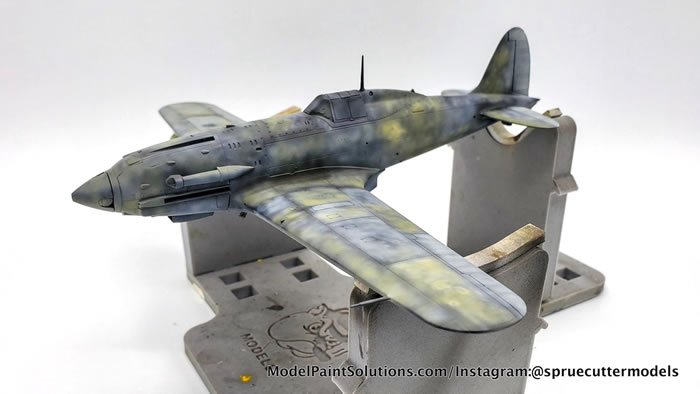
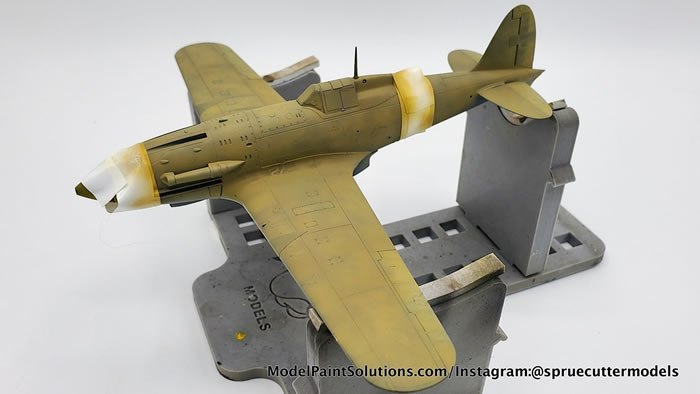
It was then time for the main colors to go down. For the top, I used Mission Models RAF Middlestone and on the bottom I used a Mission Neutral Grey. After the top was done, it looked a bit light to me still so I did one final (very) light coat with a (very) dilute khaki to darken it a bit. I was very happy with this result.
Next, came the mottles. I’m 90% happy with how they turned out. Looking back, I wish that I had made them a little more “stick-like” (I’m not even sure if this adjective makes sense) and irregular but it’s not bad for a first paint scheme where mottling covers the full plane. I certainly know how to improve the next time around. To achieve this effect, I diluted my Tamiya Olive Drab with Mr. Leveling Thinner to about 20% paint to 80% thinner and turned the pressure down to about 10 psi. I further trimmed down the pressure using my inline pressure regulator. Once the airbrush was dialed in, it was time to go to work!
Once the mottles were done, it was time to paint on the insignia and unit markings with the Montex mask set. These masks are vinyl and very easy to use. I didn’t have any trouble placing them – even the insignia on the wing which had some interesting cut outs. The name of the game for these is to use light coats and not to flood the masks with paint. Once removed, if there are any raised areas of paint, it’s painless to run a very high grit sanding sponge (I used 12000 grit) over the top to smooth things out.
Just kidding! I started this build knowing that I wanted to paint on as much of the markings as possible. As such, I purchased a Montex mask set that included all the national insignia and unit markings for two planes, but I realized about halfway through the build that the Montex set didn’t come with any of the stencil markings, so I found a great set from Stormo! Decals. This set was the Aces of Malta set, which had a great selection of markings to choose from. It would be easy to get at least 2 full sets of markings from this one decal sheet.
Since all the insignia and unit markings were painted on, the Stormo! set was only used for a couple additional insignia and the small stencils. After the stencils were on, they were sealed in with a coat of VMS Supplies Gloss Varnish.
The only weathering done on this one was a Grime wash with Flory Models clay washes and some carefully placed aluminum paint applied with a sponge.
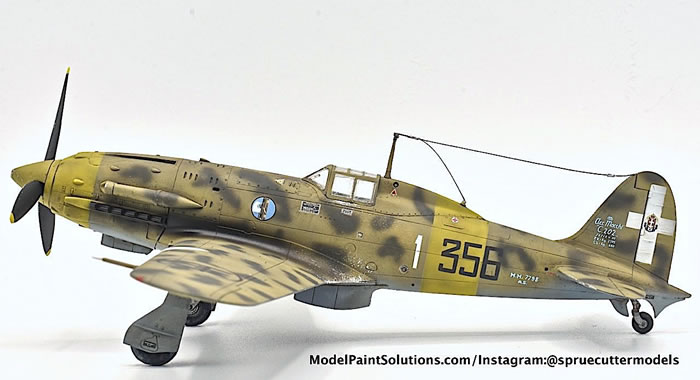
After these were done a final coat of VMS Supplies Matte Varnish was applied. With that, I attached the last few bits and bobs, removed the canopy masks, and placed the rigging wire (which was made from stretched Q-tip). All that was left was to get some photos!
At the end of the day, I’m very proud of this build. Would it win at an IPMS show? Maybe not, but I had a great time building it and I’m happy with the result.
As with every build, I’ve identified places for improvement on the next one. As my journey in scale modeling continues it’s important to have some key takeaways from each build to improve your skills.
If you have any questions, feel free to reach out on Instagram!
Thanks for following along and we’ll see you on the next build!
Mat
www.instagram.com/spruecuttermodels
For more on this review go to ModelPaintSolutions.com.
Text and Images Copyright © 2021 by Mat Mathis
Page Created 9 December, 2021
Last updated
9 December, 2021
Back to HyperScale Main Page
Back to Reviews Page

|
 Home
| What's New |
Features |
Gallery |
Reviews |
Reference |
Forum |
Search
Home
| What's New |
Features |
Gallery |
Reviews |
Reference |
Forum |
Search