AZmodel's 1/72 scale
Grunau Baby
by Andrea Brenco

This is my first attempt at thinning the stash with a (small) batch build!
I had this couple of kits, that in reality are a triple, for years and decided to have a break with something relaxing and fun, and that was really the way it went.
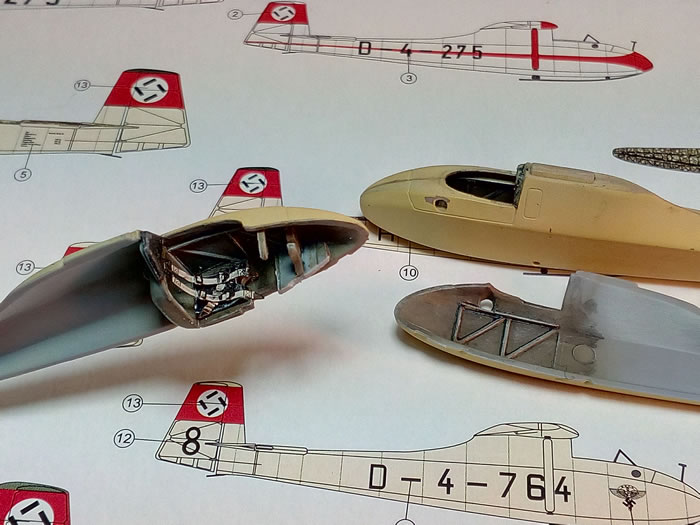
Building is straightforward, I just added two stringers on the side of the cockpit and paint each ones with different colors. I didn't use Owl's photoetched set, really little if nothing of them could be really seen once the fuselage is assembled.
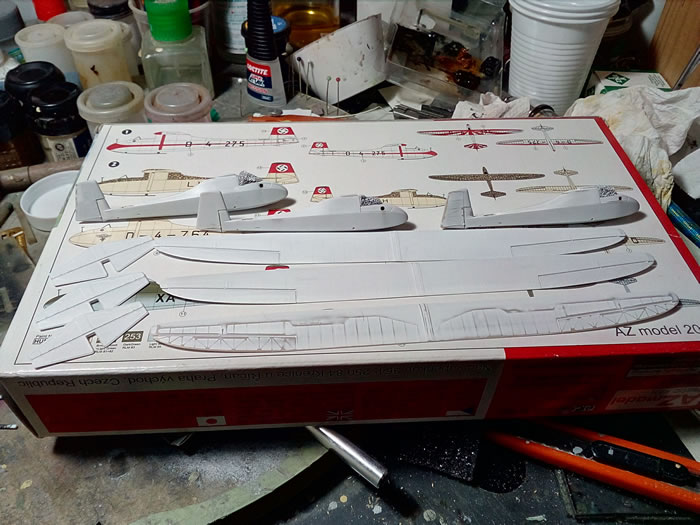
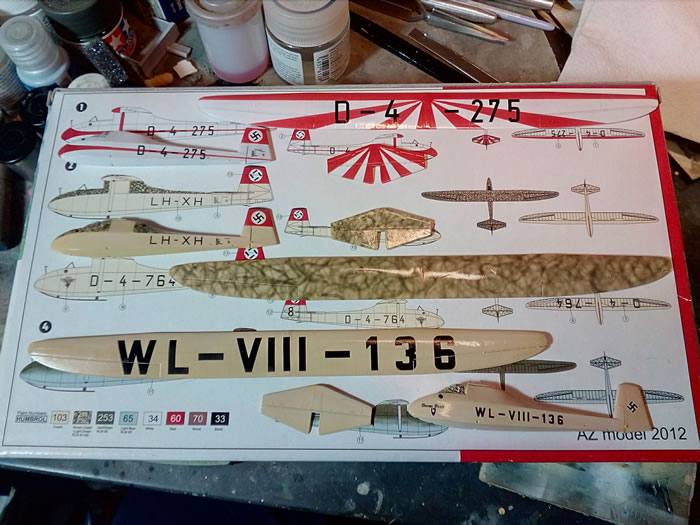
In a flash everything was ready for painting: I gave a Gunze white primer coat, then sanded carefully over the relief of the wings, ailerons and rudder till I exposed the darker plastic underneath: with the following thin coats of paint it should show through, giving the impression of the wooden structure shadow, or at least it is what I hope!
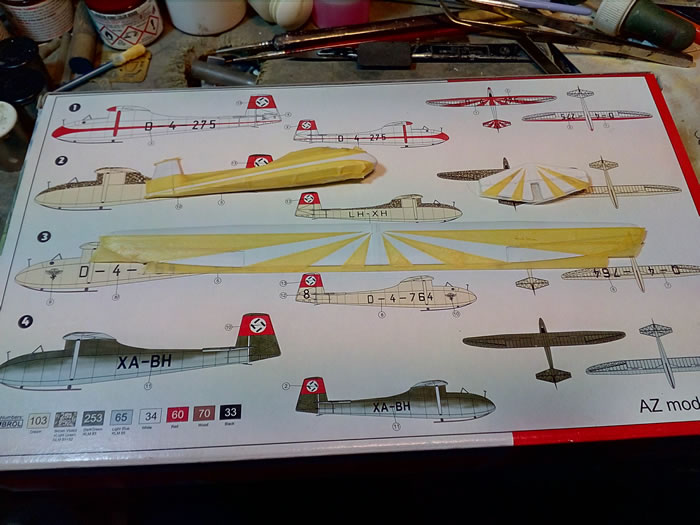
I decided to depict the first two AZ's scheme, the "sunburst" and the "spaghetti" ones and the Owl's peculiar "Werner Streib" one, to whom the limited edition boxing is dedicated.
I found two pictures on the web for the last two, not sure if can be shown here.
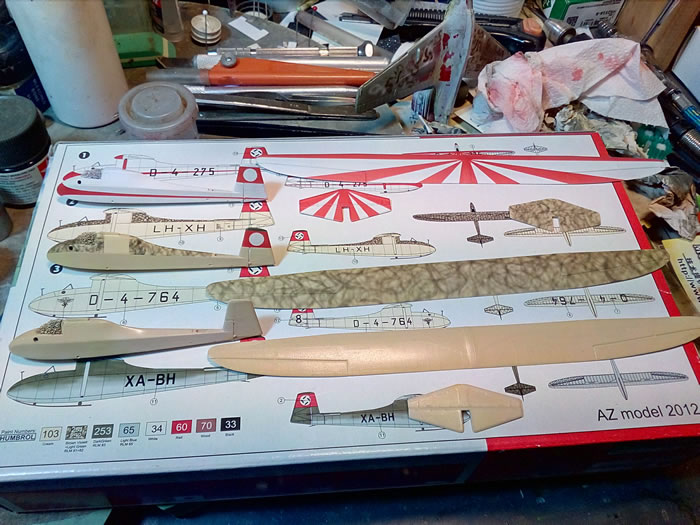
I spend some time masking the sunburst with Tamiya tape and trying to replicate the squiggle in a scale dimensions: after four or five attempt I stopped at what is my best result possible, not quite as I imagined but closer.
I used Tamiya acrylics for the colors (my own mix for the RLM 05 cream) except for Gunze acqueos RLM 23 red, followed by gloss clear before decaling. Owl's one are printed as single digits, making alignment a little time consuming, while AZ ones' are held together by a narrow clear decal strip: be careful while sliding them from the backing paper because they are easy to fold...
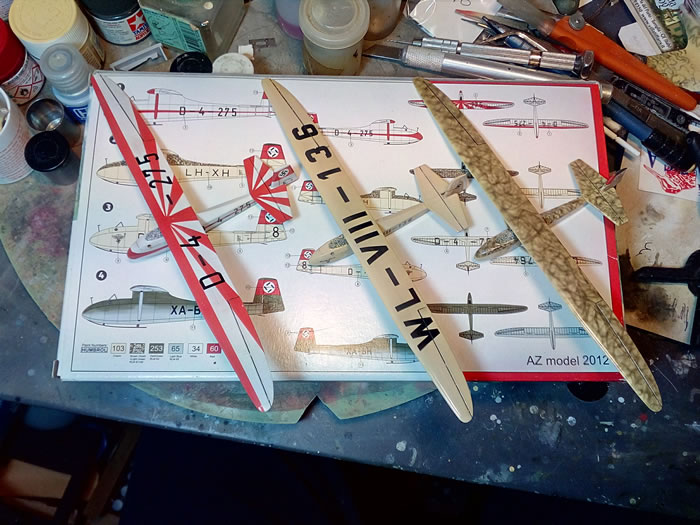
Apart from this, they behaved well and settled down easily. I gave another gloss clear coat, did just a little oil washing and then, after the last Gunze satin clear coat, attached the small bits and the windscreens. This ones are printed on a clear film, I found easier to place some masking tape on the back and then cut them, this will reduce the risk of losing them (don't ask how I know this...); I then pass the tip of a paint marker on the borders, gave a coat of Future-similar and started shaping them between my fingers... the carpet monster was very grateful, but it's a good thing that there were more for spare... Finally I attached them with Microscale Kristal Klear, used the same stuff for forming the small circular side windows, and call them finished.
Hope you enjoy the pictures as I enjoyed myself with these small kits.
Ciao
Andrea Brenco
Model, Images and Text Copyright ©
2021 by Andrea Brenco
Page Created 26 May, 2021
Last Updated
27 May, 2021
Back to HyperScale Main Page

|
Home
| What's New | Features | Gallery | Reviews | Reference | Resource Guides | Forum |