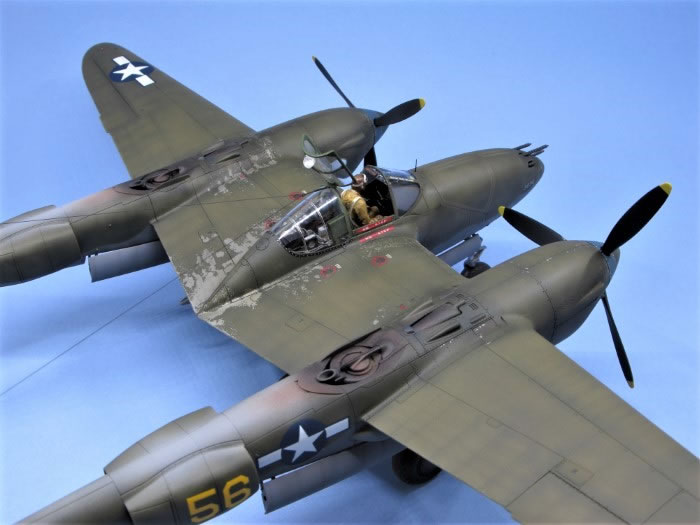
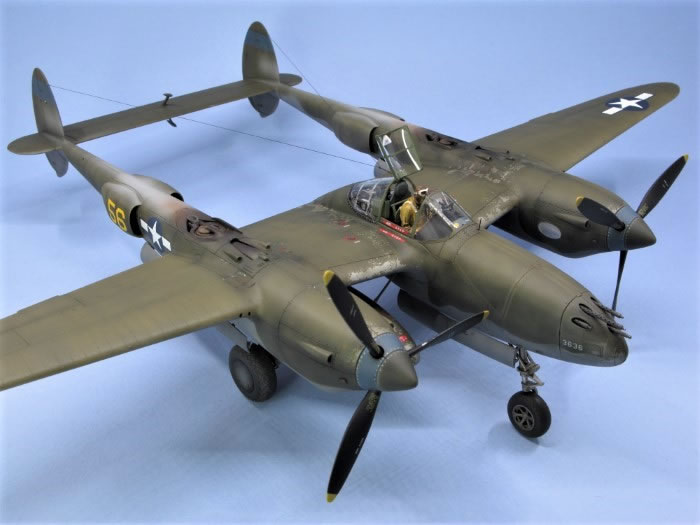
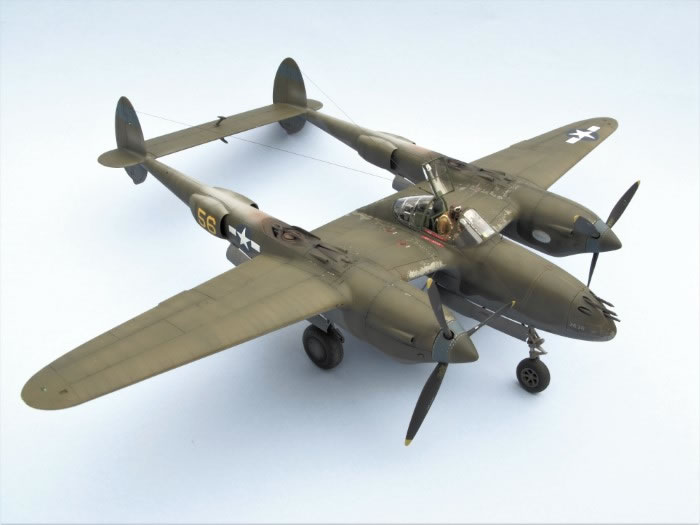
Tamiya 1/48 scale
P-38F/G Lightning
by Steve Pritchard
|
Lockheed P-38F/G Lightning
|

Tamiya 1/48 Lockheed P-38F/G Lightning (Item 61120)
Aftermarket Accessories:
Both supplied promptly, as always, by Hannants
Paints Used:
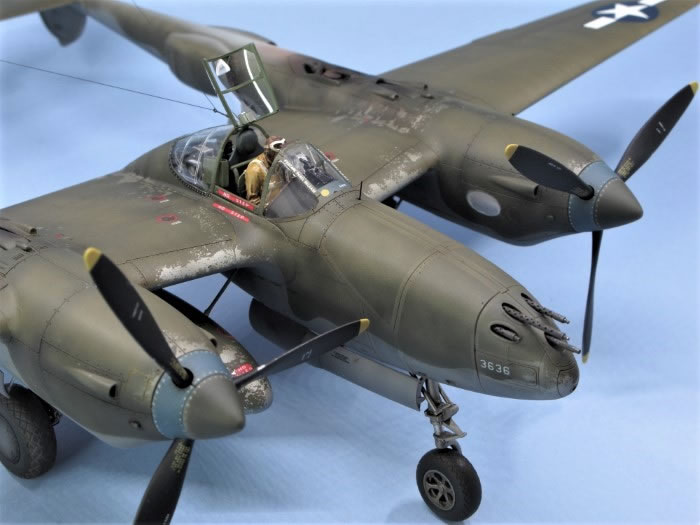
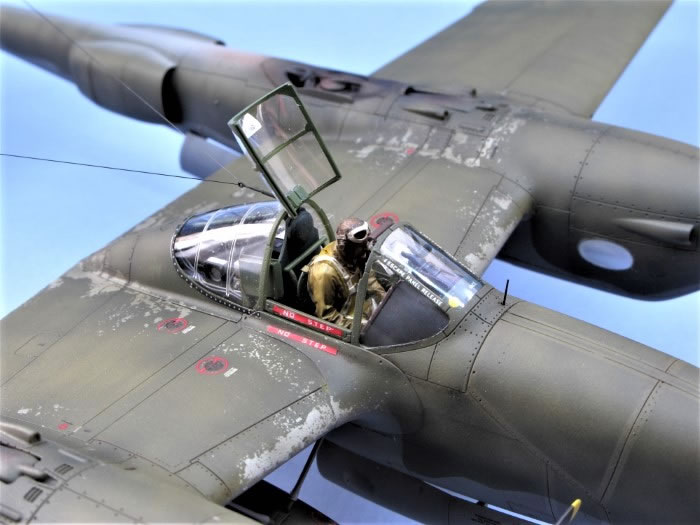
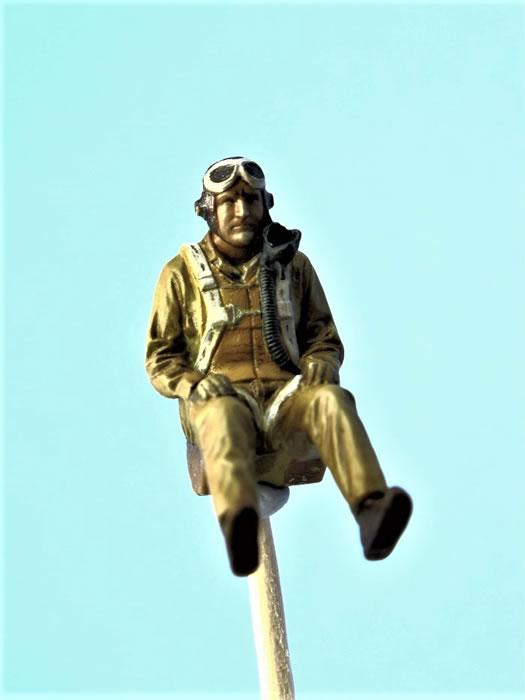
Pre and post shading with Tamiya XF-62 Olive Drab. Tamiya XF-63 Neutral Grey for the lower surfaces and Vallejo Model Air USAF Olive Drab 71.016 for the upper surfaces. Mr Color Russian Green C136 for the cockpit interior. I thinned the Tamiya paint with Mr Color Levelling Thinner and the Vallejo with their own Airbrush Thinner 71.361. The bottle suggests a ratio of 1-2 drops of thinner to 10 of Model Air paint – I found more thinner was needed, but it is easy to adjust in the airbrush cup.
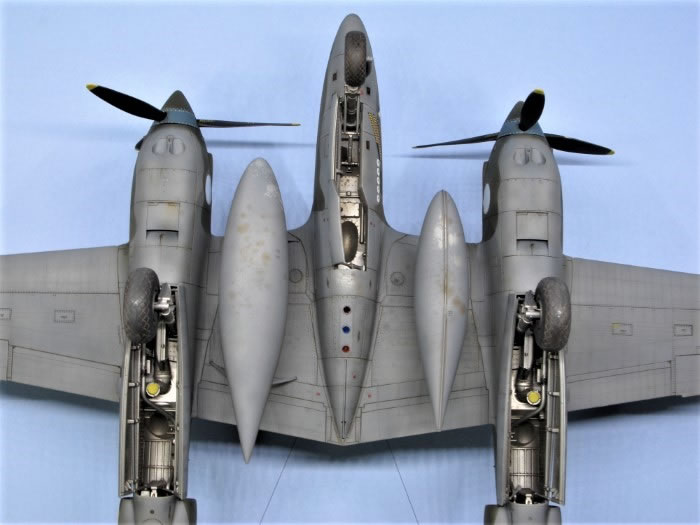
Alclad Exhaust Manifold for the supercharger parts, Dark Aluminium for the undercarriage and Semi Matte Aluminium for those areas where the topcoat has been ‘worn and chipped’.
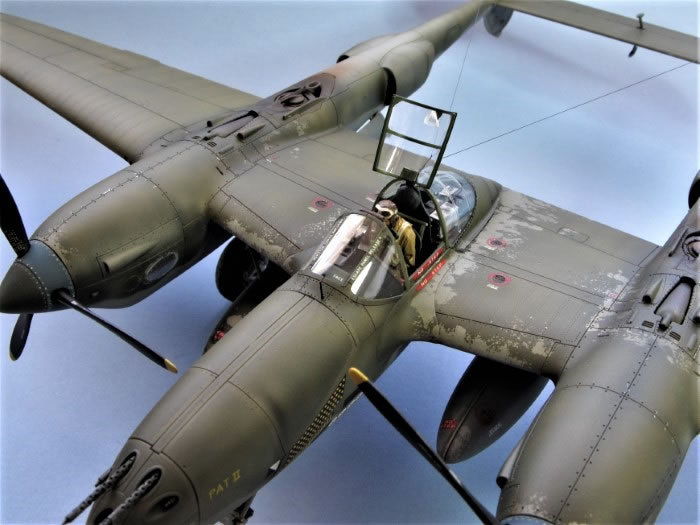
I was amazed how quickly the parts were assembled – this kit seemed to just fall together, almost no clean-up of components is required.
At one point I had the model assembled without any glue, just a few strips of tape to hold nose panels in place. It really is remarkably well engineered. The only issue I had was that a second after glueing the fuselage pod together I realised I had forgotten to put in the retracted boarding ladder. Gentle cursing and even more gentle prizing apart followed. Fortunately, even with Tamiya Extra Thin Cement, you get a small window before the glue sets.
I added some rivet detail with Rosie the Riveter 0.60 single and double wheel tools, obtained from John Vojtech at UMM-USA. I was impressed with the result – very subtle under a few coats of paint, though I would say my application was a bit uneven.
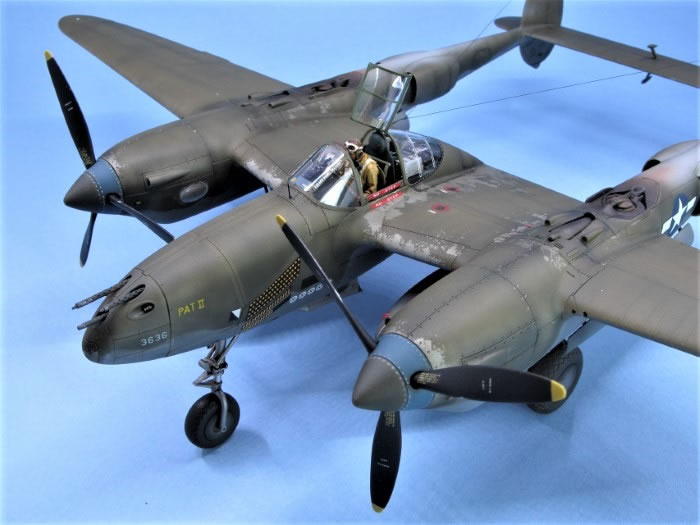
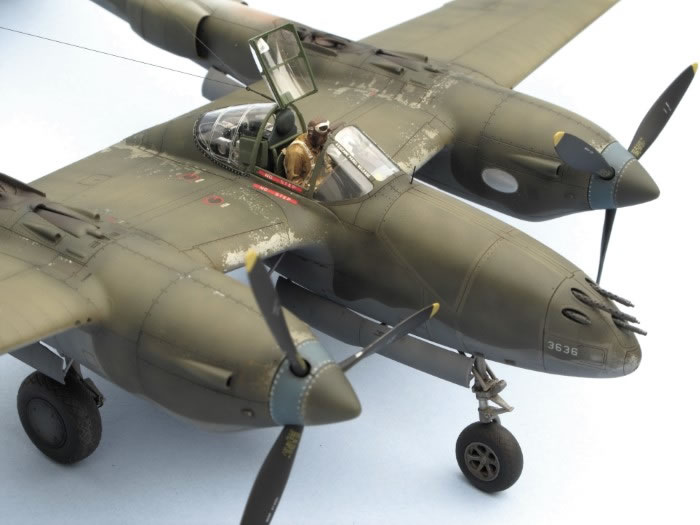
The resin Eduard gun barrels are an improvement on those in the kit – I didn’t attempt to use the Tamiya parts with their wrap around decals. Just a little trimming is required to fit the Eduard part.
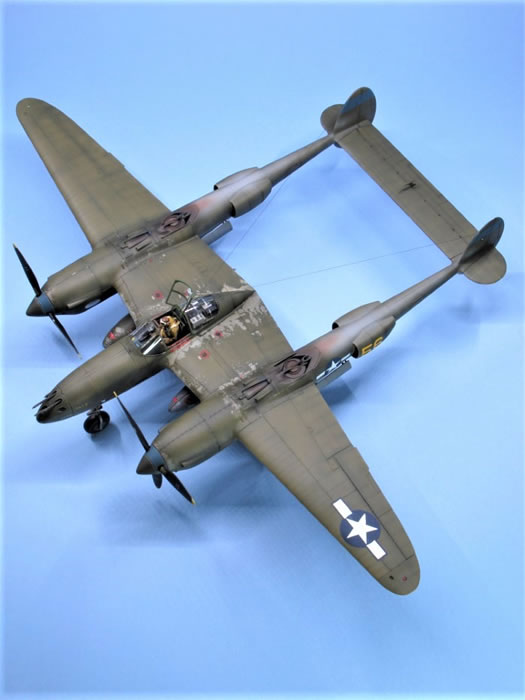
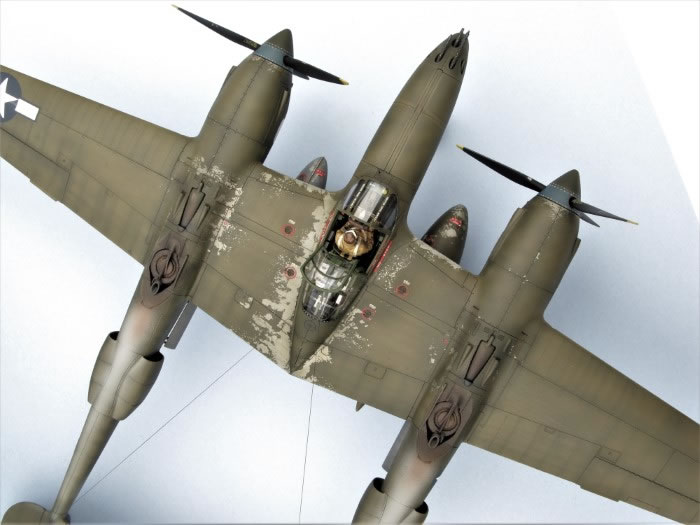
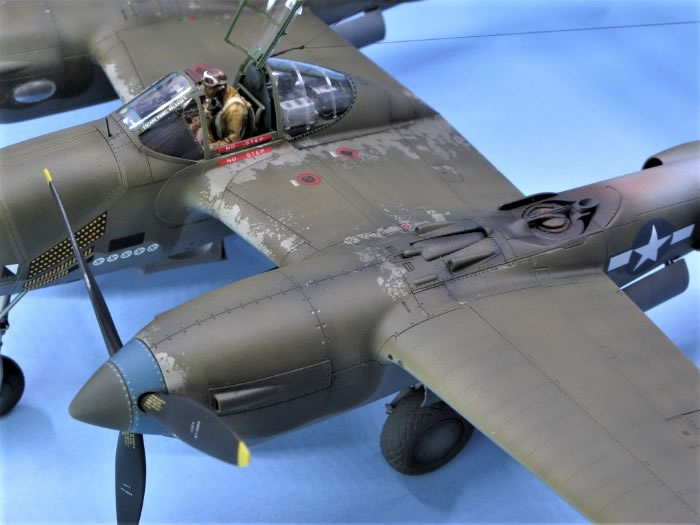
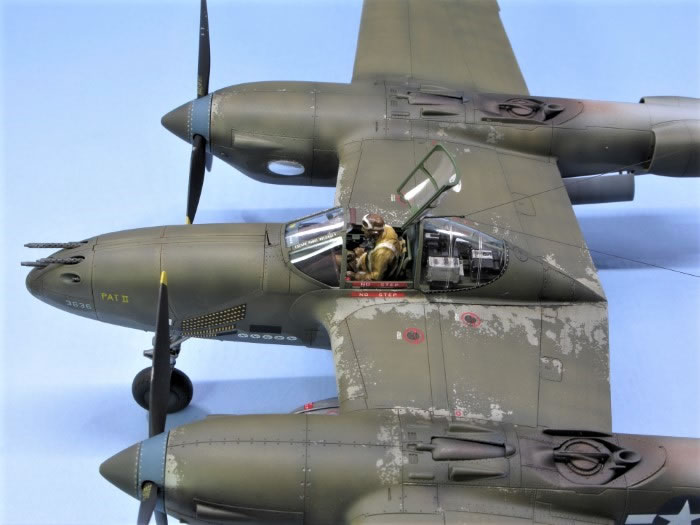
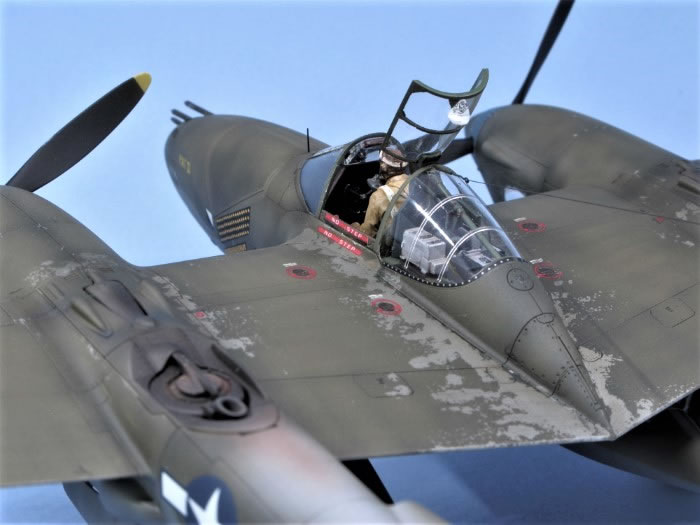
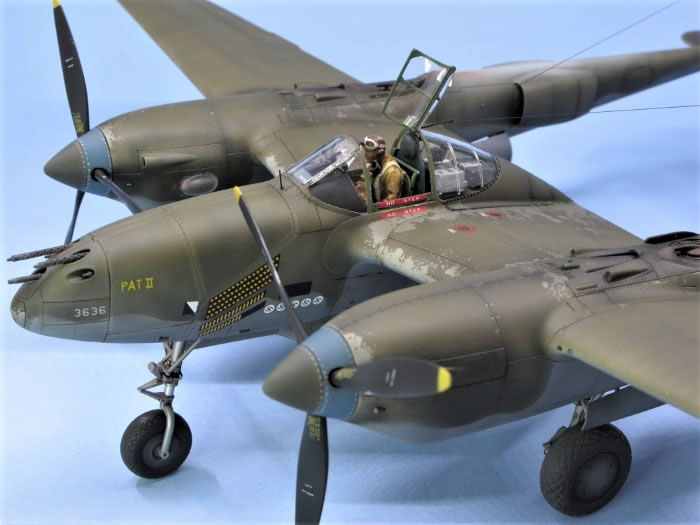
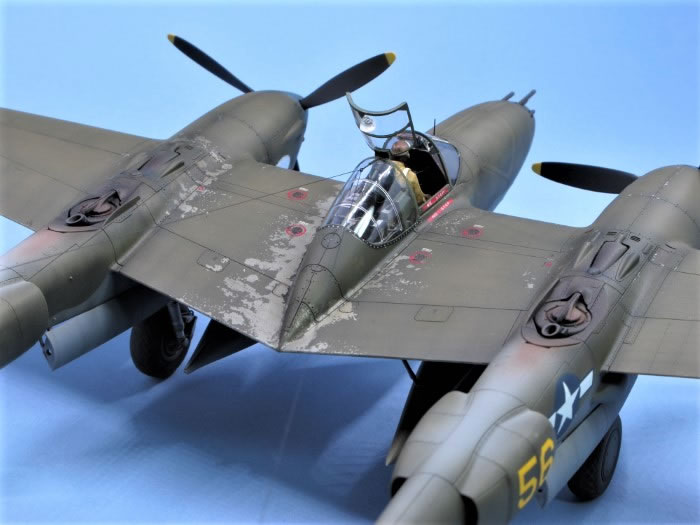
I wanted to produce a worn finish to the model so started with shading with the Tamiya Olive Drab, then in some parts I sprayed Alclad Semi Matte Aluminium. Once dry I brushed PVA glue on the aluminium and dabbed the edges with a fine sponge to provide a chipped effect. Once the glue had dried I applied light coats of the top and bottom colours. The glue was then removed with a warm cloth – it dissolves easily and the result looks quite effective, I think.
Exhaust staining was with Tamiya XF-19 Sky Grey.
Prior to decaling, a coat of Humbrol Gloss 35 was applied. The Xtradecal decals are excellent, thin with no silvering – they do grab quickly so best to use plenty of water or setting solution to enable easier positioning. Final coat was Wattyl Estapol Matt Polyurethane varnish. A wash of the panel lines with Winsor and Newton Raw Umber oil paint was the final step.
This was a hugely enjoyable kit boasting typical Tamiya quality.
Highly recommended for anyone with even a remote interest in the subject.
Text and Images Copyright ©
2020 by Steve Pritchard
Page Created 10 March, 2020
Last Updated
10 March, 2020
Back to
HyperScale Main Page

|
 Home
| What's New |
Features |
Gallery |
Reviews |
Reference |
Forum |
Search
Home
| What's New |
Features |
Gallery |
Reviews |
Reference |
Forum |
Search