Italeri's 1/72 scale
CANT Z 501 'Gabbiano'
Limited Edition
|
CANT Z 501 'Gabbiano' |
by Michael Rohde

Hobby Boss's 1/48 F4U-7 Corsair is available online from Squadron.com
In 1931 the Minister of Aviation in Italy,Marshal Italo Balbo, persuaded Aircraft engineer and designer Filippo Zappata to return home to Italy from France to become the new chief designer of the newly established Canieri Riuniti dell' Adriatico ( CRDA) . His first design was the CRDA Cant Z 501 'Gabbiano' ( seagull), a long -range reconnaissance flying boat bomber.
This aircraft was of wooden construction with fabric covering on the upper hull, wing and tail surfaces.
The power plant provided was a 900 hp Isotta – Fraschini Asso XI driving a two blade wooden or a three blade metal propeller. The engine nacelle was extended aft to include a cockpit for the flight engineer, who was also operating a 7.7 mm machine gun.
Two similar weapons were mounted in bow and dorsal positions.
Bomb racks were attached to the wing struts inboard of the floats, and these could carry a maximum bomb load of 640 kg.
On the 7th of February 1934 the prototype made its first flight and in October 1934 CANT's chief pilot, Mario Stoppani, flew the aircraft 4120 km from the company's base at Montfalcone-Trieste to Massawa in Eritrea, a distance record for seaplanes at that time.
In July 1935, after France had taken the record, Stoppani won it back from France by achieving a 4957 km flight to Berbera in British Somaliland.
In 1937 the Z 501 entered squadron service with the Regia Aeronautica. By the time Italy entered WW II more than 200 Z 501's formed the mainstay of at least 17 squadrons and four flights.
The Z 501 operational debut opened with a unit of the Aviazione Legionaria.
This unit was based on Mallorca and operated in support of the Nationalist Forces in the Spanish Civil War.
A total of 454 aircraft were built before production ended in 1943.
A coastal defence unit of Romanian Air Force also operated a small number of Z 501s.
This kitset was first released in 1973 and Italeri decided to re-release this kit as a Limited Edition (2000 in total). Each box in this series carries a holographic seal on the lid with a serial number ( in my case the number 715). The box art is identical to the original back in 1973 .
Instructions and paint schemes are printed on one fold out sheet . The decal set (3 options) is also identical to what was supplied with the original kits back then.
In the box we find two frames carrying 100 pieces moulded in light brown plastic and 1 clear frame with 23 parts. Transparency of the cockpit glazing is good. The turret glazing bits are not as good in comparison. Panel lines are raised.
There is - like it was in the old days -a stand included if one wishes to mount and display the model using that.
Otherwise a dolly and support frame can be built from the parts included.
Two different engine options are available as well as clear parts to do two different variants for 3 the turrets.
Flash is minimal and mould seams are easy to remove.
As always , I start with preparing all the parts for assembly and painting by carefully removing any flash or seams caused by mould shift.
I use a piece of cardboard and masking tape to arrange the finished bits in groups according to the instructions.
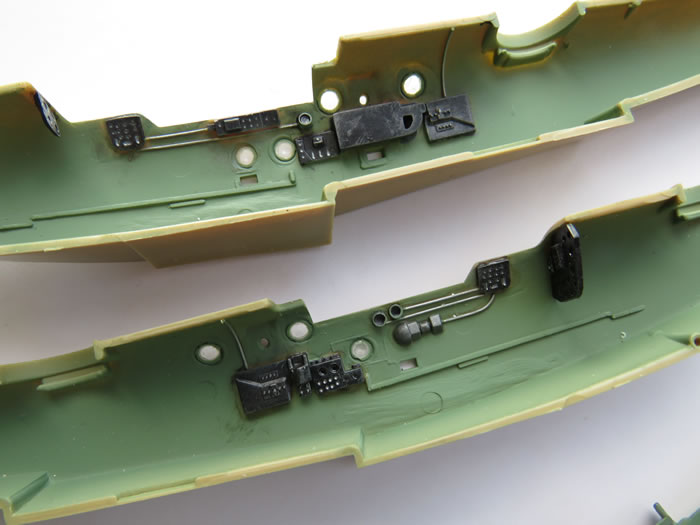
As one can see on the photos , I have done a bit of scratch building for the fuselage internal despite that pretty much all of this will not be seen after the fuselage is closed up. But I had fun doing this!
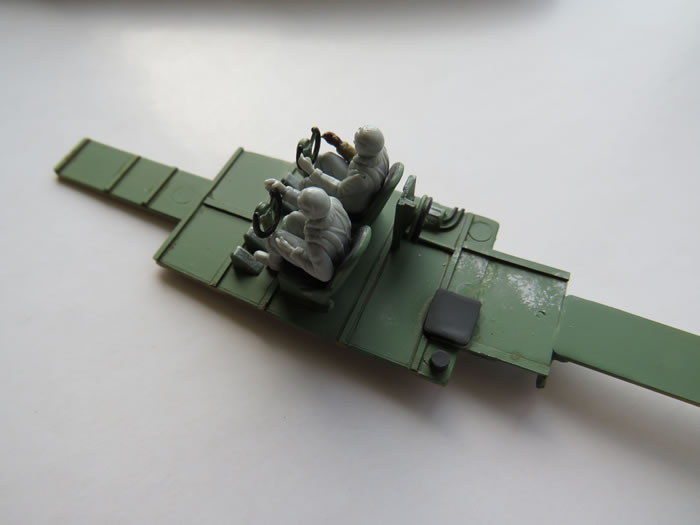
The pilot figures were taken from a Italeri Ju 86 Kit . The great thing about these is that these come not as a one piece item but have separate arms, torso, and lower body with legs, which make it quite easy to arrange these figures in a more live like pose inside the cockpit.
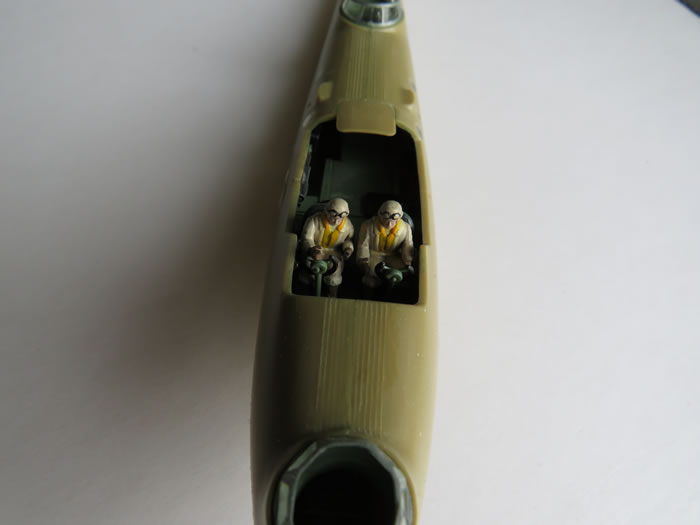
After fitting all the internal bits I closed up the fuselage . The fit was perfect on the upper seams ( which helped to preserve the raised panel lines). The bottom seams needed some filler and sanding to get it right.
Looking at the instruction Step Two is to fit all the supporting struts fort the wings , engine nacelle, stabilizer floats plus the horizontal tail plane and struts.
I changed things around a bit by adding the tail plane and cockpit glazing as per plan but decided to assemble the wings and engine nacelle first ( minus propeller). Important was to make sure that ( by going back to step two) the centre struts supporting mainly the engine nacelle were aligned correctly. Again , I deviated a bit from the instructions and fitted all of these on the fuselage . I used a compass to measure the space between the attachment points on the engine nacelle and checked and re-checked that distance while the glue was setting.
Small gaps around the base of the struts were filled with small amounts of superglue and carefully sanded after setting. Holes were drilled using a 0.10 mm drill for the rigging.
Then it was time to check the alignment and fit of the wing with the supporting struts. There was the need to slightly opening up the holes for the locator pins on the struts for a bit more movement during the aligning process.
If the wing and port and starboard struts are being put together as per plan , airbrushing would be a bit difficult to do due to limited accessibility.
So I eliminated that problem by airbrushing the underside centre of the wing and the top of the fuselage around the engine support struts. The cockpit, turret glazing and porthole glazing was masked off beforehand.
Being satisfied with the wing alignment , I proceeded to fix the wing's position on the struts with masking tap and applied small amounts of superglue to secure the wing. I forgot to mention that I used tiny bits of masking tape to prevent paint from entering or covering the locator pins and holes .The bond will be much stronger that way.
The model was left alone overnight so that the superglue had plenty of time to cure.
Now it was time to fit the main wing supports. These are somewhat complex structures with additional bracing between front and rear struts.
Since the wing is now firmly attached to the fuselage , I could go about dry fitting the struts. I found that the alignment of the locator pins on the struts and the holes in the wings were a bit out and I had to reset the holes a little and plugged the existing ones.
With a bit of patience this was done in due course and I superglued the struts into place.
The tricky part here was the fitting of the bomb pylons. These come in two halves each and have to be cemented onto and around the struts.
The fit was not overly great and I had to use some filler to achieve an even surface.
One can imagine that this was very time consuming because one does need to work around angles and corners. I made myself sanding sticks of different lengths and widths according to the space available in different areas in order to achieve a good result.
I got there in the end and drilling the holes for the cross bracing wires was quickly done. The stabilizer floats were glued into place and - having given the glue enough time to cure - I could commence with preparations for the airbrushing of the model.
This actually started with installing all the bracing wires using EZ line .
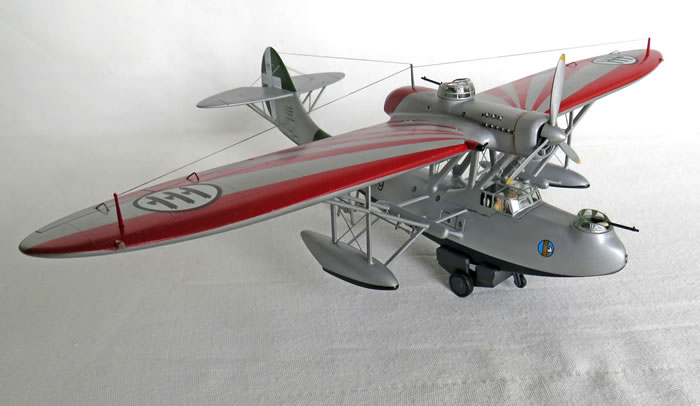
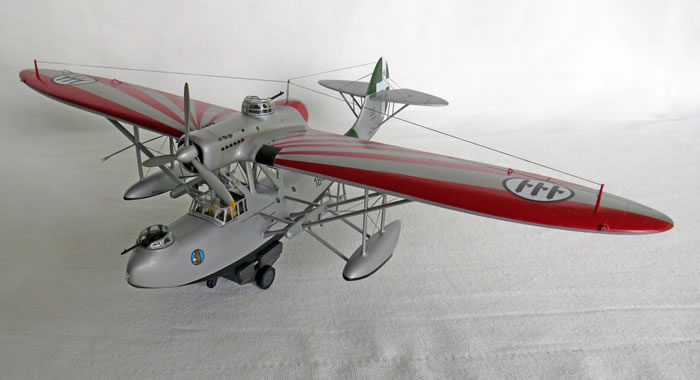
Step one of the paint job was to airbrush the lower fuselage and the float undersides. with Tamiya Black X1 and a thin coat of gloss clear.
After the paint had dried, these areas were masked off and I painted the rudder and fin as well as a part of the rear fuselage with Tamiya XF 5 Flat green with a thin layer of gloss clear on top.
These areas were protected by masking tape before I continued airbrushing the rest of the model using Tamiya flat aluminium XF-16 and a thin coat of gloss clear.
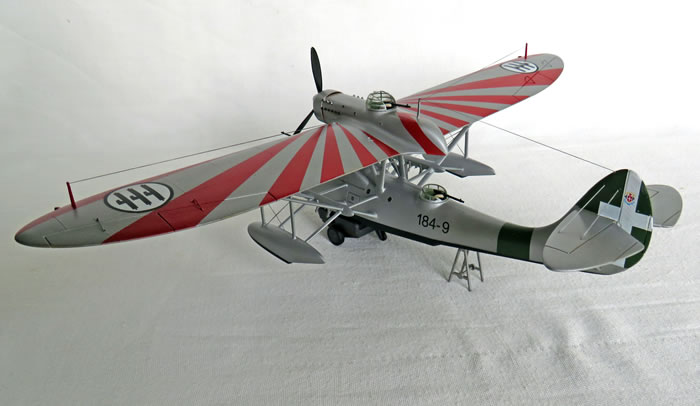
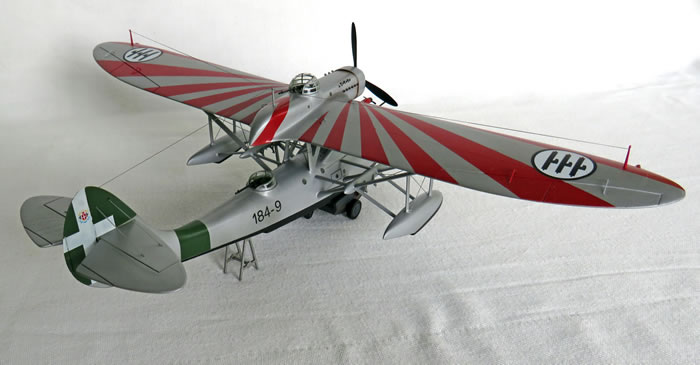
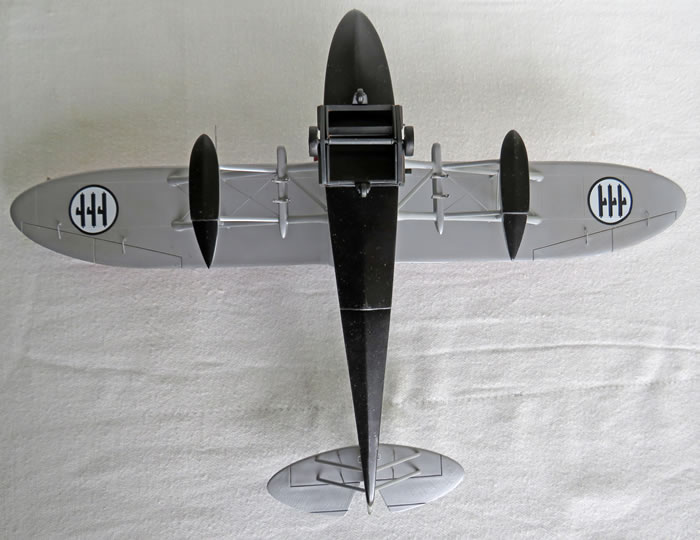
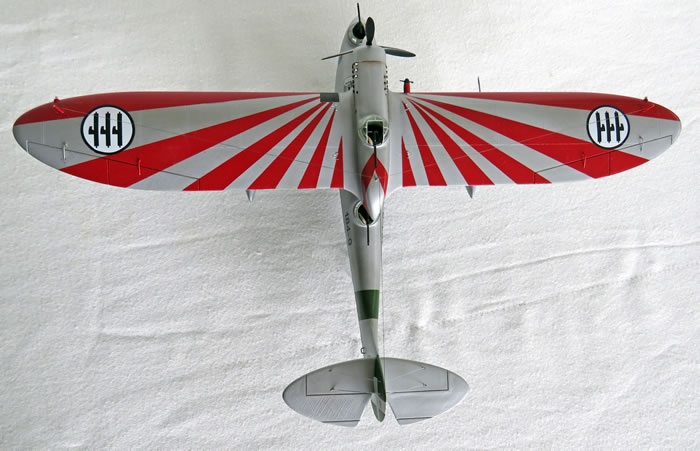
The sunburst scheme on the upper wing was achieved by masking off each strip and airbrushing step by step with Tamiya Red X-7.
To avoid any spray mist to contaminate the rest of the model I took extra care to wrap all surfaces with kitchen tissue secured with masking tape.
That worked really well and there was no need to touch up any overspray.
Last but not least I applied the decals and gave the model a final coat of Humbrol Satin 135. Humbrol Satin does require at least two days of drying time !!
The final touch was to add the antenna masts , the antenna rigging , machine guns and some mild weathering using pastels.
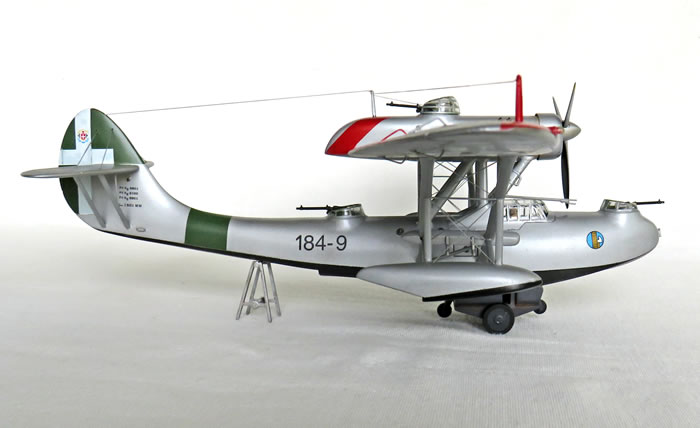
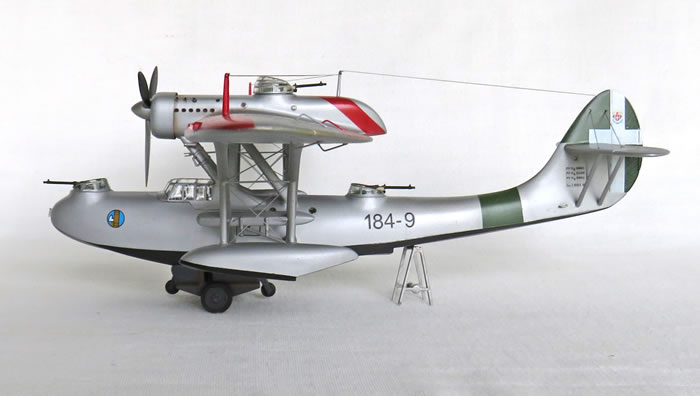
As I mentioned already , we have a choice between a model stand or a dolly and support frame.
I have chosen to use the dolly and frame for display.
I do enjoy building vintage kits and Italeri;s 'Gabbiano' is ( considering it's 1973 vintage) not a bad kit at all.
I actually bought another 'Gabbiano' ,which I intend to build as a civilian version.
The build is in parts a bit challenging but not too difficult for the more experienced modeller.
Highly recommended for everyone who does have a soft spot for flying boats.
Text and Images Copyright ©
2019 by Michale Rohde
Page Created 18 March, 2020
Last Updated
18 March, 2020
Back to
HyperScale Main Page

|
 Home
| What's New |
Features |
Gallery |
Reviews |
Reference |
Forum |
Search
Home
| What's New |
Features |
Gallery |
Reviews |
Reference |
Forum |
Search