Tamiya's 1/72 scale
Messerschmitt Bf 109 G-6
by Julian Shawyer

Hobby Boss' 1/32 Spitfire Mk.Vb Trop is available online from Squadron
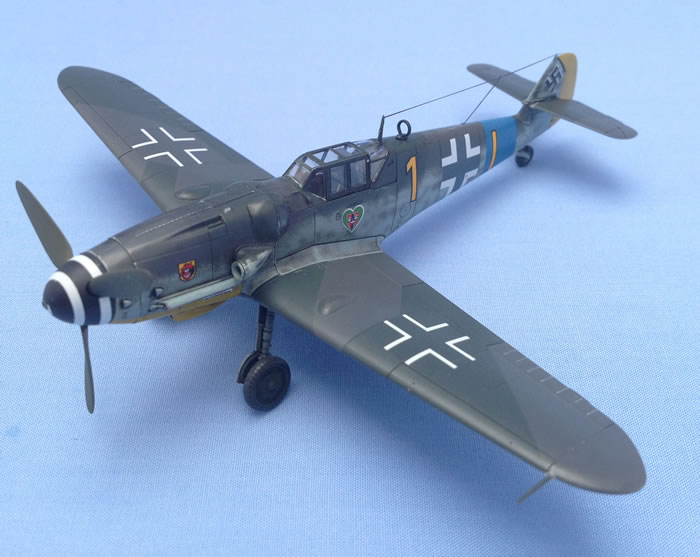
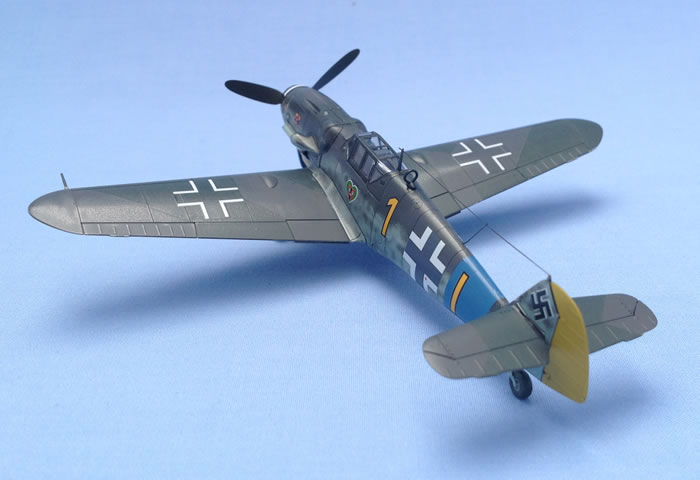
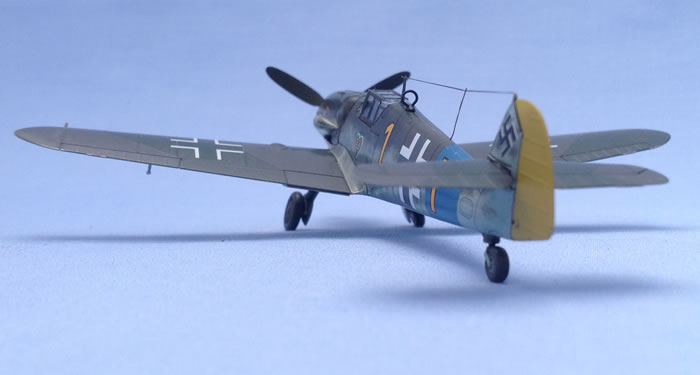
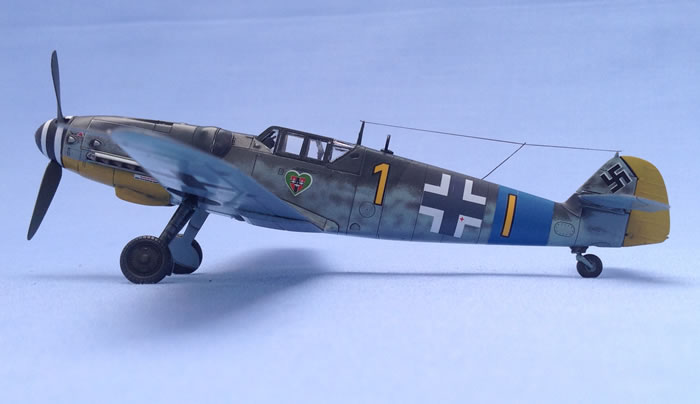
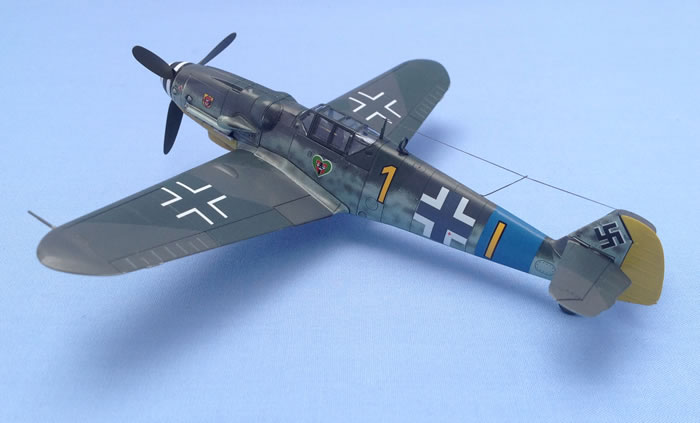
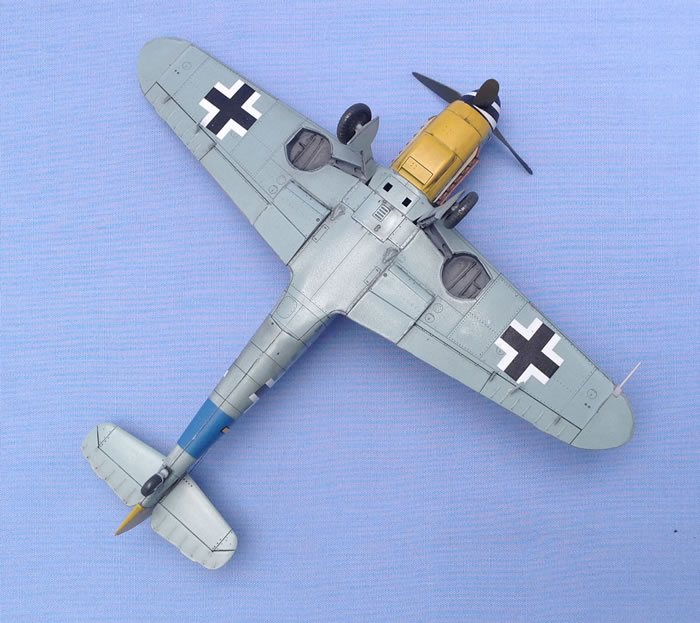
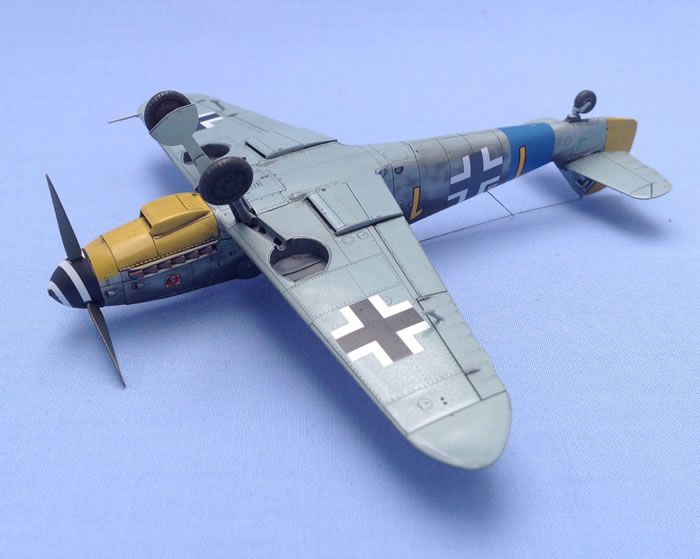
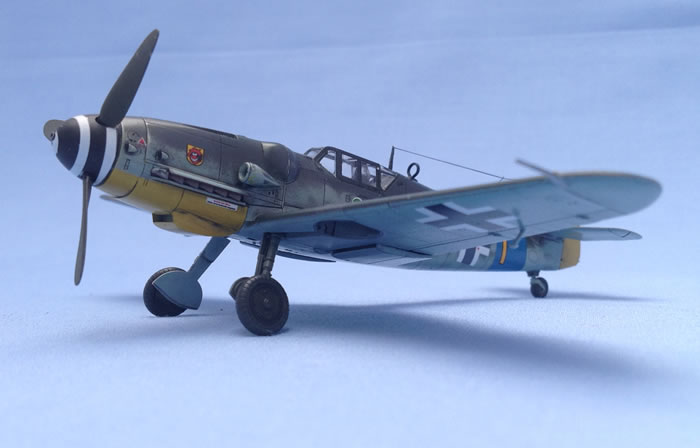
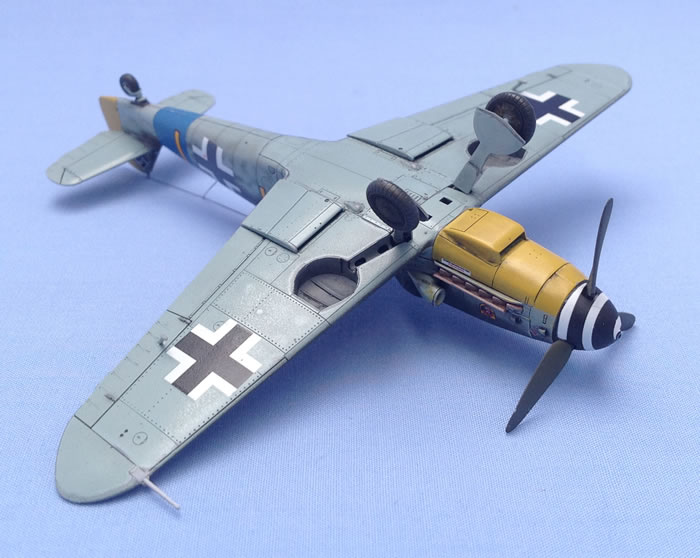
This is the Tamiya Messerschmitt Bf 109 G-6 in 1/72 scale.
Apart from the EZ-line antenna wire, the model was built straight out of the box.
Construction begins with the cockpit, totalling 11 parts. This starts with cockpit floor/bulkhead to which the seat pan is attached. The control stick, 20mm cannon breech cover, and tail trim handwheel are then added to this assembly.
The instrument panel, (which comes with a decal) is glued to the firewall bulkhead. A further three parts are added to the fuselage side consoles.
As I intended to build the model with the canopy closed, the kit seat harness, which is supplied on the decal sheet was used. When finished, the completed cockpit section is inserted through the bottom of the fuselage.
With the fuselage halves joined together, the nose panels can be attached. The windscreen and canopy were fitted at this point, using PVA glue, then the transparencies were masked with Tamiya masking tape.
Next, I assembled the main wing sections together leaving off the smaller details until the end. The fuselage and wings were not glued together at this stage, as it would be easier to paint the camouflage pattern on the fuselage without the wings attached.
Vallejo Model Air paints were used for the main colours. This was the first time I had used these paints, and found them very good. The important thing when using this brand of paint, is to use a primer before spraying on the top coat.
Firstly, the canopy frame was sprayed with Vallejo Dark Grey primer as this would be seen through the clear transparency. Tamiya fine surface primer was sprayed straight from the can over the rest of the model.

The Tamiya primer leaves a nice smooth finish, which is ideal when applying the top coat.
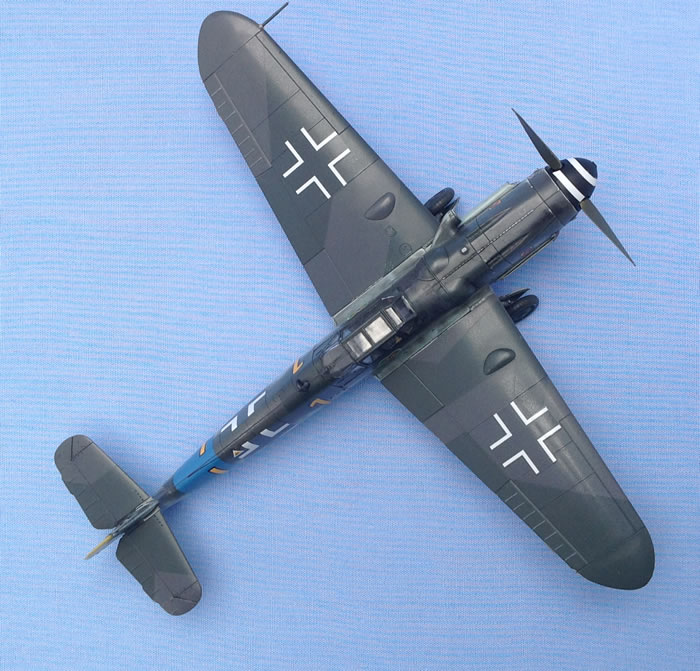
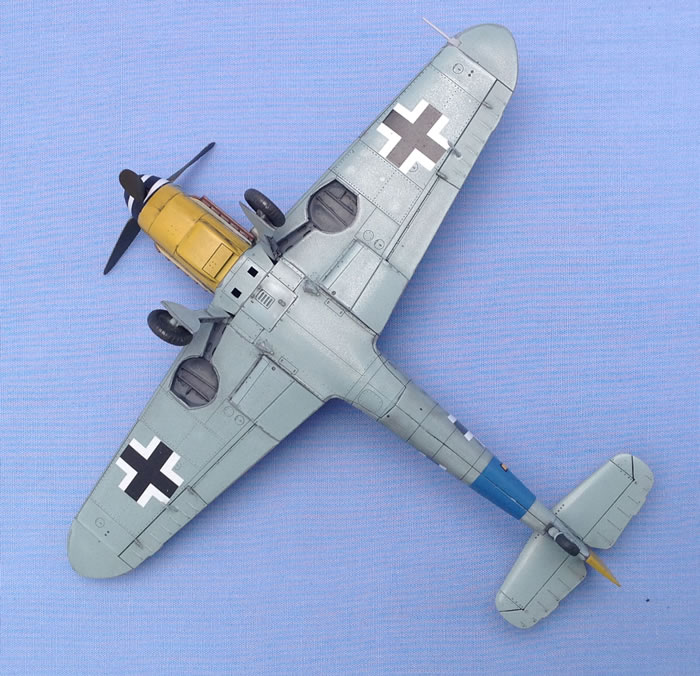
This was left over night before the starting the top colours. The yellow lower nose section was painted first, followed by the other colours, RLM74, RLM75, and RLM76.
Each coat of paint was left over night, before masking and applying the next coat. I found if this was done, the paint adhered very well to the previous coat without any problems.
The mottling was achieved using a 1/48 scale Luftwaffe mottling stencil.
When the paint had fully hardened, the fuselage and wings were polished with a very fine micro-mesh to give the surface a smooth shine to which the decals would adhere to.
Before applying the decals, I gave the model a Flory wash over all the model to highlight the panel lines. This stains the paint in some places, so it's important to make sure the areas showing under any clear carrier decal film shows the same stain, and not clean, which would be the case if the decal had been stuck on before the wash.
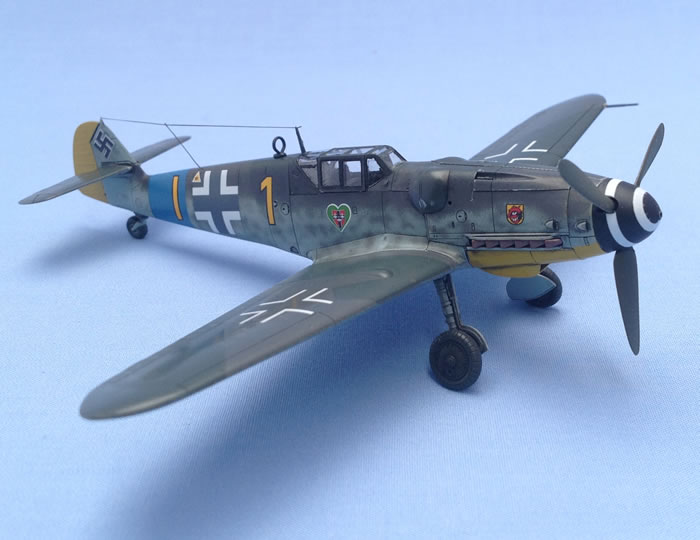
The first decal to be applied was the nose spinner decal. Using a small hole punch, the carrier film at the starting point of the decal was removed, so the decal would fit tight against the protruding cannon barrel on the spinner.
The blue fuselage band was next. This was done to make sure this fitted, if not I would paint the blue band before applying the rest of the decals. It fitted fine, so the rest of the decals were put in place. The decals all went on well, without any problems. I did use a decal medium on both the spinner, and fuselage band decals just in case.
With all the decals in place, all the parts, including the decals, were given a light rub with the fine micro-mesh. In doing this, the whole surface takes on the same shine.
With all the different subassemblies now painted, weathered, and decals in place, the final construction could begin.
This was a simple process starting with the main wing carefully glued to the fuselage.
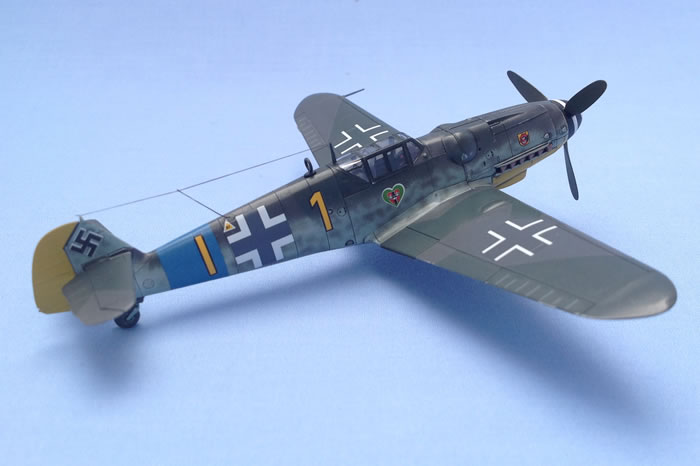
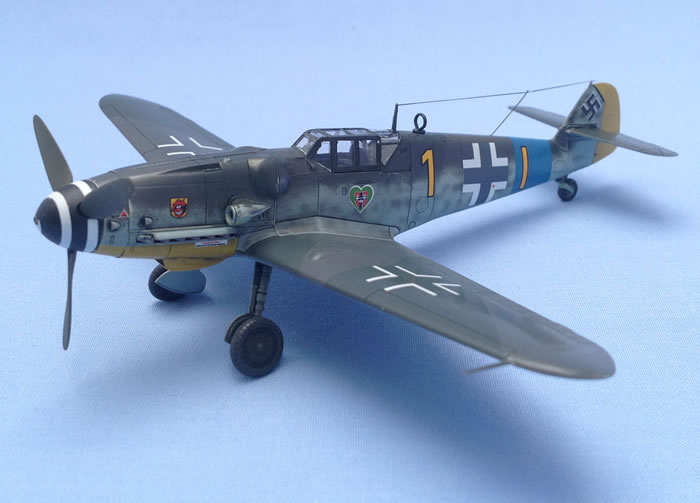
The fit was absolutely spot on, as you would expect from Tamiya. No problems were anticipated as all the parts, as far as possible, had already been test fitted at the very beginning before any adhesive was used. The horizontal stabiliser and rudder were next. This was followed by the undercarriage, which already had the doors attached. Then with the last few small details glued in place, it only remained for the antenna wire to be fitted. EZ-Line, and super glue was used for this. When using super glue, I use a straw to blow air onto the area I've just glued. The moisture from your breath, helps to accelerate the setting of the glue.
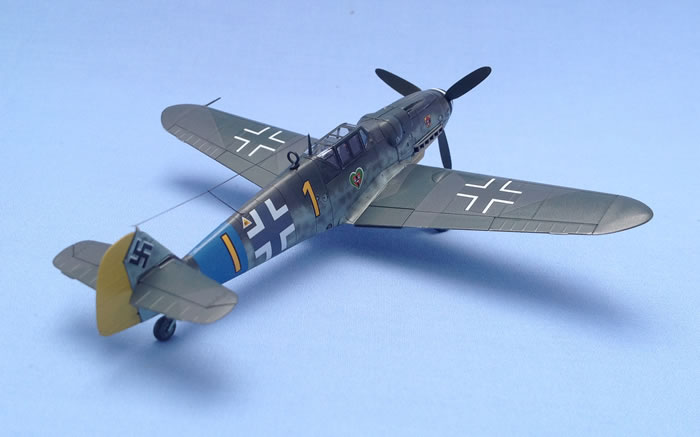
It's been a while since I've made a 1/72 scale model. I was surprised how small it was when opening the box. The quality was, as you would expect from Tamiya first class. The fit was excellent, and the detail was very good for such a small scale. With the canopy closed, very little of the cockpit details can be seen. With that in mind, I thought the decal seat harness was adequate. I personally think this is a little gem from Tamiya.
Model, Images and Text Copyright ©
2019 by Julian Shawyer
Page Created 23 October, 2019
Last Updated
23 October, 2019
Back to HyperScale Main Page

|
 Home
| What's New | Features | Gallery | Reviews | Reference | Resource Guides | Forum |
Home
| What's New | Features | Gallery | Reviews | Reference | Resource Guides | Forum |