Preparing Sprayable Filler
by John Miller

Hobby Boss' 1/72 P-61A Black Widow is available online from Squadron.com
This is an oldie but a goodie and one that I’ve not used in a while due, in large part, to my goal of using fewer lacquer-based reagents. Since I use about 90% acrylics these days, I’ve brought this technique back to my bench. It's lacquer-based so it’s best done with proper ventilation but it's a trick that can save a lot of time while simultaneously ensuring that unfilled seams and other surface imperfections are caught prior to spraying paint.
The real utility of this technique is the ability to control where filler is sprayed versus using a spray can of Mr. Surfacer, which often results in coating the entire model, especially if it's 1/48 or smaller. When properly diluted, the average airbrush should be able to deliver atomized filler as a 2-3mm wide line permitting just seams and joins to be sprayed. As with paint, a light coat of filler will reveal any seams that need filling or other imperfections that will ruin the final finish.
Most importantly, small imperfections such as partially filled seams and can be filled with repeated passes with the airbrush. This is really handy. A small seam on the leading edge of a wing can be airbrushed away as opposed to filling, sanding, and blending by hand. Once the filler is dry, a quick blending with Micromesh 6 or 8,000 (wet) results in a mirror-smooth finish that's ready for primer or paint.
Preparing Sprayable Filler |
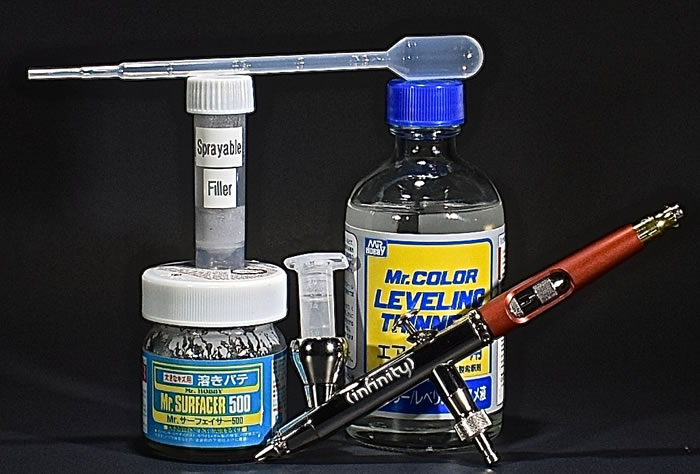
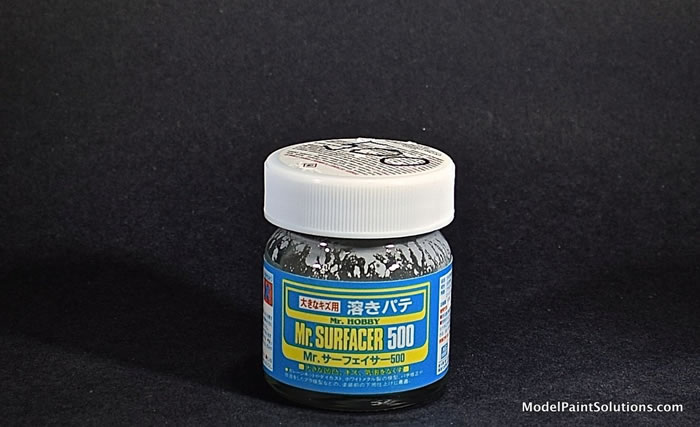
I suspect that, like me, many of you have a bottle or two (or 5) of liquid filler such as Mr. Surfacer 500 (or similar) sitting around in the bottom of your workbench drawer. I’m sure you know that after Mr. Surfacer sits undisturbed for a while the heavier component (filler) settles to the bottom of the bottle.
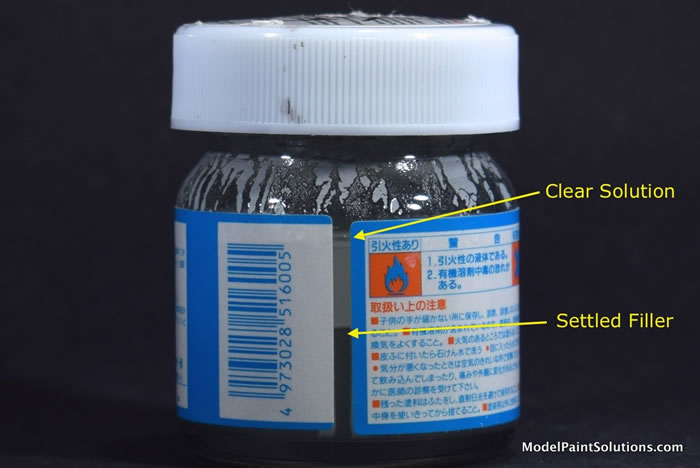
The goal is to collect as much of the settled filler or putty as possible while getting as little of the overlying solvent/carrier. Once collected, the filler will be re-suspended in Gunze Leveling Thinner for spraying. In my hands, the concentrated filler or putty, re-suspended in Leveling Thinner, sprays better with less clogging and dry over-spray than does Mr. Surfacer diluted directly into Leveling thinner. And it does this while delivering a higher concentration of filler.
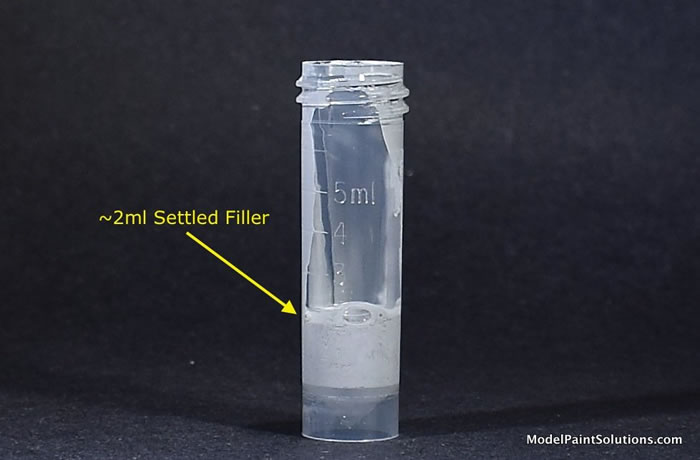
I collect the settled filler with a stainless steel spatula or similar. Mixing of the settled filler as you do this is inevitable but try to get as much dry filler and as little of the liquid as possible. Oh yea, this may be a little messy :)
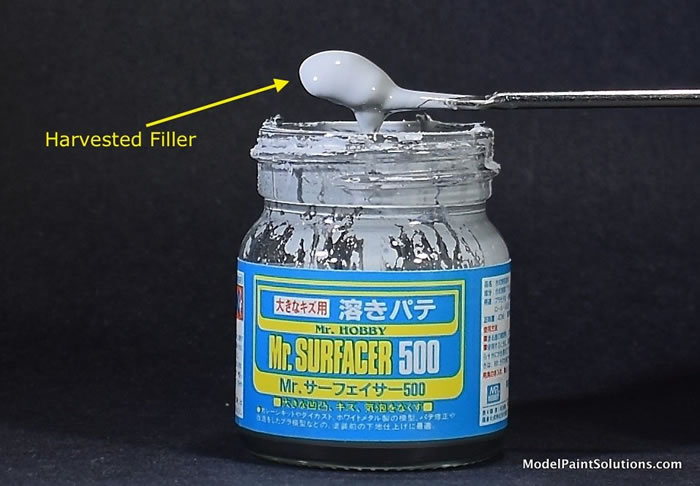
After a couple swipes of the spatula, approximately 2ml of settled filler is placed in a graduated paint vial or similar container.
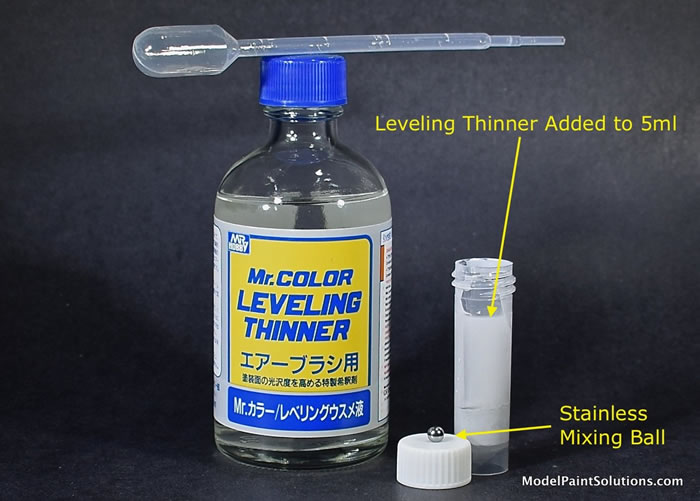
To this, 3.0ml of Gunze Leveling Thinner is added to the vial along with a stainless steel mixing ball. The filler is then suspended in the thinner by vigorous shaking.
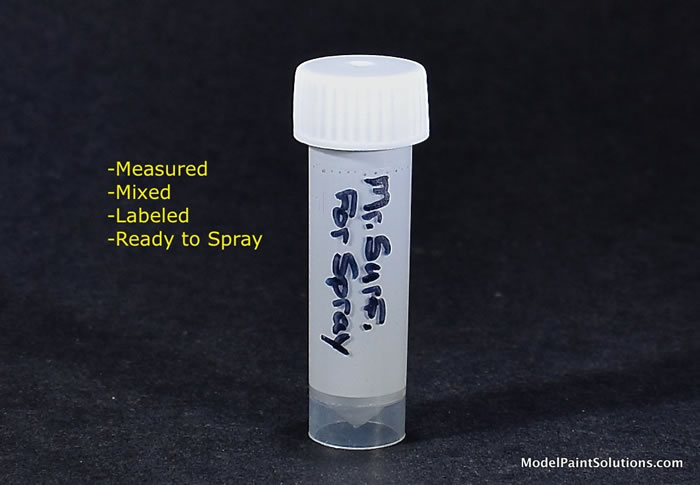
Once prepared, sprayable filler can be stored in a leak-proof container indefinitely, ready to spray when you need it.\
A few uses for sprayable filler are illustrated below using the Eduard 1/72 Hellcat as our subject. This is an awesome kit that pretty much drops together providing the modeler with a quick, easy, and detailed build. Well done, as usual, Mr. Eduard.
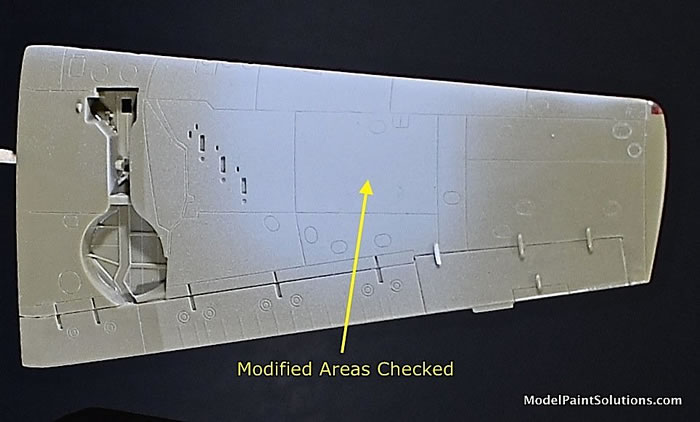
I'm building my Hellcat as a night fighter and opted to fill multiple square holes in the bottom of the wing intended as mounting points for stores.
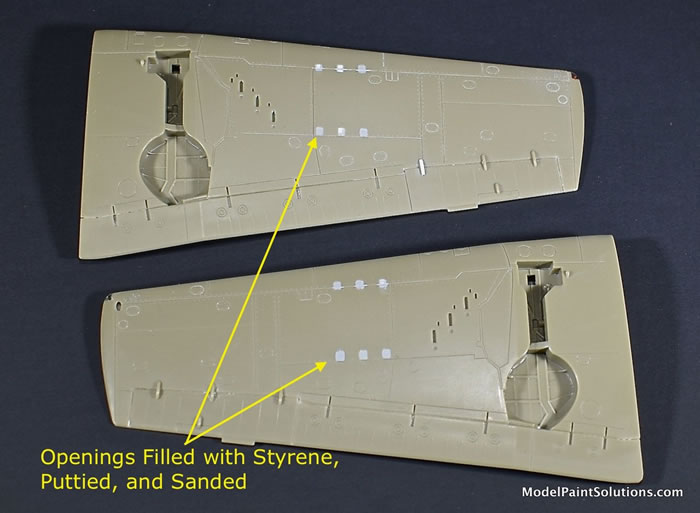
After the holes were filled with stock styrene and blended with a little filler I opted to check the work with a coat of sprayable primer.
For spraying I use my trusty H-S Infinity fitted with a 0.2mm tip at ~18psi. That's higher than the 12-15psi I use for spraying most paints but is required to get atomization of the filler. And, yup, you read that right---a 0.20mm tip. Many guys think that spraying filler requires a larger tip of 0.40mm or bigger. This is not always correct. When diluted appropriately in Gunze Leveling Thinner, Mr. Surfacer Filler sprays perfectly fine through a 0.20mm tip. If the filler mix is too thick it can be easily adjusted by adding a few drops of Leveling Thinner directly to the paint cup.
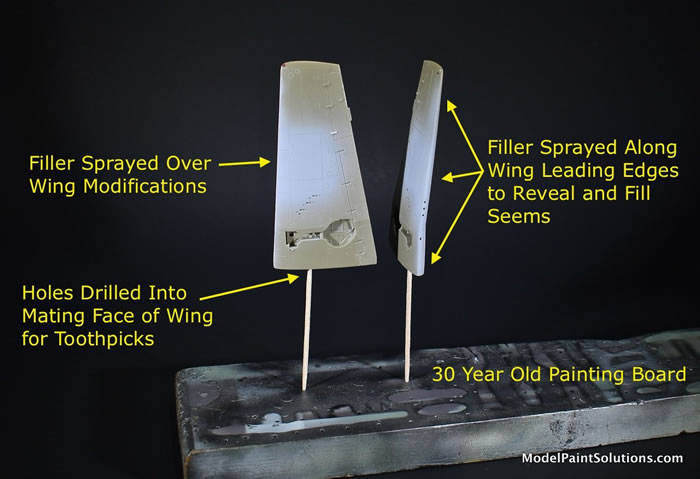
Adjusting the dilution of filler to get a relatively fine line (2-3mm) allows for better control over where the filler is applied permitting finer details to be avoided. This is especially true when multiple passes over an unfilled seem are required.
Another seam-filled area that required checking was the belly. Multiple small seams, left unfilled on panels toward the rear of the fuselage, were filled completely with a couple of passes of the airbrush.
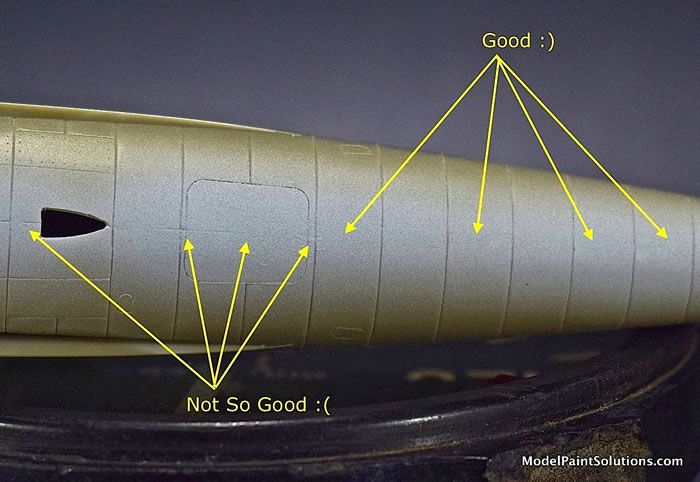
Additional seams in the belly area were too deep to be filled with sprayable filler and were filled the old fashioned way: Filler, Sandpaper, and Micromesh.
Sprayable Filler: easy to prepare, easy to shoot, and an easy way to detect and fill small seams and imperfections that will ruin that final finish you're aiming for. I hope you found that helpful.
Happy Modeling!
John
For more on this review visit ModelPaintSolutions.com.
Text & Images Copyright © 2019 by John Miller, Model Paint Solutions
Page Created 8 November, 2019
Last updated
8 November, 2019
Back to HyperScale Main Page
Back to Reviews Page

|
 Home
| What's New |
Features |
Gallery |
Reviews |
Reference |
Forum |
Search
Home
| What's New |
Features |
Gallery |
Reviews |
Reference |
Forum |
Search