Fujimi 1/24 scale
1967 Ferrari 330 P4

by Brad Huskinson

Hobby Boss' 1/72 P-61A Black Widow is available online from Squadron.com
Description: Fujimi 1/24 1967 Ferrari 330 P4
Kit #: 125756
Review Type: Build
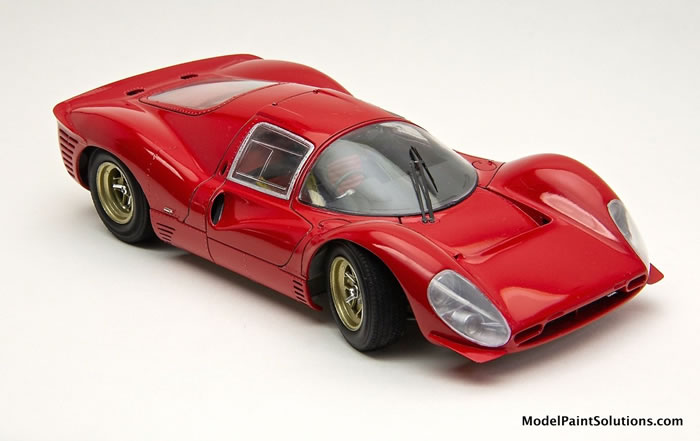
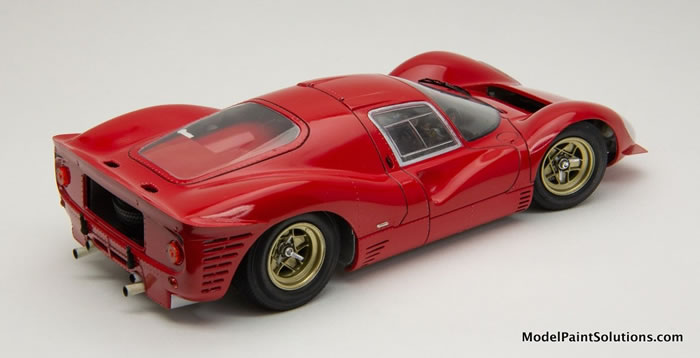
This Ferrari body has long been a favorite for its sleekness and sensual lines. Fortunately this Fujimi kit accurately captures those svelte lines in 1/24 scale.
All parts were removed from sprue with sprue cutters and cleaned up with sandpaper and sanding sticks. I used both Tamiya Thin and CA glues depending on whether or not the parts have been painted.

The panel lines needed some serious work. The front lower body panel was very finicky and needed several applications of putty and sanding to get it right. Unfortunately during the build, it snapped off and I had to be redone.
I wasn’t careful enough when sanding after priming and eliminated many rivets, of which this car has plenty.

Fortunately John Miller shared a decal sheet with rivets of the appropriate size so restoring them wasn't too troublesome.
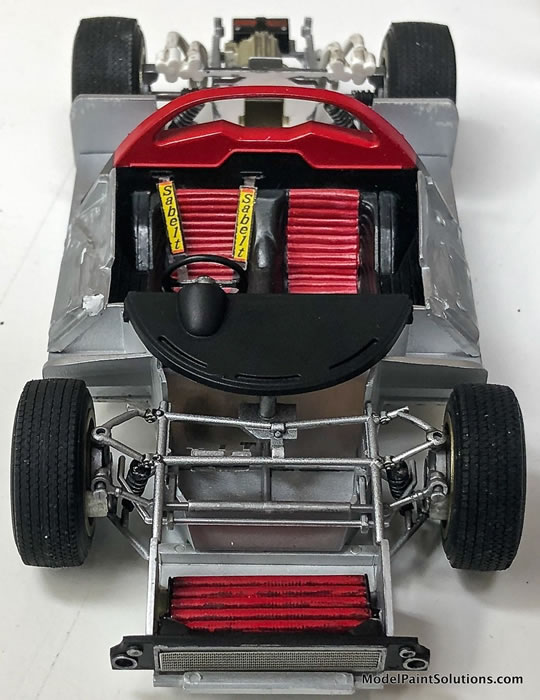
All parts were sprayed with various primers. The body was sprayed with Gravity Colors grey primer. The chassis was primed with Mission Models white primer followed by Mission Models aluminum. Virtually all of the remaining parts were sprayed with either Mission primer or Mr. Hobby 1500.
The Gravity primer was thinned to ¼ leveling thinner to ¾ primer. Everything else I diluted about 50/50 or close using John Miller’s charts. I am spraying at about 15-18 psi.
I used a Harder & Steenbeck Infinity exclusively for this build. Virtually every part was airbrushed, as I really don’t like brush painting.

The body was painted with 3 coats of Tamiya X-7 bottle paint. The chassis was painted with Mission Models aluminum. All other parts were painted with a combo of Mission, Tamiya, and Testors Metalizer paints. The wheel color was achieved by mixing Tamiya gold with a few drops of Tamiya flat black, which did a great job of enhancing the gold color and matching the original wheels on the 1:1 car.
I was close to a 50/50 dilution for all paints except the Mission Models aluminum, which was 80/20 paint/thinner. The Tamiya Red was thinned 50/50 with leveling thinner. No clear was used. The Tamiya Red was polished with Novus #2 then #1.
On a side note I painted and stripped the body a couple of times and had very disturbing results until I bought a brand new bottle of the Tamiya Red. It was at that point I discovered that the older bottle of red had either gone bad or been contaminated: live and learn.
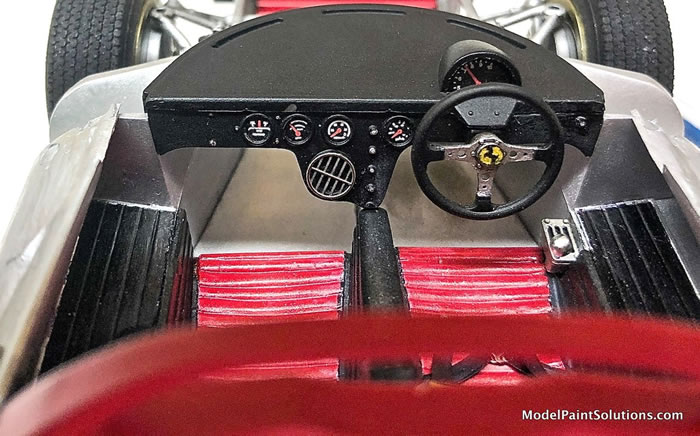
All the decals used were from the kit including the gauge decals for the dashboard. A drop of clear epoxy glue was put over each gauge decal. It dries to make a perfect glass/plastic gauge cover. Micro-Set and -Sol were used to apply the decals.
The kit came with a very nice photo-etch sheet. I used the front grille, front spoilers, and seat belt hardware. I weathered the entire chassis and exposed engine/transaxle area.
When photographed from the proper perspective it looks incredibly realistic and therefore I am quite pleased with the build.
For more on this build visit Modelpaintsolutions.com.
Text & Images Copyright © 2019 by Brad Huskinson
Page Created 20 September, 2019
Last updated
24 October, 2019
Back to HyperScale Main Page
Back to Reviews Page

|
Home
| What's New |
Features |
Gallery |
Reviews |
Reference |
Forum |
Search