|
Miles M.35 Libellula
Planet Models, 1/48 scale
S u m m a r y : |
Catalogue Number: |
Planet Models Kit No. PLT270 - Miles M.35 Libellula |
Scale: |
1/48 |
Contents & Media |
See details below. |
Price: |
Available online from these stockists:
And specialty hobby retailers worldwide.
Click here for currency conversion |
Review Type: |
First Look. |
Advantages: |
High quality resin parts; high level of detail; crisp and fine surface textures; detailed instructions. |
Disadvantages: |
|
Conclusion: |
This is a great little kit that is superbly designed and cast, with the only real quibble being the undersized instrument consoles and lack of seatbelts. This would be a perfect introduction to a full resin kit as it has no nasty surprises afoot, and price-wise, it’s also fairly reasonable. The finished model is quite small and fits in the palm of an average-sized hand, so this will be extremely manageable to display. In fact, it may well get lost on a model club table! |
Reviewed by James Hatch

ICM's 1/48 scale Ju 88 A-4/Torpis available online from Squadron.com
Miles’ diminutive M.35 design has always been something that has intrigued me. This was an aircraft that earned George Miles a firm slap on the wrist from the Ministry of Aircraft Production, as it was conceived, designed and built without official sanction. Miles’ intention was honourable with the aircraft being inspired by the unusual tandem-wing Lysander test layout that was being trialled at the time. George Miles saw an opportunity to build an aircraft that could be carrier-borne, but without the usual problems that beset such aircraft, such as wing folding mechanisms and the problem with visibility when landing. As well as improved visibility and no need for complex and weighty wing-fold mechanisms, other advantages of a tandem layout would be lower drag, lower weight and drag factors, and good manoeuvrability. In 1941, Miles requested his designer, Ray Bournon, to come up with such a design, and within only 60 days, the Miles M.35 Libellula (so named after a genus of Dragonfly), took to the air.
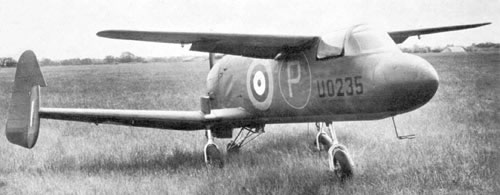
Now, when we say it took to the air, it was reluctantly. A badly placed centre of gravity prevented the machine from performing as it should, but this was soon corrected. Flying the aircraft on that day was George Miles himself as his test pilot was so concerned about the layout of the aircraft that he declined to fly it. The design which took flight was indeed diminutive, being only just over 20ft in span on both front and rear wings, plus roughly the same in length. It was also had a pusher layout with power being provided by a de Havilland Gipsy Major engine to the rear. The pilot occupied the nose of the aircraft, which sat on a non-retractable tricycle undercarriage, with another helper wheel to the rear of this to protect the propeller on landing. However, as Miles had designed this as an unauthorised, private project, any possibilities that could have arisen from his design, were stamped upon by the ministry, and the type never saw development as a fighter. Undeterred, Miles and Bournon designed the tandem-layout M.39B which was to meet an Air Ministry specification for a high-speed bomber, but this was cancelled in 1944 after two accidents forced the literal break-up of the only prototype.
Well, this is a subject you don’t see every day! I was pleasantly surprised when I saw this announced in the Special Hobby newsletter, and knew I just had to have a go at reviewing and building it. Of course, Planet Models is the brand of Special Hobby which deals with whole resin kits, and this is just what this release is, along with a vac-form canopy.
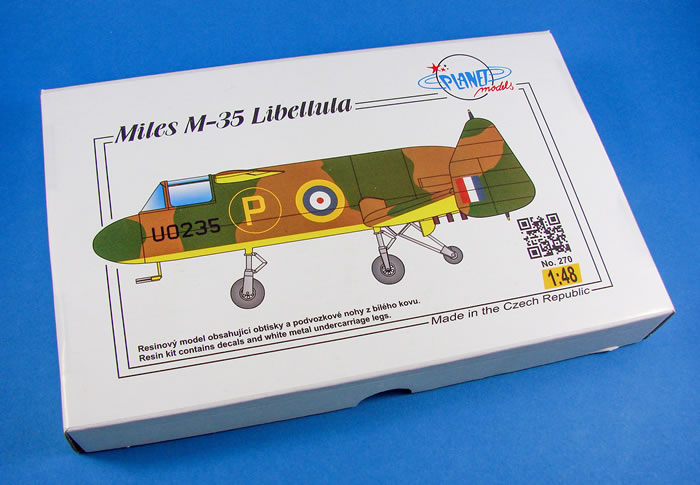
The kit itself comes in a small box that is still quite large for such a tiny model, even in 1/48 scale. The tough corrugated box has a product label on the lid with a colour profile of the M.35. Inside, all parts are packed into two heat-sealed clear sleeves that are also sealed in between the main components. A small sleeve contains the vac-form canopies (x2) and a small decal sheet. A small zip-lock wallet holds some white metal parts for the undercarriage. Two A4 sheets are provided for the instructions and colour scheme profiles. All parts in this release are cast in a light grey resin. Generally, the parts are excellent, with nicely recessed panel lines, sharp details (such as the instrument panel etc.), and with little in the way of flaws. In fact, I noted just a couple of pinhead-size air bubbles that I would need to fill as I assembled.
A quick lick with a knife, along the top of the heat-sealed wrap, and all of the parts are freed. Of course, there will be the inevitable parts clean-up, but with this kit, that time is thankfully low. In fact, I think it took me just over an hour and half to cut the parts from their casting blocks and trim them with a knife, ready for final assembly. The model breakdown is also so very simple as to possibly be a good first introduction to the world of full-resin kits.
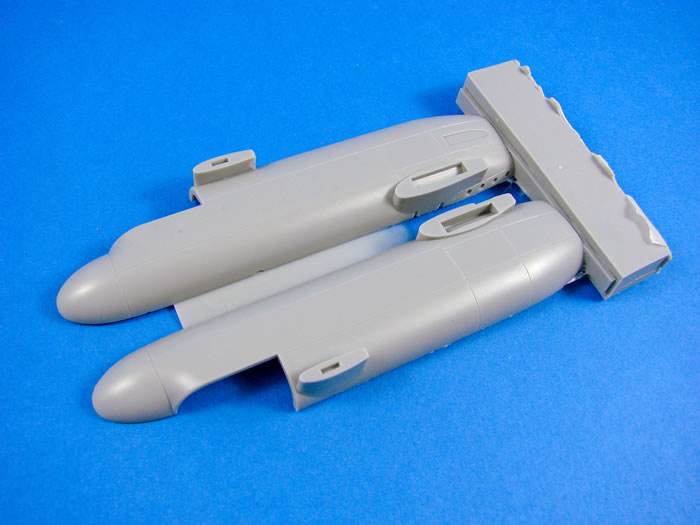
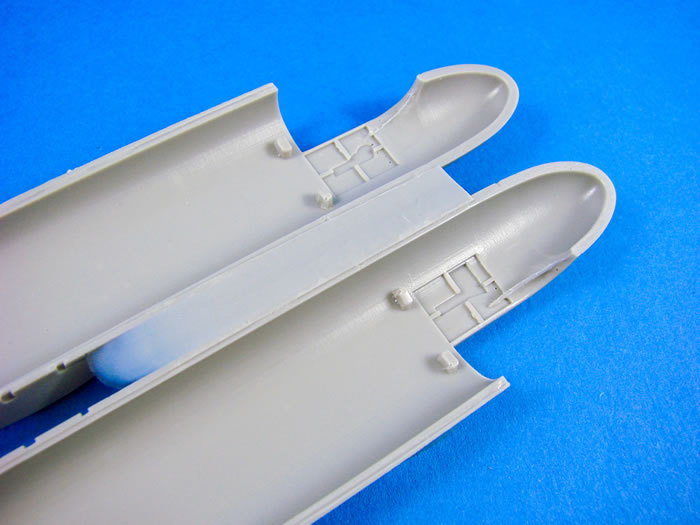
The fuselage is cast onto a single block, and presented as halves, with some cockpit wall detail already in place. Tabs are also present, against which the rear cockpit bulkhead will sit. Externally, the fuselage has little detail, save for panel lines. No rivets or any other detail is present. The engine area is open, in readiness for the separate rear cowl, and again, there are tags there to fit the engine bulkhead against. Having built the model, I can tell you that the positions of these are accurate and will aid the closing up of the fuselage.
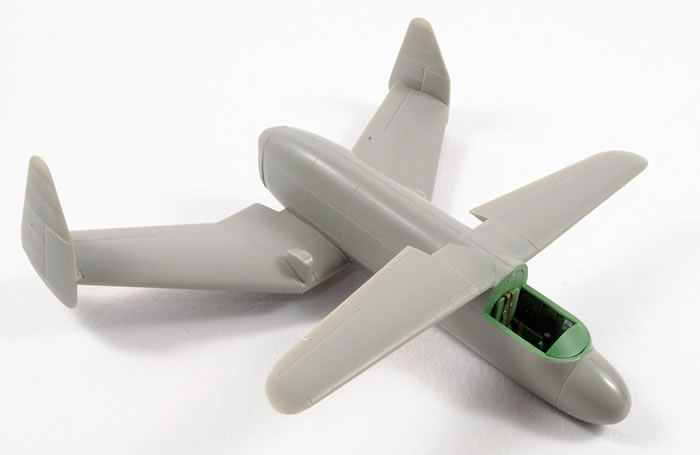
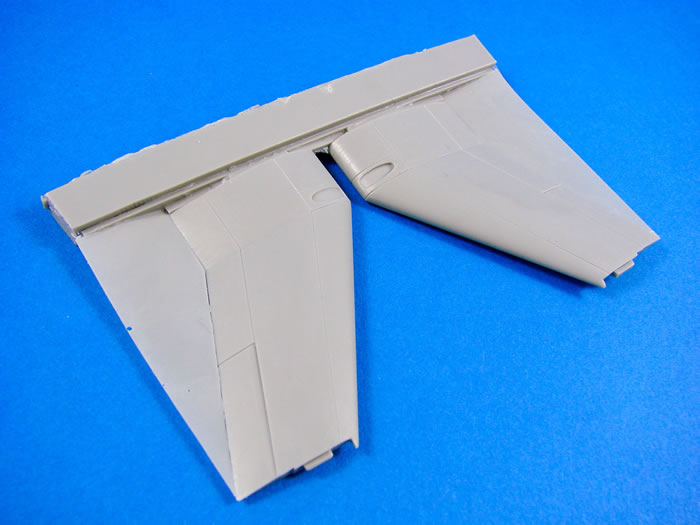
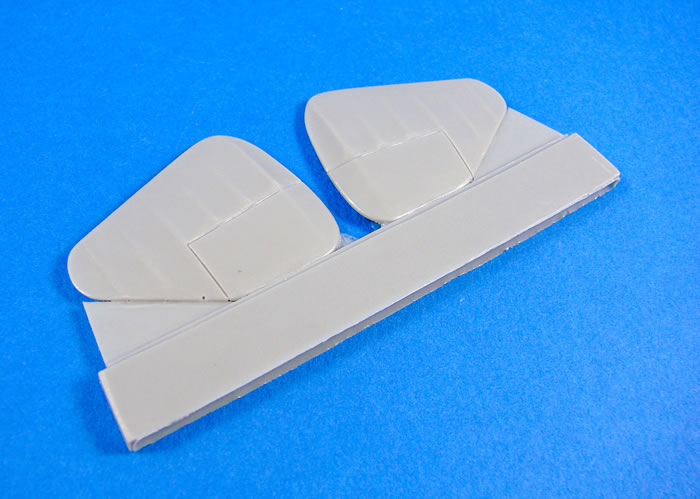
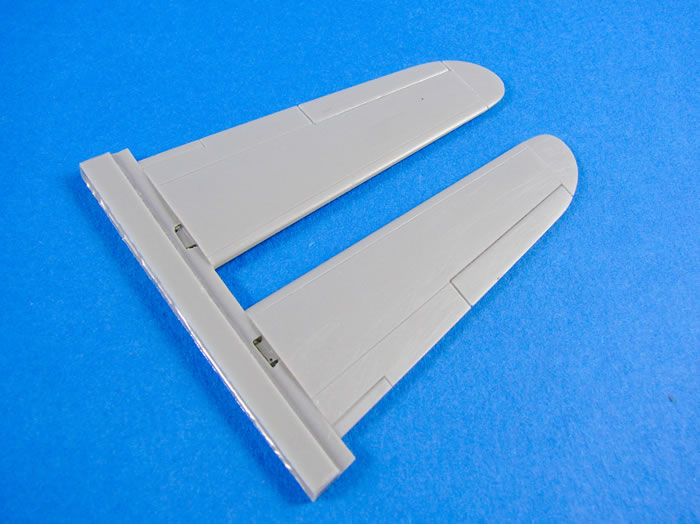
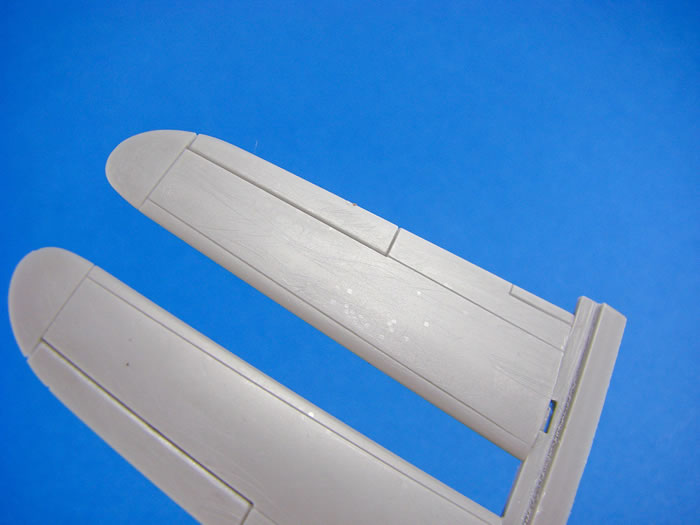
All flying surfaces are cast as individual and complete components, so once you remove a wing or fin from the resin block, and clean it up, you can install it. No fussy upper or lower panels to mate up. The rear wings are cast onto a single block and connected via a narrow web. A thin web of resin also extends to the wingtip and this comes away with almost zero effort. For main sawing, I would advise the use of a razor saw. The rear wings have tabs to install to the fuselage, and also onto which the fins will sit. Ailerons are cast in situ. Surface detail is naturally minimal for such a craft. The forward wings are very similar in their presentation.
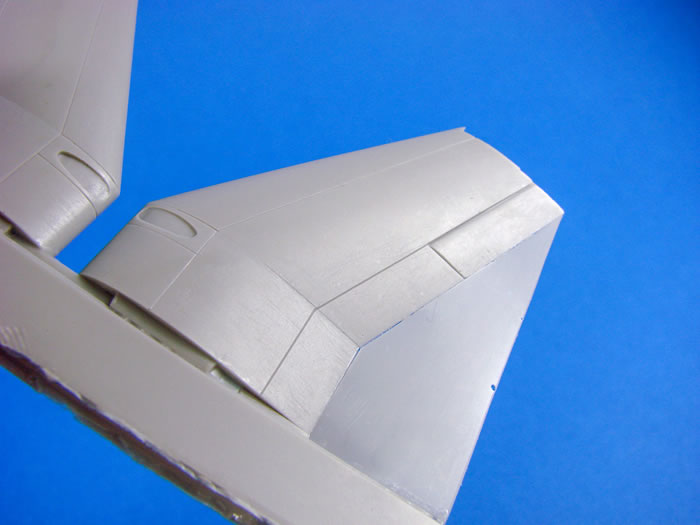
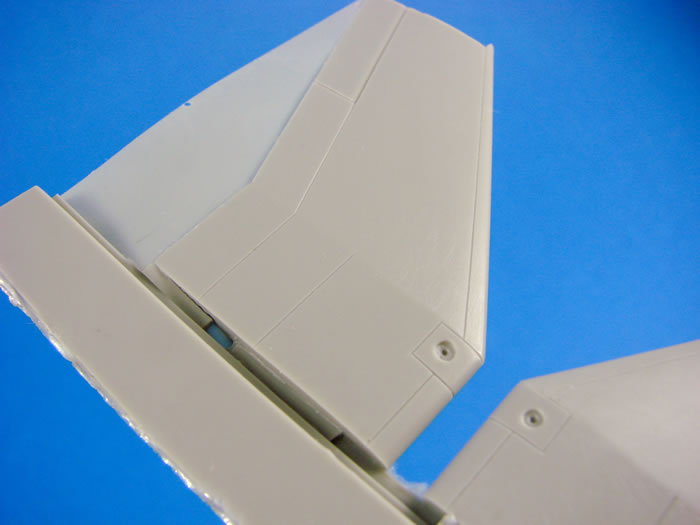
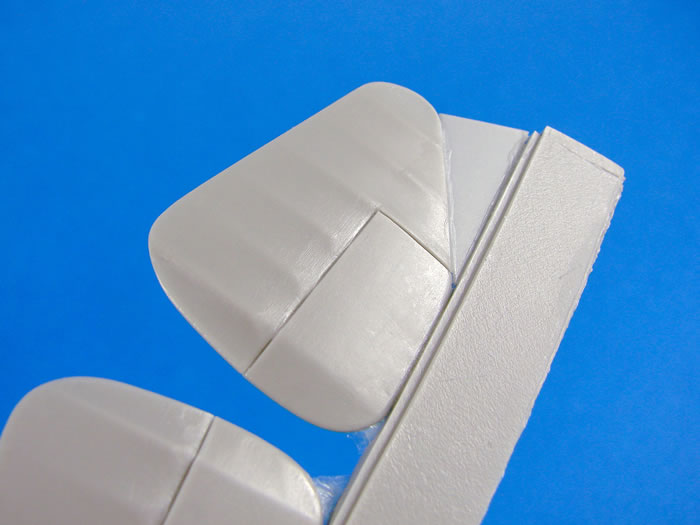
When it comes to the vertical tail fins, you are best removing these with a sharp knife, angles outwards and away from the part. The reason is that no thin web is present here and the parts are up against the casting block. Fin details are excellent with their rib and fabric representation. They also fit nigh-on perfectly to the rear wings.
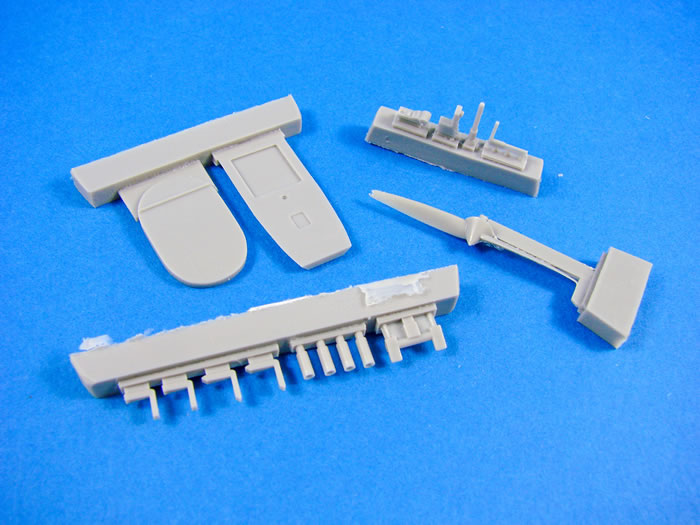
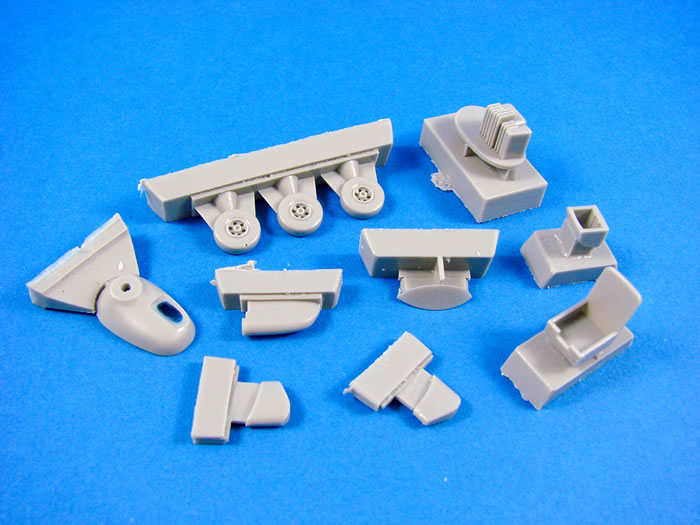
The remainder of the resin parts are cast across thirteen smaller blocks. These include the engine, engine cowl, intakes, exhaust stubs, cockpit parts, oleo scissors, propeller, pitot, wheels, undercarriage suspension housings etc. A few small pin-hole bubbles exist in some places, but nothing that a dab of CA won’t fill easily. The wheels are supplied as weighted (where they connect to the casting block), and some parts will need a little excess resin removing, such as the engine cowl intake. I will say that whilst the cockpit is quite nice in some respects, it is also very basic. There are no seatbelts, for instance. I used some wine bottle foil to make mine, as well as the rudder pedal straps. Another issue is that the side console parts are way too small. I would say by at least 30%. I fabricated replacements from plasticard and PE instrument dials. It’s a nice easy job, and you won’t see too much anyway, as the canopy is to be fitted in a closed position.
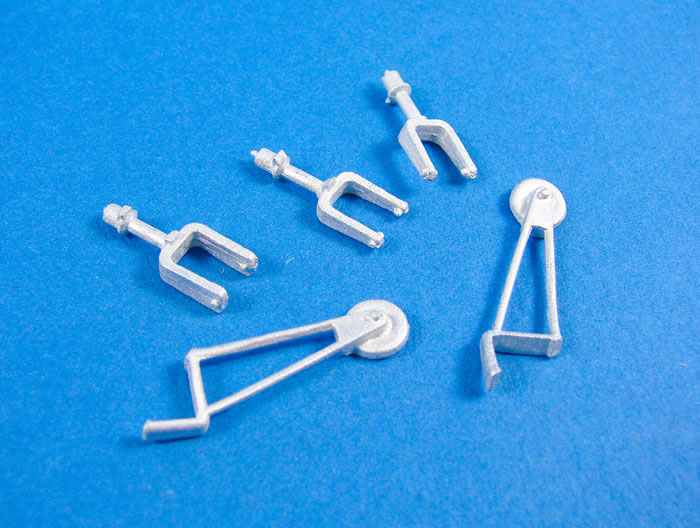
For the undercarriage, this kit contains white metal parts. The rear stabiliser undercarriage strut is cast in two parts and includes the wheel. Only a little straightening is needed before glue, and all parts fit to the model with little effort. Casting is very good for their size.
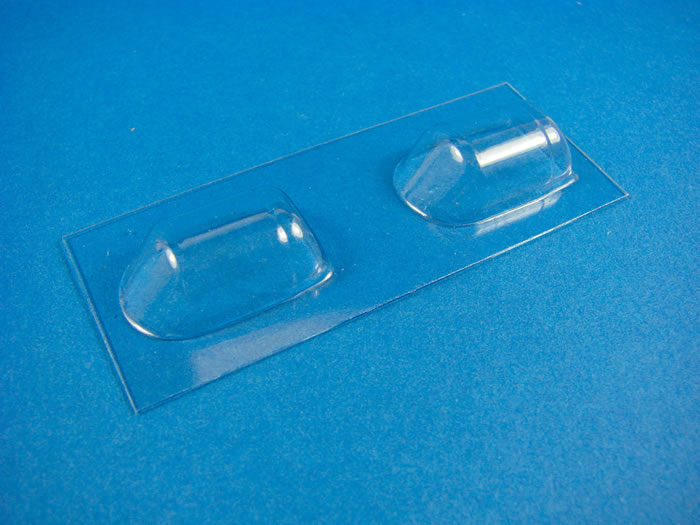
Two vac-form canopies are included, just in case you bork one of them whilst working on the model. There isn’t too much frame definition, so careful masking will need to be done to get them right.
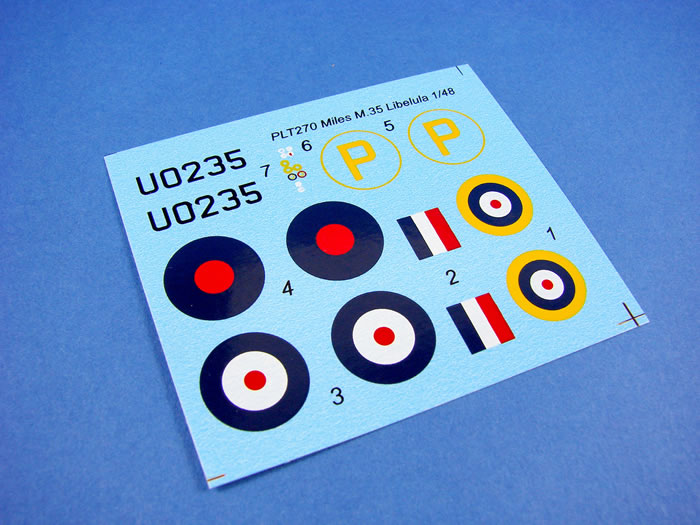
A single decal sheet is included for the single prototypical scheme. These look to be very good, but I’m questioning the colour density of the ‘P’ symbols. It might be worthwhile substituting these with some from Fantasy Printshop. Note that instrument panel decals are also included, but the Airscale ones would be a much better option.
Two A4 instruction sheets are included, containing the simplistic construction illustrations and the colour scheme. As I said, this is a simple kit and the instructions signify that and work perfectly.
This is a great little kit that is superbly designed and cast, with the only real quibble being the undersized instrument consoles and lack of seatbelts. This would be a perfect introduction to a full resin kit as it has no nasty surprises afoot, and price-wise, it’s also fairly reasonable. The finished model is quite small and fits in the palm of an average-sized hand, so this will be extremely manageable to display. In fact, it may well get lost on a model club table!
My sincere thanks to Special Hobby for the review sample seen here. To purchase directly, click the link at the top of the article.
Please watch out for this build in the October 2018 issue of Military Illustrated Modeller.
Thanks to Special Hobby for the review sample.
Review Text and Images Copyright © 2018 by James Hatch
Page Created 13 August, 2018
Last updated
13 August, 2018
Back to HyperScale Main Page
Back to Reviews Page |
 Home
| What's New |
Features |
Gallery |
Reviews |
Reference |
Forum |
Home
| What's New |
Features |
Gallery |
Reviews |
Reference |
Forum |