Airfix, 1/48 scale
Hawker Sea Fury FB.11
by Julian Shawyer

Airfix's 1/72 scale Tomahawk Mk. IIB is available online from Squadron.com
Earlier this week I provided photos of the sprues and instructions of the brand new 1/48 scale Hawker Sea Fury.
I used to make models like this back in the 1960s. Like most kids, I would just glue them together and put on the stickers (called decals as I would later learn), and they would be ready for flying and dogfighting. Making models was straight forward as a kid. No worries about accuracy or painting, just break the bits off the sprue, and glue them together where they touched. It was normal to put too much glue on the canopy, and fog it in the process. The most important thing, if possible, was for the propeller to rotate in the wind. But, applying too much glue was the perils of using tube adhesive of the day. On this model, I used Tamiya Quick Setting Extra Thin Cement. I find it drys in seconds and is easy to use.
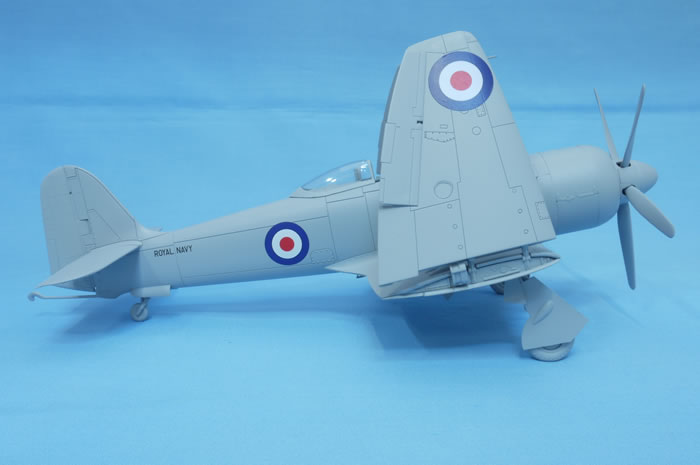
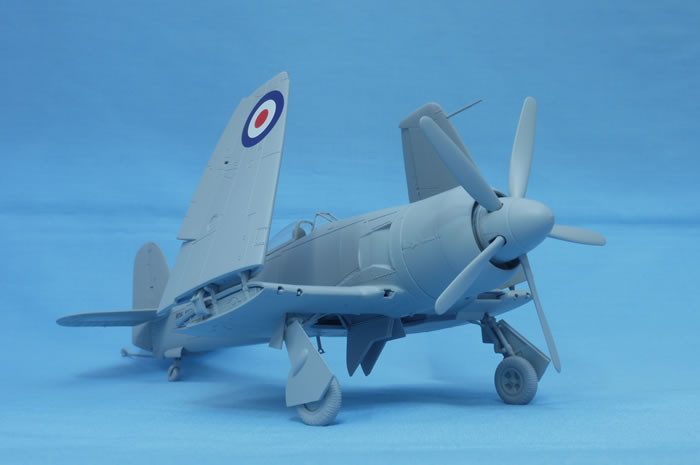
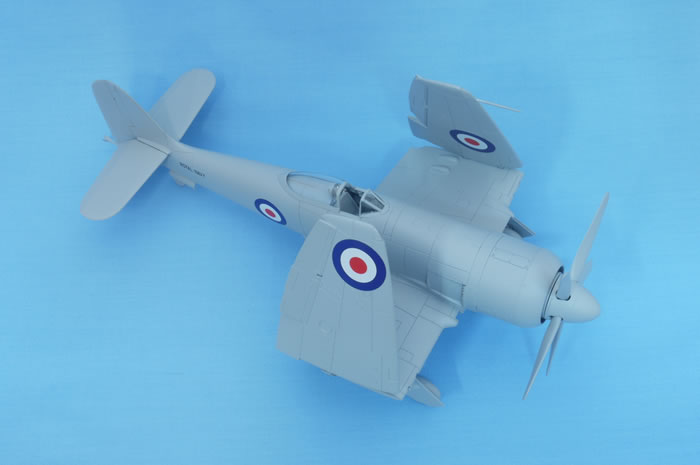
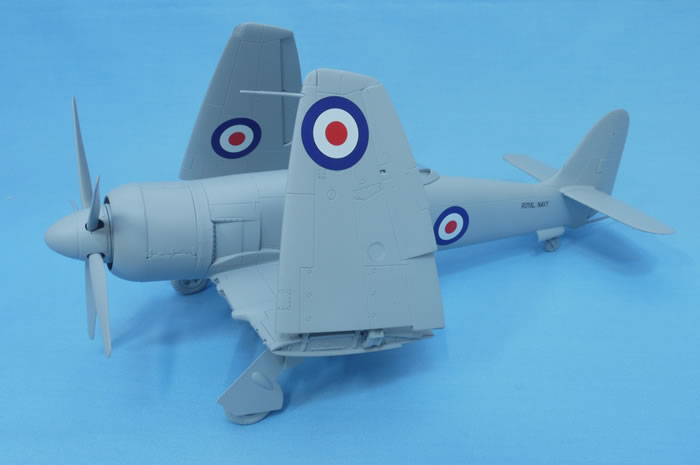
I've made the new 1/48 scale Hawker Sea Fury the Same way, by gluing it all together and applying a few decals to give it a bit of colour. The only difference is, that I sprayed the whole model with a grey primer just to make it look a bit neater.
Construction begins with the cockpit. It's made up with nine parts, and builds into a nice looking unit. The cockpit floor includes detail on the side consoles, to which the control stick and foot pedals are added. The instrument panel has raised detail, with six decals representing the clock faces. Next is the seat and frame to mount the seat on. The seat has good detail representing both the seat and back cushions. The forward fire bulkhead and port and starboard frames, to which are mounded additional instruments are glued into place, and the cockpit is finished. A set of harnesses would finish it off nicely.
This is glued into the port fuselage half, along with the main wing spar, and rear wheel undercarriage bay, to which a recess is moulded for when the undercarriage is retracted. The two halves of the fuselage are then glued together. I did test fit them several times, but they went together just fine.
As Airfix have given us a folding wing option, the wings are constructed of three parts, first being the centre section. Firstly, any appropriate holes need to be drilled should you wish to add any ordnance. The main undercarriage bay is glued to the centre section, which includes the main catapult frame. The cannons and other details are added before attaching this section to the fuselage.
Next stage is the nose. The exhaust outlets are very nicely detailed, with holes already drilled at the end of the exhaust pipes. On my example, the moulding of the ring panel to which the exhaust were attached was not great. Whether this was a one off, or is a problem with the kit, I really couldn't say. Two panels make up the next section. So as you assemble them correctly, there is an arrow inside each part pointing forward. The last section is the nose cowling and engine block.
The engine block has cylinder detail mounded, but very little is seen once the propeller is put in place.
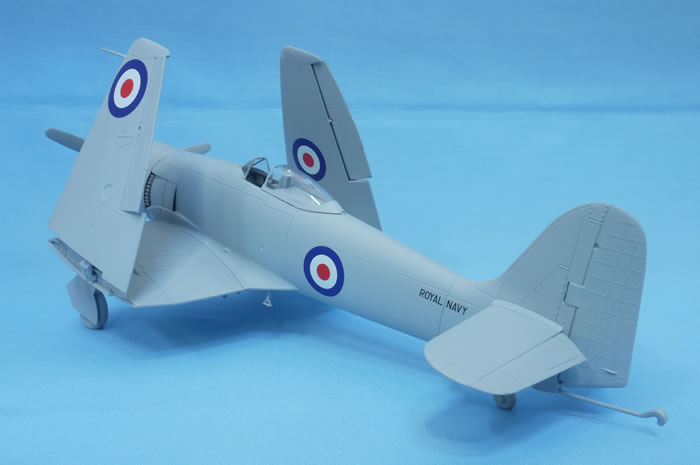
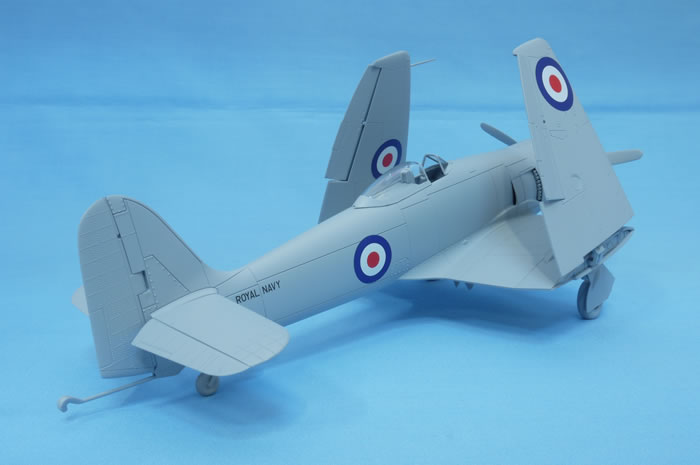
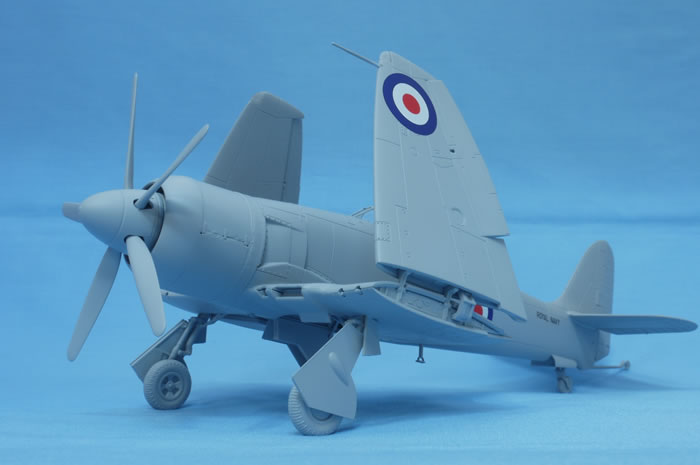
The tail empennage is the next stage which has some fine rivet detail. This starts with the port and starboard horizontal stabilisers or tailplane are glued in place first, followed by the elevators, which can be set at an angle should you wish. Airfix give you the maximum angle these can be set at. Finally, the rudder is attached, again Airfix have given you the angle. In this case, it was 27 degrees port and starboard movement. After looking at several photos of parked Sea Furies, I set mine at what I thought was appropriate.
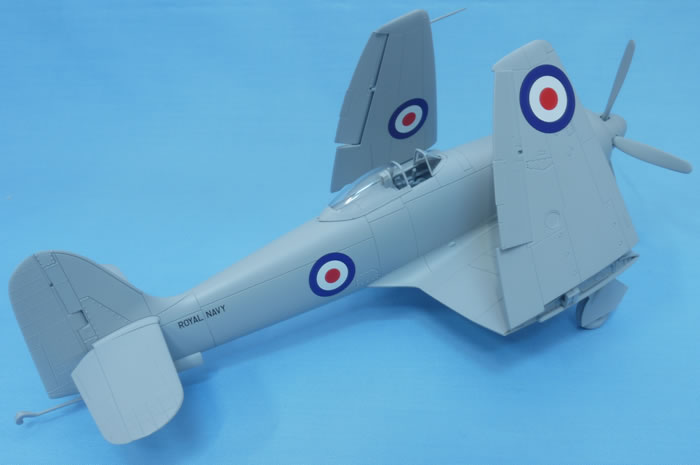
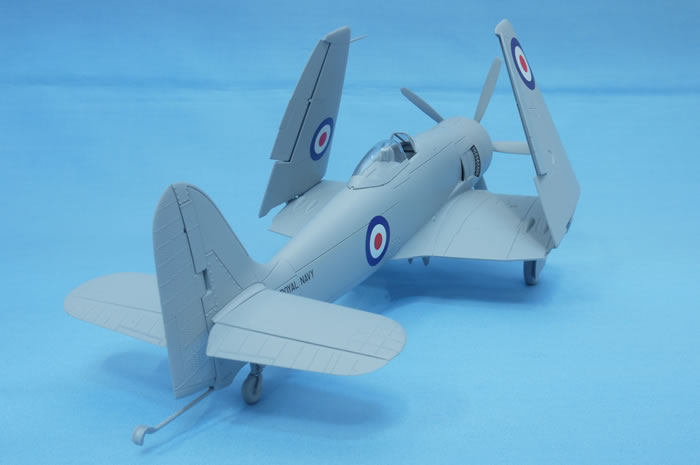
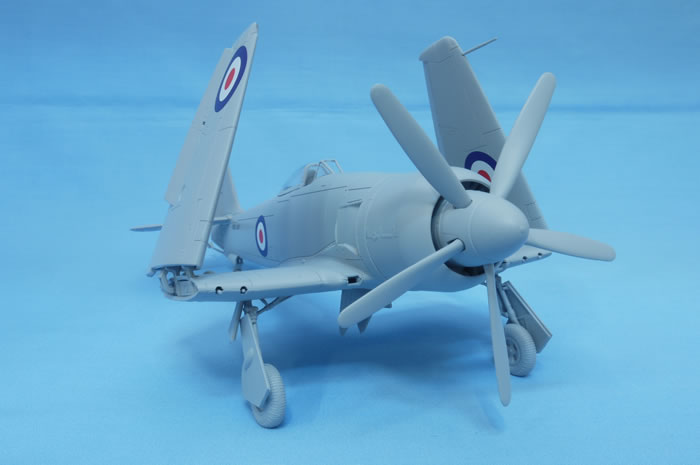
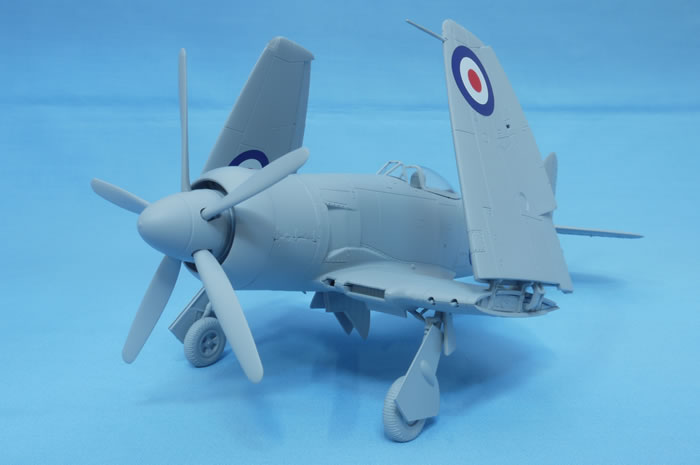
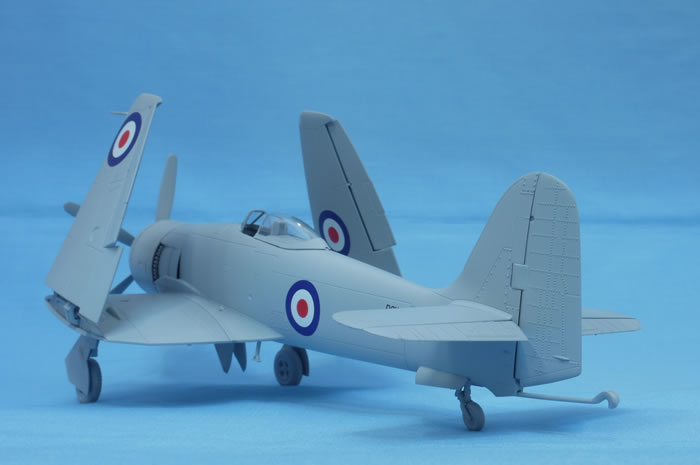
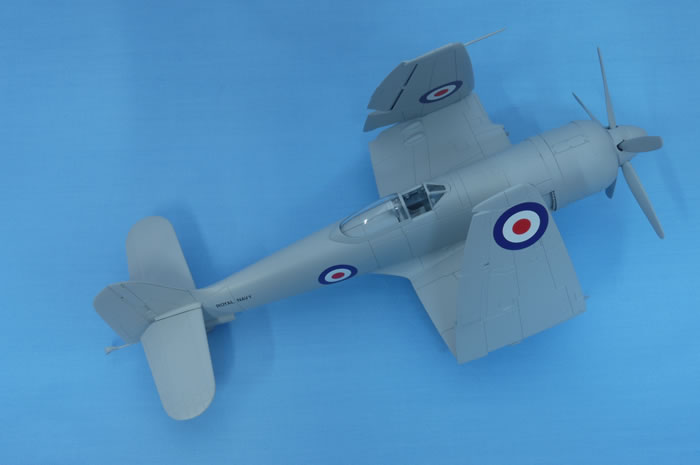
At this point, you decide whether to build an aircraft with extended or folded wings, and follow the instructions accordingly. I opted for the folded wing option. The wing fold frame is glued in place, followed by the upper wing panel. I though the wing to fuselage fit was excellent. The wing trailing edge also had a nice thin profile. The outer panels are assembled, again making sure if any holes need to be drilled should you wish to add ordnance, rockets in this case. With the wings folded, the ailerons are both fixed at 17.5 degrees. The wings are then attached to the wing hinges.
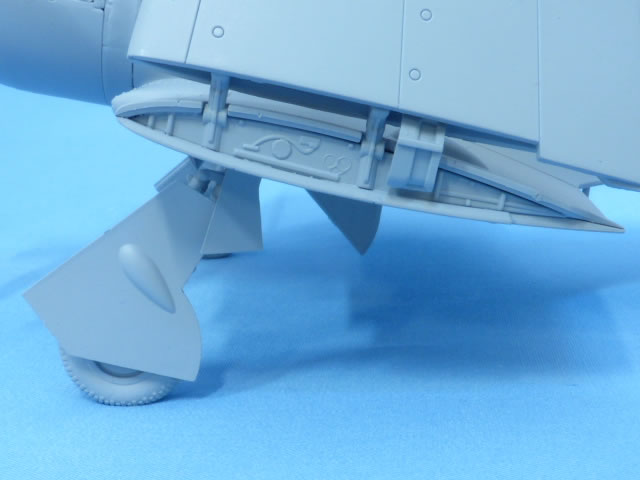
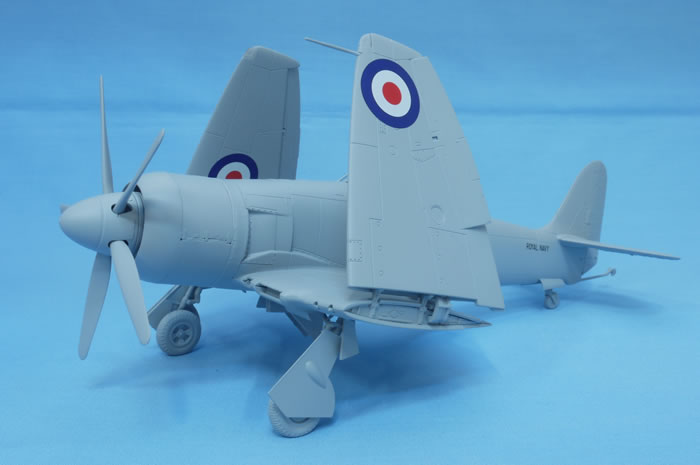
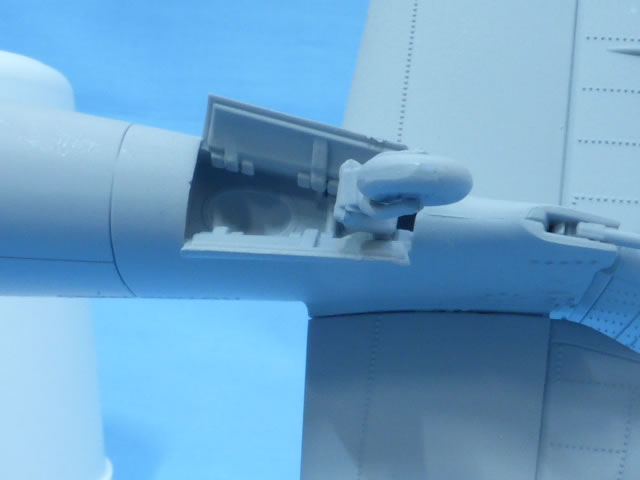
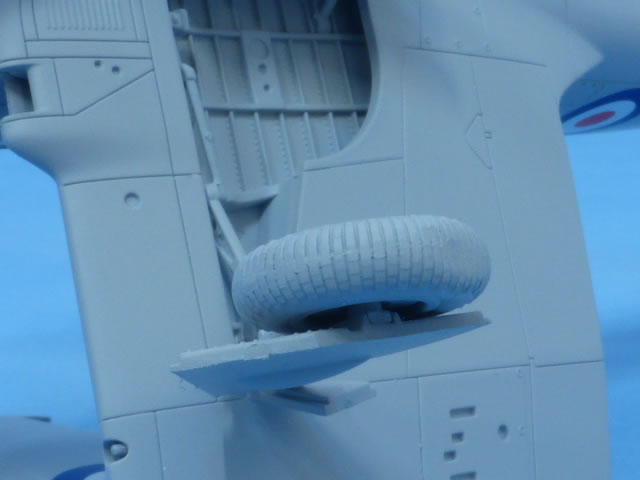
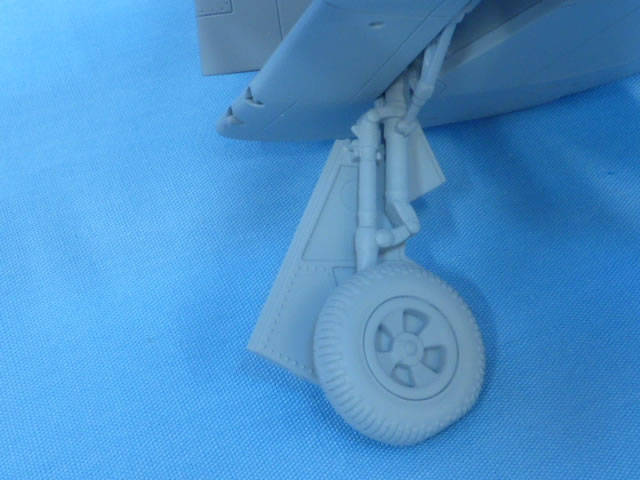
You have the choice to build the model with the undercarriage retracted should you wish. With the wings folded, I had no choice. The undercarriage goes together very well and is nicely detailed. The wheels are in two halves and have tread detail engraved on them. They also have a flat spot to represent the weight of the aircraft. The location holes and pins are pear shaped, so they lay in the correct position when sitting on a flat surface.
The big five blade propeller is made up of five parts. I found that when I went to attach it to the fuselage, the fit was so good I didn't need adhesive to hold it in place.
This just left a few more details to add, navigation lights, retractable step transparencies and rather nice tail hook and that was me done.
The model did come with a choice of weapons and ordnance, none of which I chose to fit. These included two types of bombs, two types of drop tank, camera pod, twelve wing mounted rockets, and a RATOG unit.
In making this model, I used no filler. The only place I would have used it if I had, was where the fuselage joins the aft centre wing section. As I only ever intended to give the model a coat of primer, I gave the seams just had a quick rub over.
About the model itself, the panel lines are good, as is the overall detail and quality of the kit. It was only the nose section that was not up to the same standard. On reflection, had I spent a little more time on it, and I think I would have obtained a better finish.
Kit purchased by the reviewer
Review Text and Images Copyright © 2018 by Julian Shawyer
Page Created 9 February, 2018
Last updated
12 February, 2018
Back to HyperScale Main Page
Back to Reviews Page

|
 Home
| What's New |
Features |
Gallery |
Reviews |
Reference |
Forum |
Search
Home
| What's New |
Features |
Gallery |
Reviews |
Reference |
Forum |
Search