Fine Molds' 1/72 scale Y-Wing
Death Star Devastator
by Rafe Morrissey

Fine Molds' 1/72 scale Y-Wing is available online from Squadron for only $33.30!
George Lucas was heavily influenced by World War II aviation movies to the point of directly appropriating dialogue from movies like “The Dam busters” and “Battle of Britain,” and used outtakes to show his special effects team how to put together shots for the epic final battle in “Star Wars.” You can see the influence of World War II carrier warfare in the take-off hangar scene and the gun crews firing at the rebel ships. Even the Imperial gun turrets look very similar to the 5-Inch mounts on the Essex class carriers.
Taking the analogy one step further, it occurred to me that the Y-Wing is actually recalls the glorious attack on the Japanese fleet by the TBD Devastators at the battle of Midway. They also echo other similarities like the tail gun and long canopy.
All of this was swirling through my mind over the holidays when building the Fine Molds 1:72 Y-Wing for a special event for our model club celebrating the release of the newest movie. Here are a few shots of the completed model and some observations on the build.
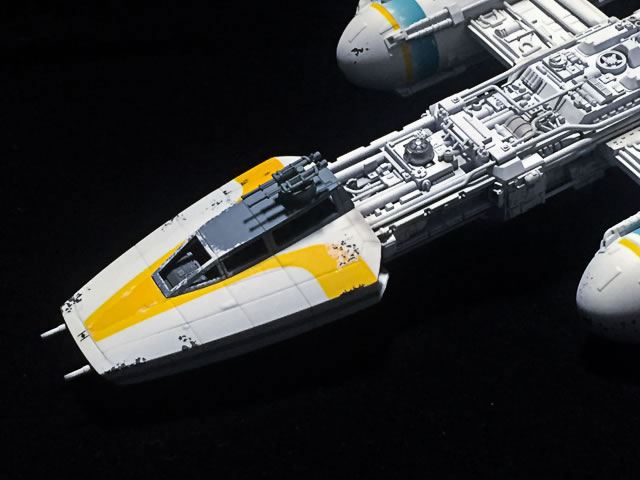
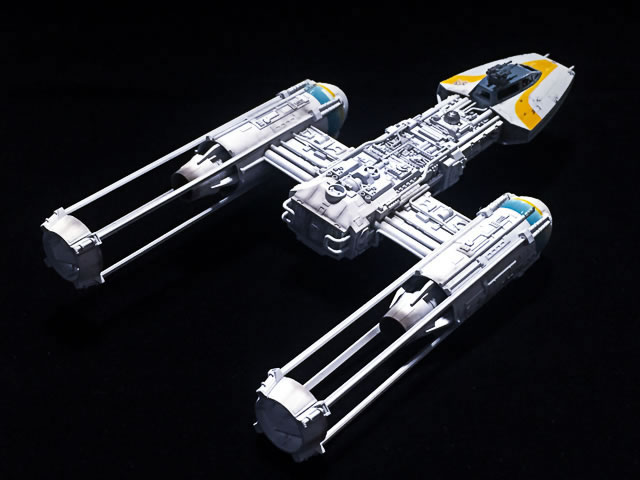
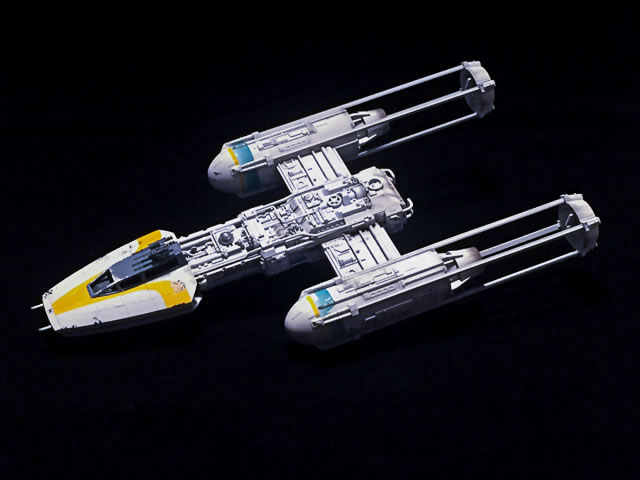
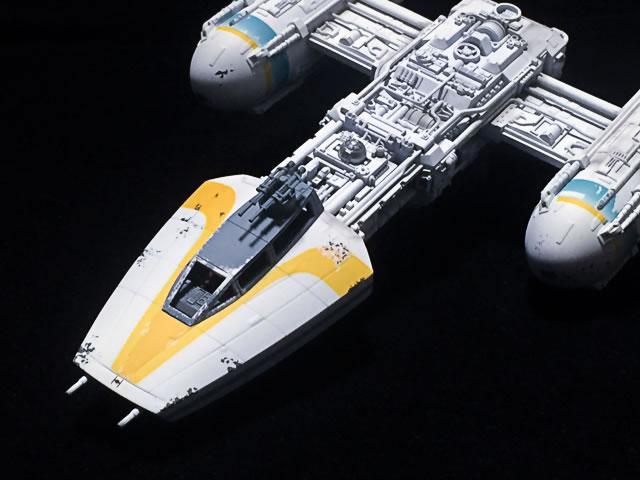
Fine Molds 1/72 scale Y-Wing Fighter
The Fine Molds kit dates back to the turn of the century (I love being able to say that) and was the first series of really serious kits of Star Wars vehicles bringing Japanese precision and detailing to the subject along with a higher price tag.
The kit is everything you would expect from a mainstream Japanese kit manufacturer including precise fit, accurate detail and proportions and crisp details. While Bandai has taken over the Asian concession to produce Star Wars kits and have their own Y-Wing, I am told by experts that the Fine Molds kit is a more faithful replica of the original models created for the movie.
What is really fun is to look closely at the kit and see all the parts the model makers pulled from other kits like prop hubs and tank wheels. These are called “nernies” by those in the know and show up well on the kit.
Building the kit was a refreshing break from the super detail work on real subjects. The kit is a pleasure to build with great fit, zero flash and good engineering. There are a ton of pipes. Of the 20 construction steps, no less than 8 are devoted to fitting pipes to various places. This does entail some laborious cleanup of mold seam lines which while slight, would be visible under paint.
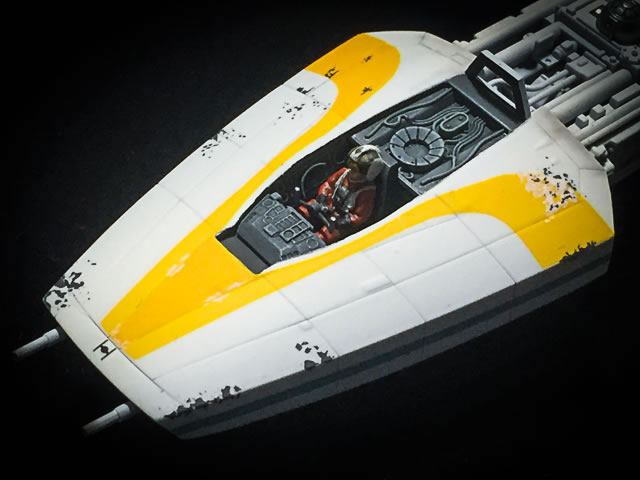
The cockpit detail is adequate for the scale and a nice pilot figure is included (the studio originals used 1:24 race car drivers). I elected to just drybrush the detail since there is no real reference for painting and that is how the studio approached it. The kit does provide glass for the canopy, but I left mine out as was done on the studio models to eliminate glare from the lighting in photos. I may add it back later.
According to a friend who is researching the original studio models, the paint used was Pactra White which was then picked up by Floquil in their Railroad line. I had an old bottle of Polly Scale White so used that. I applied a coat of Tamiya German Gray first and used a sponge to apply masking fluid to create the chipping, though the kit also provides decals for the chips. This created a self-inflicted wound in that I was rushing and sprayed the white right after the Tamiya undercoat had dried to the touch. I ended up with lots of cracking which I had heard about but never experienced since I usually let one coat cure overnight. It is a real issue, but I was able to fix the problems with some micromesh sanding and a respray of the white.
The decals were the only downside of the project. I found them very brittle and prone to shattering, so had to piece many of them back together on the model. This might be due to the fact that the kit has been on my shelf for a while. I also used the Mr. Mark Setter system. The Setter solution worked well but the Softer melted the decals where it pooled requiring some touch ups. There is a very good color reference for the painting and weathering. I tried to match the weathering as closely as possible with post shading with a thin mix of Tamiya Flat Black and Red Brown.
The kit provides marking for three Y-wings from the film. I chose “Gold Leader” which almost has the same number of letters as John Waldron, the commander of Torpedo Squadron 8 who led a similar attack sacrificing himself and his squadron to clear the way for the Dauntlesses at the Battle of Midway. I think this is another reason the movies resonated so much for me. Not only did they tap into the universal myths from humanity, but also mirrored very real sacrifices in the scenes of the final attack.
Summary:
ADVANTAGES: Good outline, good detail for scale, accurate to prototype film models decals well printed with good registration.
DISADVANTAGES: Decals are fragile on application but could be due to age of kit.
RATING: 9 out of 10
Model, Images and Text
Copyright © 2018 by Rafe Morrissey
Page Created 20 February, 2018
Last Updated
20 February, 2018
Back to HyperScale Main Page
|
 Home
| What's New | Features | Gallery | Reviews | Reference | Resource Guides | Forum |
Home
| What's New | Features | Gallery | Reviews | Reference | Resource Guides | Forum |