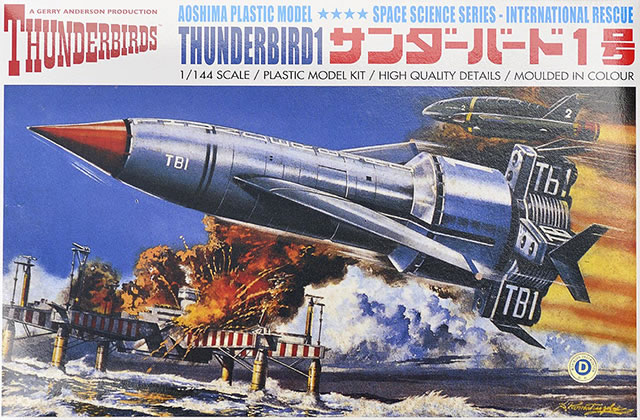
Aoshina's 1/144 scale
Thunderbird 1
by Bruce Salmon
|
|
Thunderbird 1 |

Tamiya's 1/32 scale Tamiya P-51D Mustang is available online from Squadron.com
The cornerstone sci-fi TV program in my youth was undoubtedly Gerry Anderson’s Thunderbirds. Produced in the mid 60’s and consisting of only 32 episodes it was already in re-runs by the time I got to see it. The series features a retired millionaire and ex-astronaut Jeff Tracy and his 5 sons all part of a team called International Rescue. Incidentally Tracy's sons were named after the first 5 American astronauts into space via the Mercury space project, Scott Carpenter, Virgil Grissom, Alan Shepard, Gordon Cooper and John Glenn. I couldn’t wait to see each new adventure where they save people from disaster by using futuristic machines and who could ever forget that fantastic musical score composed by Barry Gray.
At the successful conclusion of every episode they all lounged about their South Pacific island hideout boozing and smoking cigars which funnily enough didn’t leave me wanting to replicate these habits. Though I knew the characters were only puppets it still didn’t take away from just how cool a show it really was and you’ve got to admit that Tintin was a bit of alright even though she was crippled by something called Supermarionation.
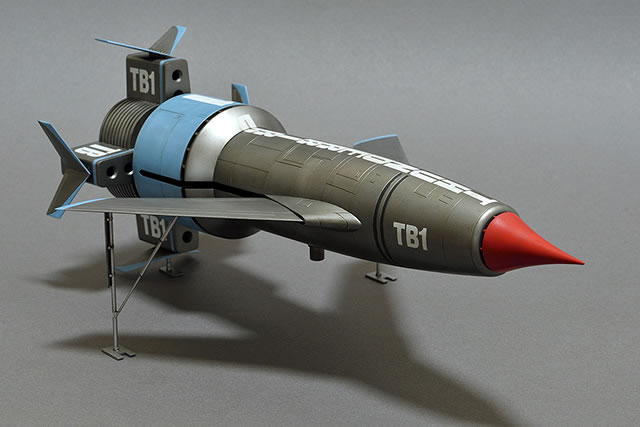
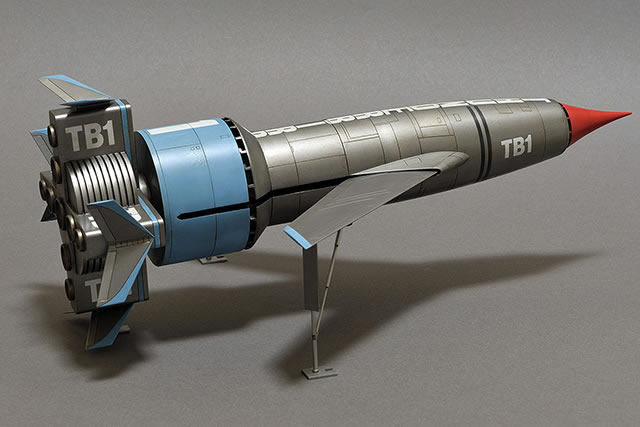
Many models were made for the TV series in various scales so consequently there are differences between them. The early TB-1 had wheels to land on and the fins were positioned differently. Other variations include nosecone shape, placement and size of lettering and the metallic silver finish which became darker.
Overall the detail on the kit is very good and the fit is excellent. There are a few sink marks to fill but they are easily dealt with using Mr Surfacer. Knowing that this kit doesn’t accurately represent any particular TB1 model I decided that it was only really necessary to fix the folding wing recesses which were blanked off with 10 thou plastic card. Whilst the kit does come with internal partitions so you can’t see daylight through a completed OOB model it is not very realistic looking. This modification requires some thought as there is no way to paint in these confined spaces once the various fuselage halves are mated. You need to paint these recesses first and also be careful that you don’t end up building yourself into a corner.
I also made several other improvements...
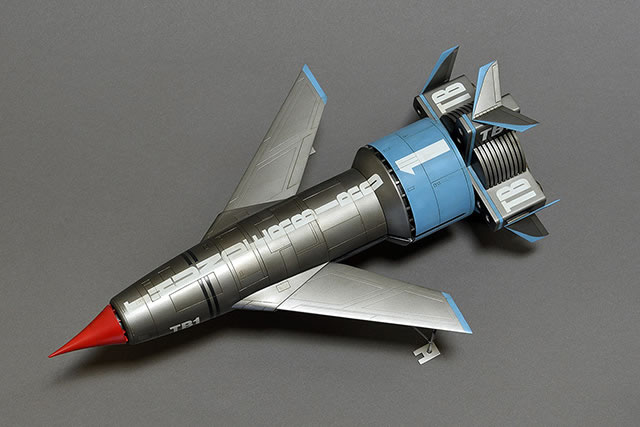
The wing root glove was made narrower at the leading edge and pinned with brass wire for added strength.

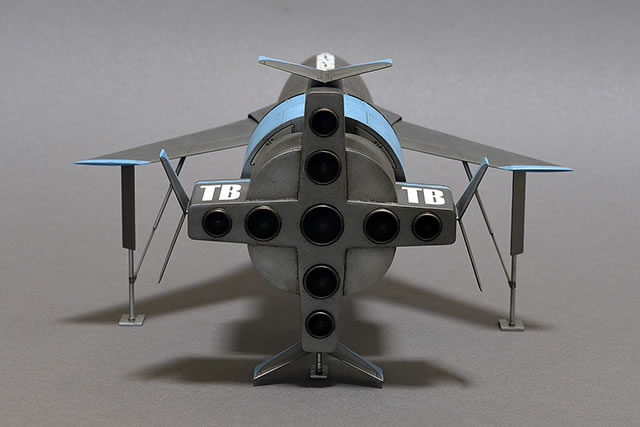
The lower fuselage cylinder and cross-shaped bottom section were strengthened with internal bracing and I made the circular connecting point between them larger in diameter.
A re-worked belly landing rocket was constructed from parts in the spares box.
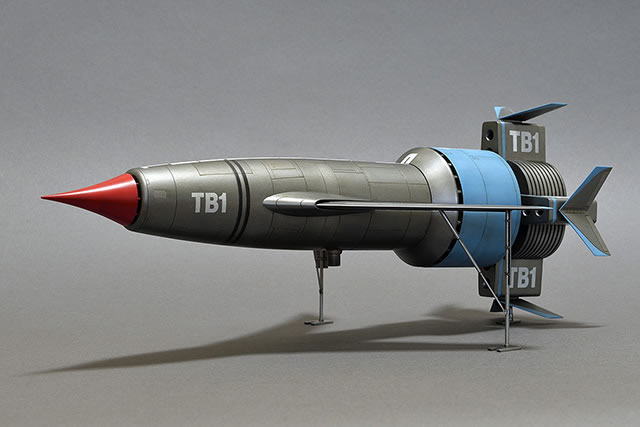
The flimsy kit wing landing gear legs were replaced with scratchbuilt items made from brass wire and pipe and the rear landing gear was also strengthened with wire.
The position of the landing gear legs depends on whether you are making the early wheeled or later flat-feet version. The vertical part of the leg should be closest to wing tips when using the flat-feet option and closest to either the roots or wing tips with the wheeled option. Warning: when the leg is closest to the wing tip you may require a weight in the tail to prevent your model tipping on its nose.
Painting
The plastic was initially sanded with 1000 grit then several other grades down to 4000 grit in areas where the Alclad would be sprayed; any finer than 4000 grit and you’re just wasting your time. It was easier to paint first and assemble later so the fuselage and wings became one section, the lower cylinder another and finally the bottom cross-shaped section. The fins, nosecone and landing gear would be attached last to prevent breakages. Next the model received a detergent wash in the kitchen sink in preparation for painting.
To begin with the coloured painted areas were masked out and then primed and painted. Once dry these areas were masked over and the Alclad applied directly to the plastic. I probably should have gone a step further and used a primer coat as the Alclad had some weird reactions in a few places.
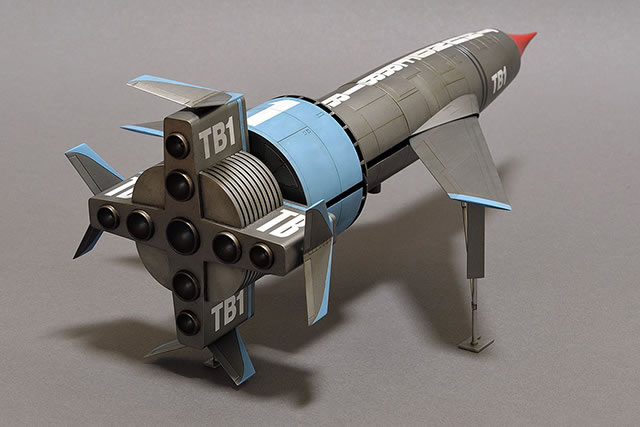
I initially sprayed an all-over base coat of Alclad II ALC111 Magnesium then lightened it in places by mixing in various amounts of ALS103 Dark Aluminium and ALC104 Pale Burnt Metal. Darker recessed areas were painted in ALC112 Steel and I also used some Tamiya X-19 Smoke to darken various panels slightly. The exhausts ports were painted ALC123 Exhaust Manifold and then ALC121 Burnt Iron for that used look.
Paints used as follows (all acrylics):
TB1 Blue: 6 –Tamiya X-14 Sky Blue / 2 – X-2 White / 2 – XF-18 Medium Blue. A lighter post-shading mix was used for highlights at the ratio of 3/3/1
Nosecone Red: Mr Hobby H327 Red FS11136 USAF Thunderbirds (what else would do?)
Once dry the three main fuselage sections were glued together and then sprayed with Tamiya X-22 Clear in preparation for decals. The kit decals went on without any troubles although they are a tad thick and don’t want to settle into the panel lines. These decaled areas were later oversprayed with Tamiya clear to protect them in the upcoming weathering process.
Weathering
First up I gave the model an all-over filter using Windsor and Newton oil paints mixed in a generous quantity of turps. The paint ratio was approximately 80% Raw Umber / 20% Lamp Black. Next panel line washes were applied using mixes of AK066 Enamel Wash for DAK vehicles and AK045 Enamel Wash dark brown for green vehicles. The lower blue section also received dot filters using W&N Titanium White blended in with white spirits and a flat brush.
Once sufficiently dry a final protective clear coat was sprayed. For the metal areas and nose cone, 2 parts Mr Colour H20 Flat Clear to one part Tamiya X-22 Clear. Straight H20 Flat Clear was sprayed on all other coloured painted areas.
Lastly the breakable bits are attached; fins, landing gear and nosecone. The nosecone was attached to a circular cap made with 40 thou plastic card glued on top of the fuselage opening. This was necessary so that you don’t make a mess of the already painted parts.
The finished model is impressive but somewhat fragile balanced on its skinny legs. Glad to finally have one in my display cabinet. Thunderbirds are go! FAB
Model and Text Copyright ©
2017 by Bruce Salmon
Page Created 26 June, 2017
Last Updated
26 June, 2017
Back to
HyperScale Main Page

|
 Home
| What's New |
Features |
Gallery |
Reviews |
Reference |
Forum |
Search
Home
| What's New |
Features |
Gallery |
Reviews |
Reference |
Forum |
Search