AMK's 1/48 scale
MiG-31BS ‘Foxhound’
by Jon Bryon
|
|
Mikoyan MiG-31BS ‘Foxhound’ |

Academy's 1/48 MiG-29A is available online from Squadron.com for only $25.99!
Summary
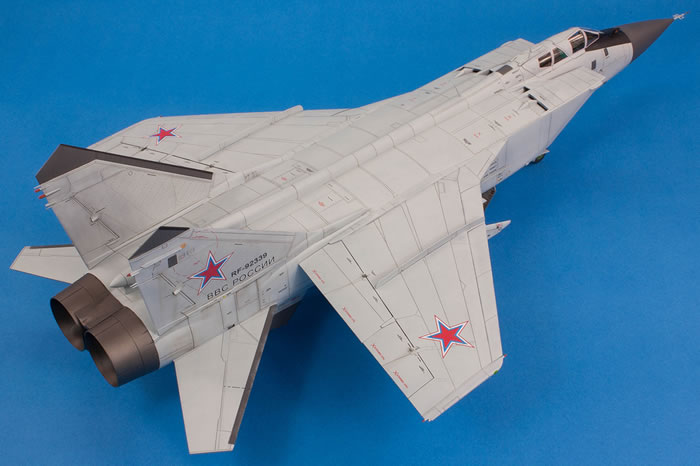
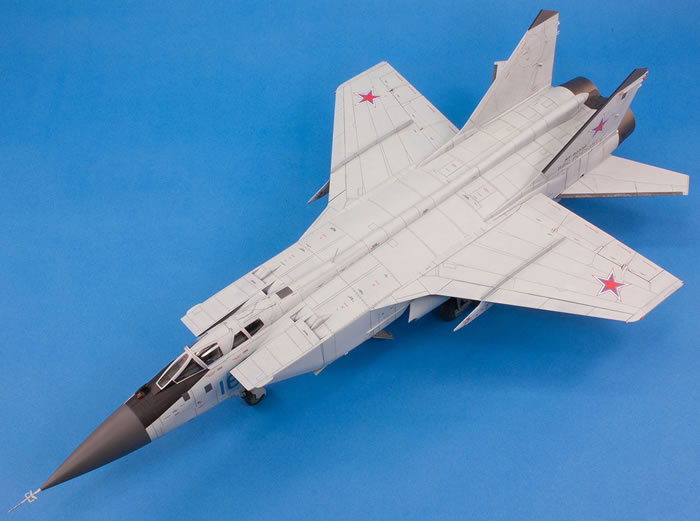
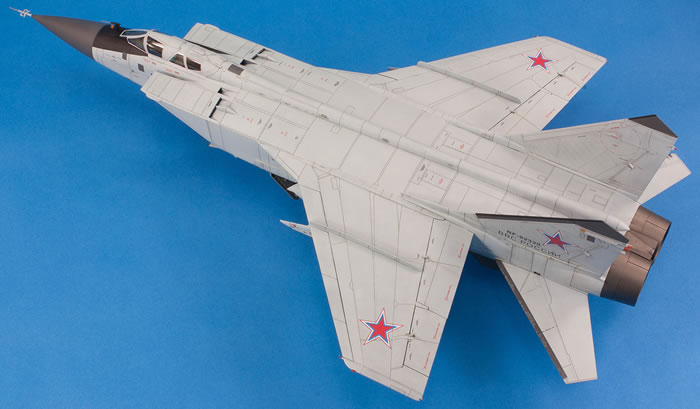
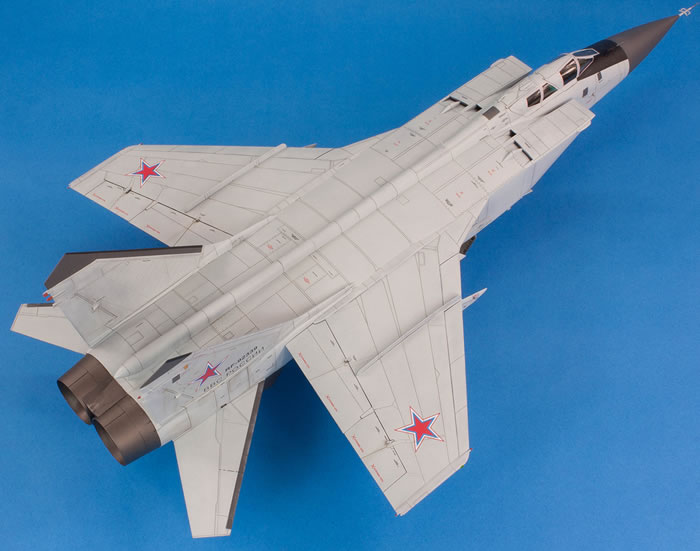
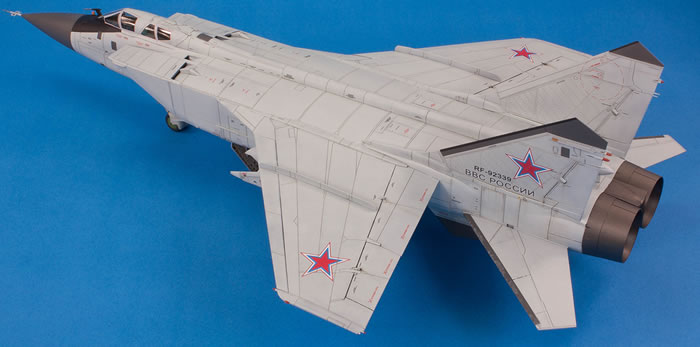
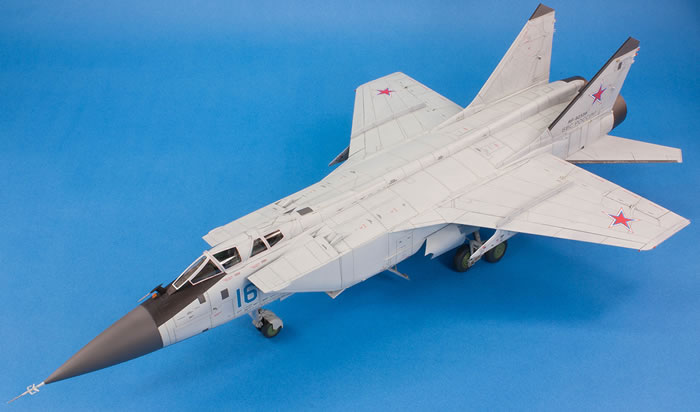
AMK 1/48 Mikoyan MiG-31BS ‘Foxhound’
With AMK die cast metal undercarriage and nose pitot
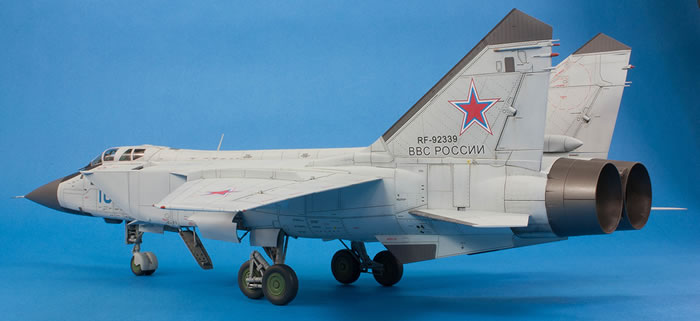
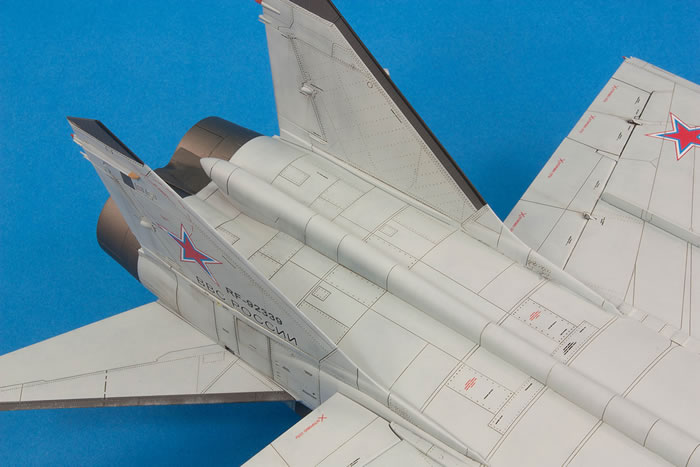
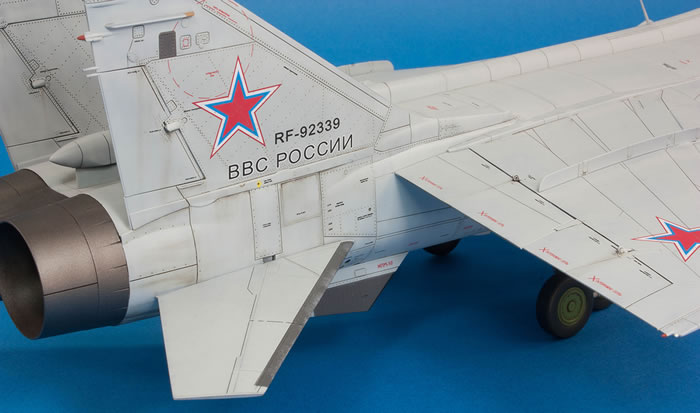
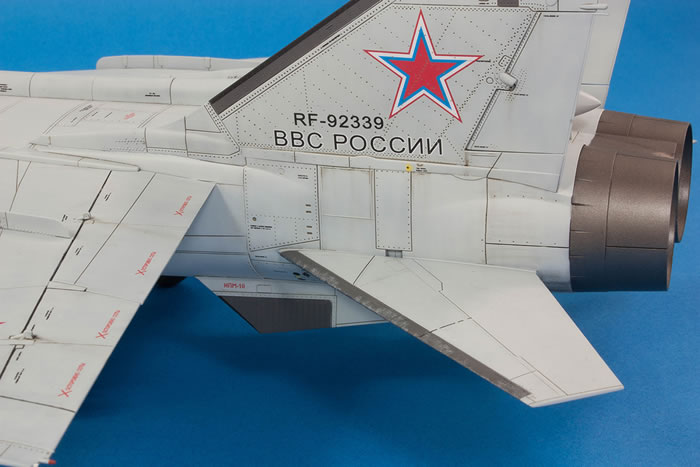
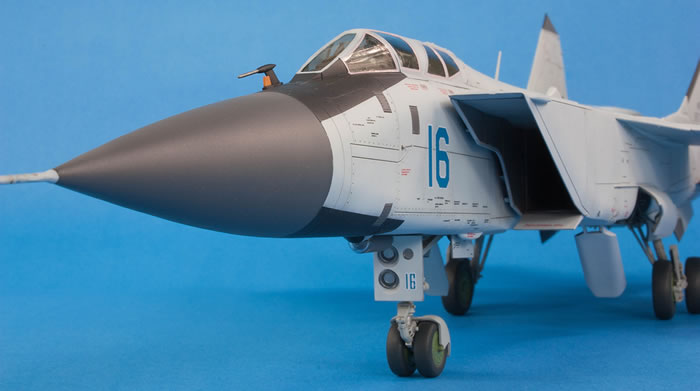
Russian Air Force, Russia 2014
This is the best kit that I have ever built. There’s something quite refreshing about the entire approach to the model. The whole package is beautiful and the way the kit goes together is extremely pleasing.
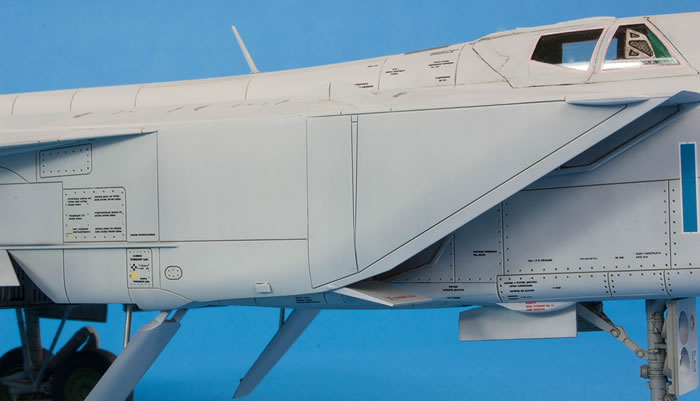
It’s not perfect. There are some irritating ejector pin marks, such as on the sides of the wing fences and on the pitot that fits by the windscreen. And there are some odd omissions, like the four small pitots under the front fuselage, the simplified detail on the black undernose panel, the over-simplified nose wheel guard, and the lack of scribing for the canopy shut lines on the single piece part. Parts F12 are also not correct for the version I was building (just look at the box photo to see how) and the IRST sensor under the nose does not sit correctly in its retracted position. A lot of these issues I did not discover until final assembly, and they remain uncorrected. Furthermore, the instructions contain a few hangovers from the BM/BSM version (like showing part C11 installed). But overall, these faults are all trifling compared to the engineering achievement that this model is.
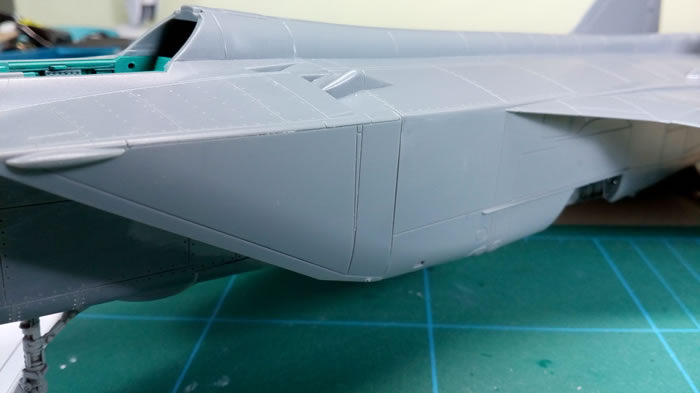
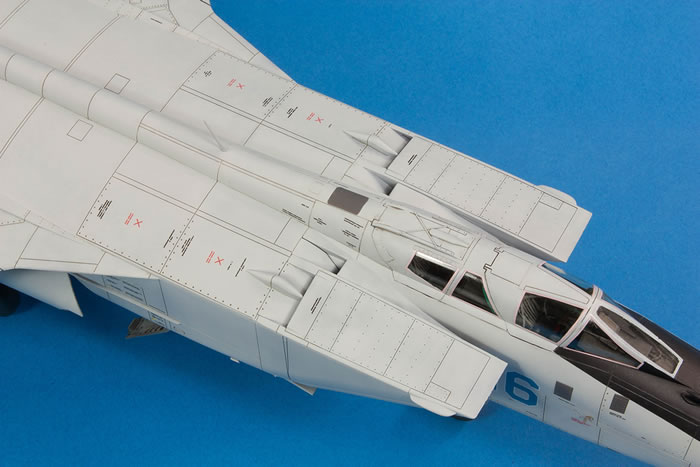
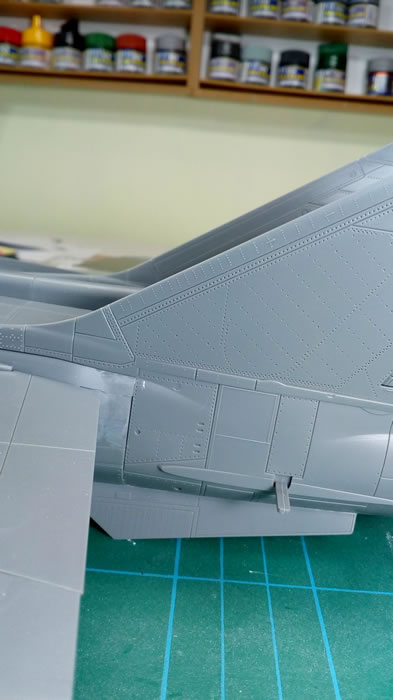
The fit of the right intake to the main fuselage:
very good, but still required filling with super glue and rescribing.
Of course, I managed to make a bit of a hash of it in several places. The intake assemblies are just meant to click into place into the main fuselage, and examination of this area on other people’s models shows that it can be done, just not by me. I could not get a very neat join here and ended up filling it with super glue and rescribing.
Similarly, the extended leading edges of the tail fins did not sit flush with the upper fuselage and required plastic card and Milliput to make good. Others also don’t seem to have experienced this, and so I am happy to concede it’s most likely down to ham-fisted construction by me.
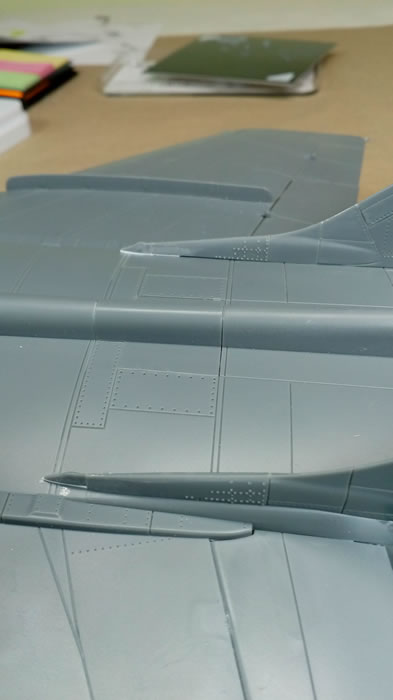
Filling the gaps under the fin leading edges.
Another join that needed filling and rescribing.
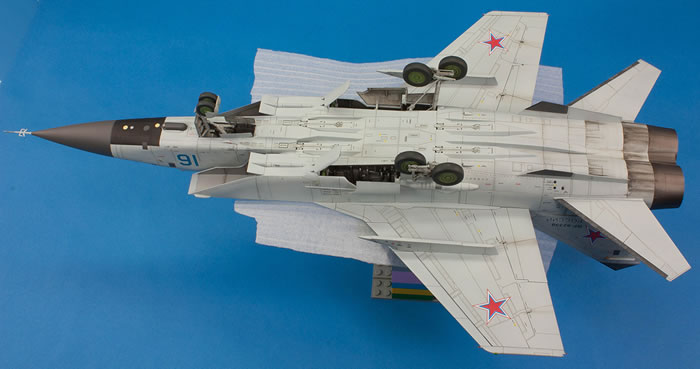
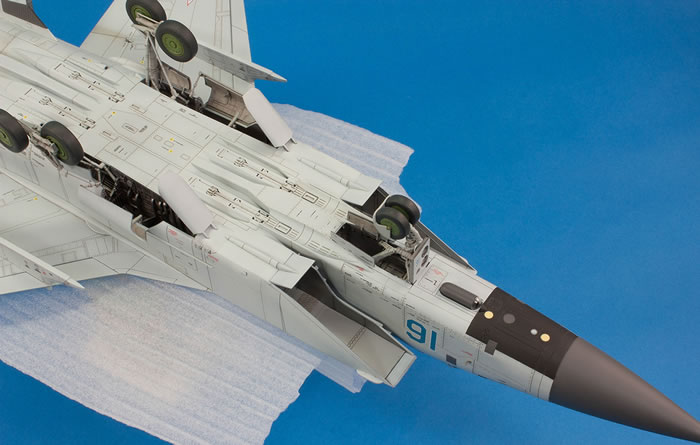
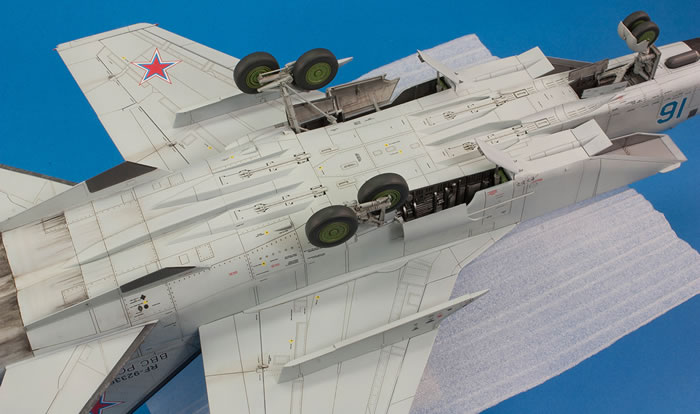
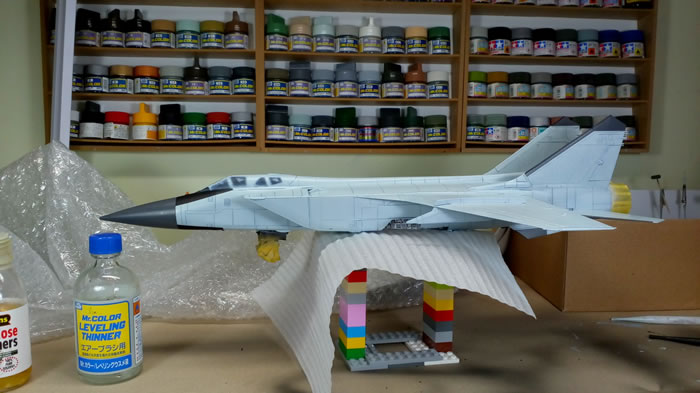
The model takes shape surprisingly quickly given how massive it is. This is a big plane; something that is not at all obvious from photos and doesn’t become evident until you are trying to manoeuvre it around your work space. The nose gear has to go in early on, and since I was using the metal upgrade, the protruding part is much bigger than if you stick with the plastic pieces. It did survive, but given how much thought clearly went into the design of this model, it was a surprising choice.
Everything basically clicks into place and before long it was ready for paint.
Painting, Markings and Finishing Touches |
Painting
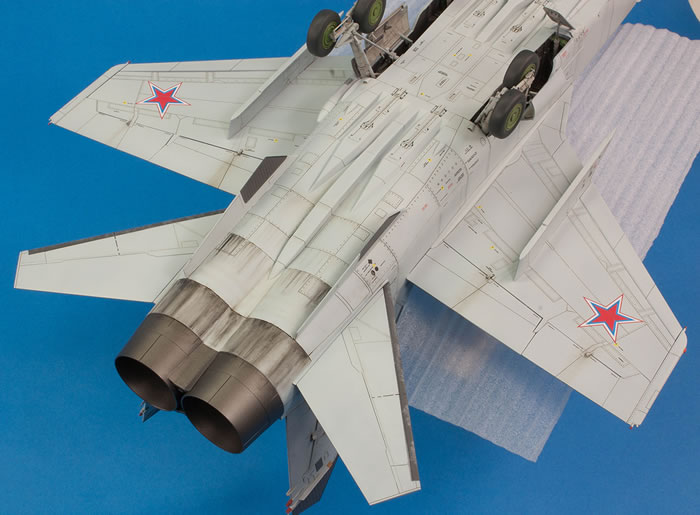
I decided to use the black-basing method again, in an effort to break up the single-colour finish. I sprayed a generous coat of highly thinned Mr Surfacer Black 1500 through my Iwata RG-3, which gave a very nice smooth finish. I then began to lay down a mottle of the dedicated Mr Paint ‘Traffic Grey’ for the MiG-31 though my Custom Micron. This was my first experience of Mr Paint, and although it costs an arm and a leg, it is beautiful to spray.
Which was just as well, since I spent over 20 hours mottling that grey over the black and the gently blending it in with a broader spray patters. I tried to keep a lot of the mottling vertical along the fuselage sides and on the tails. I think this worked extremely well.
What did not work well was the colour. I do not think Mr Paint matched the paint at all well to the real thing. It is true that even the same airframe can look very different in different photos, but there is a general pattern of it being a lot warmer and darker than the very cool, pale bluish grey that Mr Paint have matched. In most of the photos I’ve adjusted the colour temperature to 7500K, which makes the grey slightly warmer than in real life.

MRP’s (top) and Akan’s (bottom) interpretations of the overall grey MiGs were finished in.
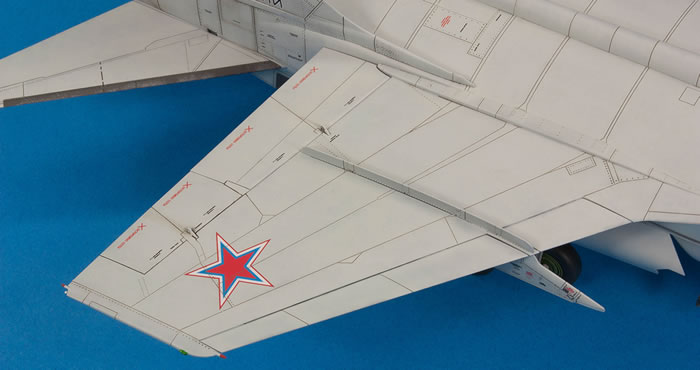
Eventually, after many painting sessions, I had the entire airframe painted in grey. Although AMK supply decals for the grey diaelectric panels, I masked them all and airbrushed them using the appropriate Akan laquer paint.
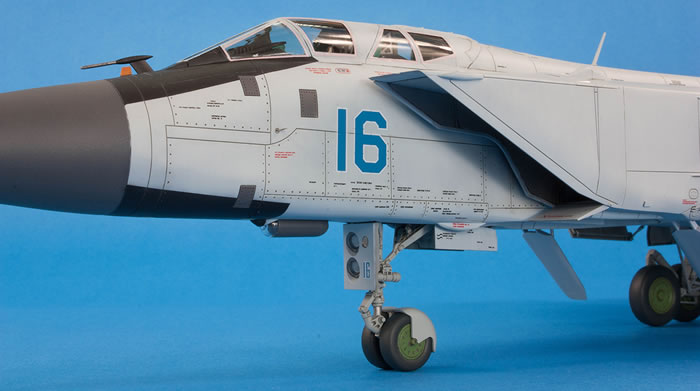
Decals
The decals are quite thick but settled very nicely using Mr Setter. The carrier film disappeared under a coat of Ammo Satin Varnish.
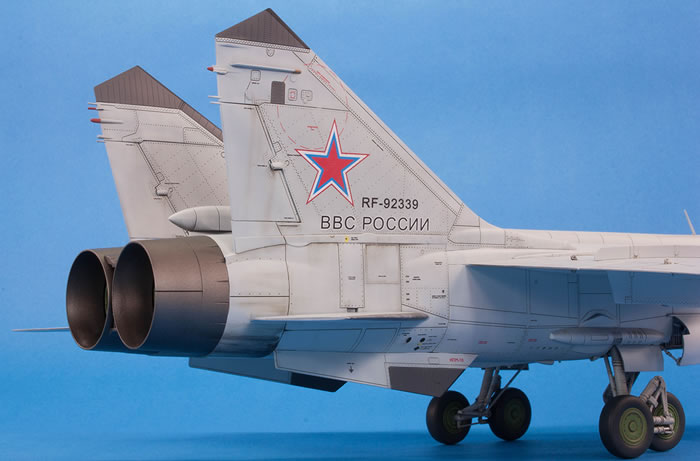
Weathering and Finishing Touches
The panel line wash is Ammo’s Medium Grey enamel product, which has a very long drying time and thus remains nice and workable.
There are a few photos of Blue 16 from 2014 on airliners.net and the finish is really very clean. I did spend some time adding streaks on the underside, just forward of the engines, as this area gets very dirty on MiG-31s. I used oil paints and AK Interactive’s Engine Grime enamel wash to replicate these, but the streaks are not my best.
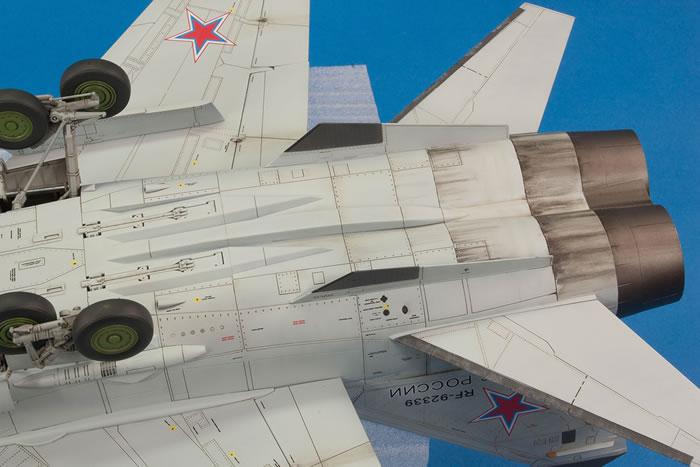
The same products were used to add some gentle streaking from the flap and aileron hinges and down the rudders.
The undercarriage is complex. I was using the AMK metal upgrade set, which is great, but, rather uncharacteristically for this kit, the main gear fits loosely into the locating holes and flops around a lot. Quite a few of the other parts help firm it up, but I did have to disassemble the port side set and reset it using epoxy cement to get everything level and square.
The engineering is good and fortunately all the wheels touched the ground without too much effort.
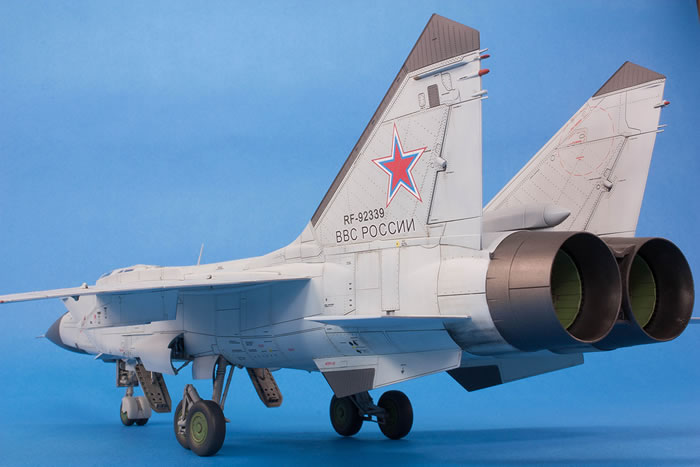
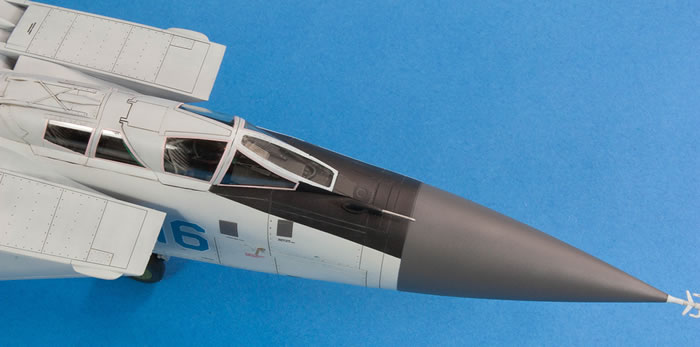
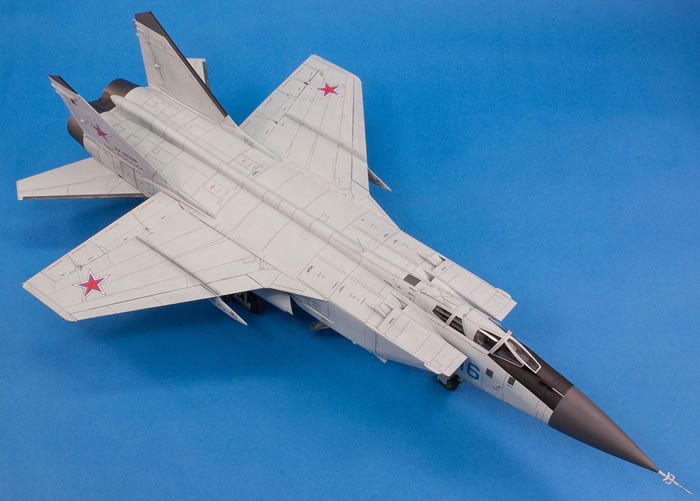
The final product is certainly very imposing. I wish I’d used Akan paint for the overall finish, as I think the colour is much better. I also wished I’d faired the central portion of the canopy into the fuselage, and for some reason there’s a small amount of fogging that’s appeared on the inside of the transparency. The end product could have been more accurate if I’d noticed some issues earlier on – I missed a couple of small grey panels on the intake sides, and I’m not happy with what parts F12 are meant to replicate. An Eduard Brassin set would also have improved the nose wheel mud guard. But overall, I love the look of the Foxhound and it was a pleasure to make. A few years ago it would have been unimaginable to have such a great kit in 1/48 of an aircraft that has been neglected for so long.
This brings my series on building MiG jets to an end. Hopefully ICM will see fit in the future to release an interceptor version of the MiG-25, and hopefully somebody will see fit to release a MiG-27 that bears some resemblance to the real thing. Until then, I fancy building something else…
For more articles like this, please visit my website www.jonbryon.com
Text and Images Copyright ©
2017 by Jon Bryon
Page Created 19 December, 2017
Last Updated
19 December, 2017
Back to
HyperScale Main Page

|
 Home
| What's New |
Features |
Gallery |
Reviews |
Reference |
Forum |
Search
Home
| What's New |
Features |
Gallery |
Reviews |
Reference |
Forum |
Search