Eduard 1/48 scale
Focke-Wulf Fw 190 A-4
Part 1 - BRASSIN Cockpit
& Airframe Assembly
|
Eduard 1/48 scale Focke-Wulf Fw 190 A-4 |
by Brett Green

Eduard's 1/48 scale Fw 190 A-4 is available online from Squadron for only USD$39.99!
I have started work on Eduard’s new 1/48 scale Focke-Wulf Fw 190 A-4.
Amazingly, I have never built one of Eduard’s first generation of Wurgers, partly due to generally bad timing but also as it had a bit of a reputation of being a tough build.
Fear not though. This 1/48 scale Eduard is genuinely all-new and it is as smooth and easy to build as their superlative Spitfire family and the lovely retooled Bf 109 Fs and Gs.
The new kit comprises 187 parts in grey plastic, but many of these are marked not for use so there are really only 107 parts that will be relevant to this version. A number of these are options, so the total parts used will be even fewer than this.
There are also ten parts in clear, a colour photo-etched fret, masks for the canopy and wheels plus markings for five aircraft.
The kit features Eduard’s trademark fine panel detail with crisply recessed panel lines and remarkably subtle lines of rivets. The treatment of surface textures is a matter of personal taste but I think Eduard’s approach is world class.
I originally planned to build the model using the BRASSIN engine bay and the BRASSIN cockpit. However, I really wanted to see how easily or otherwise the nose went together so I set the engine bay to one side.
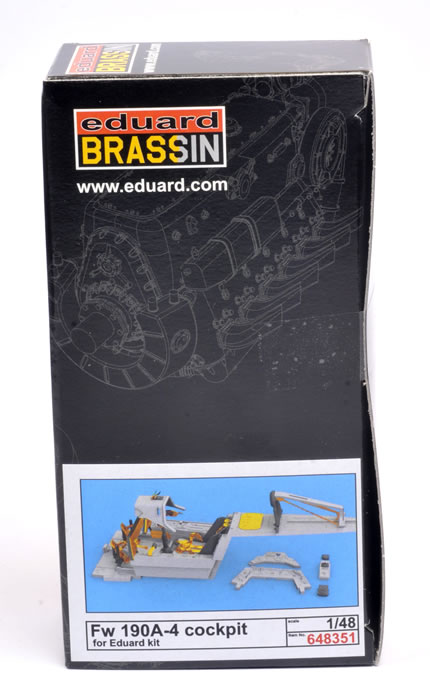
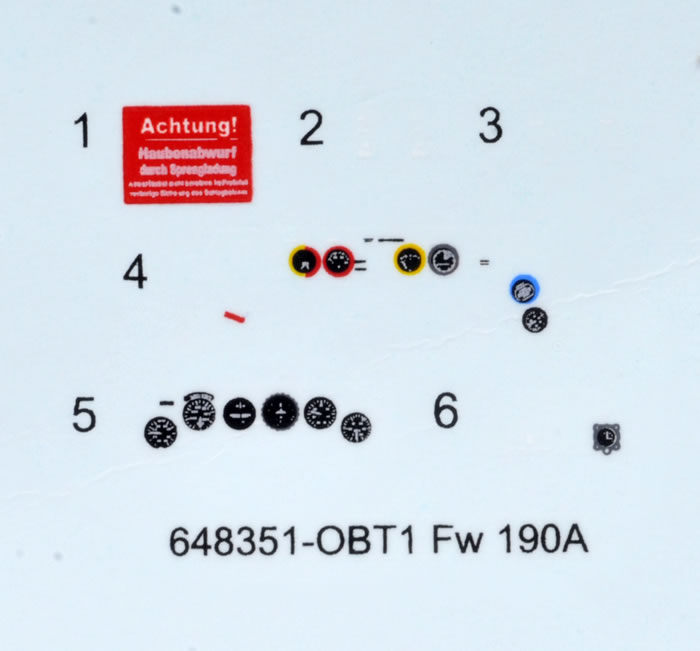
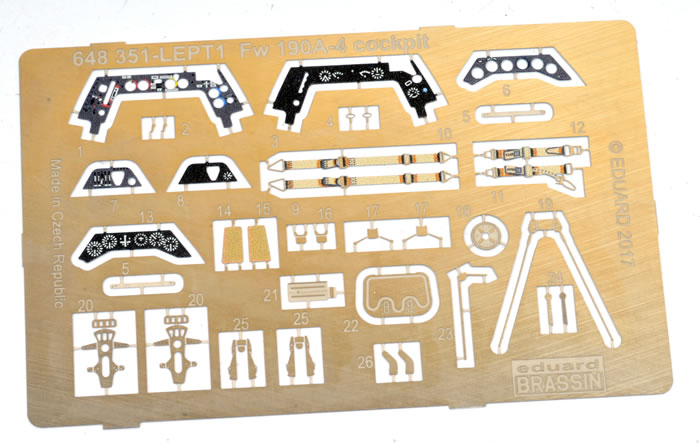
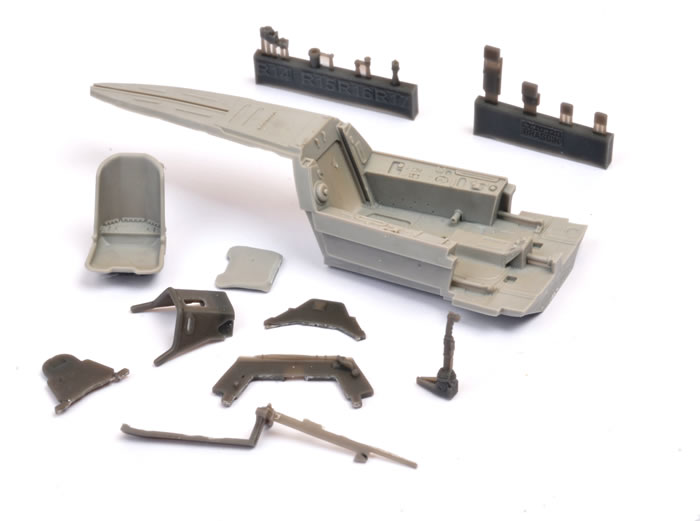
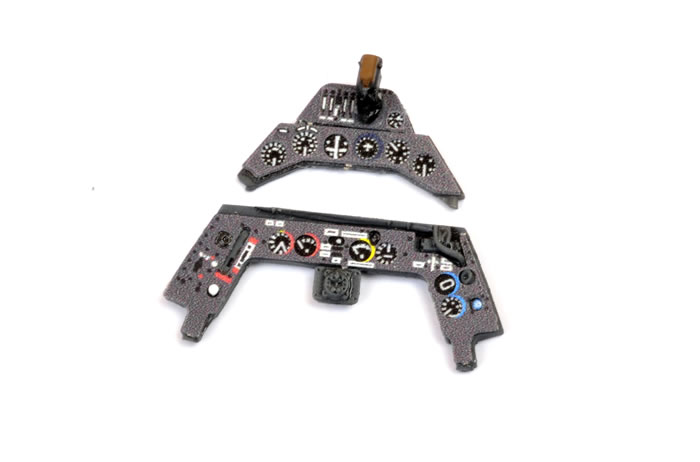
I started work on the Eduard BRASSIN cockpit. This comprises 22 resin parts (although two of these will be optional parts that are not used) plus a coloured photo-etched fret and decals for stencils and instrument dials.
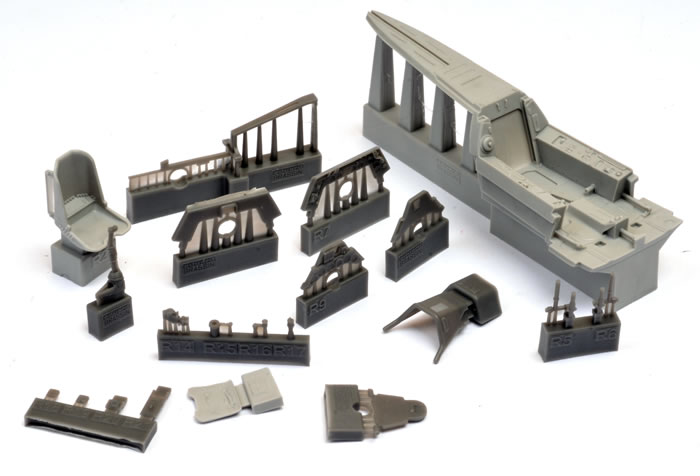
The optional parts are the instrument panel. The first option offers a resin part with raised bezels and other details plus decal dials.
The second option provides a colour photo-etched sandwich that is glued onto a flat resin panel.
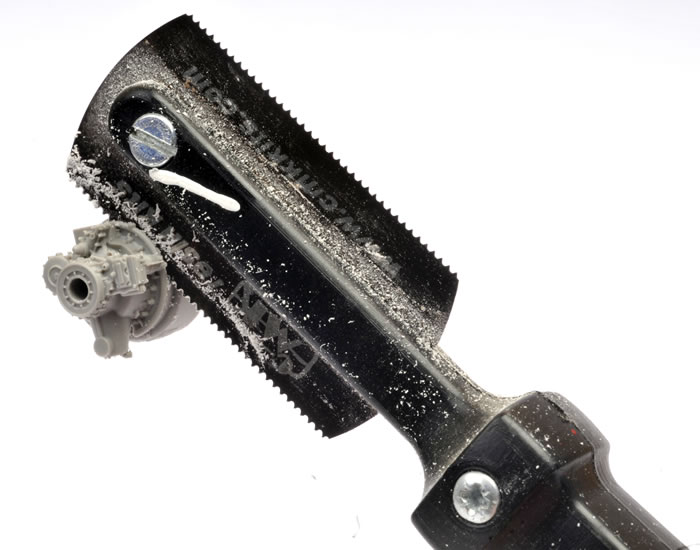
Resin parts removal and clean-up is probably the most demanding part of the project. Most of the parts may be removed using a razor saw (the photo below shows one of the engine parts though – not the cockpit)…
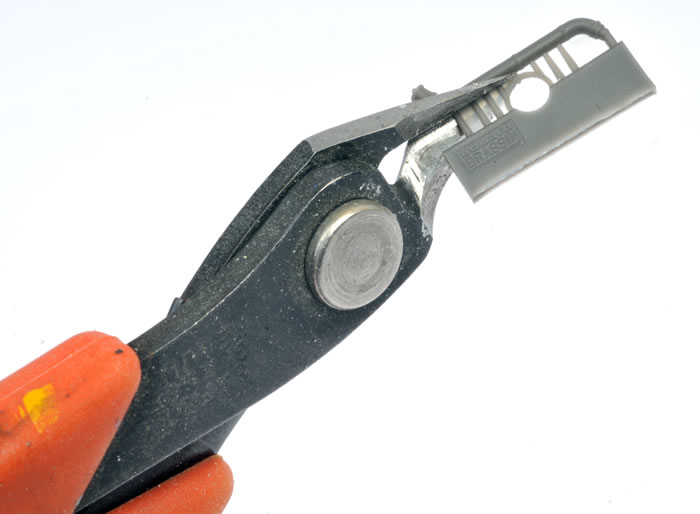
…or even a pair of sprue cutters…
…but some parts, such as the main cockpit tub, will benefit from power tools. Here, my Dremel is fitted with a ceramic cutting wheel to remove the chunky casting block on the bottom of the main cockpit tub part.
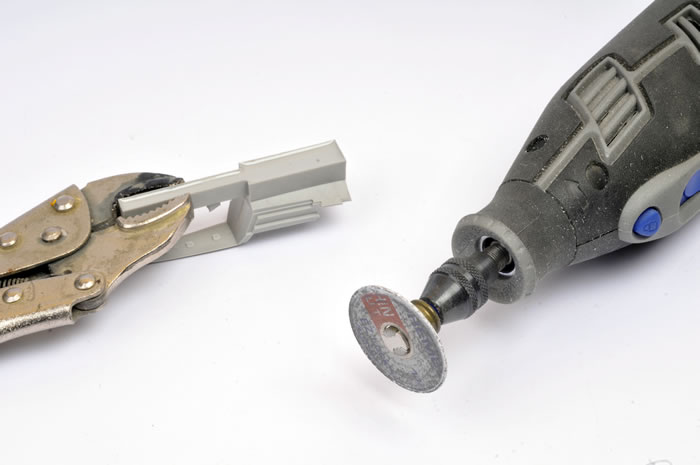
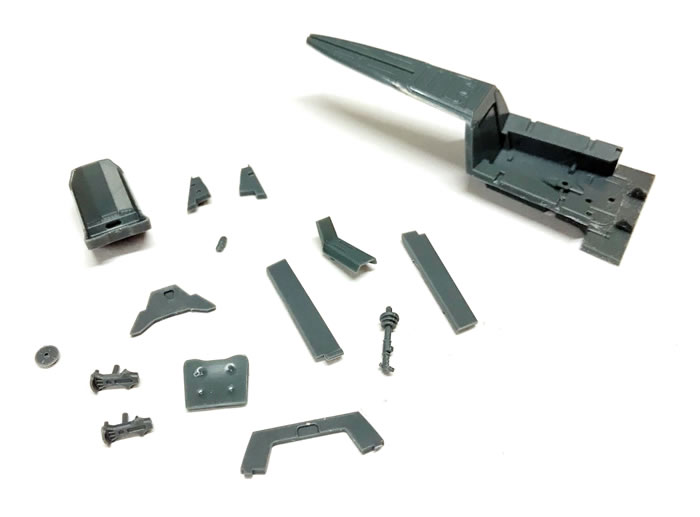
In the end though, clean-up is not too onerous and the good news is that there is virtually no surgery required to the kit parts. The resin parts are mostly a drop-fit replacement.
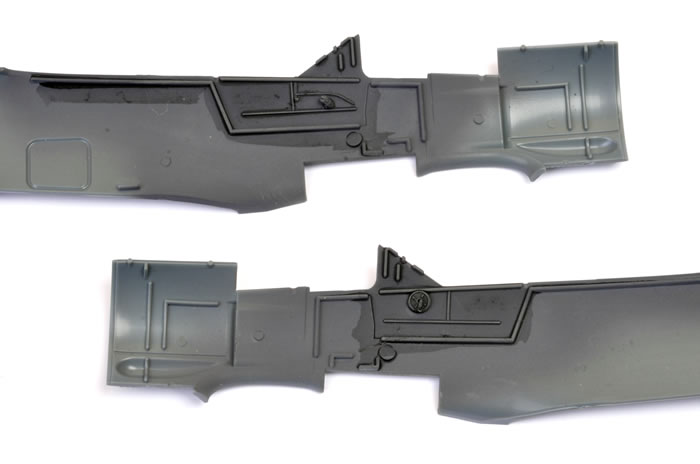
Here are the equivalent kit parts. By the time they are painted up and have the photo-etched parts added they will look very good, but I think the BRASSIN parts are noticeably finer and better detailed, especially the sidewalls, the rear deck and the pilot’s seat.
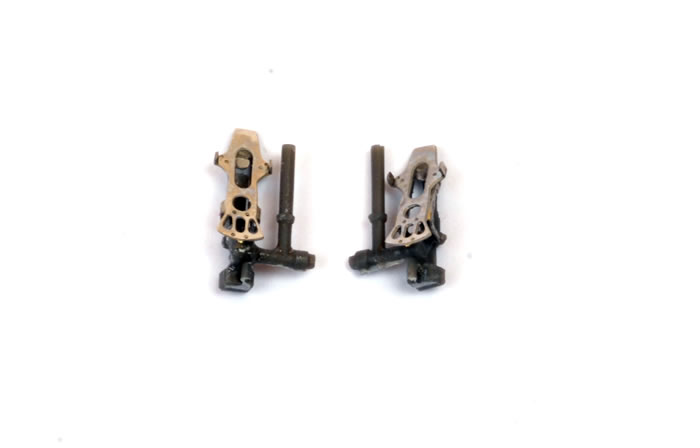
Each rudder pedal is made up from two photo-etched and one resin part. A further colour photo-etched part (the toe strap) will be added after painting.
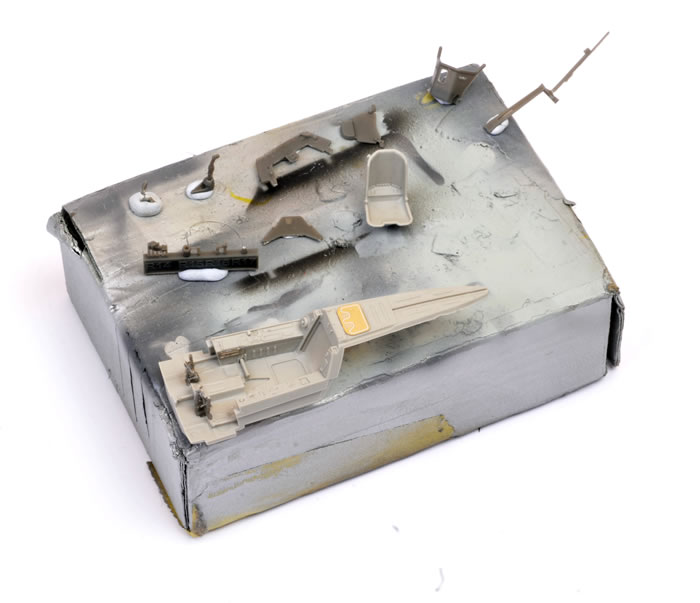
The resin cockpit parts have been temporarily attached to a small paint box to make handling easier during painting.
All the interior parts were first sprayed with Tamiya acrylic XF-24 Dark Grey. This is a bit paler than RLM 66 Black Grey, but we’ll be shading it shortly.

I mixed up some water, Future Floor Polish and a spot of black acrylic paint. This wash was applied to all the grey parts. It tends to settle in low points and along structural features, both darkening and shading the base colour. A coat of AK Interactive’s acrylic Flat has been sprayed over the top of the wash.
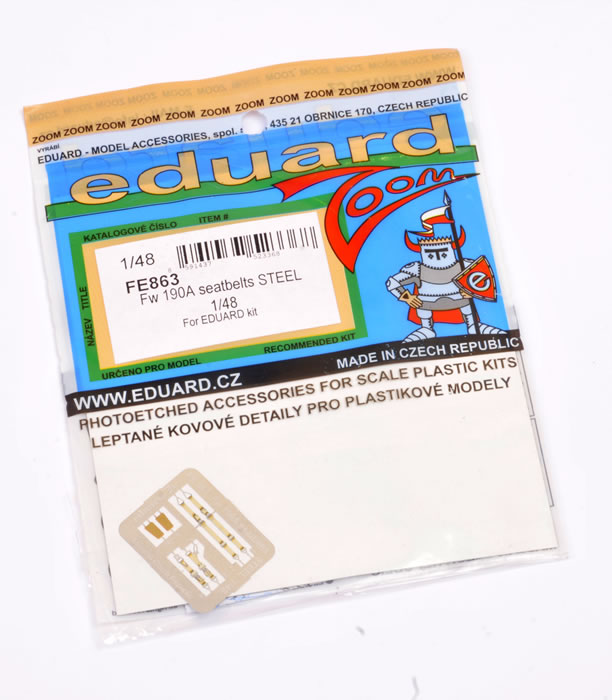
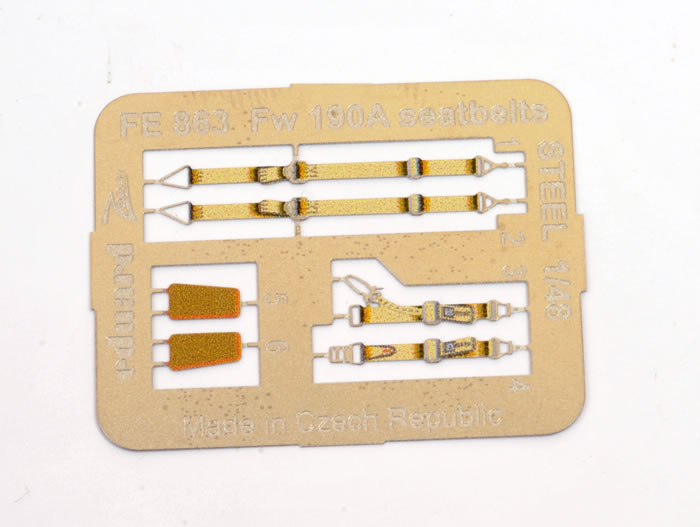
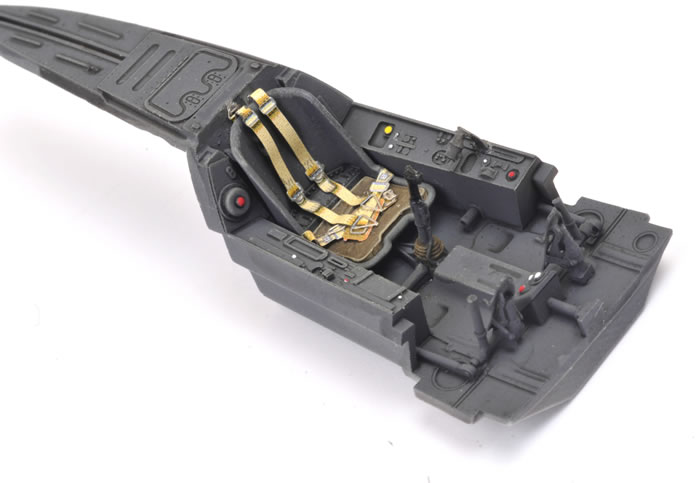
Although seat belts are provided in the kit and in the BRASSIN cockpit set, I prefer the very thin, very flexible and somewhat misleadingly named STEEL belts.
The half-tone rendering looks particularly good on these, and they drape quite naturally without the need to anneal or soften the metal.
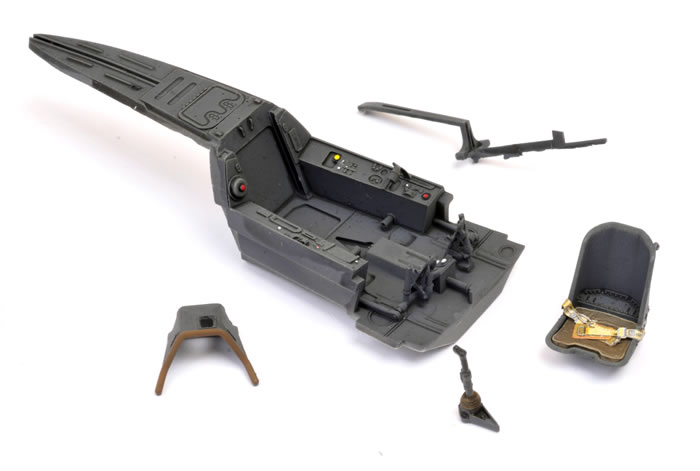
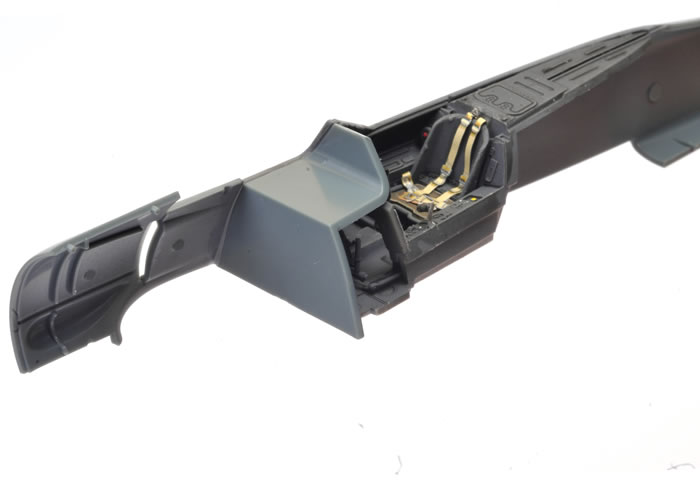
Detail painting and lap harnesses fitted.
Eduard’s photo-etched instrument panels never look as good in the photos as they do under natural light. My big studio lights greatly exaggerate the texture of the finish (although these ones are slightly out of register).
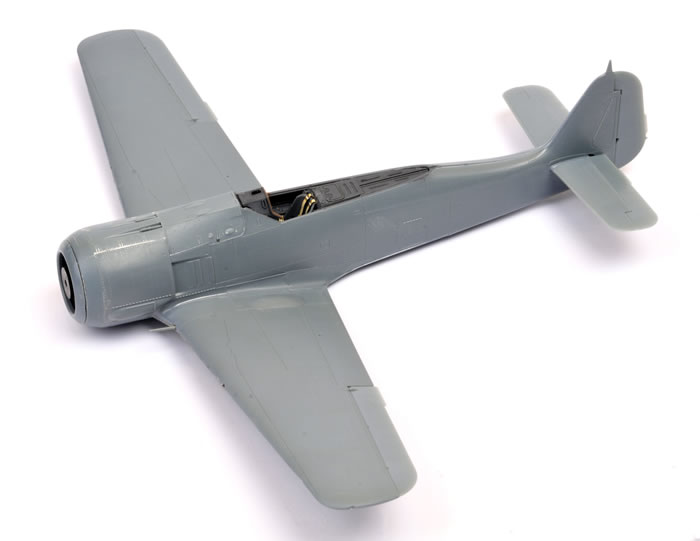
The cockpit almost complete.
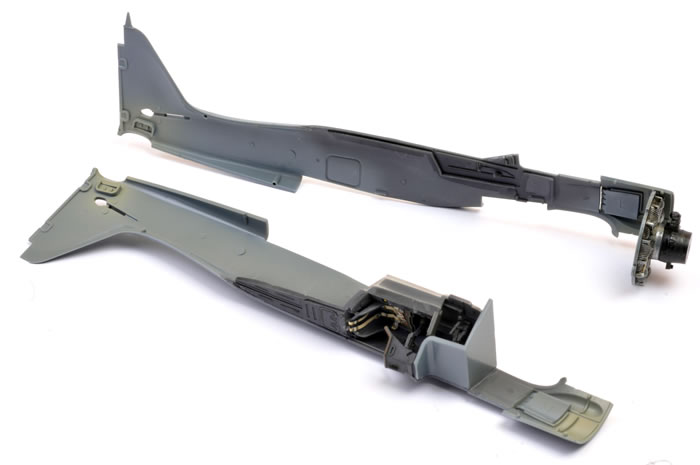
The cockpit and lower instrument panel were glued inside the starboard side of the fuselage.
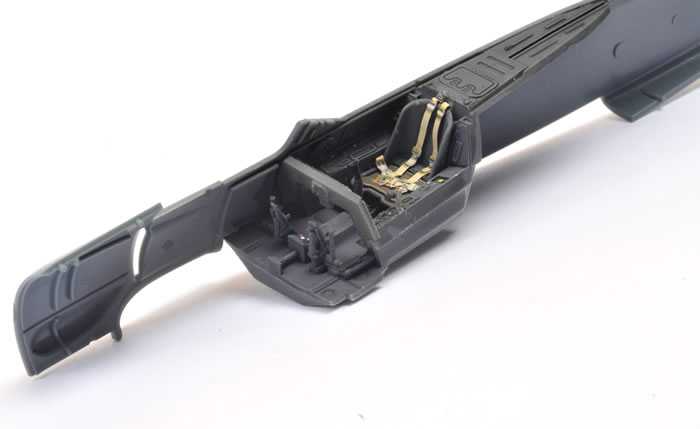
I was a bit concerned that I may have to remove some of the raised detail moulded to the fuselage interior but it all fitted perfectly. This is how it should look from below.
The front cockpit firewall was added now.
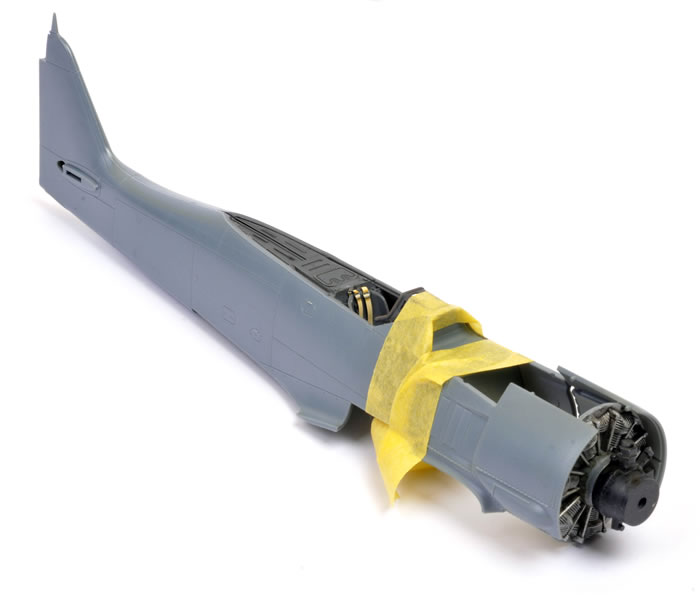
The engine is supplied in just two pieces but it benefits greatly from a simple dark oil wash. It will be virtually invisible behind the engine fan though.

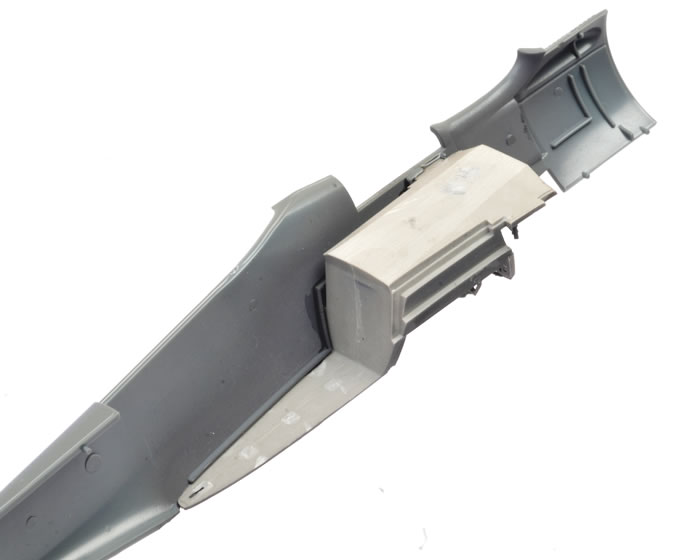
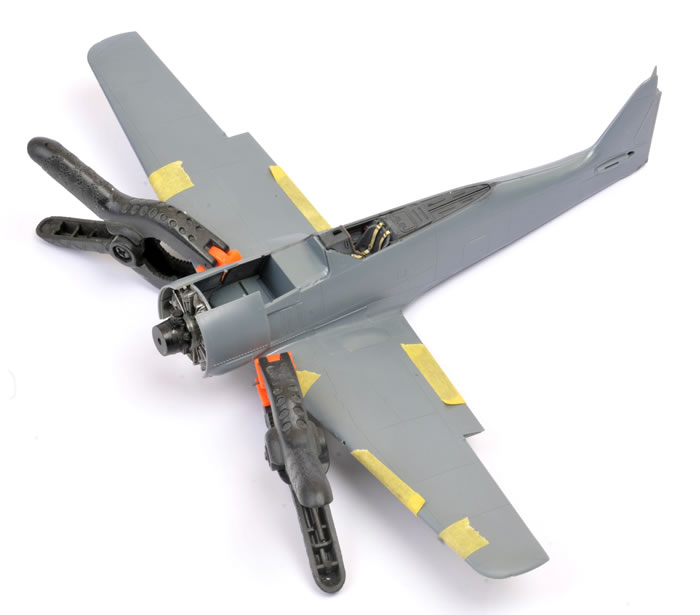
The exhausts have been glued to the insides of the fuselage halves. I have also painted the nose and tail wheel well RLM 02 Grey (Gunze H58).
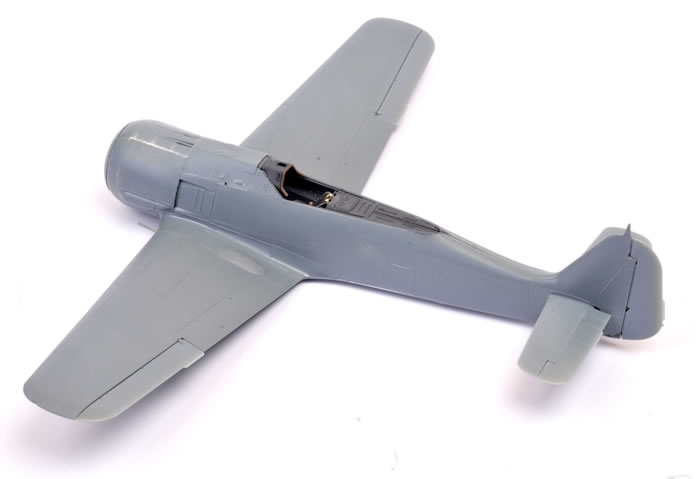
The fuselage halves were brought together. Fit was perfect.
The rear wall of the main undercarriage bay doubles as the wing spar, so dihedral is not a problem. Here are the other main gear bay parts too. I lost one of the small braces during assembly!
Undercarriage bay parts in place and painted RLM 02 Grey.
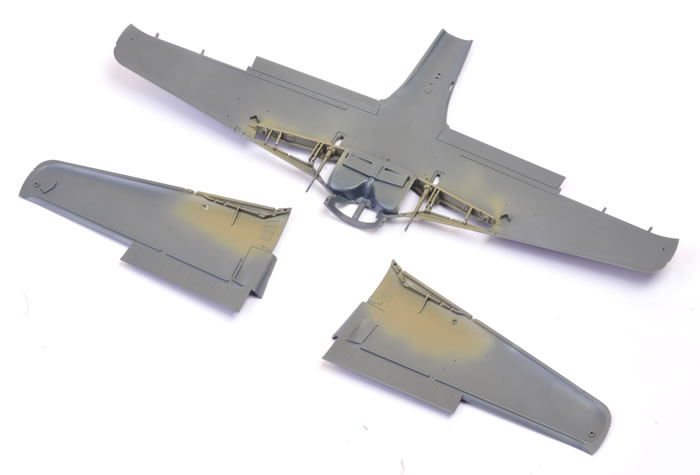
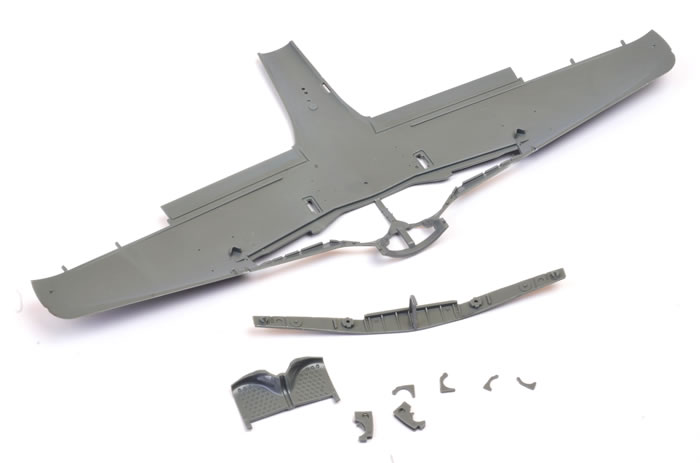
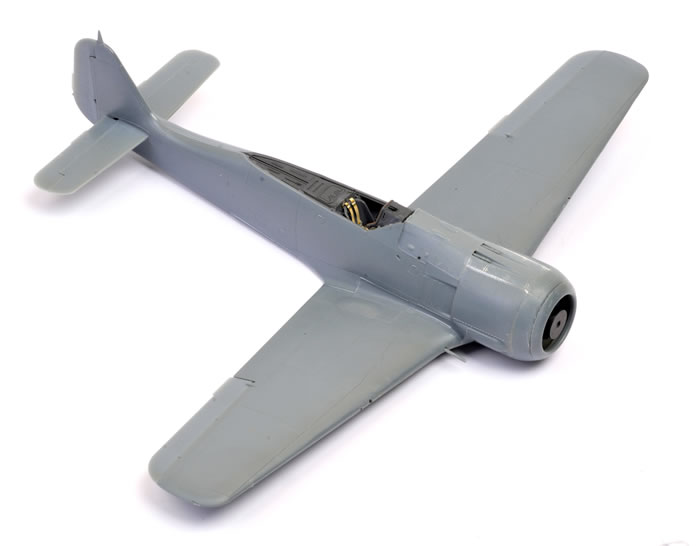
Everything starts to come together very quickly now. The upper wings are glued to the full span lower wing.
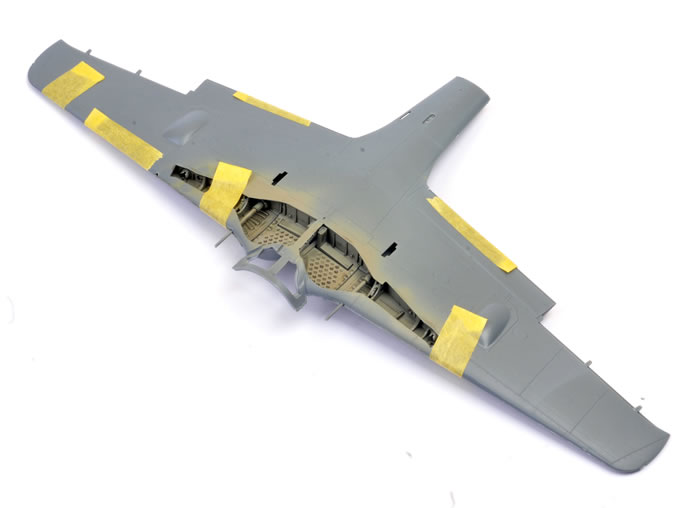
The wing is now attached to the fuselage. Check out the perfect fit at the wing root.
The cowl sides are moulded as part of the fuselage halves, so the only separate parts are for the gun deck and the lower cowl.
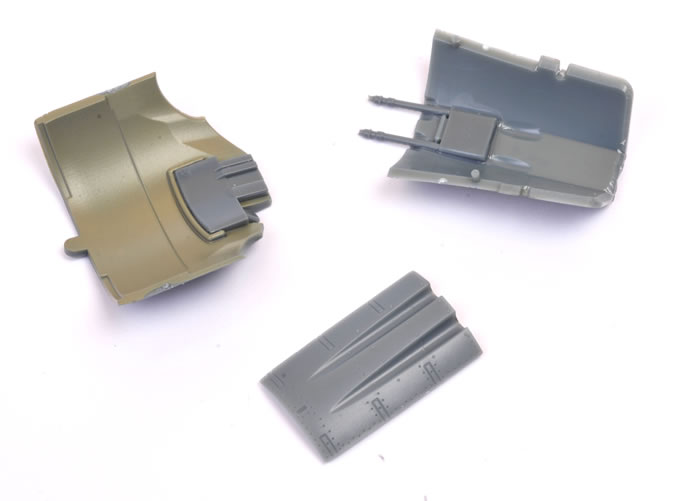
During test fitting, the forward gun cowl appeared to sit too high, so I sanded the sides a bit. As it turns out, my sanded part was then too narrow! Next time I won’t do any sanding and I am sure that it will fit perfectly once the glue is applied. Nose rings are a perfect fit too.

The only filler required was to repair my small self-inflicted gap on the forward gun cowl.
Otherwise, fit was very good.
Eduard’s 1/48 scale Focke-Wulf Fw 190 A-4 is a terrific kit – nicely detailed, world class surface textures, many useful options, fast build and excellent fit. Kudos to Eduard for going back to totally retool its 1/48 scale Wurgers.
I will certainly be building more of these as the new variants are releases – probably using the BRASSIN engine next time!
Model, Images and Text
Copyright © 2017 by Brett Green
Page Created 23 November, 2017
Last Updated
24 November, 2017
Back to HyperScale Main Page
|
 Home
| What's New | Features | Gallery | Reviews | Reference | Resource Guides | Forum |
Home
| What's New | Features | Gallery | Reviews | Reference | Resource Guides | Forum |