F3D-2 Skyknight
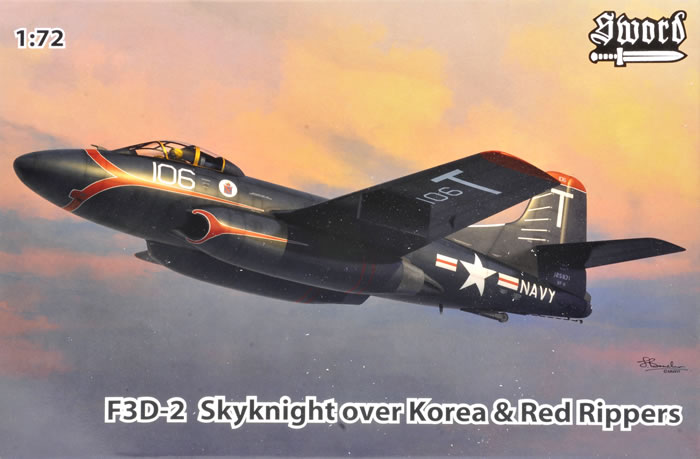
Sword, 1/72 scale
S u m m a r y : |
Catalogue Number: |
Sword Kit No. SW72094 - F3D-2 Skyknight |
Scale: |
1/72 |
Contents & Media |
69 grey and three clear styrene parts, and decals for four colour scheme options. |
Price: |
Available online from these stockists:
Click here for currency conversion. |
Review Type: |
First Look. |
Advantages: |
The best 1/72 Skyknight; a good quality kit with nice surface and interior detail. |
Disadvantages: |
None noted. |
Conclusions: |
This remains a good quality kit with nice surface and interior detail, and is still the best Skyknight in ‘The One True Scale’.
Sword’s new instruction style is an improvement on that previously used, especially in the case of the colours & markings section.
This nicely engineered kit looks to be very straightforward to build, although the erroneous cable ducting will need to be removed unless modelling one of just two airframes that had this feature; but this is easily done. The kit has the potential to produce an attractive and interesting model. I definitely recommend it. |
Reviewed by
Mark Davies

Sword's 1/72 scale F2H-2N Banshee is available online from
Squadron.com
First flown in March 1948, the F3D Skyknight was a jet night & all-weather fighter capable of operating from aircraft carriers; it would remain in service until mid-1970. Like many early straight wing jets, its performance was soon to be outclassed and superseded by more advanced designs. However, it was still responsible for downing more enemy aircraft in the Korean War than any other US Navy type.
The design specification called for a very large radar dish able to track targets out to 125 miles, a huge range for the time; but this in turn needed a wide fuselage cross-section to fit the enormous Westinghouse APQ-35, which used about 300 vacuum valves. The bulky but roomy airframe extended the design's usefulness after more capable all-weather fighters replaced it, as its spaciousness allowed plenty of avionics to be carried. It was used on early radar-guided missile tests and served in an electronic warfare role during the Vietnam War.
An interesting feature of the design was its weight-saving use of an escape tunnel rather than ejection seats for the crew (a similar feature used by Douglas on the A-3 carrier-borne jet-bomber too). A far more detailed background to the Skyknight and its history can be found at Wikipedia.
1/72 Scale Skyknight Kits
I am aware of five F3D kits in The One True Scale, three being Vac-forms from Air Model, Rereplanes, and Falcon (which included some white metal parts). All are hard to find these days, and were superseded long ago by Matchbox's injected kit (possibly re-released by Revell Germany using Matchbox branding).
I built the 1988 Matchbox kit many years ago, and recall that it had easily removed raised surface detail and none of the horrible panel-line trenches often associated with their kits. The shape seemed good, as were the decals, but interior and undercarriage detail was typical of the brand, being simplified and soft.
We were certainly due a more modern Skyknight kit, and I am sure many welcomed Sword’s new tool release in 2103. This was initially offered in two boxings as an F3D-2 and EF-10B, whilst the third boxing to date is the subject of this ‘first look’. It is the same tooling as previously, but with new markings and restyled instructions.
Contents
The kit comes in Sword’s usual end-opening box with artwork on the front and colour profiles of the decal options provided on the rear. The plastic parts and decals come in a zip-lock bag, with the clear parts further enclosed in a small bag of their own.
The new-style instructions are an A4 sized stapled booklet printed in colour on matte finish paper. They are notable for their very large and clear assembly illustrations, and new full-colour four-view colours and markings drawings. These are a nice improvement over the previous style of instructions offered by Sword, which were printed on paper half the size with a monochrome colours & markings section.
Another improvement is the inclusion of FS.595 colour codes, rather than just generic paint names for the airframe colours. There is a parts map and generic paint colours for detail painting, which are given in Czech and English, whilst all other text in English.
The Kit
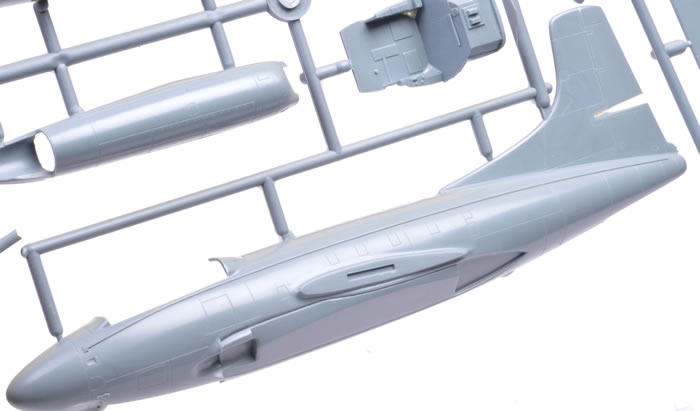
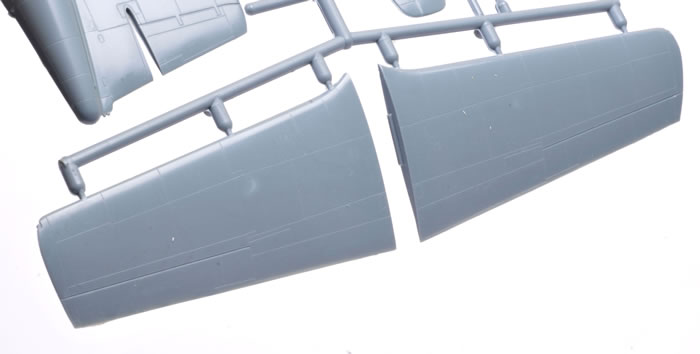
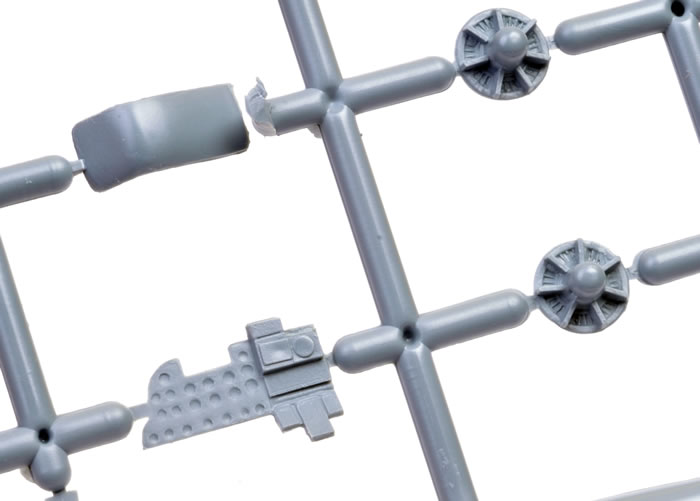
It is a typical Sword kit in that the cleanly moulded parts have very fine surface detail, and the sprue gates are generally narrow. The quality of parts is just as good as my example produced almost four years ago. There are no resin parts, unlike many earlier Sword kits. Parts break down is largely conventional for the type.
Cockpit detail is a huge advance on the old Matchbox kit, and is quite comprehensive for an all-styrene effort. The seats have no harnesses moulded with them, so it is worth adding homemade or PE belts to dress things up some more.
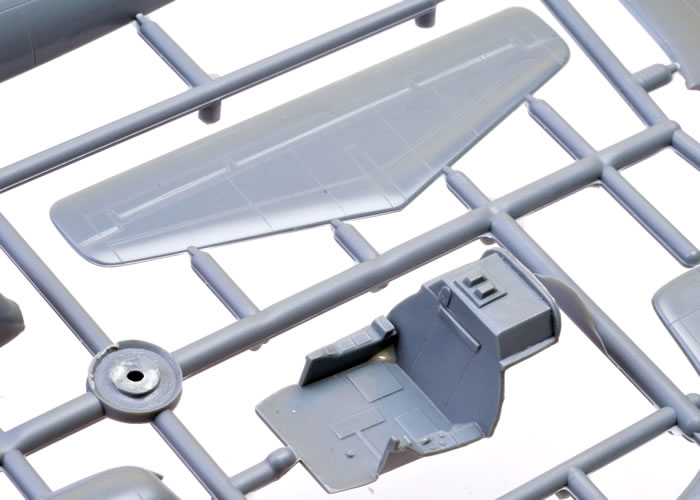
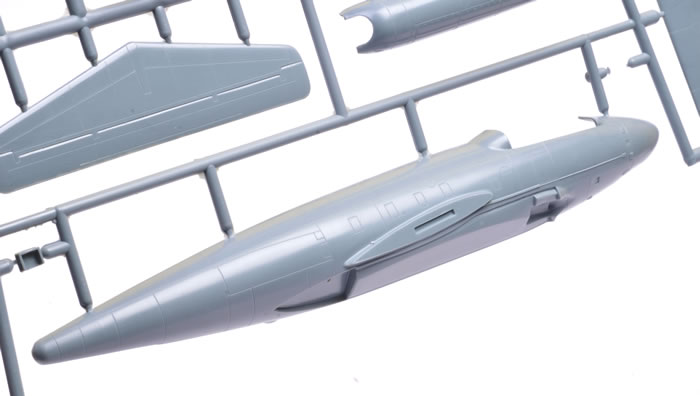
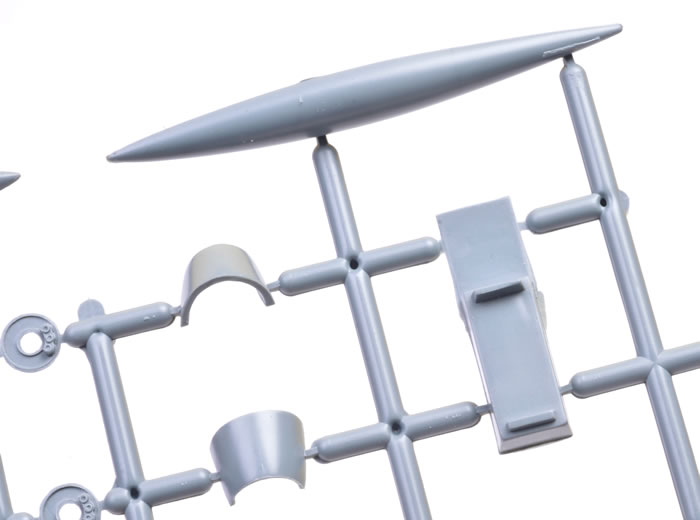
The airframe is a very straightforward affair, and I envisage the kit being quite quick to assemble. The integral engine nacelles are moulded separately from the main fuselage halves, and have internal intake and exhaust ducts included, along with their respective compressor and turbine faces.
The engine nacelles fit into deep grooves in the fuselage halves, which I think should make for filler-free joins along their length. However, I suspect that some filler and sanding will be needed to blend the inlets and their ducting.
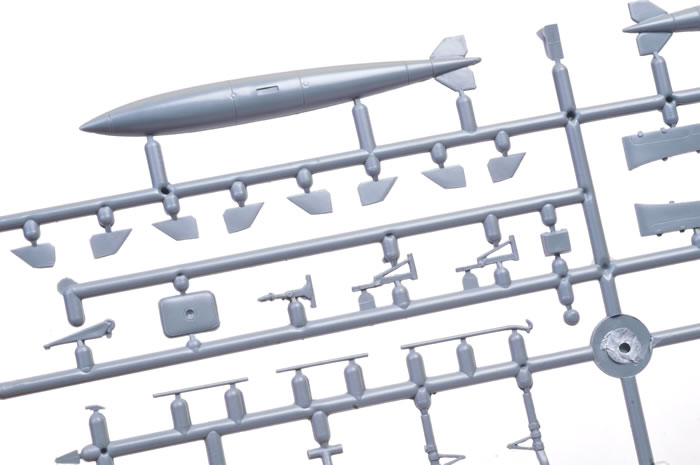
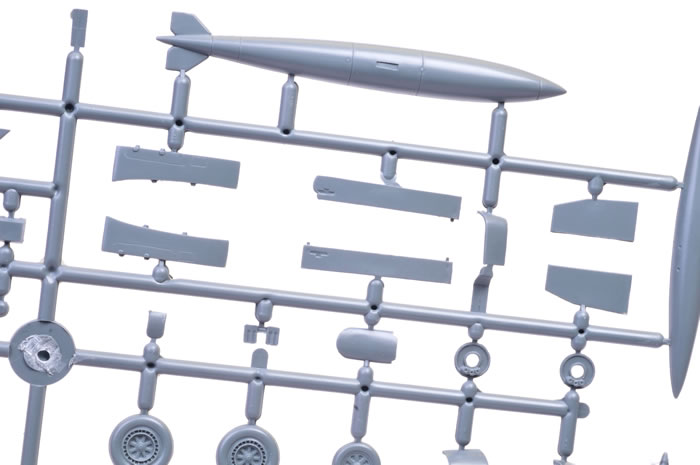
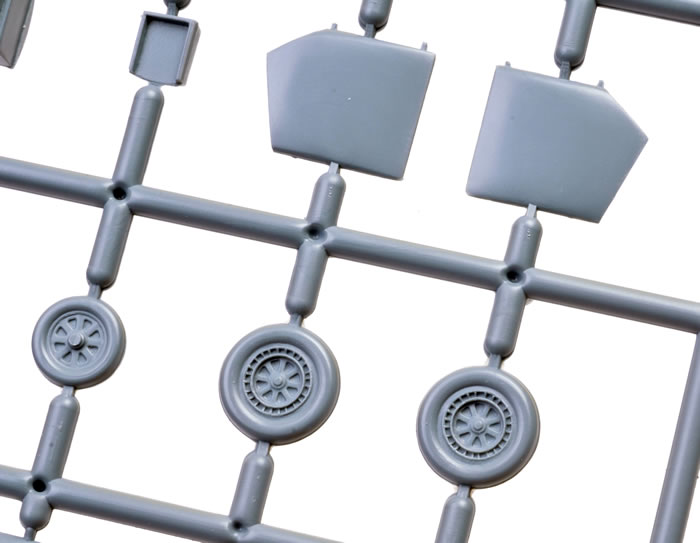
The undercarriage is nicely done and much better than the Matchbox kit's, with crisper moulding and more detail on the inside faces of the undercarriage doors.
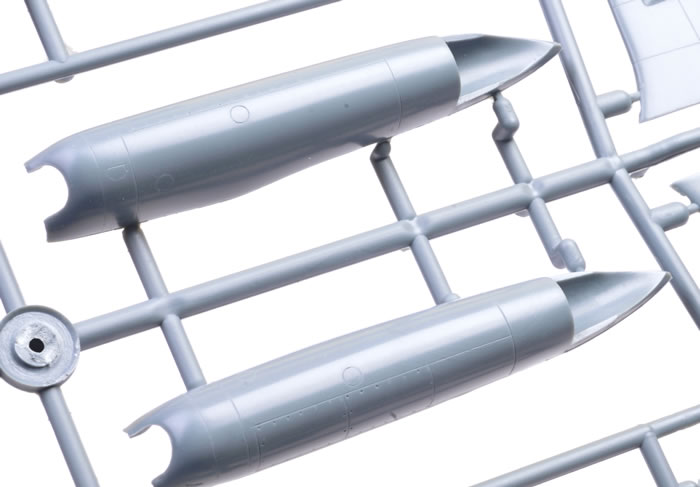
Two drop-tanks and their pylons are the only external stores provided, and will suffice for most options. The instructions show the pylons drawn with sway-braces, whereas the actual kit pylons only have small stubs where the sway-braces should be. (This is not the only kit where I have found Sword’s instructional drawings to show more detail than is actually provided.)
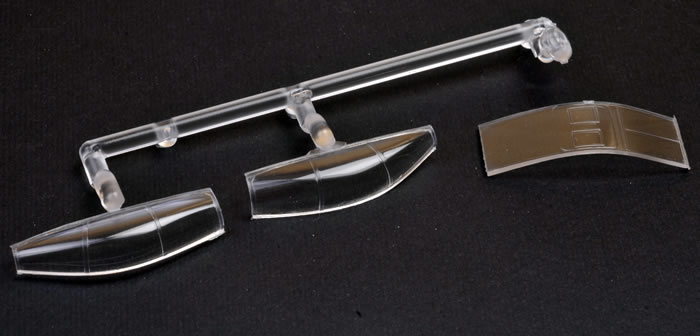
The canopy is a three-piece affair to enable the bulged sides to be moulded, so care will be needed when joining these to the curved centre-section. The canopy is clear and quite thin, with crisply moulded framing that is much better than the heavier style of the Matchbox kit.
Overall, I should think that this kit should be a simple and enjoyable one to build.
Addendum
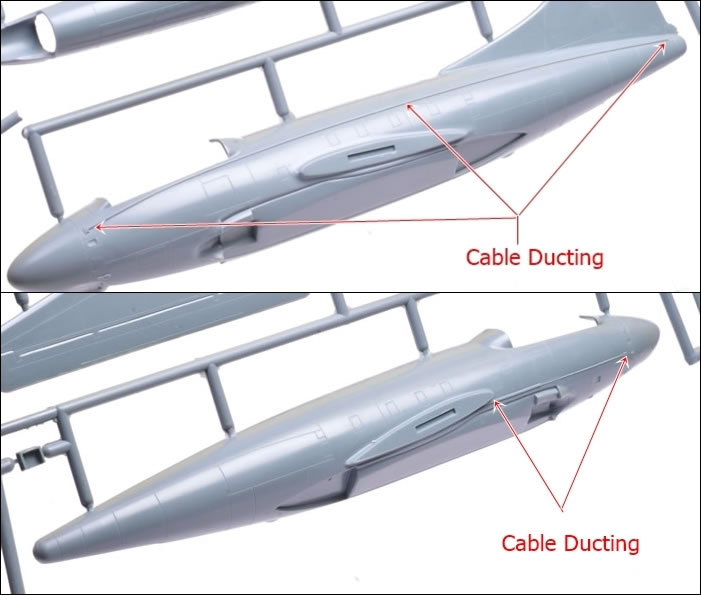
Shortly after the original posting of this article, Michael Derderian contacted Brett Green and pointed out my oversight of a significant but fortunately easily fixed flaw with Sword’s Skyknight. Michael advised:
The kit as produced by Sword, depicts an F3D that was one of two bailed to Raytheon by the Navy for Sparrow missile testing- it had cable ducts installed on either side of the fuselage to carry the wiring associated with the missile firing and tracking equipment, and these would not be present on an operational aircraft. One of these test mules was given to the USMC Aviation Museum and painted to represent a Korean War aircraft- problem being, the museum neglected to remove the cable ducting on either side of the fuselage, and Sword did not pick up on this fact when they measured and photographed it when doing research for the kit.
You can confirm this by looking at the photos and text in the Ginter book on the Skyknight; not a deal breaker, to be sure, but might not be noticed or known to a lot of prospective builders who don’t have a lot of reference material or haven’t been up close and personal with the real article, as I have.
Although I am far from being an F3D expert, I wonder how I missed this point now that I know about it, and thank Michael for sharing his expertise. Fortunately, the fix is any easy one as the cable ducts just need to be scraped and sanded away.
Marking Options
The decals are by Techmod; they are well registered and appear to have good colour density.

I am sure they will prove to be excellent to apply based on my experience of this brand.
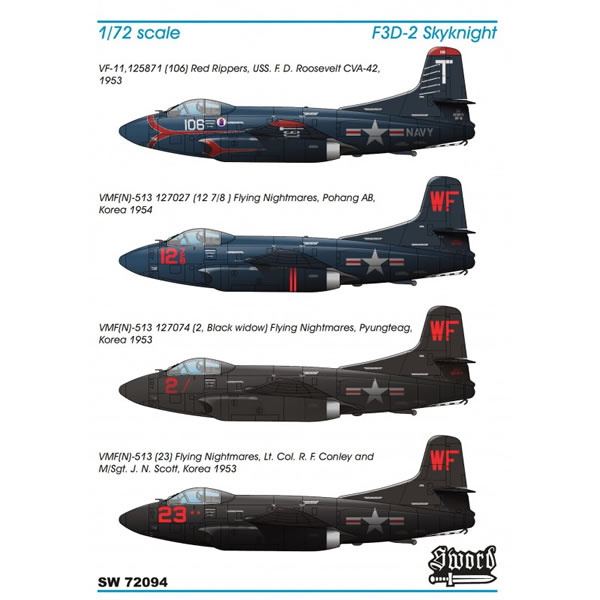
They include quite a few stencil markings, whose locations are detailed within the colours & markings drawings, rather than on a separate page of the instructions as in previous boxings.
This remains a good quality kit with nice surface and interior detail, and is still the best Skyknight in ‘The One True Scale’.
Sword’s new instruction style is an improvement on that previously used, especially in the case of the colours & markings section.
This nicely engineered kit looks to be very straightforward to build, although the erroneous cable ducting will need to be removed unless modelling one of just two airframes that had this feature; but this is easily done.
The kit has the potential to produce an attractive and interesting model.
I definitely recommend it.
Thanks to Sword Models for this review sample.
Review Text Copyright © 2016 by Mark Davies
Images Copyright © 2016 by Brett Green
Page Created 30 June, 2016
Last updated
4 July, 2016
Back to HyperScale Main Page

|
 Home
| What's New | Features | Gallery | Reviews | Reference | Resource Guides | Forum |
Home
| What's New | Features | Gallery | Reviews | Reference | Resource Guides | Forum |