|
Gloster Meteor F.8
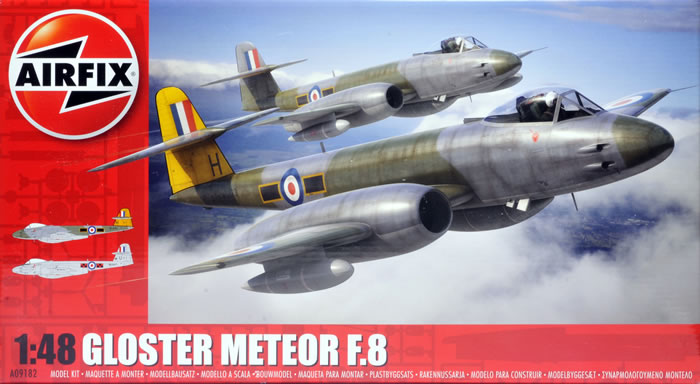
Airfix 1/48 scale
S
u m m a r y |
| Description and Catalogue Number: |
Airfix Kit No. A09182 – Gloster Meteor F.8 |
| Scale: |
1/48 |
| Contents and Media: |
164 parts (153 in grey styrene, 11 clear styrene) |
| Price: |
USD$38.99 plus shipping available online from Squadron |
| Review Type: |
FirstLook |
| Advantages: |
nice, new mold kit with a lot of options including engines and gun bays; two different seats, two different canopies, parts for other versions. |
| Disadvantages: |
No ordnance supplied |
| Conclusion: |
Highly Recommended for Cold Warriors and early jet fans |
Reviewed by Cookie Sewell

Airfix's 1/48 scale Meteor F.8 is available online from Squadron.com for just USD$38.99!
While the first models of the first British jet fighter to see production, the Gloster Meteor Mark I, came out late in 1944 and were used to try and suppress V-1 attacks on England, it was not until the Australians took the F.8 version into Korea during that war that it got is true baptism of fire.
Replacing the F-51D Mustangs with No. 77 Squadron, the Meteors initially were fielded as bomber escorts for B-29s. But nearly from the beginning they were found to be woefully ill equipped to deal with the nimble MiG-15 fighters flown by the “Unified Air Army” – Soviet pilots from the 64th Fighter Aviation Corps. So the Meteors were reassigned to ground support missions using rockets and bombs backed up by 20mm cannon.
The type acquitted itself well but 42 were lost in Korea: 4 to MiGs, 10 to AAA, 4 to midair collisions, 8 during ground attacks, 4 in non-combat situations and the rest to “enemy action”. Six pilots became POWs and 16 were killed in action. One pilot did manage to claim a MiG in a dogfight on 1 December 1951. The type soldiered on for a number of years but as a second-line aircraft; night-fighter/all weather versions remained in front line service as did trainers for a longer period.
Until the present time there have been kits from AMT, Classic Airframes and Tamiya of varying versions of the Meteor in 1/48 scale but this nice new kit of the F.8 version is probably the best one of the bunch. (Classic Airframes makes an F.8 and a PR9, but they are multimedia short-run kits and rather fiddly to deal with; AMT made a dreadful Mark 1 and Tamiya make a Mark I and an F.3.)
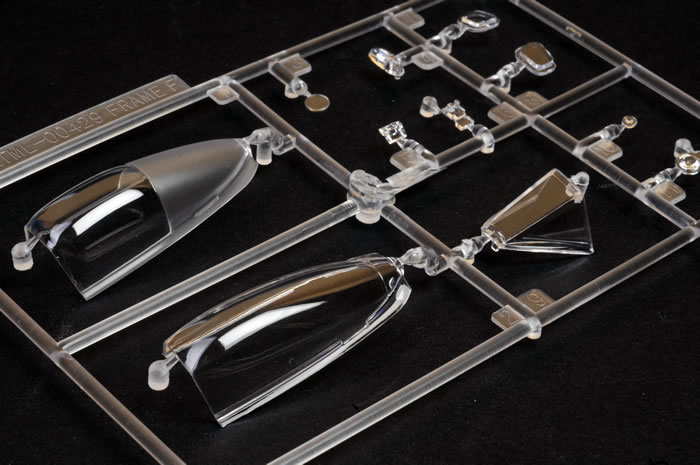
The kit provides a number of options to include engines with maintenance stands and alternative access panels, “weighted” wheels, optional early (hooded) and late (clear) canopies, the bubble for the RAAF compass, alternate position dive brakes, optional position gun bays, a choice of seats (empty or with chutes and straps), separate controls, retracted or extended landing gear, and drop tanks or the big single streamlined belly tank. While holes for racks are provided in the wings, no ordnance is included in the kit. This means if like me you want the Korean version you need to either scrounge or wait for Airfix to release a bespoke Korean version.
Construction is pretty straightforward and well laid out. There are 98 steps (!) but most are very simple and cover only a few parts. The directions are a lot different than the old “stick parts together” ones I remember from Airfix in the 1960s! These are clear, concise and use color tinting to show how and where parts go. Construction begins with the cockpit/nosewheel module which also includes the two gun bays. A separate nosewheel nest is provided and while the ejector seat mechanism is made from four parts, a choice of a bare seat or a seat with straps and seat chute are offered.
In Step 13 the modeler is informed to leave out the guns and fittings if the panel covers are to be used and the guns not displayed. Each gun has a rotary feed and belt carrier provided for it. Step 21 is for “wheels up” builds only and shows the main door blanks being installed. If you want the drop tanks, the holes fro them need to be opened up here as well as those for the belly tank or an optional stand.
The engine blast tubes go in and connect to the main spar/engine mount. In Step 33 15 grams of weight is recommended to fit right up behind the pilot’s seat.
The engine cowlings have inner and outer sections and offer alternate intake shapes - large or small. Control surfaces may be installed in any position, but there are no separate flaps.
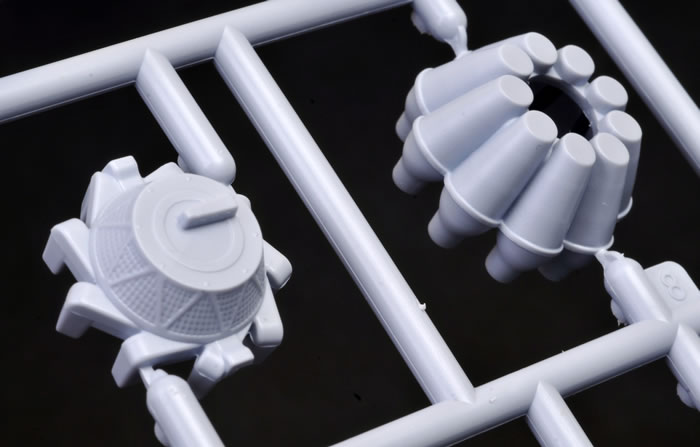
The engines consist of compressor faces, exhaust guides, combustion chambers, starter motors and fuel distribution tubing; diehards will surely want to detail these components.
The landing gear comes with the fender/splash guards in place and “flattened” tires on al three wheels. Hydraulic cables run through the front of the bays and door actuators at the rear of the main bays. The nosewheel attaches to the front bulkhead and extends out to the tip of the nose with three doors when extended.
The kit has a two-piece clear reflector gunsight and the canopy may be positioned open or closed. In the two versions offered in the kit, the early canopy with the metal “hood” at the rear is not used.
Two finishing options are offered as well as complete stenciling for the aircraft on a large sheet.
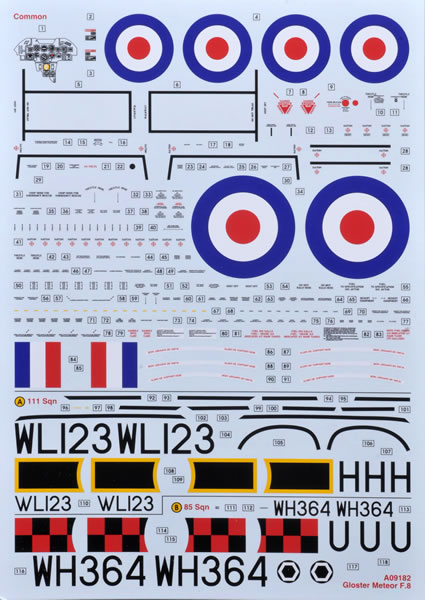
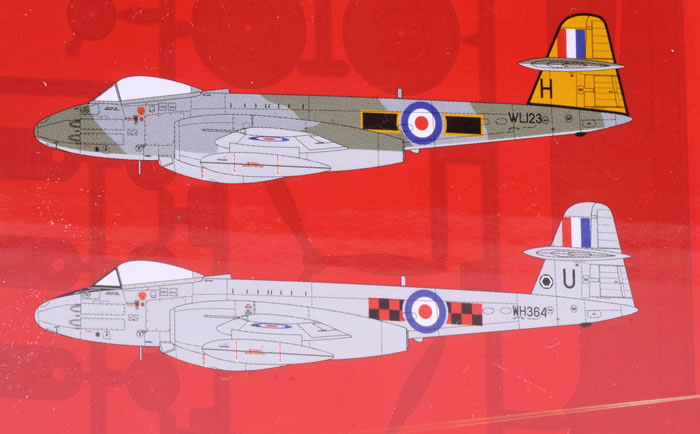
No. 111 Squadron RAF North Weald, Essex, England 1954 (WL123, grey/green over light grey with yellow fin and rudder with belly tank); No. 85 Squadron RAF Binbrook, Lincolnshire, England 1968 (WH364, silver with red/black chequerboard panels).
Overall this is a lovely kit and it means the Classic Airframes one I have is going to go to the flea market pile. But I wish they had thrown in the RAAF version and some ordnance for the Korean War ones.
Sprue Layout:
A 14 Lower wing, spar, drop tanks, belly tank, cockpit
B 13 Engine exhaust tubes, fuselage, elevators, rudder
C 24 Upper wings, stabilizers, nose cone, bulkheads
D 56 Landing gear, wheels, doors, bulkheads, seats guns
E 46 Engines, nacelles, dive brakes
F 11 Clear styrenface textures are beautifully done with fine, crisply recessed panel lines, raised panels and other structural features where appropriate. The metal control surfaces feature incredibly fine raised rivets.
Text Copyright © 2016 by Cookie Sewell
Images Copyright © 2016 by Brett Green
Page Created 14 July, 2016
Last updated
18 July, 2016
Back to HyperScale Main Page |
