F4U-1 Corsair Cockpit

Eduard BRASSIN, 1/32 scale
S u m m a r y : |
Catalogue Number: |
Eduard BRASSIN Item No. 632039 F4U-1 cockpit for Tamiya kit # 60324 |
Scale: |
1/32 |
Contents & Media |
49 light and dark grey resin parts, 2 photo-etched frets (1 pre-painted and one unpainted), 1 small decal sheet and 8-page fold-out instructions. |
Price: |
USD$54.95 plus shipping available online from Eduard |
Review Type: |
First Look. |
Advantages: |
Well engineered and cast; good fit; clear instructions. |
Disadvantages: |
Not a disadvantage, but best suited to experienced modellers. |
Conclusions: |
Constructed and installed with care, this cockpit set will make Tamiya’s already brilliant Corsair even more realistic. |
Reviewed by Brad Fallen

Eduard's 1/32 BRASSIN F4U-1A Cockpit is available online from Squadron.com
Tamiya fulfilled many modellers’ dreams when it released its 1/32 F4U-1 ‘Birdcage’ Corsair kit three years ago
Brett Green reviewed the kit here and concluded that Tamiya had “delivered a truly outstanding model….Detail in the cockpit, engine and wheel wells is superb and the finesse of surface textures, including panel lines and rivets, is…unsurpassed”.
I haven’t seen the ‘Birdcage’ release but I do have Tamiya’s subsequent F4U-1A kit, and can confirm that the mouldings are among the best I have ever seen for an injection-moulded kit.
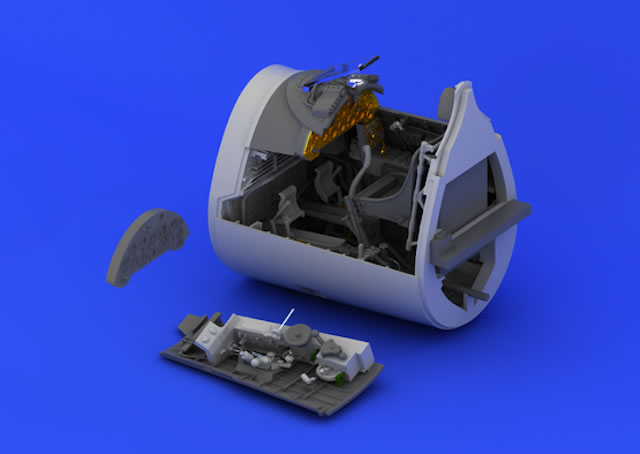
A wealth of aftermarket products is available for these kits, from decals to photo-etch to resin. Eduard’s Brassin F4U-1 ‘Birdcage’ cockpit combines all three of these media in a package that completely replaces, and surpasses, the equivalent kit parts.

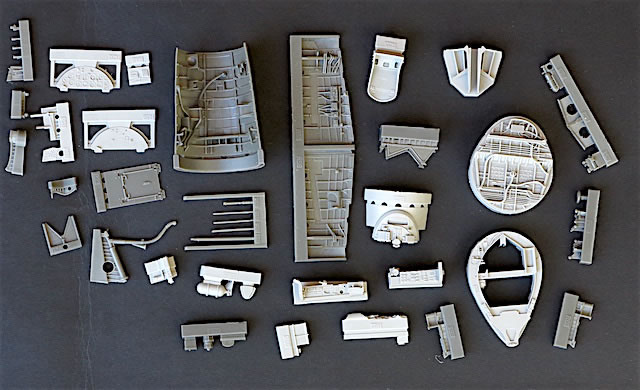
Resin is the star of the show, with nearly 50 light and dark grey parts included. Amongst these are some impressively large and complex castings, including the firewall between engine and cockpit, sidewalls, and the cockpit tub itself. Despite their size these are all perfectly cast with a significant amount of built-in detail.
Anyone familiar with the F4U-1 cockpit will know how crowded a space this is, with a much larger array of instruments, levers and controls than earlier designs like the Bf 109. This is where Eduard’s cockpit comes into its own, with the larger parts I’ve already mentioned essentially a canvas for the remainder of the resin and photo-etched components. Detail is built up in layers, so careful examination of the instructions is essential to ensure everything is assembled in the correct order. Dry fitting before committing to glue is also a good idea, although my experience with Brassin parts is that they usually fit together very well.
(I should probably state here that I haven’t forensically cross-referenced Eduard’s parts with cockpit photos to confirm accuracy. The Brassin parts look good to my eye, but I’ll happily defer to those with a far greater knowledge of the F4U-1 than myself!)
As with the larger parts, the detail of the smaller resin components is impressive but care will be needed when removing them from their casting blocks – while these have been sensibly engineered, many of the parts are inherently fragile.
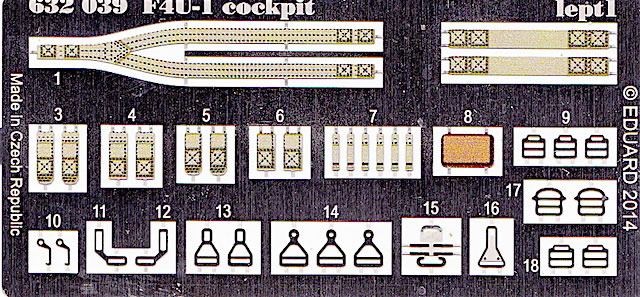
Both painted and unpainted photo etched parts are supplied. Most of the colour parts are used for the seat belts, which are made up from more than 30 separate straps and buckles. These are tiny and will test even the most patient modeller, but the end result should be very realistic.

The only possible challenge will be draping the straps realistically over the seat – the pre-painted detail means you won’t be able to anneal the photo-etch to make it easier to bend.
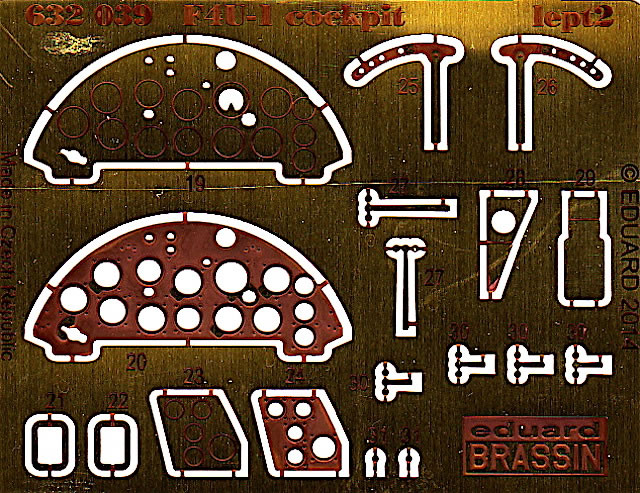
Most of the unpainted etch goes toward one of the two instrument panel options provided by Eduard. The first (probably my preferred method) sees a decal of dial details sandwiched between two photo-etched panels and mounted on a resin backplate.

The second option is an all-resin affair with cast dials and bezels – the detail is very good but I suspect my painting skills wouldn’t be up to the challenge.

This is a complex project, and at seven pages in length Eduard’s instructions are correspondingly detailed. The instructions are clearly illustrated, but as I said earlier they warrant careful study because some of the assembly sequences are complicated. Paint colours are called out throughout using Gunze-Sangyo numbers.
This is one of Eduard’s more complex Brassin sets. It’s not for beginners, but in the hands of a patient modeller it should deliver very good results. Constructed and installed with care, it will make Tamiya’s already brilliant Corsair even more realistic.
Thanks to Eduard for the samples and images.
Review Text and Images Copyright © 2016 by Brad Fallen
Except Blue Background CAD Images by Eduard
Page Created 26 August, 2016
Last updated
26 August, 2016
Back to HyperScale Main Page
Back to Reviews Page

|
