Trumpeter's 1/32 scale
Grumman F4F-4 Wildcat
by Ron O'Neal
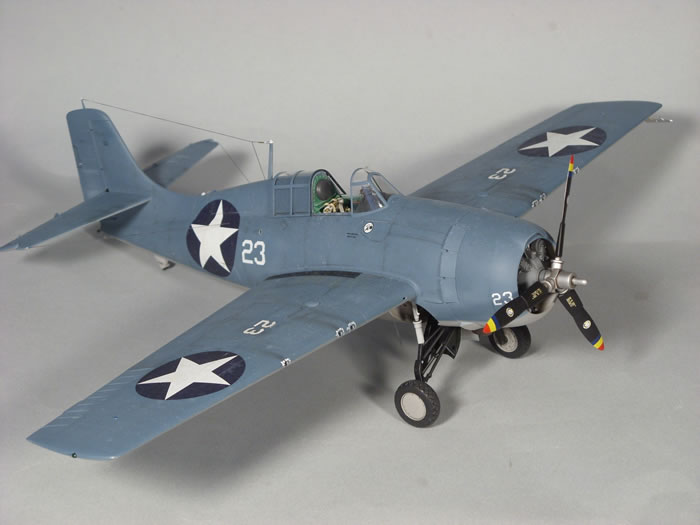 |
Grumman F4F-4 Wildcat |

Trumpeter's 1/32 scale F4F-4 Wildcat is available online from Squadron
Here’s the Trumpeter 1/32 F4F-4 Wildcat. Basic shape is good, however the kit benefits from some detailing and fine tuning.
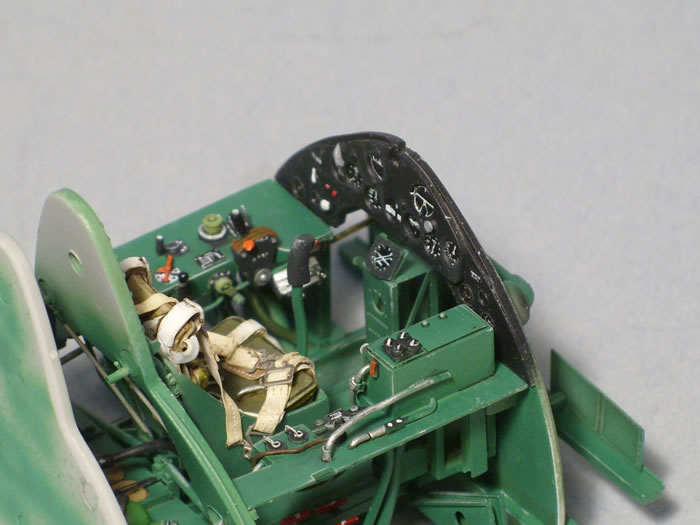
I rebuilt the cockpit, and made other airframe and detail enhancements along the way. Because the fuselage is barrel shaped, it’s hard to see the cockpit detail once everything is closed up.
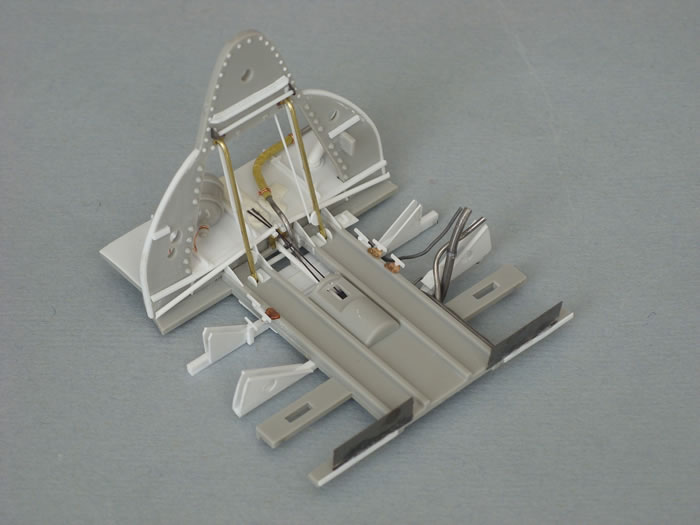
There are lots of great online and print references to help layout the cockpit, so I had no trouble finding the views I needed.
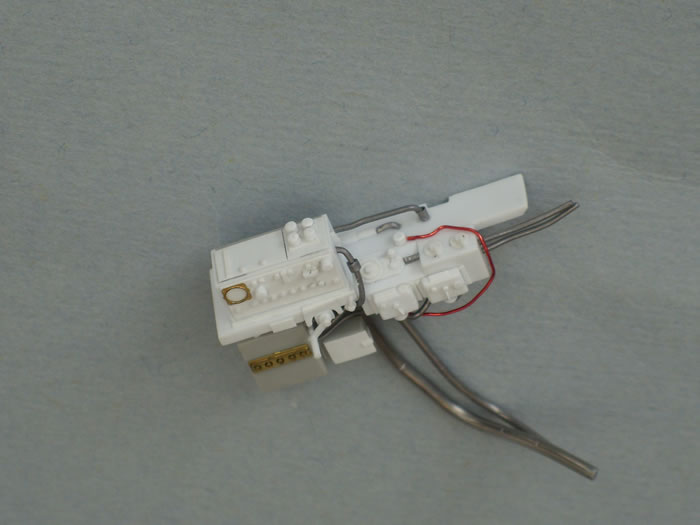
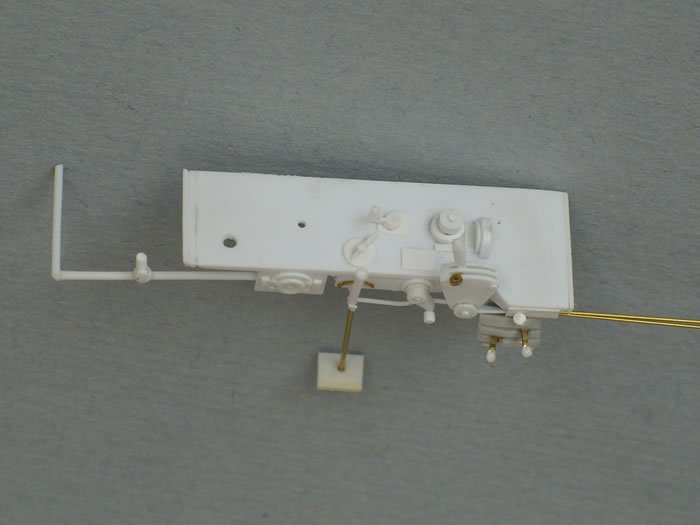
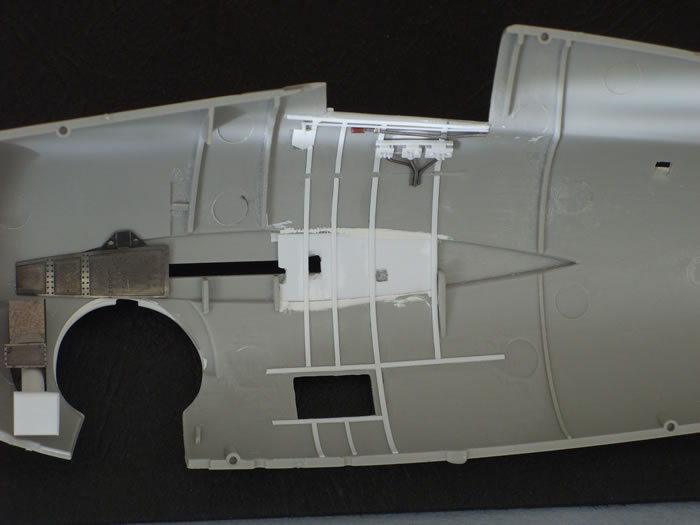
I started by thinning the fuselage sidewalls down to about .010 thickness to add extra room for detail. Removing .040 from the sidewalls opens up about 1 ¼ inches of scale space to layer in more detail. Stringers were added, and the kit bulkheads modified to fit the wider space.
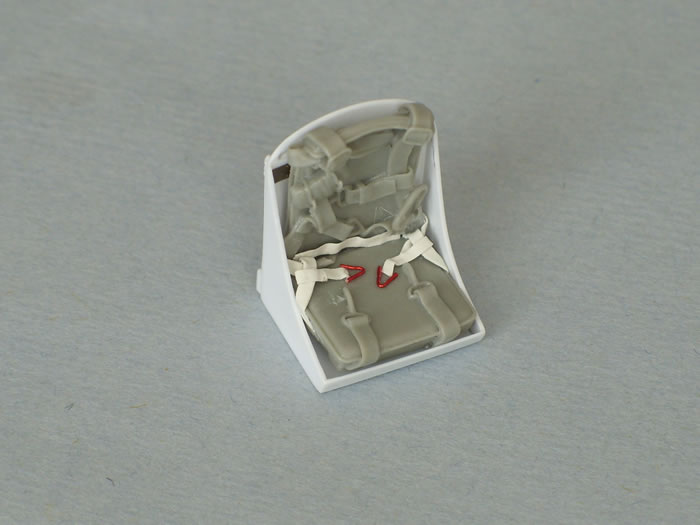
The seat pack parachute is a modified True Details piece, with epoxy putty belts added.
I used the main instrument panel part from the Eduard cockpit detail set, and traced the Eduard photoetch seat as a pattern to make a new seat from plastic sheet. Instrument decals came from Airscale.
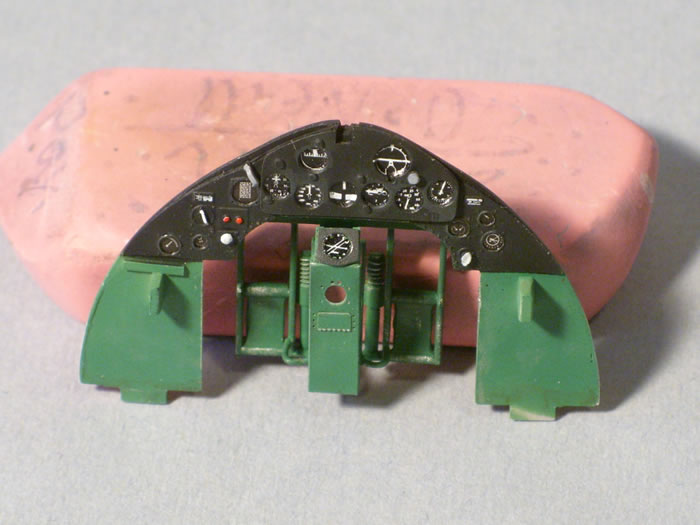
I chose a lightened version of Dull Dark Green mixed from Tamiya Park Green and a dash of Tamiya Black that seems to work better against the darkness of the cockpit. Often, the shades I see of DDG look almost black from a normal viewing distance when shadow is taken into account.
Probably the most difficult part of the kit, and an area where I made an error, is in alignment of the wheel well bulkhead. When Trumpeter re-did the molds on this kit, they didn’t properly correct the mounting of the bulkhead. I thought I had it aligned correctly, however the bulkhead was rotated off a couple degrees. When I mounted the landing gear there was a pretty dramatic tilt to the model when viewed head on. The solution was to mount shims on one side of the gear mounting point, and grind down the mounts on the other side, to get the landing gear aligned so that the wings were level. It’s hard to tell unless you peer into the wheel well, however there were a few moments of concern before a recovery plan was determined.
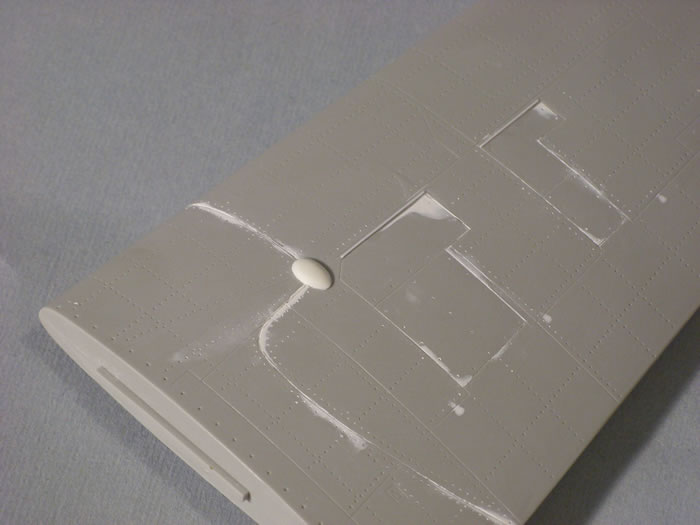
Since Trumpeter offers a folded wing option, I wanted to make sure that the extended wings were properly aligned, and the seams were consistent. I glued the upper wing pieces and the lower wing pieces together as separate assemblies, with overlapping plastic tabs on the inside to make sure the glue joint was strong. Once the upper and lower sections were assembled, I glued the wing top half to the bottom half. Using soda can aluminum, I made a scribing template for the wing fold seamline top and bottom. With the template made, I filled and block sanded the wing fold seam line, and re-scribed it neatly using the aluminum template. Lost bumps and other details were replaced with copies cast from the original, or scratch built.
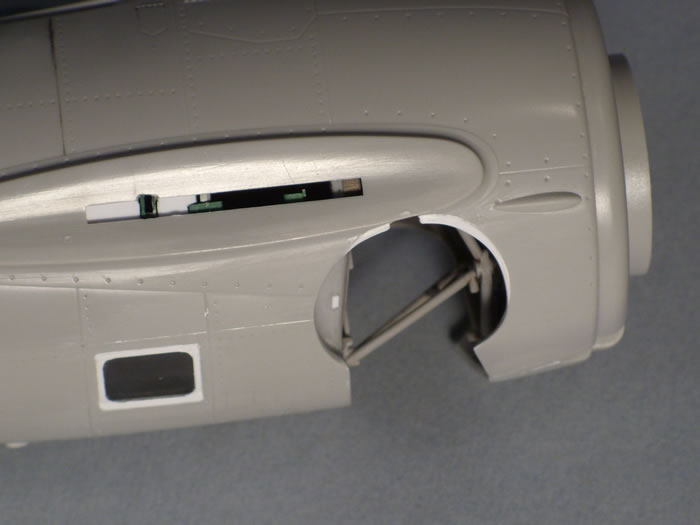
The lower fuselage windows didn’t fit well, and were inaccurate in shape. After failed attempts to scratch build new curved windows, I decided to use what Trumpeter provided, and just reshape the frames. New frames were cut from sheet plastic and carefully glued over the windows. The corner radii were made from sliced sections of holes punched in sheet plastic, and then very carefully glued in the corners. It took a couple of layers of epoxy putty to re-blend the frames with the fuselage to get an acceptable look.
The tail wheel was built up from plastic sheet and punched disks.
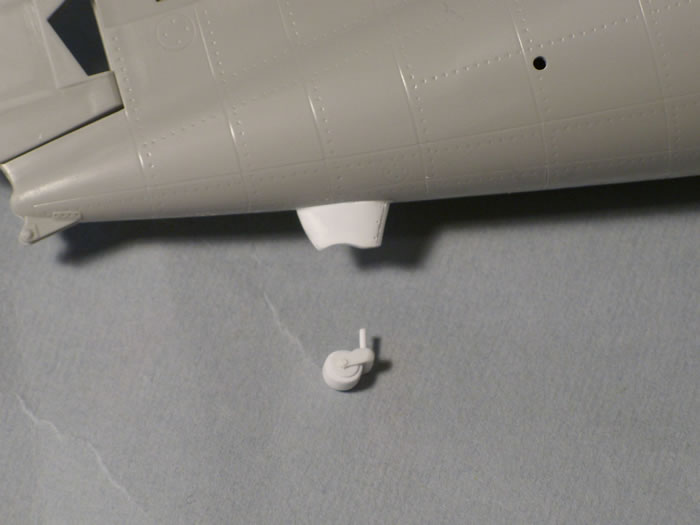
Extra detail was added to the main gear assembly, with the gear doors cut from sheet plastic. My preference is to use resin wheels, but since I couldn’t find any, I used the kit wheel and rubber tire combo.
Colors were mixed from Tamiya acrylics, with airbrush effects and oil color stains added to give the model a used look.
When mixing the Tamiya colors, I added a small portion of Future acrylic. The Future further improves the spray-ability of the Tamiya acrylics, and provides a tough, eggshell finish.
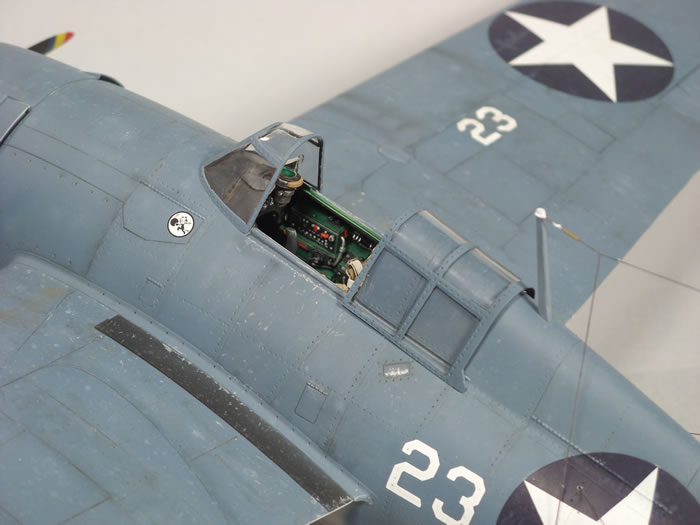
The markings represent Jimmy Thach’s F4F from VF-3 around 1942. The national insignia and squadron emblems came from the Starfighter decal sheet, while the side numbers were applied from a dry transfer sheet. I usually apply decals right over the paint, with no additional clear coats.
To break up and weather the finish, I spattered thinner tinted with grey and dust shades, and blended them in with a brush dampened with mineral spirits.
I’ve moved away from heavy panel line washes, preferring instead to airbrush lighter colors randomly along panels, with dark washes where oil and grime would collect.
With a little extra effort, the Trumpeter 1/32 Wildcat builds into a credible replica of an important US Navy / Marine fighter.
Model, Images and Text
Copyright ©
2016 by Ron O'Neal
Page Created 6 July, 2016
Last Updated
6 July, 2016
Back to HyperScale Main Page
|
Home
| What's New | Features | Gallery | Reviews | Reference | Resource Guides | Forum |