Blohm & Voss BV P.178
Dive Bomber Jet
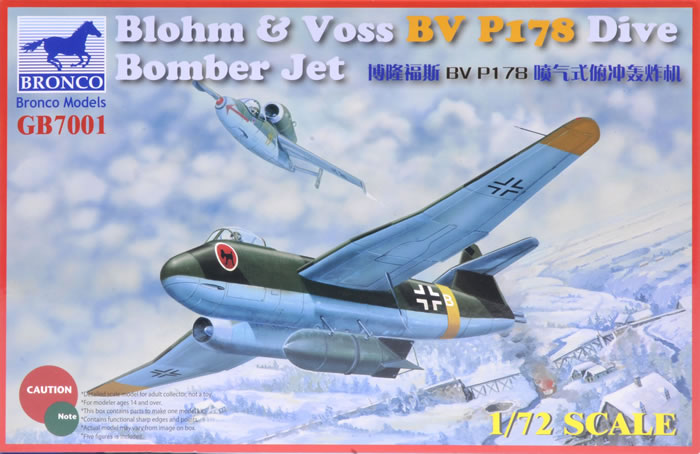
Bronco, 1/72 scale
S u m m a r y : |
Catalogue Number: |
Bronco Kit No. GB7001 - Blohm & Voss BV P.178 Dive Bomber Jet |
Scale: |
1/72 |
Contents & Media |
57 Grey plastic, 5 clear plastic parts. Decal options for 5 aircraft. |
Price: |
Available online from:
Click here for currency conversion. |
Review Type: |
First Look. |
Advantages: |
Crisp clean tooling of an unusual drawing board subject. |
Disadvantages: |
None noted. |
Conclusions: |
A great little model that will assemble into a striking replica of this unconventional paper project, the new tool is in great condition and each part is lovely and crisp. The decal options provide plenty of interesting and diverse colour schemes. Recommended. |
Reviewed by
Marcus Thornley

Bronco's 1/72 scale scale BV P.178 will be available online from
Squadron.com
This asymmetric dive-bomber had one Jumo 004B turbojet located under the wing to the starboard side of the fuselage. The pilot sat in a cockpit in the forward fuselage, with a large fuel tank located to the rear of the cockpit. Beneath the fuel tank there was a deep recession in which a SC 500 bomb could be carried within the fuselage, or a SC 1000 bomb which would protrude slightly out of the fuselage. Two solid-fuel axillary rocket engines extended from the rear, and may have possibly been used for take-off or for climbing after a dive-bombing attack. Two MG 151 15mm machine guns were located in the nose.
Source: Luft46.com
Being someone who quite enjoys drawing board, concept and prototype aircraft it was quite exciting to receive this Bronco model for review. It is the first Bronco model I have reviewed and just quietly, I am impressed.
At first glance the asymmetric airframe may seem quite odd but the principle is not without some merit as proven by the Blohm & Voss BV 141. An asymmetric piston engine powered reconnaissance aircraft, designed by their own Richard Vogt. In the event that design lost out to the Fw 189 Uhu but a small production run of the BV 141 was completed and flown for miscellaneous service use. In this design the torque of the motor was to an extent countered by the drag of the offset crew gondola, any remaining yaw effect being trimmed out in flight. For the BV P.178 there is no induced yaw from torque with a turbine so some other method would need to have been brought to the fore to counter the thrust of the turbine offset on the right wing.
Vogt also penned other asymmetric designs such as the P.194 & P.237 but like the subject of this kit they got no further than paper.
The kit is nicely presented in a sturdy top opening box with an interesting piece of artwork depicting a BV P.178 on the Eastern front en route to target with top cover being provided by a He 162. The box makes mention of Photo Etch parts but none are included in the kit or noted in the instructions.
Upon opening the box can be found the individually bagged sprues, instructions and decals.
The A5 instruction booklet is in full colour and three languages. English, German and I presume Mandarin. With a repeat of the artwork and an aircraft introduction on the front page the next two pages contain a parts map and all the build instructions including options for extended or retracted landing gear and open or closed canopy. Note is also made of the fact 10g of weight will have to find space in the nose to prevent the tricycle undercarriaged model becoming a tail dragger (an addendum instruction sheet also points to the included plastic tail stand for those not able to squirrel away enough weight).
There are no call outs for gear bay or cockpit colours, perhaps fair enough considering the limited stage of design the aircraft reached but the RLM did have standards that aircraft manufacturers were to adhere to on service aircraft. Falling into the realms of 'Luft 46' the modeller has wide scope for artistic representation of their subject.
The remaining five pages are dedicated to five vibrant conjectural paint schemes and markings. One each for,
-
Germany
-
Finland
-
Italy
-
Hungary
-
Romania
Four views of each are given and the illustrations are pleasingly well documented with colour call outs and decal placements.
Colour charts are given for Mr Hobby, Hobby Color, Humbrol & Tamiya. I note that only Hobby Color is complete for all schemes the others either having no match or mixes.
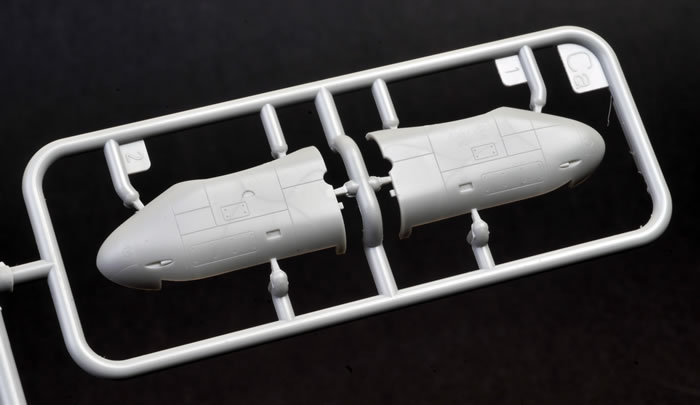
The build method and parts breakdown allows for the cockpit and forward fuselage to be build separate from the main section of the fuselage and joined together later. My personal preference is to cement the front and rear sections of the fuselage together first as it allows for cleaning up the trickier seam earlier in the build and leaves the straight forward spine and belly seam for later. Using separate sections for the forward fuselage does hint at more variants down track. Perhaps two seaters or a clear nose cone for a prone bomb aimer?
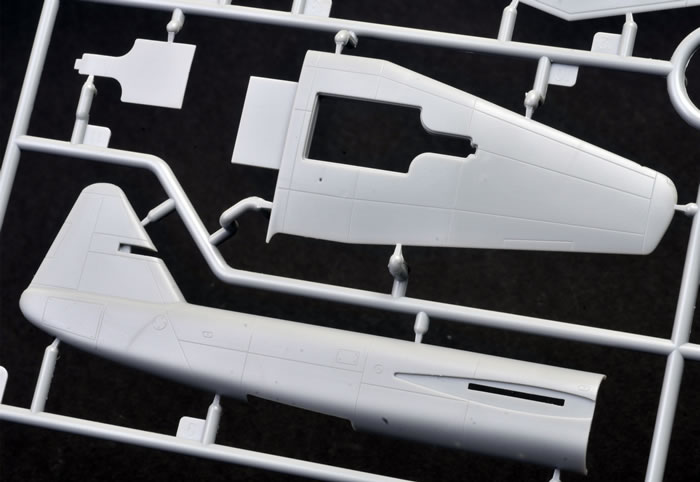
My first part to inspect was the clear sprue and the bag having done its job the parts are entirely free from any scratches. The sprue effectively has two canopies. One a single piece for a closed canopy and the other in three sections, fixed front and rear with a centre section that can be positioned open. The frames stand proud and should be conveniently easy to mask.
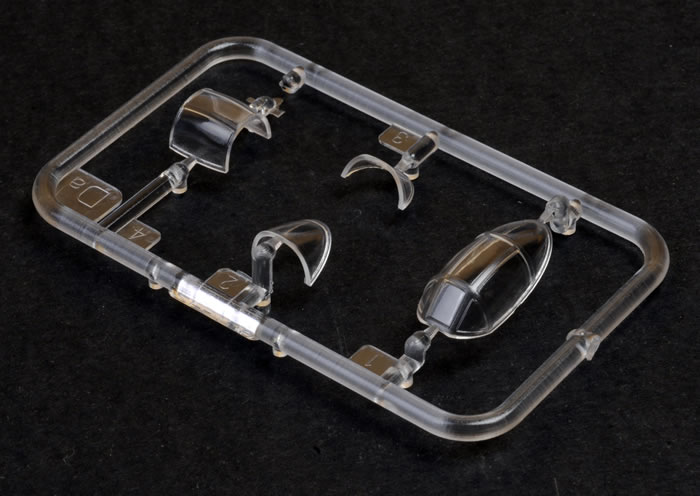
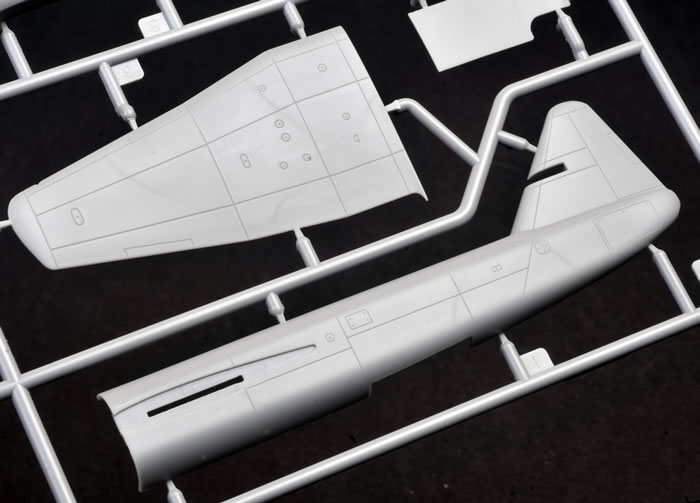
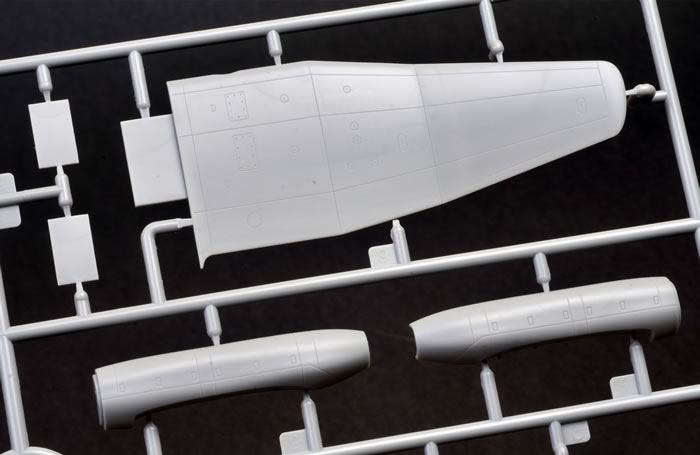
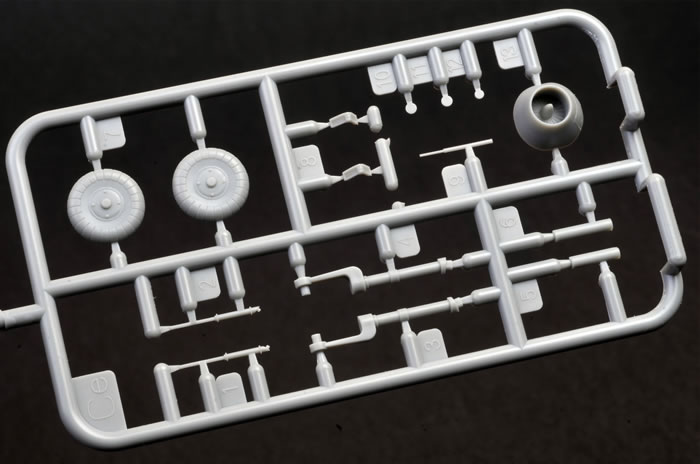
The largest sprue in the box (A) has all the wing section, engine nacelle, gear door and main fuselage halves items. Interestingly there are two sets of gear doors. One is a single piece for displaying closed and the other sectioned for modelling gear down. The landing gear bay openings in the lower wing have a proud ridge so having the doors closed up is simply a matter of putting them in place and letting a little cement wick around, how convenient.
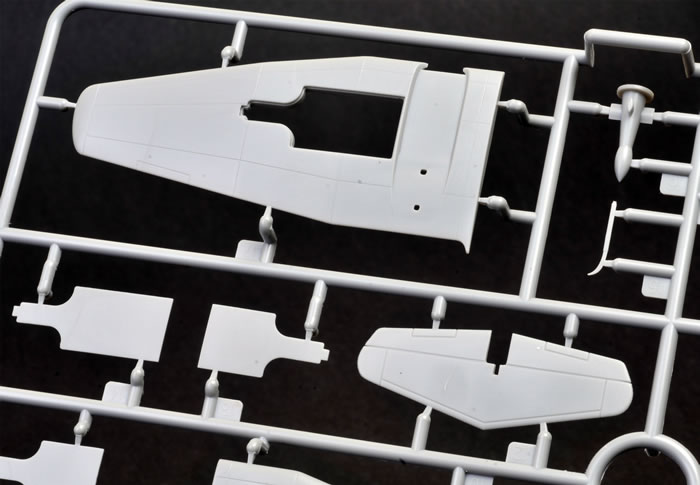
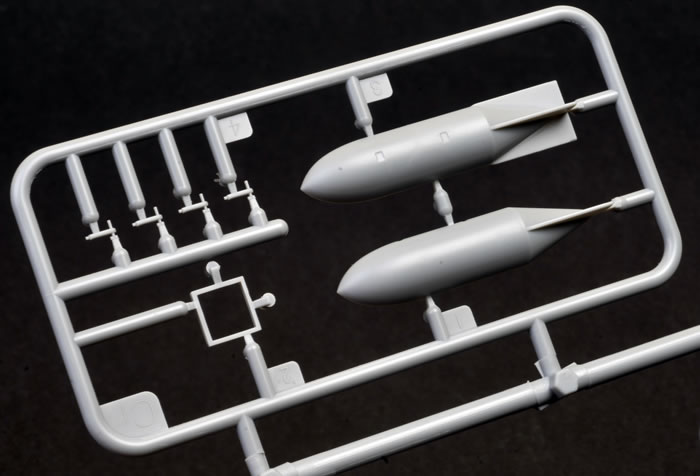
Most information you read pertaining to the P.178 relates the fact there was to have been a bomb bay in the main fuselage for internal carriage of a 500kg bomb and that a 1000kg bomb would have been slung semi-recessed, the kit does not attempt to replicate this and the supplied bomb is to be carried under the fuselage with sway braces. The bomb itself scales out at 2.3metres in length and .48 metres in diameter so a little anaemic for an SC1000 and missing the distinctive nose cap outline. The remainder of the minor sprues have the cockpit, nose fuselage halves, landing gear, engine inlet and rocket motor nozzles (with hollow tips, ace!). On the whole the plastic is well formed with no evidence of flash present. The cockpit detail is perhaps a little sparse and simplified, addressing that with some seat belts might be the first step for those wishing to add some visual interest.
The finish of the plastic is slightly satin in texture, suggesting that the mould has been finished using spark erosion. The pieces them selves are all free from flaws and should be ready to cement with just basic clean up techniques. The kit is not overly complex and if it will not literally fly together it will be ready for painting and markings in short order. That there are no ejector pin marks requiring clean up is testament to the thought that has gone into the design of this kit.
Marking Options
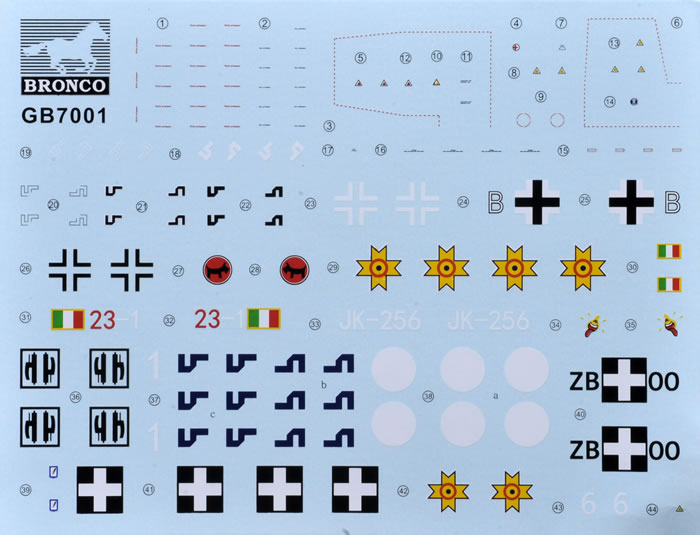
The decal sheet is pretty neat, due in part to the five sets of different national markings but apart from that it is very nicely printed. The colours are nice and deep and in register. One of the Romanian markings has a tiny bit of handling damage but that is it. The carrier film is cropped nice and tight on the markings and a set of airframe stencils is included. The swastikas, both Finish and German are sectioned as is so often the case, so the Finish national markings are provided with separate white discs to arrange the two sections on.
If the kit decals do not appeal you can use anything you wish from the spares box, as there is no possibility of them being wrong!
A great little model that will assemble into a striking replica of this unconventional paper project, the new tool is in great condition and each part is lovely and crisp. The decal options provide plenty of interesting and diverse colour schemes.
Recommended.
Thanks to Bronco Models for this review sample.
Review Text Copyright © 2015 by Marcus Thornley
Images Copyright © 2015 by Brett Green
Page Created 6 July, 2015
Last updated
6 July, 2015
Back to HyperScale Main Page

|
 Home
| What's New | Features | Gallery | Reviews | Reference | Resource Guides | Forum |
Home
| What's New | Features | Gallery | Reviews | Reference | Resource Guides | Forum |