Kinetic's 1/48 scale
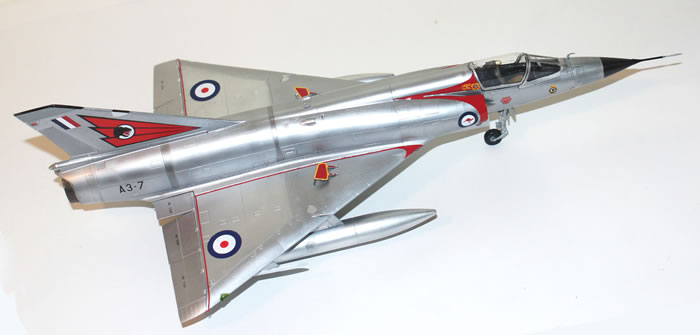
GAF Mirage IIIO
by Mick Evans
 |
GAF Mirage IIIO |

Academy's 1/32 scale F/A-18A is available online from Squadron
This is a quick overview of my build of the kit. The kit is not quite complete and due to going overseas on holidays for three weeks I wanted to get this presented.
Incomplete at this stage are:
-
No weapons yet fitted to Sidewinder rails
-
Ejection seat harness fit out
-
Centre line pylon option to be determined
-
Transparencies not glued into place
The surface detail is fine and restrained and represents the panel lines of the Mirage that I am used to without being overdone and trench like.
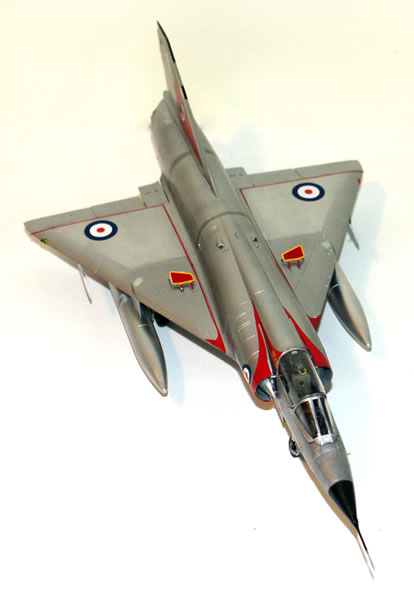
The Mirage is constructed using flush countersunk rivets which are quite visible on the full size aircraft in its early bare metal schemes. Kinetic has done has done a great job with very fine rivet lines that really portray reality in natural metal and as I have started to build one painted in camouflage the rivet detail reduces sufficiently to be excellent for a painted jet.
So how does it build? In all of my model building there is only one kit that I would rate to be equal or better to the engineering fit of this kit and that is the 1/48 Tamiya F-16 Falcon kit. Almost every join is a panel line and if assembled correctly this is how they represent as panel line. I needed minute amounts of filler on the spine area in front of the fin, the lower rear engine cowl and just in front of the windscreen. I rate this as exceptional in fit.
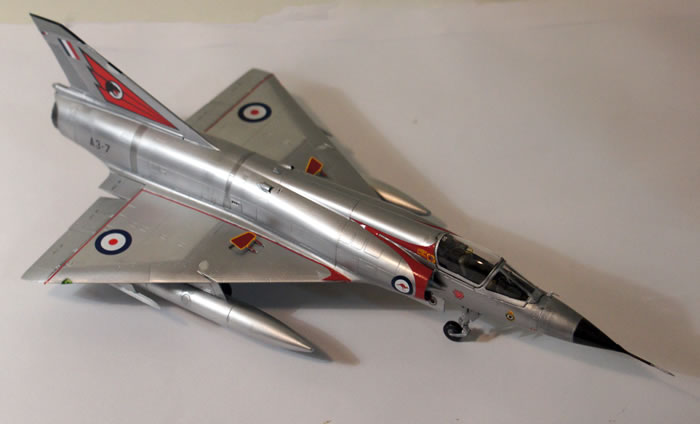
I thought that I was having issues getting the forward lower wing to fit around the nose wheel well and inside the intakes and was ready to start trimming. On second thought I applied a lot of pressure and suddenly the area snapped into place. The engineering in fit is so precise it actually makes this point of assembly an issue, but once it snapped into place, I could not tell where the actual joins were. I just advise patience and lots of pressure in trial fitting. I tried a different approach on my second kit by not actually gluing the nose wheel well into place first but just sat it into position. The wing went in much easier and then I just pulled the wheel well into place and glued with capillary action glue. I use capillary action glue almost all the time.
The wing fit is excellent; just make sure you sand any raised knock out pin marks off the surfaces near the leading edge.
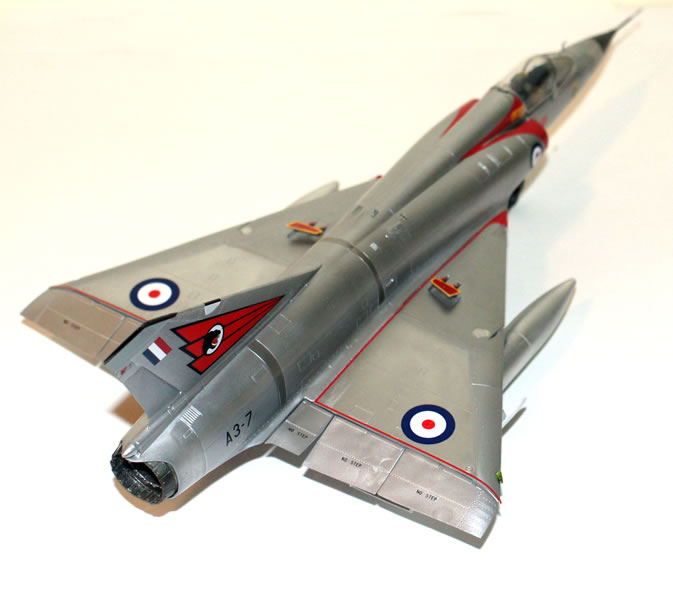
Finally make sure you add some weight to the nose as I am not sure if it is a tail sitter. I used an AML resin Atar 9C engine in lieu of the kit parts which certainly would have made it a tail sitter. There is nothing wrong with the kit engine nozzle, it is just that I had two of these for my Esci/Italeri kits and I was not going to waste them as the detail in the resin is incredible.
I did replace the horrible main landing gear hubs with a Kfir set from a Wingman kit as the kit comes with the original plastic parts and resin upgrades. While these are not strictly accurate, they are close enough after I modified the brake discs.
I chose to finish the kit in natural metal finish using Alclad paint. The aircraft is finished as A3-7 in No 76 Squadron colours. As the aircraft is finished in this scheme there is no black dielectric Doppler radar panel fitted under the nose.
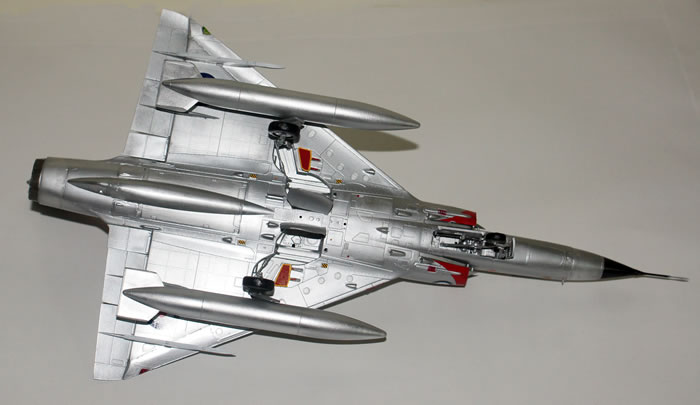
At first I was going to remove the gun gas blast deflectors until I found a few aircraft of this era that had them fitted. These were a retro fit and very early Mirage IIIOs did not have them installed. There is still a little bit of work to go for completion, but overall I am very happy with the result.
This is a superb kit of the Mirage. There is very little that I can criticise with the actual kit after building it.
Big kudos to Kinetic for this excellent effort!
Model, Images and Text Copyright ©
2015 by Mick Evans
Page Created 14 January, 2015
Last Updated
14 January, 2015
Back to HyperScale Main Page

|
Home
| What's New | Features | Gallery | Reviews | Reference | Resource Guides | Forum |