Dragon 1/48 scale conversion
Junkers Ju 88 A-17
by Rick Allen
 |
Junkers Ju 88 A-17 |

Eduard's 1/48 scale Spitfire Mk.VIII ProfiPACK
is available online from Squadron.com for only $39.96!
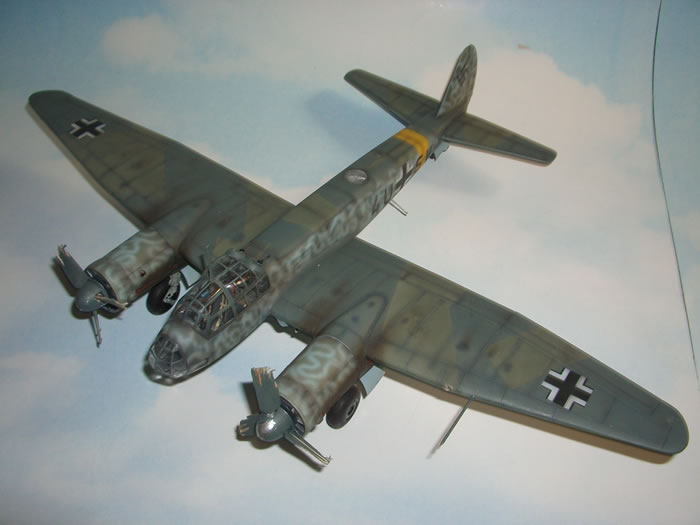
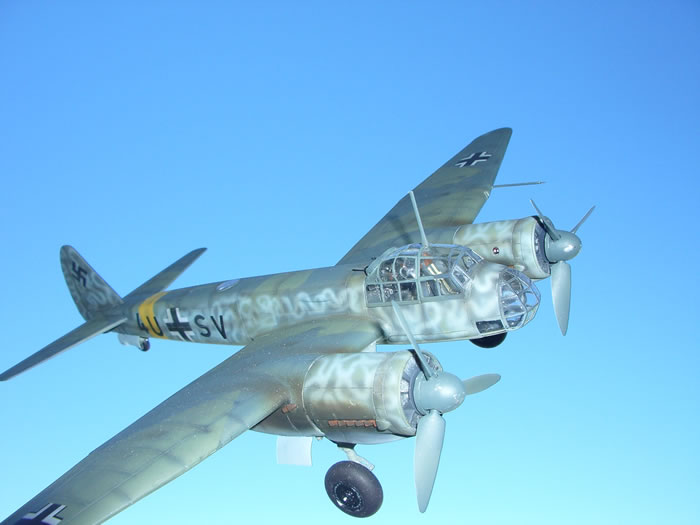
 I built this 1/48 Junkers Ju 88 A-17 from a Dragon Junkers Ju 88 A-4 kit and many scratch built parts after seeing a photo of the real aircraft on the internet. I built this 1/48 Junkers Ju 88 A-17 from a Dragon Junkers Ju 88 A-4 kit and many scratch built parts after seeing a photo of the real aircraft on the internet.
This Ju 88 A-17 4U + SV was on a Reconnaissance mission when it was attacked by Allied fighter aircraft. OFW. Bach flew so low escaping from the enemy fighters that both of his wooden propellers actually hit the surface of the water sheering them off. Luckily, he was able to keep the aircraft aloft and made it back home and landed safely at his own airfield. If you GOOGLE: Ju 88 A-17 4U + SV and click on Images you can see a photo of the actual aircraft just after it's safe landing.
The cockpit was airbrushed in Testor's Model Master Enamel RLM #66. A small amount of white paint was added to the color allowing the color to match the 1/48 scale of the model better. Smaller cockpit parts with more detail in them were each carefully painted by hand to bring out all the detail possible in them.
The cockpit has had many upgraded parts added to it to help bring it to life. Eduard color seat belts have also been added. After everything was painted and secured in it's place the cockpit was dry brushed in silver to help show every day wear and tear by the crew going about it's duties in the cockpit.
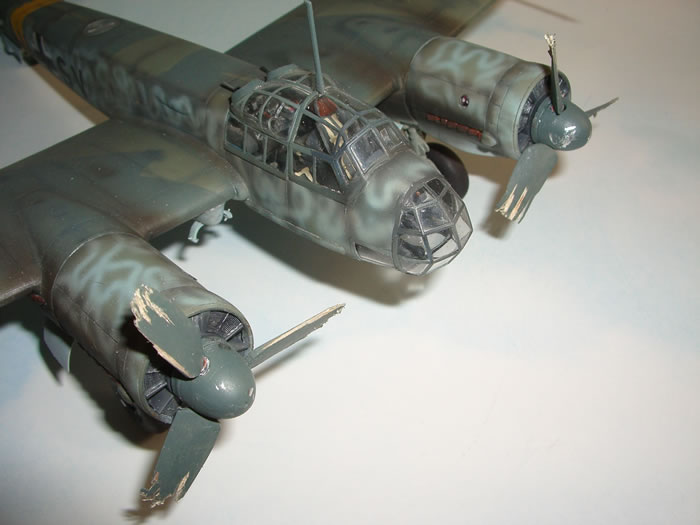
The canopy and all other clear parts were each carefully treated with Future acrylic wax to bring out all the shine and clarity possible in them. Once these parts were dry and secured in their places they were masked off with a custom cut Eduard paint mask set. The landing gear and all of its housings have been airbrushed in Testors RLM #02 like on most Luftwaffe aircraft of the period.
The broken propellers had to be carefully scratch built out of wood so they could later be splintered like the real aircraft's wooden props did when they hit the surface of the water.
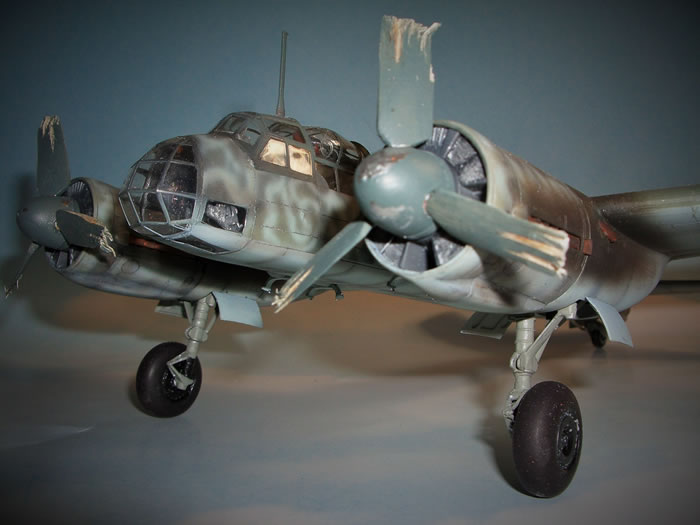
The Gondola has been removed and a linkage housing that runs along the lower right side of the cockpit of a A-17 has been added so It matches the real aircraft. After the fuselage was assembled and every thing was in place all the build seams were gone over. Any place that needed it was filled in with Tamiya modeling putty then after drying was sanded smooth with 2500 grit wet sand paper.
Next the entire model was pre-shaded and readied for it to be painted in the aircraft's factory colors of RLM #65/70/71 using Testor's Model Master Enamel.
First the underside was airbrushed in RLM #65. Then after a full 24 hours of drying time this area was carefully masked over to protect it from any over spray while the other 2 factory camo colors were added. RLM #70 was applied next and after it was dry it was masked off. Then RLM#71 was added to the aircraft's camo rounding out its factory camo colors.
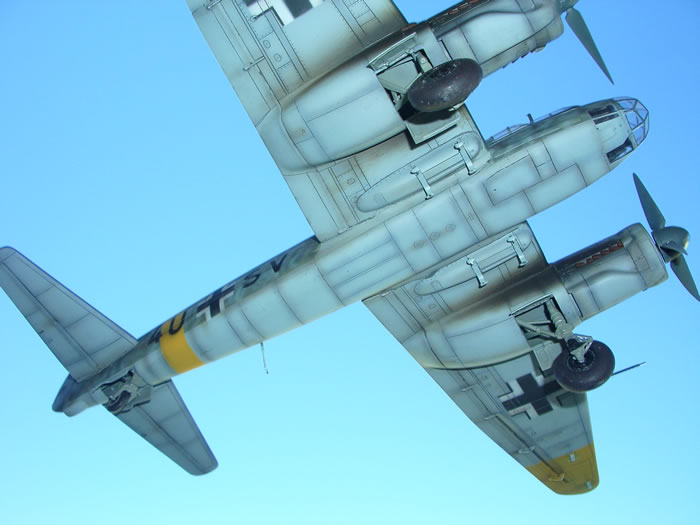
After drying over night all the paint masking on the upper surface was removed and the RLM #65 squiggles were applied on top of the RLM #70 and RLM #71. From the photo of the real 4U + SV it doesn't appear that the squiggles are on top of the wings and are only on the sides of the aircraft. The yellow theater bands were applied next.
Then the national markings and unit codes were airbrushed on. There are no decals used on this model, Every thing you see has been airbrushed on. Next engine exhaust stains and weathering was added with the help of Tamiya weathering sets and airbrush tricks.
After everything was dry the entire model was shot in a final flat clear coat to help seal it all in and protect it.
Model, Images and Text Copyright ©
2015 by Rick Allen
Page Created 27 May, 2015
Last Updated
27 May, 2015
Back to HyperScale Main Page

|
Home
| What's New | Features | Gallery | Reviews | Reference | Resource Guides | Forum |