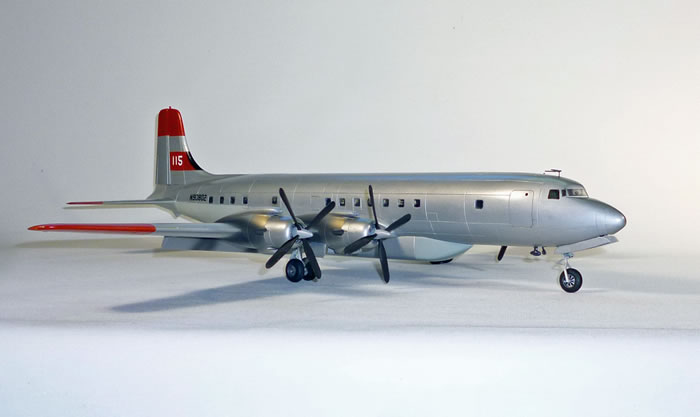
Heller 1/72 scale conversion
Douglas DC-7C
by Frank Mitchell
|
|
Douglas DC-7C |

Revell's 1/32 scale Junkers Ju 88 A-1 is available online from Squadron.com
 I have always been intrigued by firebombers. I have no idea why; they just seemed cool, and therefore several have been on the workbench over the years (Wipaire Fire Boss, Consolidated PB4Y-2, etc.; see HyperScale index). I have always been intrigued by firebombers. I have no idea why; they just seemed cool, and therefore several have been on the workbench over the years (Wipaire Fire Boss, Consolidated PB4Y-2, etc.; see HyperScale index).
This one began in about 2011 (I think) when I acquired a Heller 1/72 DC-6B tanker. Since I had actually watched DC-7C’s being built at the Long Beach Douglas factory many, MANY years ago, the kit received some work towards becoming the later airplane, mainly changing the tail surfaces to the DC-7C configuration. However, it ended up back in the box until it was revived a year or so later, after a friend told me that a -7C conversion was available for the kit. One was promptly ordered and the ball began rolling, but construction was put on hold several times (sound familiar?), which meant that the build took several years to complete.
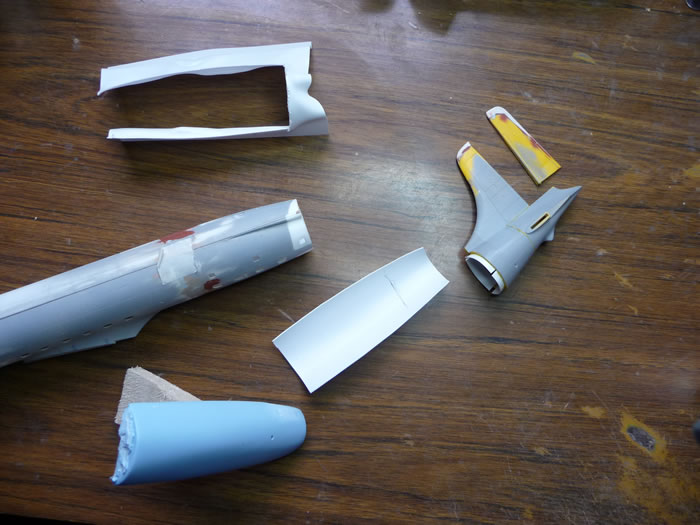
The conversion kit supplies three fuselage additions: the first to be tackled was a new lower rear fuselage, which was much too “flat” in the kit. However, although the resin replacement was correctly shaped, it was also rather thick resin, which meant a substantial amount of weight added in the back, which also meant that getting the model to sit on its nose gear would be difficult. Therefore, a very simple heat-and-smash replica was made over the stove, which allowed the correction to be made without adding a lot of weight.
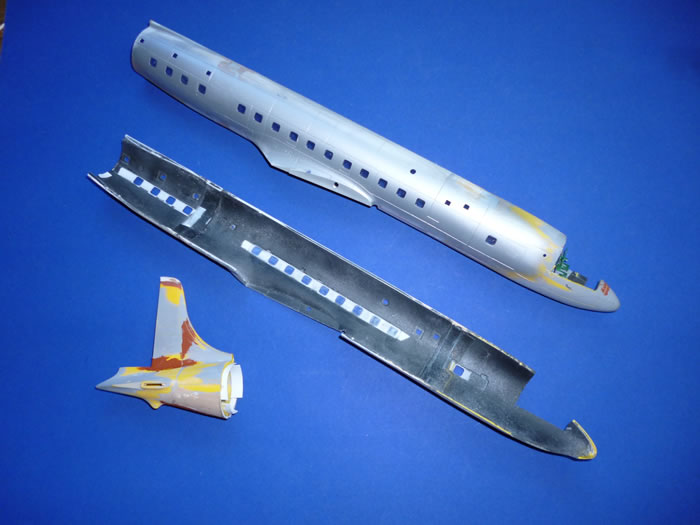
The next task was to add the two conversion-supplied fuselage extensions (one ahead of, and one behind the wing), which fit pretty well and required only a small amount of work. The fuselage halves were not permanently assembled at this point, however.
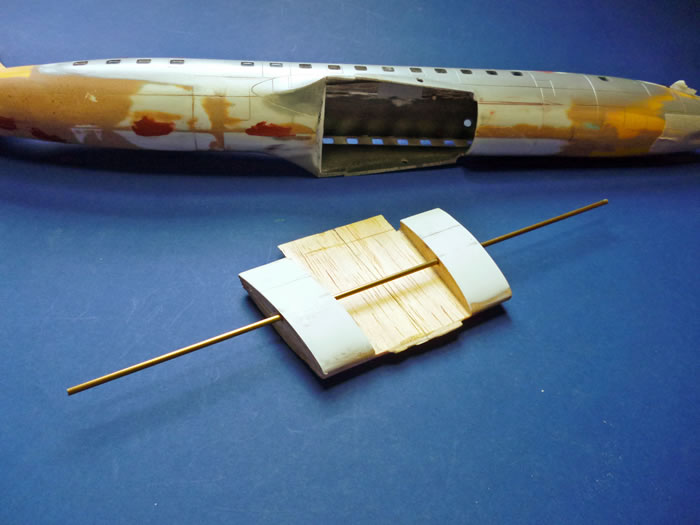
The fit of the new wing center section left a good deal to be desired. One wing stub was 1/8-inch wider than the other, and the incidence on each side was also different, which meant that the engines would not line up. These problems seemed to require some very heavy grinding, sawing, etc., but, soon after that was underway, I realized that the Heller wing was also significantly thicker (about 3/32”) than the new resin wing stubs. At that point, I decided to just carve a new center section/wing stub assembly from hard balsa. Thanks to having some accurate drawings, that step actually turned out to be much faster and easier than playing with the resin piece. Once the shaping was done, the wood was soaked with thin superglue, which makes it much more solid, but still allows changes to be made while fitting it to the fuselage. A piece of 1/8” brass rod runs through the wood and the kit fuselage wing mountings out to about 2” into each wing. That, along with four shorter aluminum positioning tubes, added strength and also served to hold everything in place during the build, but I should emphasize that this was a model that pretty much demands the use of a jig.
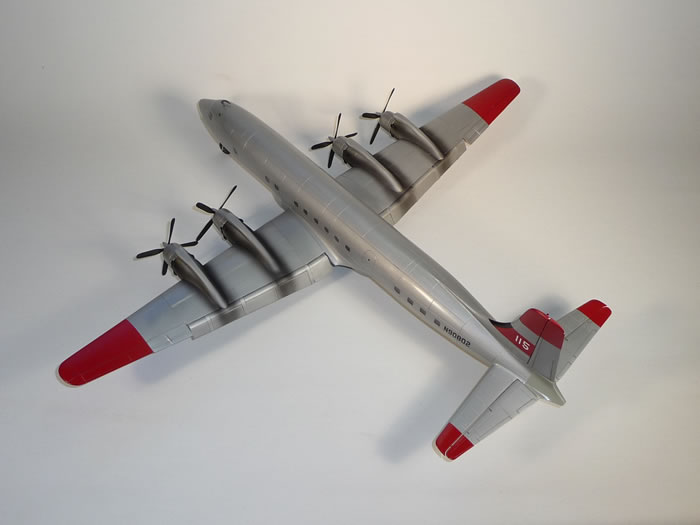
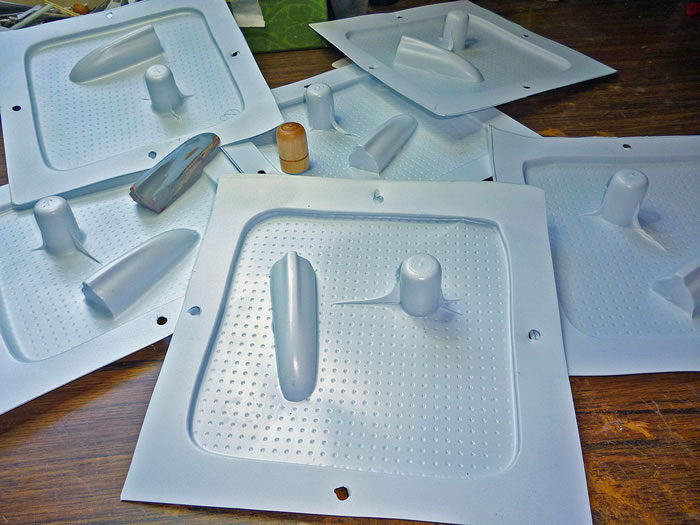
The next project was the nacelles and engines. The resin upper nacelles were a problem in that each one of the four parts had a somewhat different shape. The engine cowlings also appeared to have been molded using the Heller pieces as masters. That was understandable, but I had never been sold on the accuracy of those particular Heller parts, and, in fact, that was one of the main reasons I had quit building the kit the first time around.
After thinking about it for a while, I finally just carved and turned new molds for both the nacelles and the cowlings, and four copies of each were vacuformed.
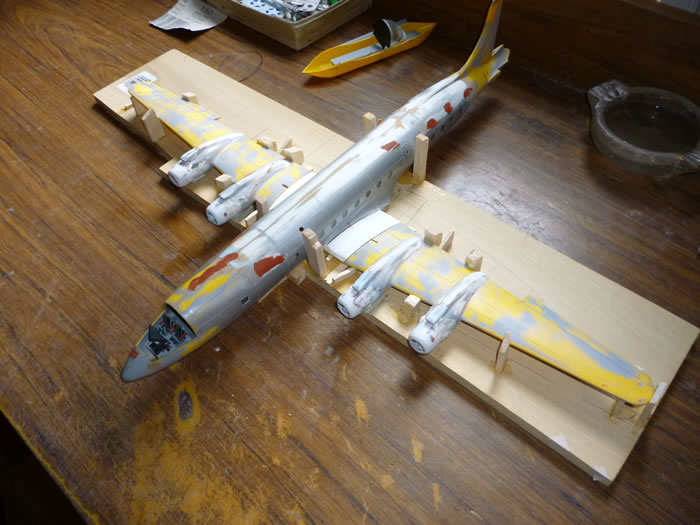
Fitting them to each other and to the wings (while hoping they would all look alike and had the same degree of downthrust) was a bit(?) time-consuming, but it eventually got done. The engines and the kit-supplied engine accessory sections required only some mild re-work, and new exhaust stubs were cut from aluminum tubing. The conversion kit white-metal propellers were used after a little clean-up.

The new center section was glued into the fuselage and epoxy putty was added as necessary to get a good fit. I had decided to use the kit external belly tank, so that was fitted to the fuselage/wing area, but not yet glued, since the model would not fit into the jig with it attached. The kit cockpit transparency was heat-and-smashed formed over the original (I had managed to spill some solvent on it---)
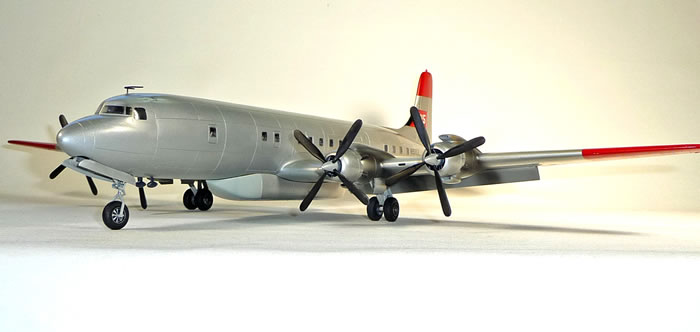
The last major task was to build and install the flaps, which I wanted to display in the down position.
Again, not terribly difficult, but rather fiddly and time consuming.
Finishing, Painting and Markings |
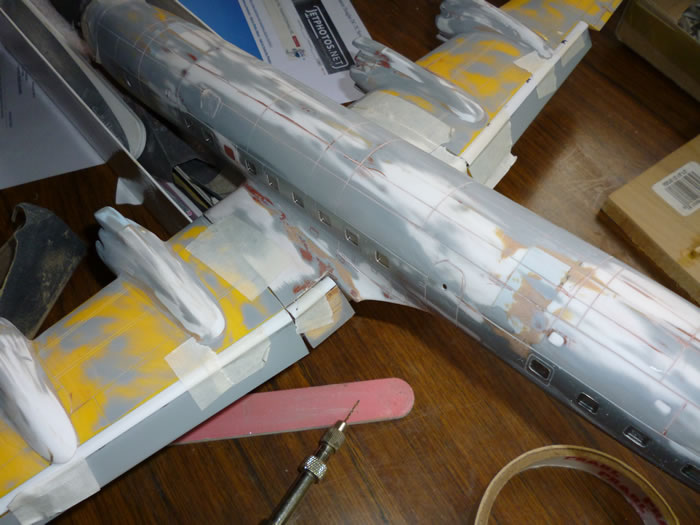
From here on, the usual sanding, priming, making and fitting some new small parts, etc.
The color scheme was chosen for no particular reason except that it was (I think) from the same company as my PB4Y-2 and had the additional advantages of being simple and highlights the lines of the airplane.
Paints used were Testor's Model Master enamels.
In summary, the project did take a fair amount of time (several times), but it is the only game in town if you want this aircraft.
Images and Text Copyright ©
2015 by Frank Mitchell
Page Created 12 March, 2015
Last Updated
29 March, 2015
Back to
HyperScale Main Page

|
 Home
| What's New |
Features |
Gallery |
Reviews |
Reference |
Forum |
Search
Home
| What's New |
Features |
Gallery |
Reviews |
Reference |
Forum |
Search