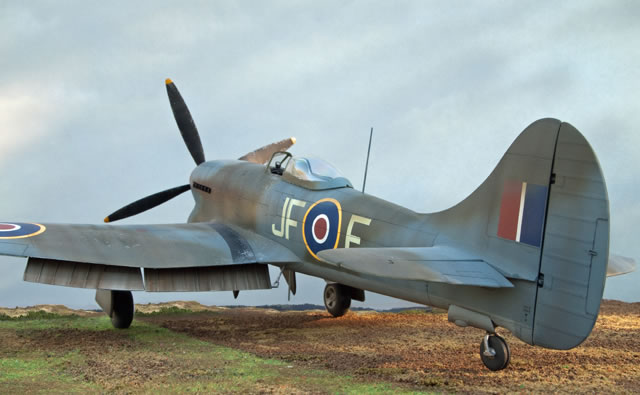
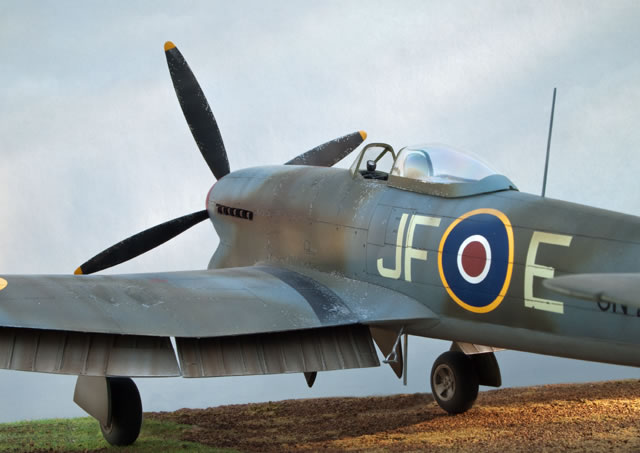
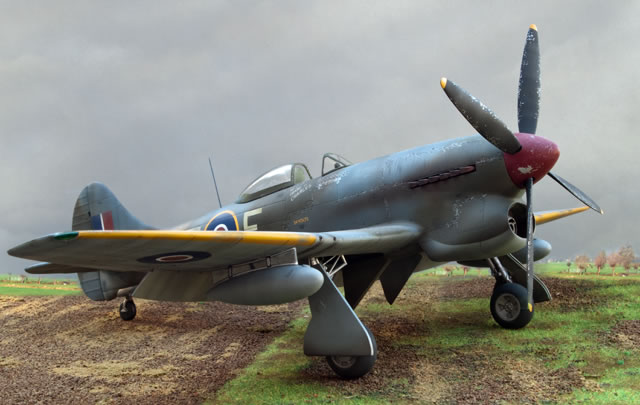
Pacific Coast Models' 1/32 scale
Hawker Tempest Mk.V
by Mario Riccioni

Hasegawa's 1/48 scale Fw 190 A-9 is available online from Squadron
It’s a great time for plastic model enthusiasts. Outstanding products are coming from the likes of Tamiya and Zoukei Mura and everyone else is raising their standards accordingly. In addition, there are countless aftermarket packages, from colour photo-etched bits right down to rivet decal sets, (lines of rivets?!, gosh!). Two questions come to mind. How much assistance is too much so as to stifle creativity, and is there still a place for the more rudimentary models of old?
I attempted to investigate this with Pacific Coast Models latest offering. Whilst ‘limited run’ to all of us means ‘not 100% accurate or easy to build’, I believe PCM, influenced by market demands, have also jumped on the super kit bandwagon by providing colour photo-etched and resin parts along with a cockpit that over half the box contents is devoted to. Maybe it’s a middle ground approach; to provide what is difficult for us to create on our own, whilst keeping the meat and potatoes of the kit rudimentary for us to get stuck into.
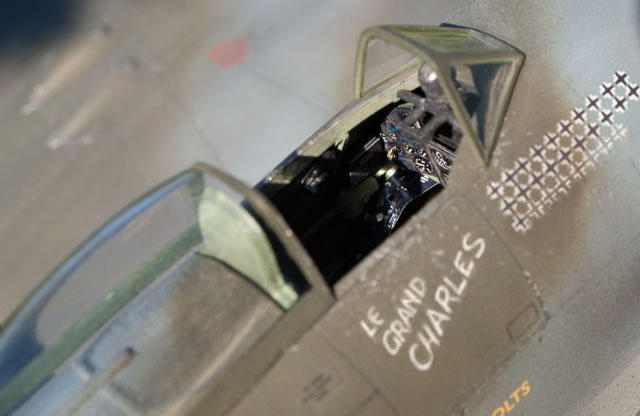
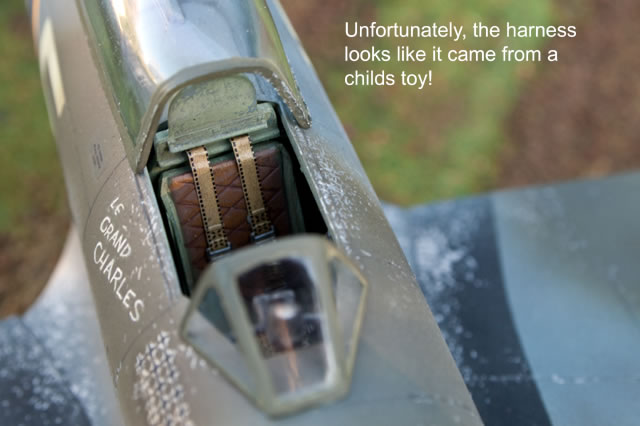
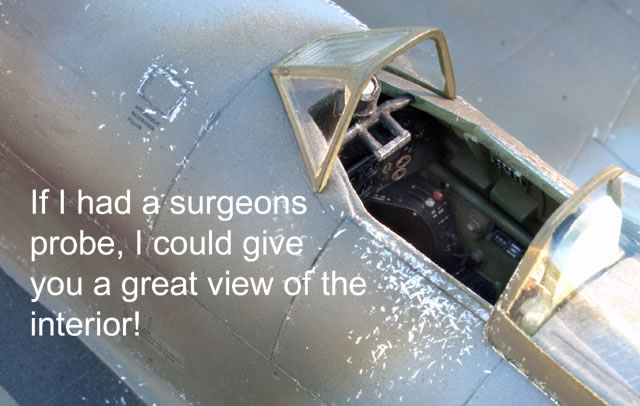
The first thing I established fairly quickly is to dry test everything, because nothing seems to fit, an observation not a criticism for it was expected. Many components need you to estimate where to glue them, there’s an absence of slots and marks. Outside references are invaluable here, other times you just have to guess. The only thing that did disappoint was that the excellent cockpit could hardly be seen once in place. Be sure to keep a clean work area when doing the cockpit. All those tiny PE handles and levers are easily lost amongst the flotsam. Luckily PCM provides a few spares for such an occurrence. The harness is pre-coloured, complete with stitching. They just don’t cut it in the photos though, and had I’d known, I would’ve done something about it.
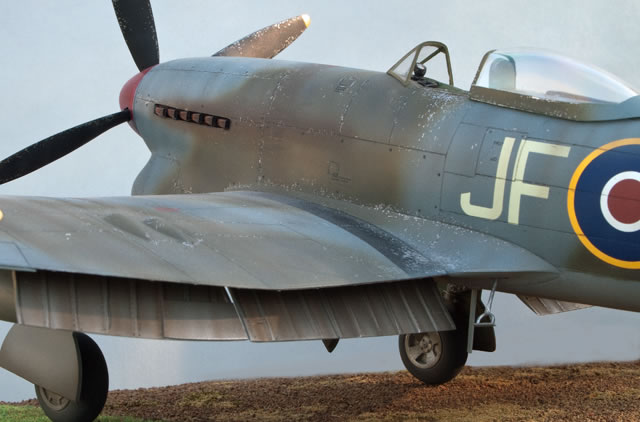
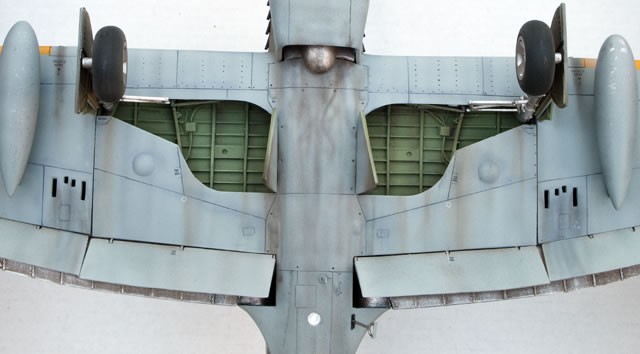
The only separate control surface is the rudder, which required hinges. The online Tempest page gave me some good close ups to work from and also showed an actuator to the trim tab, which I fabricated. I also separated the elevators and flaps. The plastic is very thick which I used to advantage. I filed the sub-frame into the flaps whilst thinning them out. The beautiful resin wheel wells received plumbing using fine wire, as did the oleos.
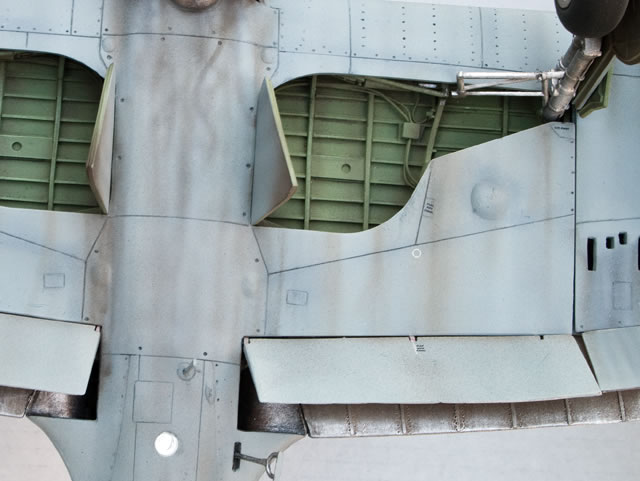
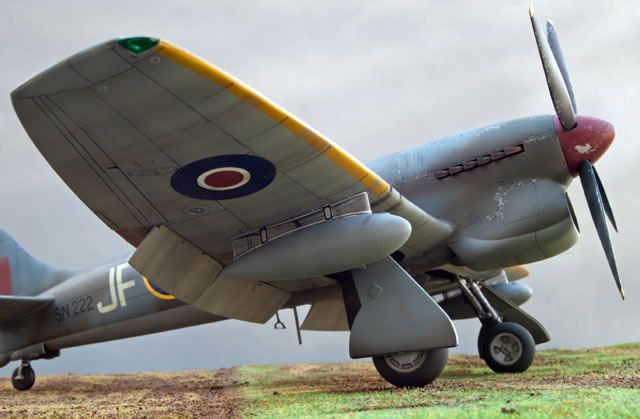
The one-piece bottom wing was attached to the fuselage first, so that I could get good upper joins, which worked, but the top wings didn’t line up with the bottom. Significant filing was performed but didn’t hurt the wing profile. No filler was needed on the top wing joins. Both the top and bottom leading edges on the starboard side have rivets missing, yet they’re present on the port side, unexpected but easily fixed. Panel lines seem inconsistent, okay in spots but thick in others. Unfortunately, with so much to attend to, it never occurred to me to rivet the surface of the model until too late. Perhaps rivet decals aren’t a bad idea after all! I added the radio mast and gun barrels as none came with the kit. Visible on the real thing is a pull down step, which I added, to the wrong side! You see when you turn the model upside down, right becomes left and vice versa……….or am I the only one that gets confused!! The clear drop tank tubes allow one to install an improvised fuel line.
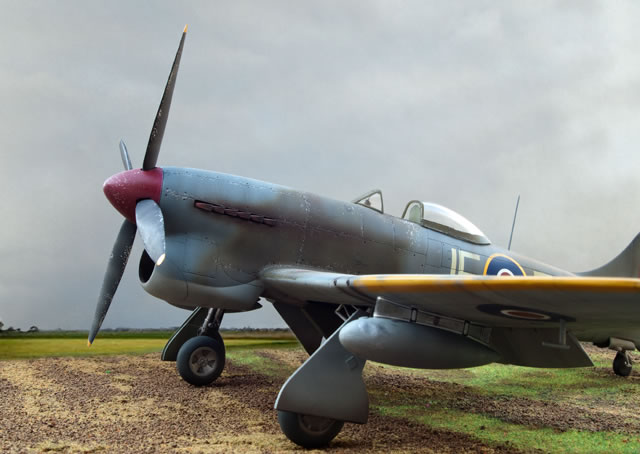
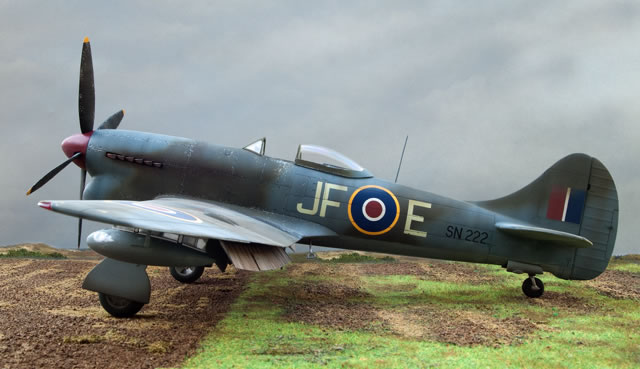
I used Tamiya acrylics and the colours were the range made available with the release of their superb Spitfire 9. The aircraft didn’t really start to look right until it was painted and even then it seemed a little stark until the undercarriage and drop tanks were added. A good selection of decals comes with the kit, but not the markings for the most obvious aircraft. This is by no means a drawback, but Pierre Clostermann is still one of my great heroes, despite criticism directed at him by many who have never been shot at before.
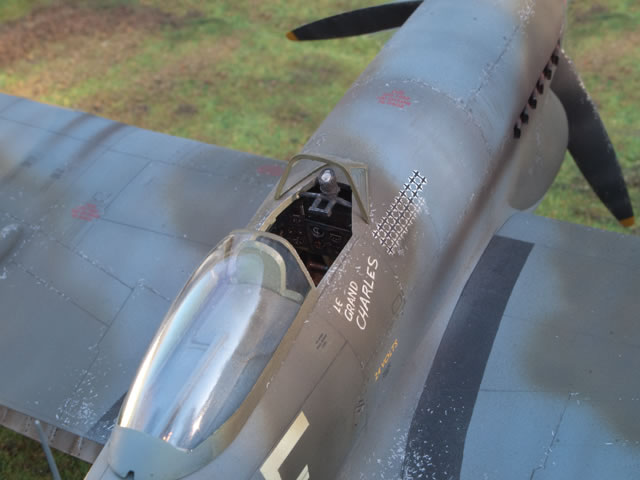
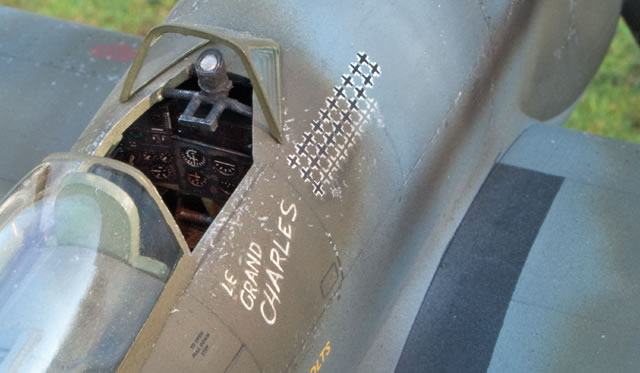
The existing markings can be modified to depict one of his aircraft. There are a surprising number of interpretations however, of the Tempests he flew; aircraft that I assumed were well documented. In the end I used a colour guide from an Edward 1/48th scale kit instructions page found online. The one I chose, serial number SN222 did not have the squadron badge on the tail or the Lorraine cross on the chin, which made my job easier. In file photos, the aircraft designation, ‘Le Grand Charles’ was not painted in a refined way and this allowed me to get away with writing it freehand. I bought a generic German cross set online containing markings that were just the right size to serve as kill marks.
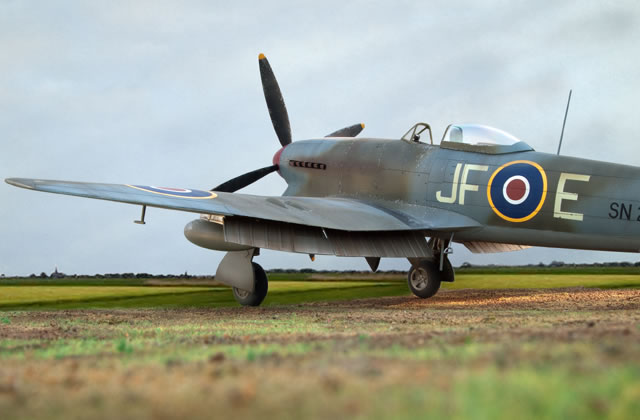
So, is ‘shake‘n bake’ the way to go, or did the PCM approach provide a satisfying result? I think I speak for most of you when I say, we will build whatever we’re given, if that is the model we want, therefore the subject matter is perhaps still the most important part. If I could choose how a model is engineered though, it would be something that is a little more balanced; with more restrained surface detail, moveable control surfaces, and less emphasis on the details that lie where the sun doesn’t shine. Nevertheless, I’m grateful to PCM for providing Hawker’s finest design of the 1939-45-air war in 1/32nd scale. Thank you to Charles Macwatt for his outstanding camera work.
Model, Images and Text
Copyright ©
2014 by Mario Riccioni
Page Created 19 February, 2014
Last Updated
19 February, 2014
Back to HyperScale Main Page
|
 Home
| What's New | Features | Gallery | Reviews | Reference | Resource Guides | Forum |
Home
| What's New | Features | Gallery | Reviews | Reference | Resource Guides | Forum |