Fujimi 1/72 scale
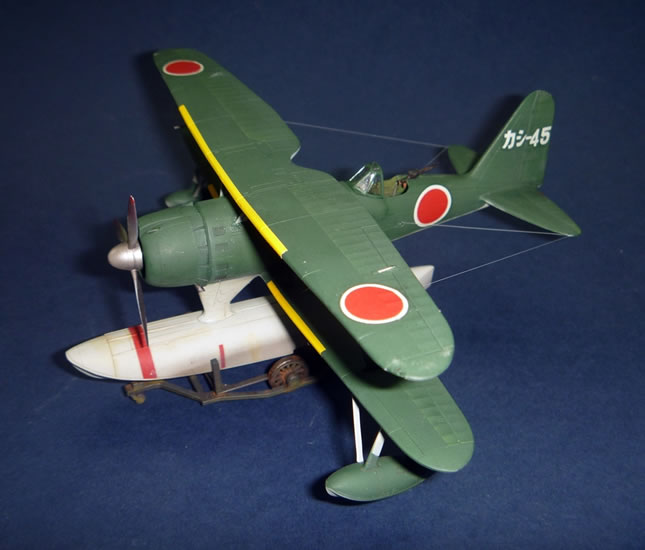
Mitsubishi F1M2 Type Zero (Pete)
by Mark Davies
 |
Mitsubishi F1M2 Type Zero (Pete) |

Sword's 1/72 Curtiss SO3C Seamew is available online from Squadron
 The Mitsubishi F1M (Allied reporting name "Pete") was a Japanese reconnaissance floatplane of World War II. It was the last biplane type of the Imperial Japanese Navy, with 1,118 built between 1936 and 1944. The Navy designation was "Type Zero Observation Seaplane", not to be confused with the Type Zero Carrier Fighter or the Type Zero Reconnaissance Seaplane. The Mitsubishi F1M (Allied reporting name "Pete") was a Japanese reconnaissance floatplane of World War II. It was the last biplane type of the Imperial Japanese Navy, with 1,118 built between 1936 and 1944. The Navy designation was "Type Zero Observation Seaplane", not to be confused with the Type Zero Carrier Fighter or the Type Zero Reconnaissance Seaplane.
The F1M was originally built as a catapult-launched reconnaissance float plane, specializing in gunnery spotting. The "Pete" took on a number of local roles including area-defence fighter, convoy escort, bomber, anti-submarine, maritime patrol, rescue and transport. The type fought dogfights in the Aleutians, the Solomons and several other theatres.
Source: Wikepedia
After building my Sword SO3C Seamew, I was left with the urge to add another centreline floatplane to my display cabinet. This nice little kit from Fujimi fitted the bill well, and was built over about 10 modelling sessions.
Other 1/72 scale Pete Kits
From what I have read, Fujimi’s kit is a far better proposition than any of the other 1/72 alternatives, assuming you can still find them for sale. These include the limited run offering by Aviation USK/Xotic (manufactured by the MPM-Group); the 1960’s vintage 1/75-scale long-run effort by Hasegawa; various resin offerings from Airmodel, REVI, and RS Models; or a vac-form by Wings’72. There were also kits by Aristocraft and Cruver, of which I know nothing more.
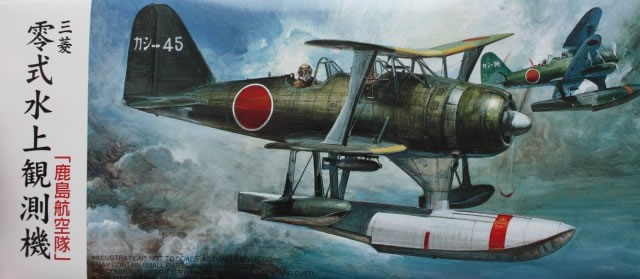
The Kit
The kit was released in 1997, and is typical of the good stuff Fujimi produced in the 1980’s and 90’s. It has fine surface detail and good fit, although cockpit detail is limited and the decals adequate. There is a choice of gunner’s canopy style and three similar decal options. A nice touch is the clear wing-tip navigation-lights.
An unusual feature of this kit is that has a waterline option for the centre and stabilising floats, which have flat bottoms. I would guess that these aid diorama display when barely inserted into a suitable water facsimile. I chose to model mine with the full float option.
This kit has been issued in several different boxings with a variety of decal options; as Fujimi is wont to do. Even so, they can be hard to find in my own NZ-market, and do not seem all that common amongst on-line suppliers; although at the time of writing I did manage to find it listed as in stock with Hobby Link Japan.
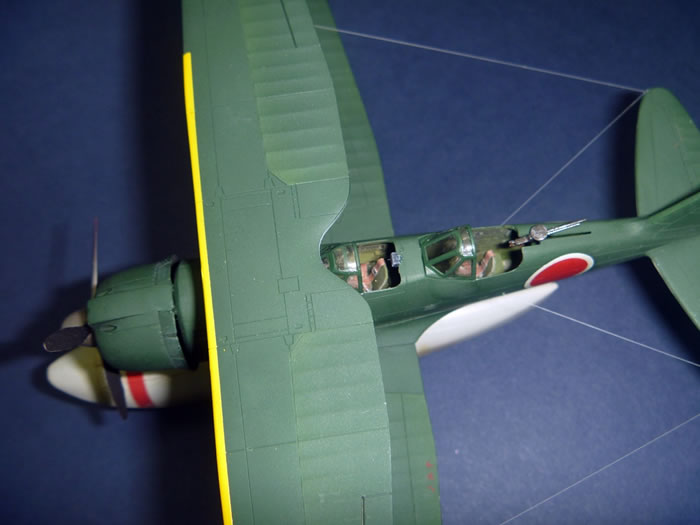
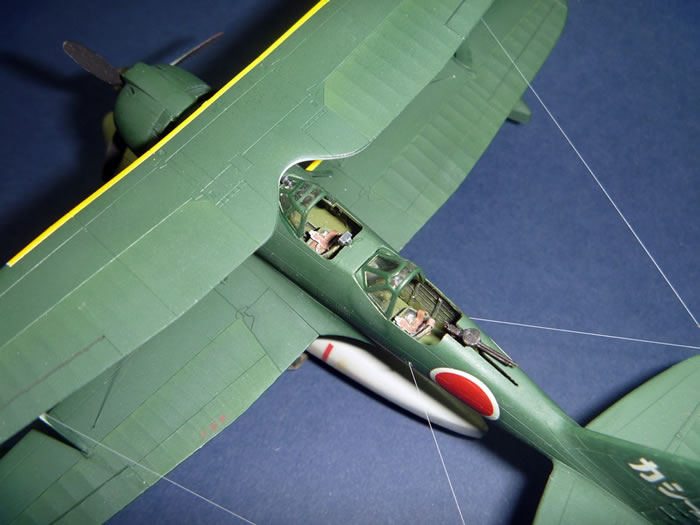
Assembly was quite straight forward. I only added some old and rather indifferent True Details PE belts to the seats, otherwise the cockpit was OOB. On reflection, I should have improved the rear machinegun, as the detail of the kit item is rather bland. The couple of problems I did encounter are covered below.
The wings have upper and lower halves, as you might expect, with the trailing edge for both moulded as one with the upper half; thus providing a thin trailing edge. This is all well and good. However, the lower wing halves do not finish in line with the ailerons and flaps as would be normal practice; instead, they have a join line that runs through the fabric areas of the wing where the ribs and indentations between them are moulded. This made blending the join-line much more demanding than if it had occurred along the hinge line of the control surfaces as would be more common kit design practice.
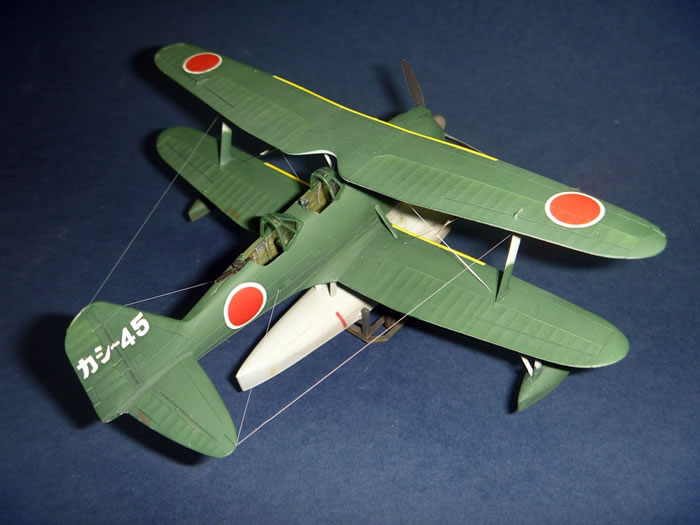
The other odd aspect that did not help construction was the lack of locating points on the fuselage for the cabane struts; these instead simply butt-join against the fuselage sides. Another tricky aspect in this area, but not the kit’s fault I hasten to add, was rigging between the cabane struts, as the space is a tight one. I drilled holes for my rigging in the fuselage and tensioned the four nylon threads through the open end of the forward fuselage, as I had left the engine-cowl off with this purpose in mind. The interplane rigging was simply tensioned through holes in the bottom wing. I made the spreader-bars between the flying wires using plastic rod, but they proved extremely tricky to locate correctly.
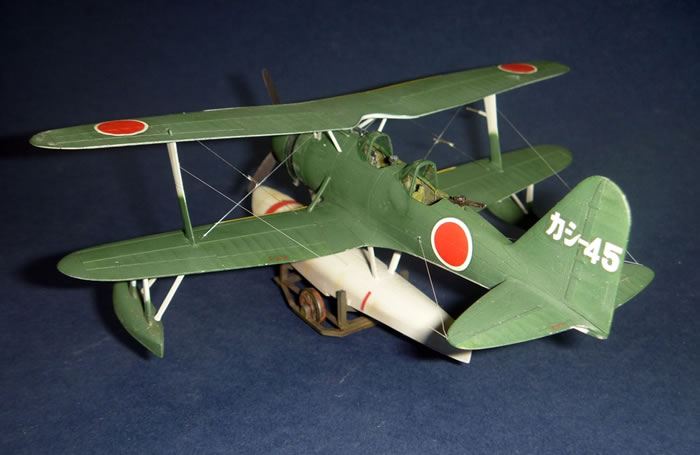
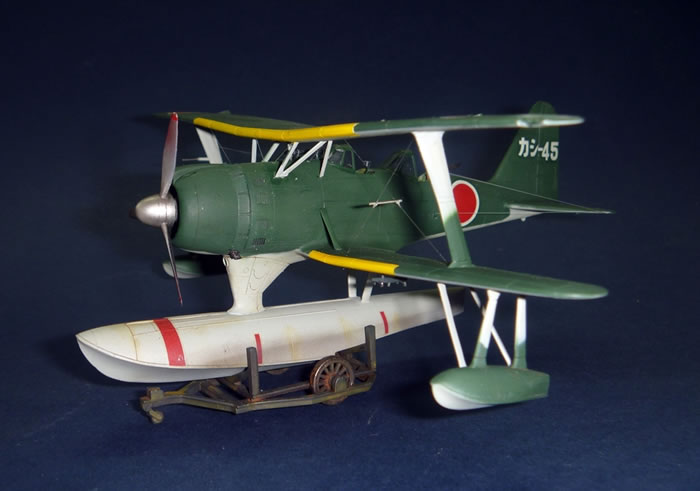
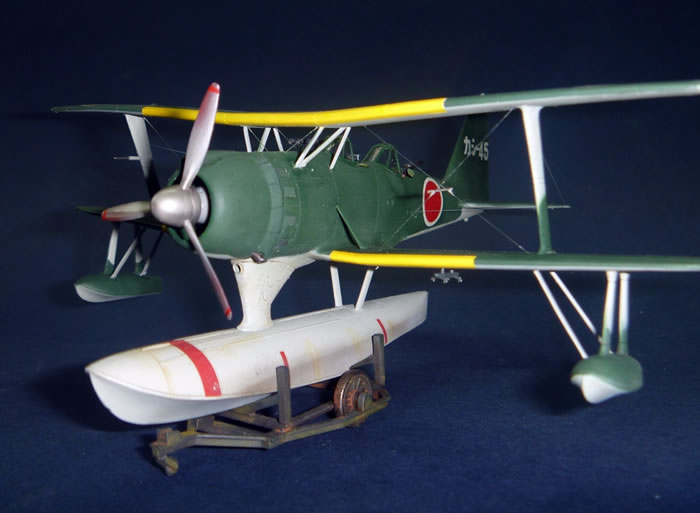
I filled the centre float with what I thought was plenty of weight to make my model sit forward, but I only just had enough to stop it tipping back when on the beaching trolley. The beaching trolley was more heavily weathered and rusted to add a bit of interest, and reflect getting pulled in and out of the sea. I left the floats off until painting was competed.
The model was painted with Mr. Color IJN Green and Model Master IJN Gray.
I varied the colouration of the fabric areas to suggest some slight fading and to add a little interest.
The model was gloss-coated with Future and the slightly thick decals floated on using the same product. Despite this, I suffered some silvering on the tailfin which was touched up using paint. I planned to be lazy and use the kit’s decals for the yellow identification strips on the wing leading edges. Whilst these had sufficient opacity for the job, I could not get them to conform properly, so I masked the wings, undercoated in white and painted them instead.
I painted the canopies off the model because they were very small and awkward to mask.
All that was needed to finish things off was some weathering and antenna wires made from stretched sprue.
This build, cabane struts aside, was an enjoyable project. I now have a model of what is probably one of the prettiest biplane floatplanes to see service. I happily recommend this kit to others, but good luck finding one to buy.
Model, Images and Text
Copyright ©
2014 by Mark Davies
Page Created 28 August, 2014
Last Updated
28 August, 2014
Back to HyperScale Main Page
|
 Home
| What's New | Features | Gallery | Reviews | Reference | Resource Guides | Forum |
Home
| What's New | Features | Gallery | Reviews | Reference | Resource Guides | Forum |