Revell's 1/48 scale
Douglas A-20G/J Havoc
by Rubén A. Torres Borrego
|
|
Douglas A-20G/J Havoc |

Italeri's 1/48 A-20B / Boston III is available online from Squadron.com
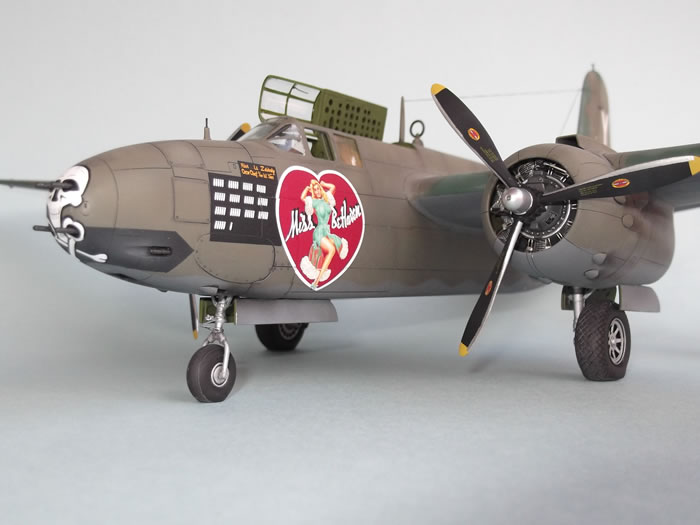
 I like Pin Up art a lot, and I like building models, therefore I enjoy the opportunity of building a model with a gracious girl in the body. Having the PYN decals it was just a matter of time this kit had its chance. I like Pin Up art a lot, and I like building models, therefore I enjoy the opportunity of building a model with a gracious girl in the body. Having the PYN decals it was just a matter of time this kit had its chance.
Initially I just wanted to display a nice cockpit and engines, then I found the turret assembly in the fuselage was not of my liking. I decided to change the socket a little bit with a ring acting as a base to place the turret at the end. At some point I found enough information to challenge myself and the project went to a 16 months endeavor, after countless of hours and plastic pieces this is the result. Behold the A-20H-5 Havoc, Miss Be Haven, 312th Bomber Group, 388th Bomber Squadron.
At the end I used the following items to finish this project:
-
Eduard 1/48 A 20G Cockpit details.\
-
Eduard 1/48 A 20G Undercarriage details.
-
Eduard 1/48 Position Lights.
-
True Details 1/48 A20 Wheels set.
-
PYN 1/48 A 20 Havoc Hussies Part 1 Decals
-
Mike Grant 1/48 Instruments and Placards Decals.
-
Quickboost 1/48 Machine gun barrels.
-
MV Products 1/48 Position lights lenses.Scale Aircraft Conversions 1/48 A20 Main Landing Gear.
-
Evergreen White Styrene card several thicknesses.
-
EZ Line.
-
Wire of several different gauges.
The cockpit was enhanced with the Eduard set, an armored glass behind the windshield, placards from Mike Grant, an open side window and a pair of pieces to show the opening of the rear compartment, the A20 had an armored protection for the pilot behind his head, that plate could be folded or removed, the removal of it left a rectangular opening behind the pilot that is not usually shown in the models of this bird.
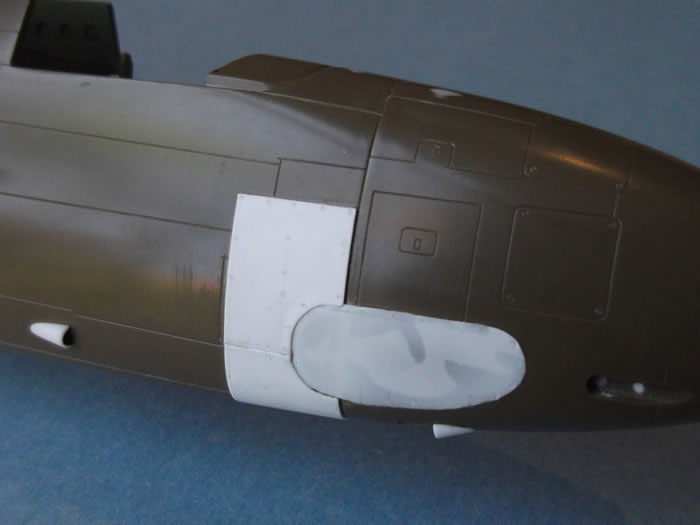
The nose was improved with plastic to show the armor for the pilot, the access panel to the nose cheek gun and other details, the final model was very tail heavy, fortunately this nose had room enough for counterbalance.
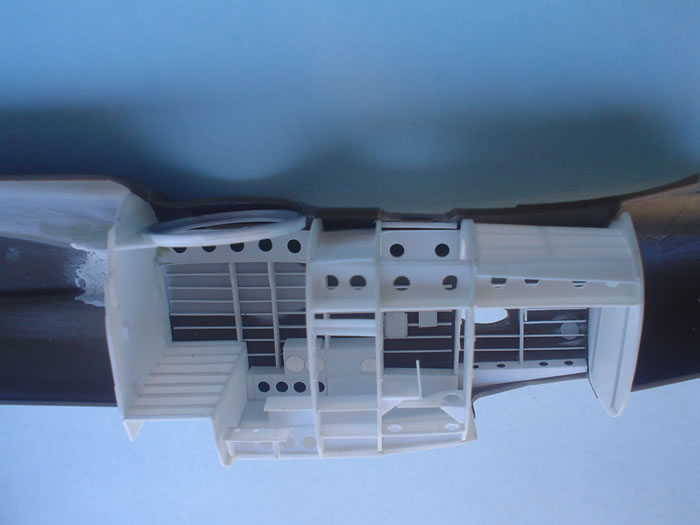
Rear section was detailed with plastic card.
I built a mounting for the machine gun and initially I was thinking on the feeding belt, later I discarded the belt for the sake of visibility.
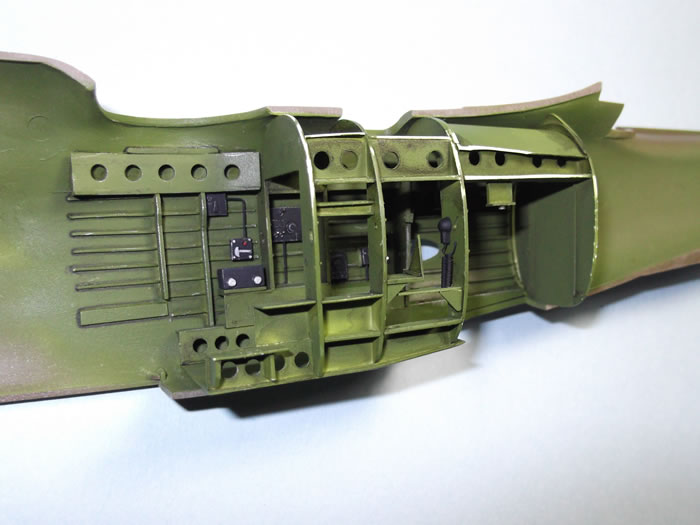
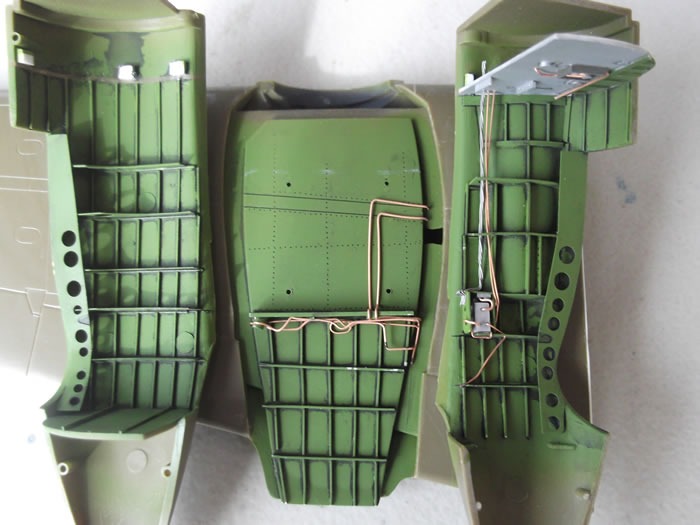
Landing gear bays were also detailed with the Eduard set, plastic pieces and wires. I had to relocate the landing gear to a more proper position and made some compromises to show the (what it seems to be) oil cooler tunnel and structural detail and make possible to close the halves with the base portion of the metal landing gear already glued. The trick worked at the end and I was satisfied with the results.
I used a painting technique I call “texture layering” to create the ribbons on the fabric of the control surfaces, here the visual effect is enhanced by the shiny cote, the final flat finish makes these ribbons very subtle. National markings and the white markings were also painted. Transparent plastic from an old toothbrush was used to make the lights on
the wingtips.
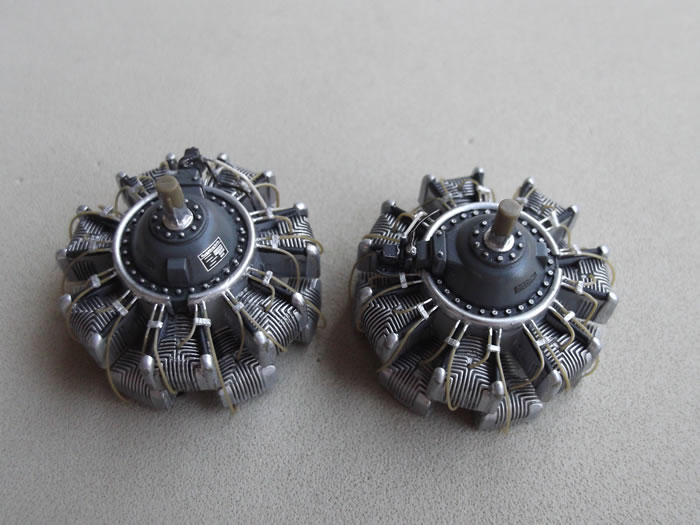
Engines were detailed with plastic, wire and paint, the crankcases were refined since the molds have plastic ridges in the position of the data placards. These were added with decals from Mike Grant. The propeller governors were made with plastic card.
Tail control surfaces received trim tab actuators, horizontal control surfaces were cut and positioned slightly dropped. Tail light was also detailed with internal structure and a photoetched piece from the Eduard´s Position lights fret.
Finally I got to the beginning of the project, I used the main pieces of the Martin turret but I made my own replacements to detail it.
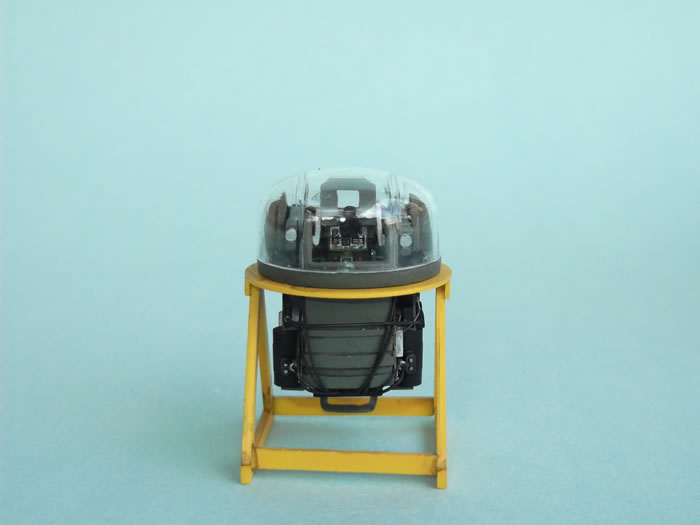
All machine gun barrels were replaced with the ones from Quickboost and I made a frame to display the turret with plastic card. Mike Grant placards helped to enhance the look of the turret control.
The painting was done mainly with Testors and Model Master enamels, except for the Neutral Gray that was from Polly Scale acrylic paint, the coloring involved several shades of the colors, using ANA 613, Faded OD, White, Black and Yellow to shade the OD color. I used Euro I Dk. Green for the Medium Green also shading it to be tuned with the overall look.
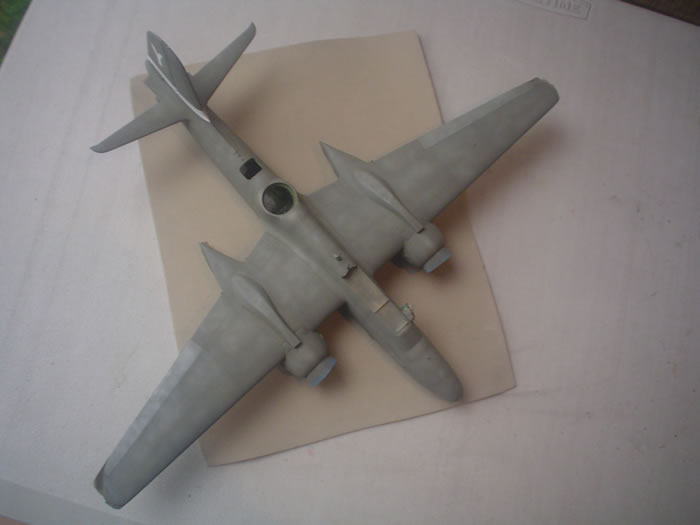
Fabric surfaces were painted with lighter colors to show the contrast. Gloss coat is Future Floor Finish, and the final flat finish is Testors Dullcote. I make my washes with ink thinned with water and liquid soap and some stains were also done with diluted ink with brush and airbrush. Exhaust stains are a combination of discolored paint in the finish, airbrushing inks and pastels.
As usual, with each project I try to use new techniques and improve old ones, this model is the most complete I´ve finished so far, a lot of details were included but not explained here, some of them were designed through educated guesses since I couldn´t find all of the period pictures I would´ve liked, but if I had to wait until having everything I might never finish a project, maybe some decisions are not the most proper ones, but I have to leave room for the artistic license to interpret a concept.
I hope you enjoy these images and have fun looking for the details I didn´t explain here.
Model and Text Copyright ©
2013 by Rubén A. Torres Borrego
Page Created 31 January, 2013
Last Updated
1 February, 2013
Back to
HyperScale Main Page

|
Home
| What's New |
Features |
Gallery |
Reviews |
Reference |
Forum |
Search