Combat's 1/48 scale vacform
Short Sunderland Mk.III
by Mark Jahsan
|

|
Supermarine Seafire FR.46 |

Airfix's 1/48 scale Spitfire Mk.24 is available online from Squadron.com
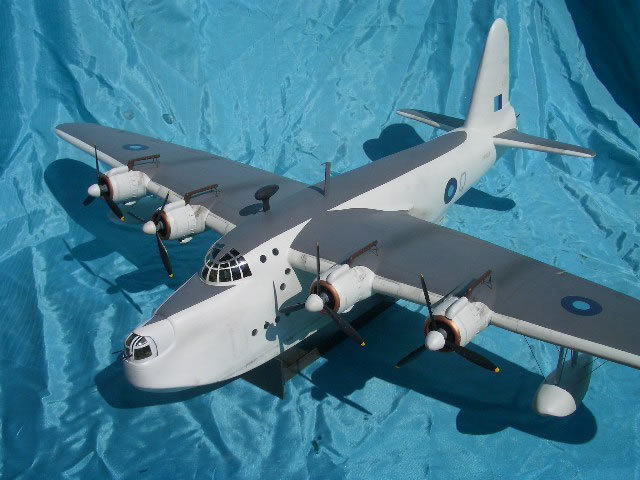
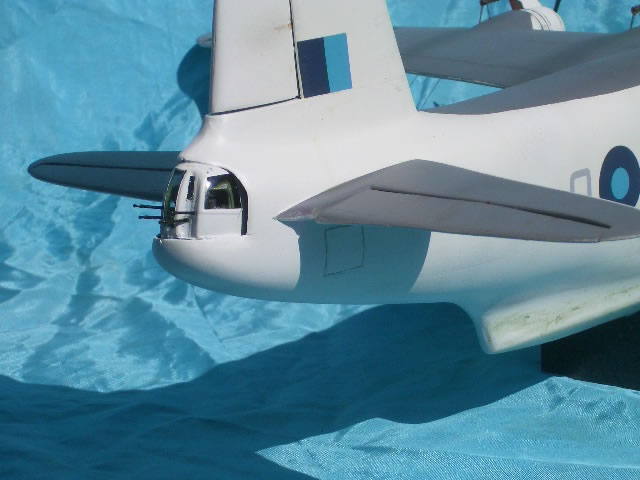
Here is my Combat vacuform 1/48 Sunderland Mk.III.
I have been posting in-progress shots of my Sunderland in Theme Pics, so I won’t bore you with how we got to this point. Just search “1/48 Sunderland” in that forum, you’ll come up with 6-8 little articles on the process.
The last post was just after the camo was applied. Since then I’ve gotten the markings applied, some weathering, and some of the final details.

I have been building Pacific war stuff, and have always wanted to build a Sunderland, and was thrilled to find a scheme I could use. This represents a 230 Sq. boat which flew into Burma, landing in lakes and rivers to supply the Chindits and evacuate their wounded.
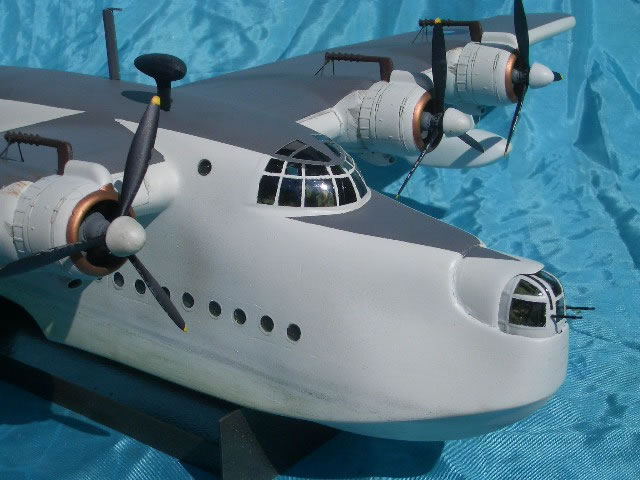
The Bristol Peggys of the Mk III were very dirty engines, so I tried to represent that, but still going for the “less is more” approach. Some oil streaking, some exhaust staining- if you look close at the mid-section photos, you can see how the props deposited a fine spray to the underwing fuselage.
I like how the waterline turned out also. Researching is one of the fun aspects of modeling, leading to answers for questions you never thought to ask. There’s actually TWO waterlines- one darker for the “unloaded” condition, and a second, higher one for when it was bombed up. I cut a long slit in a piece of cardboard and sprayed it with some dark grey, which came out a little too dark. So I sanded it back a bit to lighten it, which serendipously gave it a worn look. Finished it up with some British Interior Green blotched with a sponge below the waterline for a bit of algae, which got sanded back some as well.

Engines, cowls, props and scoops came from the Tamiya Beaufighter kit. One of my buddies was giving me some mild crap about shorting two kits. I figured, for thirty bucks, where could I get aftermarket pieces? Alas, casting resin is a black art which has eluded me, so copying them wasn‘t an option for me. On the other hand, if anyone wants to do a Merlin conversion, I have a couple donor kits you can have cheap!
Another interesting feature is in the leading edge of the wing. There were hatches that opened forward, becoming a platform next to the engine that the mechanics used during maintenance. I painted and weathered, then cut some masks and applied to the leading edge. Then traced around them with pencil, smearing and smudging, When removed, it looks like the cleaner hatch, with ground-crew grime around what would be the opening.
So there she sits. I’m real happy with how it turned out, but it’s definitely proof of Modeldad’s tag line- no such thing as an unbuildable kit, just some not worth building. This is by far the most work I’ve ever put into a single model, and most of it was just wrestling trying to get it together.
On the other hand, BECAUSE of the amount of work, as well as it’s size, it’s now the centerpiece of my collection.
I really want to thank Steve Bailey for his help in getting me started and keeping me going. Also Alan Willoughby, who came through with some great detail and weathering tips that helped pull it together. Love this place for the friendly folk that want to help you succeed.
Text and Images Copyright ©
2012 by Mark Jahsan
Page Created 10 September, 2012
Last Updated
10 September, 2012
Back to
HyperScale Main Page

|
Home
| What's New |
Features |
Gallery |
Reviews |
Reference |
Forum |
Search