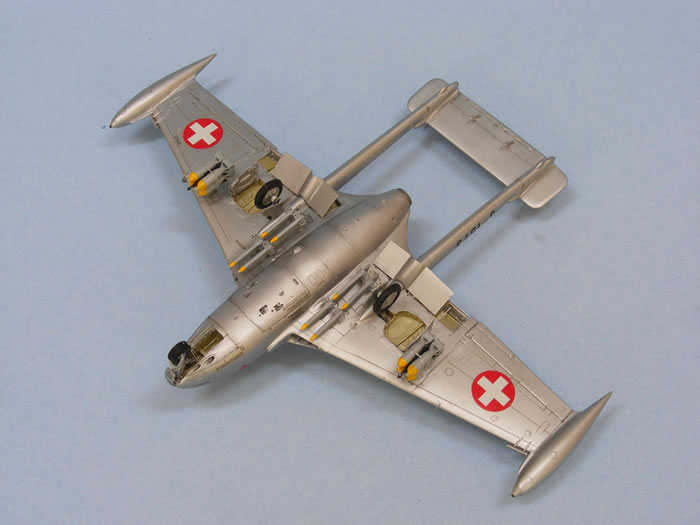
CMR's 1/72 scale
De Havilland DH 112 Venom
by Thomas Muggli
|
|
De Havilland DH 112 Venom |

Hobby Boss' 1/48 scale F-111C is available online from Squadron.com
The rapid development of jet fighters during the 1950s led to the unfortunate development of the DeHavilland Venom. Why unfortunate? Because by the time DeHavilland, in its attempt to produce a cutting-edge fighter, introduced the Venom, it was already being outclassed by more advanced designs such as the North American F-86, the Mig-15, and the Hawker Hunter.
The Venom, basically a redesign of DeHavilland’s successful 1940’s vintage Vampire jet, entered service with the RAF in 1952, but needless to say, its career with the RAF was short-lived. The Venom’s many shortcomings didn’t faze the Swiss Air Force. It procured no less than 250 Venoms, which were then produced in Switzerland under license. Despite its pitiful performance in the air, it could barely outrun a jet airliner at top speed, the Venom remained in service with the Swiss Air Force for almost 30 years. Swiss Air Force brass’ highly questionable theory was that they could use Switzerland’s mountainous terrain as a tactical advantage, and that thanks to extensive training of its crews, the Venom could be an effective weapon. Thankfully for all involved, the need to test that theory never arose, by the time the last Swiss Venoms were retired in 1982.
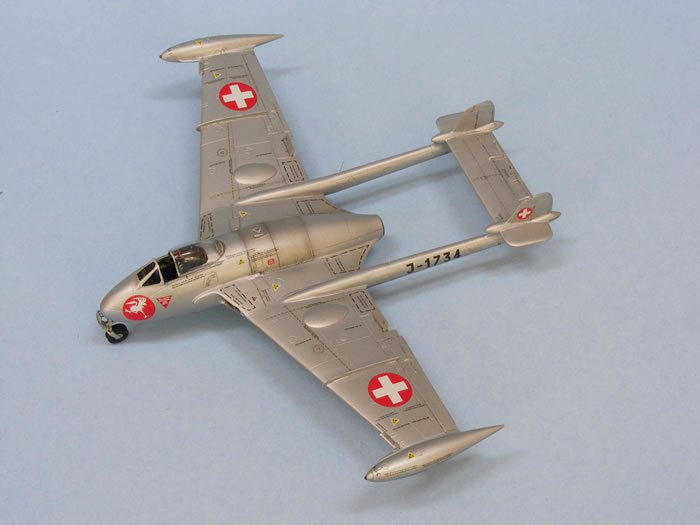
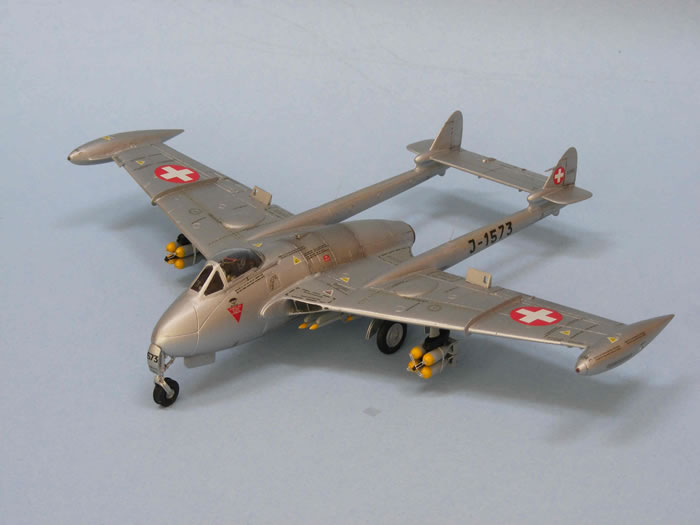
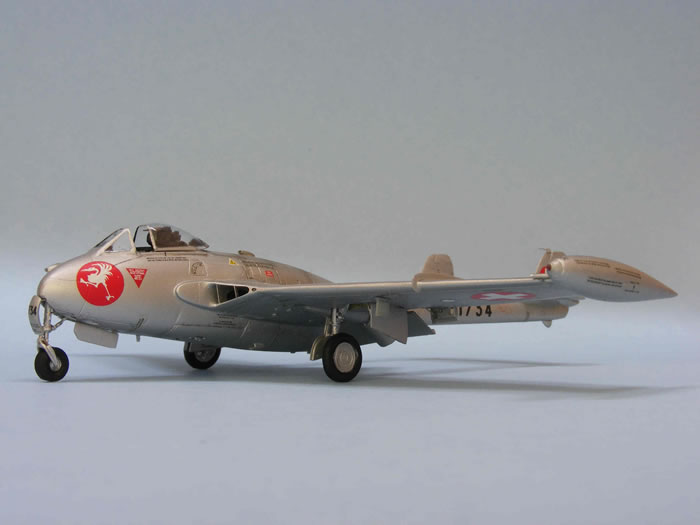
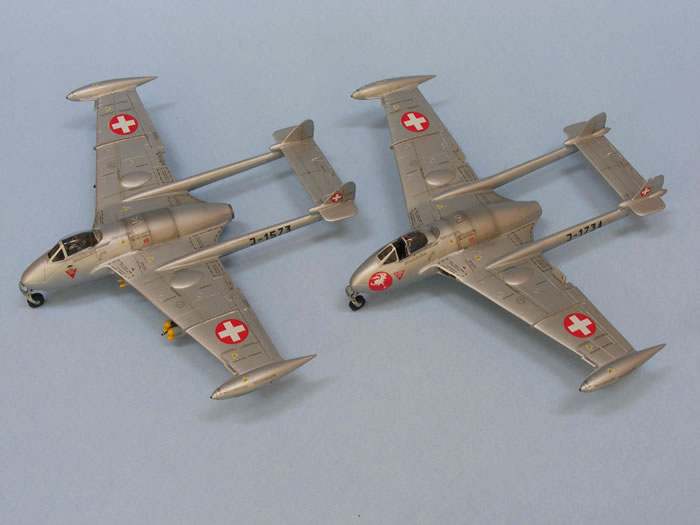
I decided to build a Venom Mk.1 and Mk. 4 for my collection, because they are an important part of the Swiss Air Force’s history.
In recent years, Czech manufacturer CMK has released several resin kits in 1/72 scale depicting different Swiss Venom variants. Using these kits, I started working on my Venom models.
Construction starts with the cockpit, using the pre-painted Eduard photo-etched parts, which are included in the kit, makes for a very nicely detailed cockpit. Unfortunately, it is painted almost entirely in black and once it is installed, most of the nice detail is hidden.
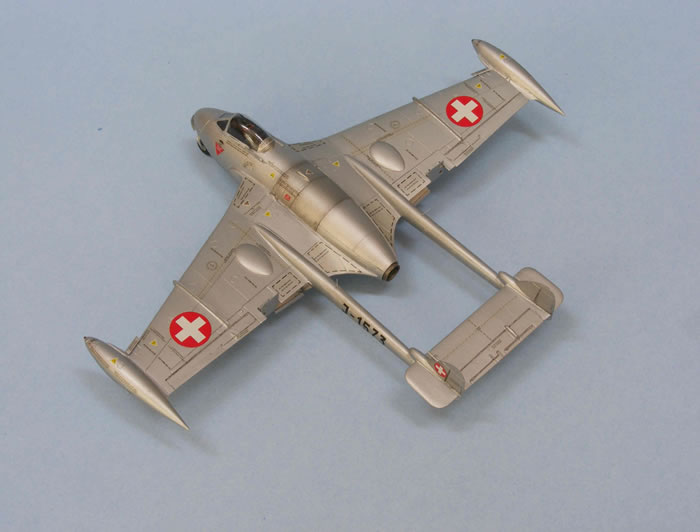
The major components of the kits are very crisply molded and the detail is excellent. The wheel wells and internal wing details are beautifully done. The only drawback is that the panel lines may be a bit heavy for the scale. The biggest challenge with these kits, as with most resin kits, are the ill fitting components. I first came across this issue when I tried to join the fuselage halves. There were quite a few gaps, mainly at the bottom of the fuselage, that I had to fill with styrene strips and CA glue. I also ran into some trouble installing the jet pipes. The edges of the first jet pipe were cracked, and I damaged the second pipe while trying to reposition it. I wound up replacing the rear portion of both pipes with brass tubing. Next time, I’ll install a styrene bulkhead to better hold the jet pipe in place.
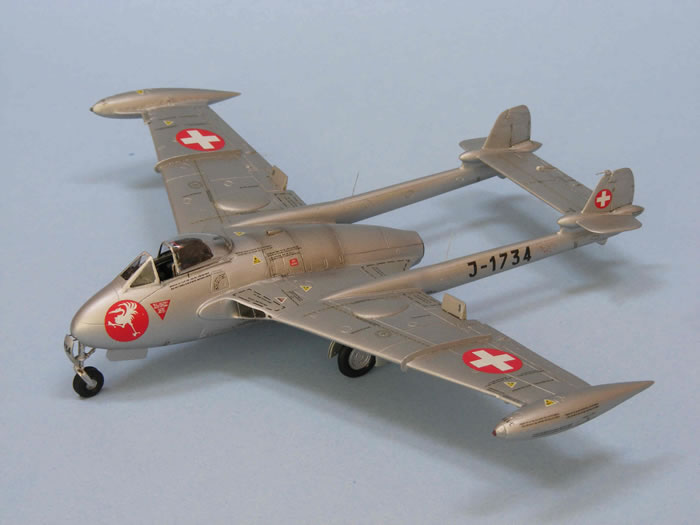
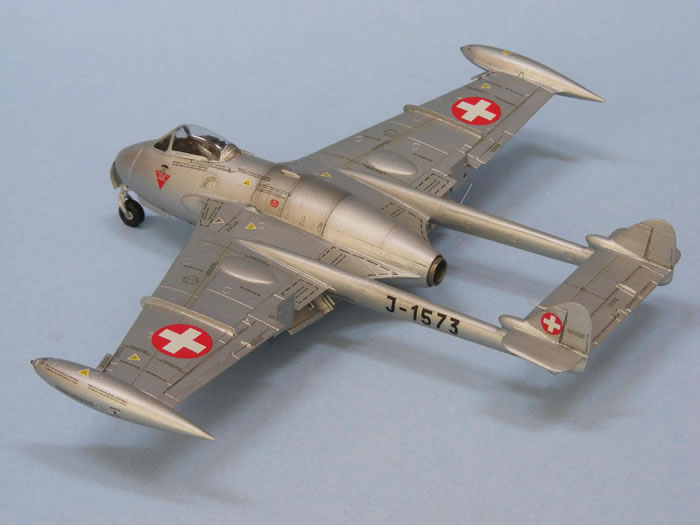
Because there are no locator pins, I was concerned about aligning the wings and tail. So I built a rig from styrene to ensure proper dihedral of the wings and alignment of the tail. After gluing the wings to the fuselage, it was time again to break out the styrene strips and CA glue to fill gaps in a number of spots. The rig I built helped a great deal with the installation of the tail. But I guess I concentrated too much on the horizontal alignment to notice that the twin booms weren’t completely parallel because the tail fin was a bit too wide. Unfortunately, I only discovered the error after I had finished the construction of the models. Since the misalignment isn’t very noticeable and correcting it would have been quite difficult, I decided to leave well enough alone.
Next I tackled the landing gear, flaps and airbrakes which are well detailed but as they are thin and brittle, they must be removed from their stubs with care to avoid breaking them. I considered installing closed flaps and airbrakes on one of my models, but they just didn’t fit their openings so I left them in their deployed positions. The wing fences were another problem area. They are cast in resin as part of the wings and are extremely thin. So I wasn’t surprised that all of them came either chipped or cracked out of the box. I replaced them with new ones I shaped from sheet styrene. Note to CMK: Photo-etched wing fences would have been a better idea. The kit also contains stubs with various tiny antennas and other small parts. Many of these were not fully cast and those that were would have been almost impossible to remove from their stubs. I replaced these parts with bits of styrene strip and stretched sprue. The vacuum-formed canopy is well done and fits well. Nevertheless, I used a small amount of putty to smooth the seams around the windshield.
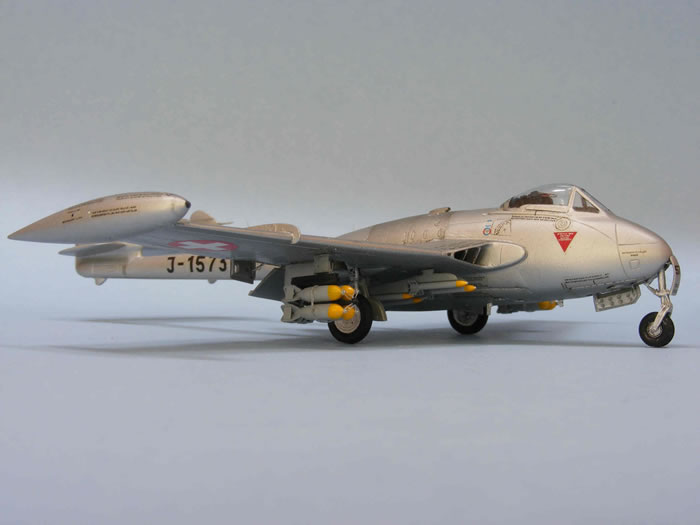
Since I intended to finish my Venoms in their original dull aluminum scheme, the models needed to have a very smooth surface. I spent a lot of time priming and sanding various scratches and gaps which the aluminum finish would reveal. I painted my models with Hawkeye’s Talon acrylic aluminum paint, which is my favorite bare metal paint.
The decals provided with the kits are OK, but the lettering of the many maintenance stencils seemed a bit heavy. I was concerned that they would stand out too much on the aluminum surface. I remembered that I had a Swiss Venom decal sheet from MC-One in my stash which is excellent and features much finer print. I decided to use the MC-One sheet instead, and am very pleased with the result. After decaling, I applied a final coat of clear flat.
One of the coolest features of the CMK kits is the extensive array of weapons stores. You can choose any combination of rockets and bombs used on Swiss Venoms. I equipped my Venom Mk. 1 with eight Oerlikon 8cm rockets and two 4x50 kg bomb bundles. After I installed weapons, landing gear and various small parts, my Venoms were ready for take-off.
Model and Text Copyright ©
2012 by Thomas Muggli
Page Created 8 August, 2012
Last Updated
8 August, 2012
Back to
HyperScale Main Page

|
 Home
| What's New |
Features |
Gallery |
Reviews |
Reference |
Forum |
Search
Home
| What's New |
Features |
Gallery |
Reviews |
Reference |
Forum |
Search