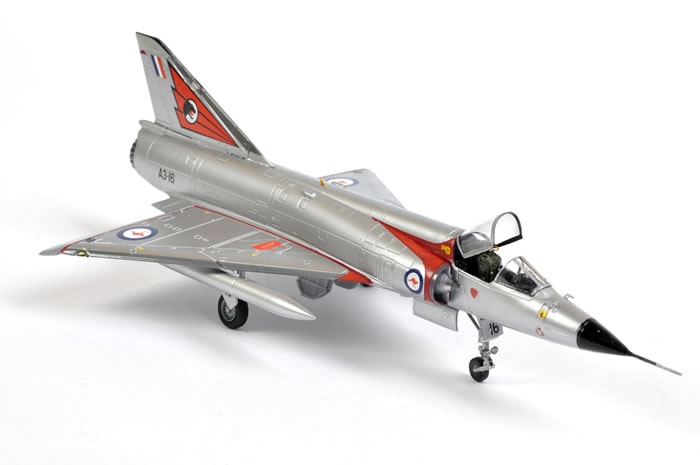
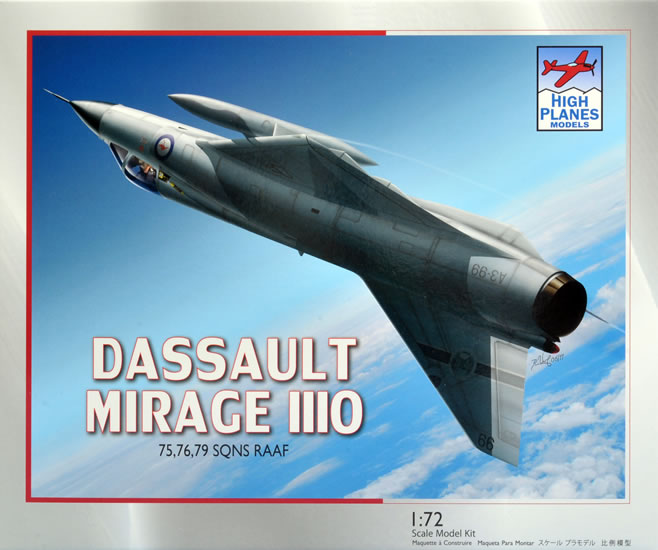
High Planes Models' 1/72 scale
Dassault Mirage IIIO
by Mick Evans
|
|
Dassault Mirage IIIO
76 Sqn Royal Australian Air Force |

Hasegawa's 1/48 scale TA-4J Skyhawk is available online from Squadron.com
Glen Porter wrote a detailed in-box review of High Planes Models’ 1/72 scale Dassault Mirage IIIO for Hyperscale a few week ago and I concur fully with his comments on the kit.
I will highlight some things that can only be discovered during a build of the kit and some expert knowledge on the Mirage IIIO of which I have some having worked on the Mirage IIIO and D at 77Squadron during my RAAF service.
This new Mirage kit from High Planes Models is one of the best engineered 1/72 scale kits that I have ever built. As Glen pointed out, High Planes Models was Australia’s only indigenous plastic kit manufacturer. They specialised in short-run aircraft kits that were quite hard to build but their range included the only accurate RAAF Mirage IIIO in plastic. I built both their previous Mirage IIIO and IIID kits and they were extremely accurate in detail, and this accuracy has been transferred to their first full production range of Mirage kits. The High Planes business was recently sold and moved to Singapore where, in conjunction with PJ Products from Belgium (another 1/72 scale Mirage kit maker but in resin), they have had designed and produced their first long-run injection moulded aircraft kit.
I used almost no filler on the kit except for the upper spine joint behind the cockpit and to fill one incorrectly engraved panel.
The kit is very accurate overall except for one small panel and the generator cooling outlet which are very minor but easy fixed or ignored. The incorrect panel is a small panel just behind the right hand pitch damper. The panel has been replicated from the panel moulded on the left side of the fuselage which is where from my understanding the ground support gyro (I think earth rate gyro) was quickly mounted and connected after start and was used to align the early gyro system prior to the installation of the TGP twin gyro platform system in the early days. This system was no longer used when I started working on the Mirage, so my actual description of this system may not be accurate as I only gained this knowledge from word of mouth and may be incorrect. This panel is only on the left hand side but the kit manufacturer has it replicated on the right hand side as well. This inaccuracy is easily corrected by filling with filler. This panel was where we stored the pitot, static and incident probe covers during flight.
The fuselage haves join very nicely with no filler being required as the joins are covered by the separate spine and rocket bay fuel tank. The wing to fuselage join was almost perfect with once again no filler or sanding required. Forward fuse to main fuse fit was also excellent with this being the only requirement for filler and sanding. I used filler on the spine join and the forward fuselage seam joins and then some fine sanding to achieve the flush finish. The intakes required some trial fitting and minor sanding to achieve a flush fit and once again no filler or sanding after fit.
The canopy and windscreen fit was exceptional. My only concern being the windscreen should have a marginal taper to the top, hardly noticeable in 1/72 and it would probably be less than 0.5mm.
The panel lines are a bit soft and wide and are very similar to current Airfix kits. I am happy with them but others will not approve based on current top manufacturers.
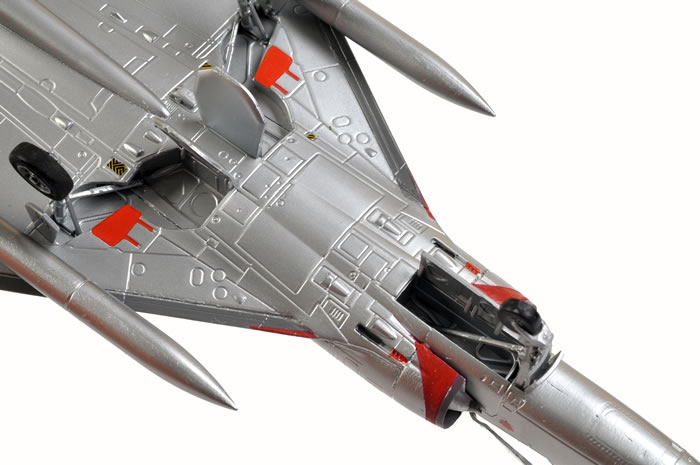
There are some decals missing for early RAAF natural metal or silver schemes such as the yellow rescue panels behind the canopy and the only one provided is for the grey scheme only.
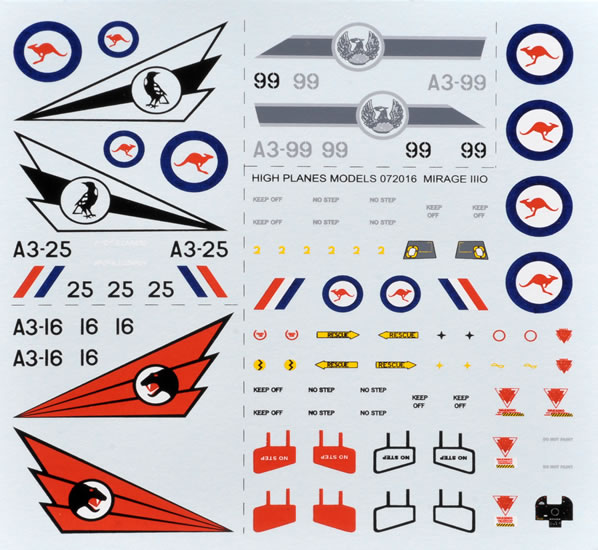
There are also some missing data decals and in particular the early yellow and black striped panels that cover the main ground fuel handle and gun bay fuel handles and the panels that cover the main undercarriage door handles. I managed to get these from my myriad of spare decal sheets.
The long-range tanks are listed on the instructions as 374 gallon tanks but are only 286 gallon tanks. These are also under nourished, in other words too thin in diameter by about 1-1.5 mm when put on the Mirage plans and the stabilising fins are too close together by about 4mm. This was apparent to me even before I cut them off the sprue. If you compare these to the Hasegawa Kfir centre line tank, which is perfectly accurate for a 286 gallon tank as per the photograph below, you can see the difference.
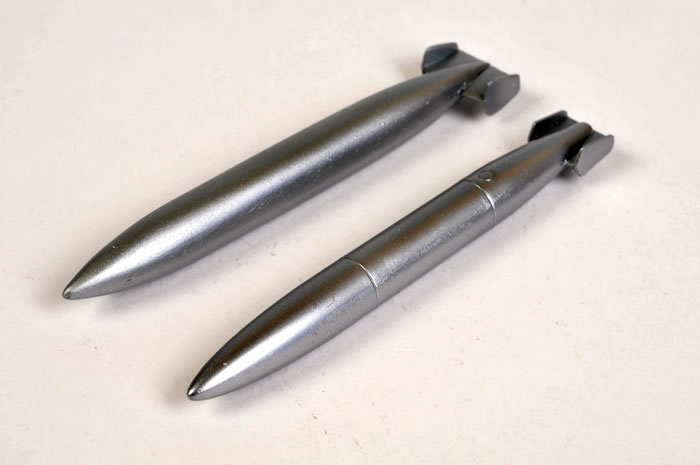
The French 110 gallon tanks supplied can be used as Israeli tanks with fins but they need to be removed from the mounting pylon and moved rearwards about 50mm in scale. This is very noticeable even in 1/72 scale. Hasegawa did not get this right either with the Kfir 110 gallon tanks either, they are only moved about 25mm in scale to the rear.
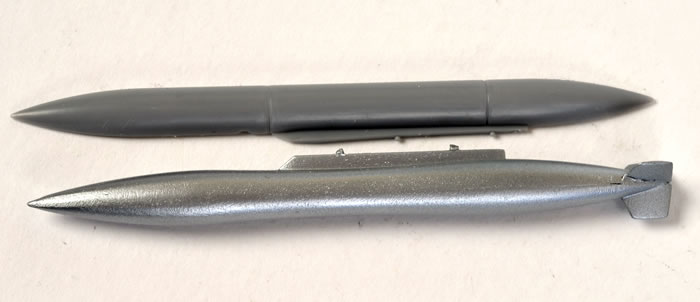
Also, the Israeli tanks have a slight coke bottle shape which is only apparent when put on a flat surface and really only noticeable in full scale. The Hasegawa Kfir tanks in the photograph are over emphasised way too much.
Another major factor with this kit is the positive location for everything, including the undercarriage doors. As I stated earlier this is a kit well engineered and superb fit.
The Mk.6 seat provided cannot be used for the early natural metal or silver schemes as the Mk.6 was introduced in 1981-2 so I used an Aeroclub Mk.4 seat instead.
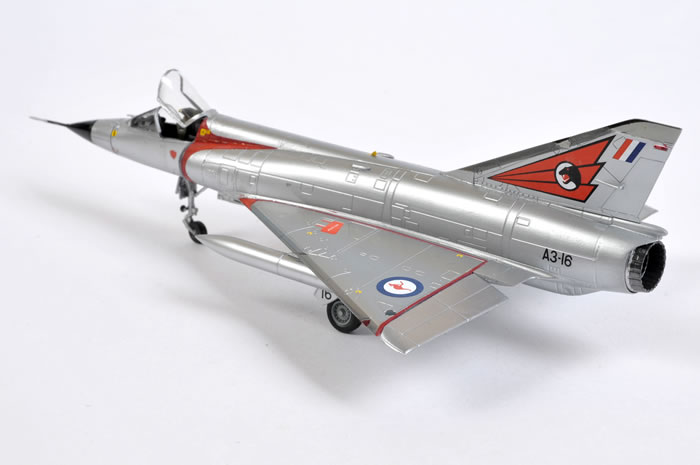
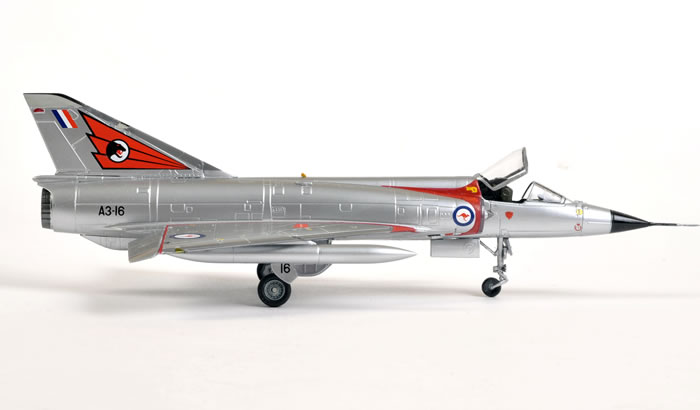
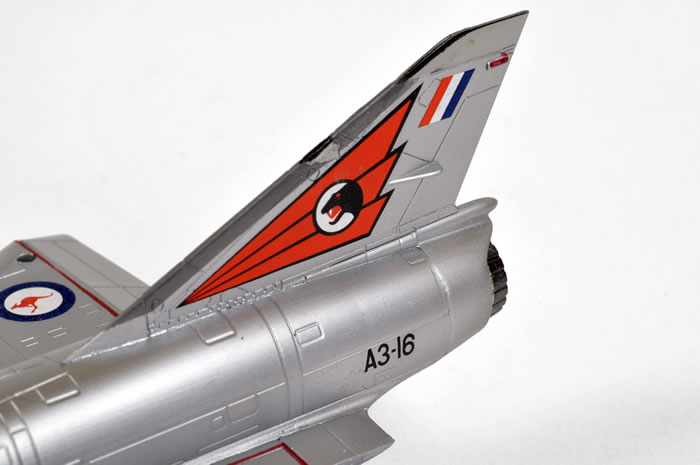
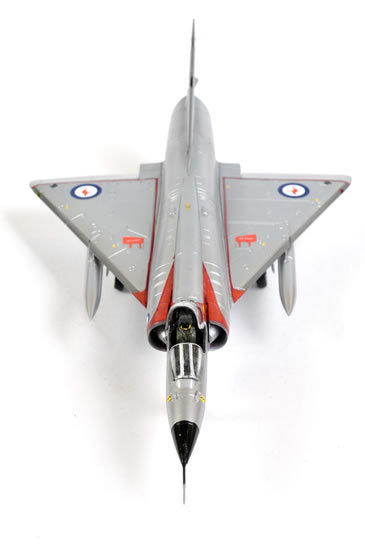
Because this kit went together so well and with a limited amount of filler and sanding required I chose to do the kit in an early silver scheme, although I almost went the earlier natural metal scheme. A quick polish with steel wool and a coat of Alclad grey micro filler prepared the kit for its silver finish. I chose to use Alclad’s white aluminium which, while not exactly accurate, was as close as I could find to the aluminium paint actually used. The intakes, spine and wing walk lines were masked and painted Italian red which almost matches the red used for the 76 Sqn insignia.
The decals used were for No 76 Sqn and were the decals supplied in the kit. These decals are excellent, they are in register, super thin and snuggled down into the detail without filler.
I was extremely happy with the finished result and this is the first 1/72 scale kit I have built for years as I currently prefer the 1/48 and 1/32 scale.
In summary, the guys at High Planes have done a remarkable job on this kit for their first output that is not a limited run kit. I rate this as the best and most accurate 1/72 scale Mirage kits that I have seen and built and the points I have made above are very minor.
Highly recommended for all levels of model builder.
Advantages:
- Highly Accurate
- Superbly Engineered
- Easy to Build
- Excellent Decals
- Clear Transparencies
Disadvantages:
- Long range drop tanks inaccurate
- Wide soft panel lines
- Only a Mk.6 seat is provided
Text Copyright ©
2012 by Mick Evans
Images Copyright © 2012 by Brett Green
Page Created 26 April, 2012
Last Updated
26 April, 2012
Back to
HyperScale Main Page

|
 Home
| What's New |
Features |
Gallery |
Reviews |
Reference |
Forum |
Search
Home
| What's New |
Features |
Gallery |
Reviews |
Reference |
Forum |
Search