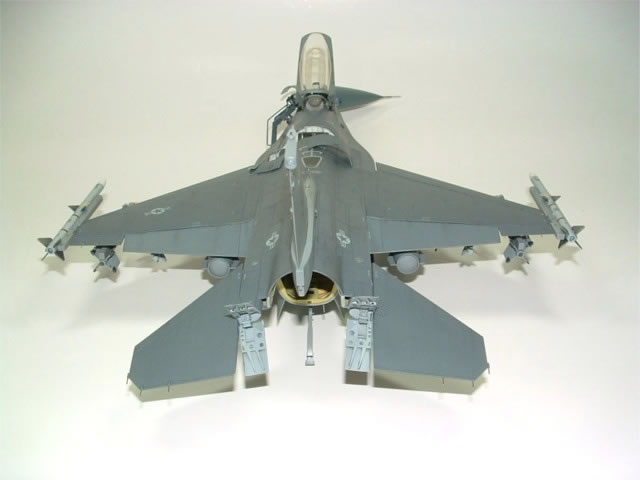
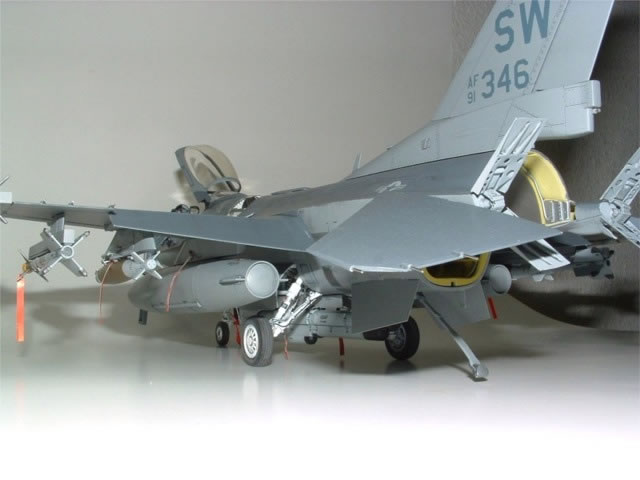
Tamiya's 1/32 scale
F-16CJ Falcon
by Keith "Ghostmech" Pardini
|
|
F-16CJ
55th Fighter Squadron, Shaw AFB
|

Tamiya's 1/32 scale F-16CJ is available online from Squadron.com
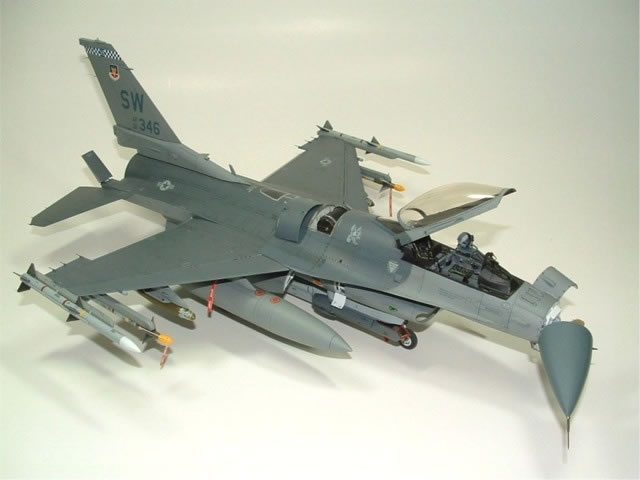
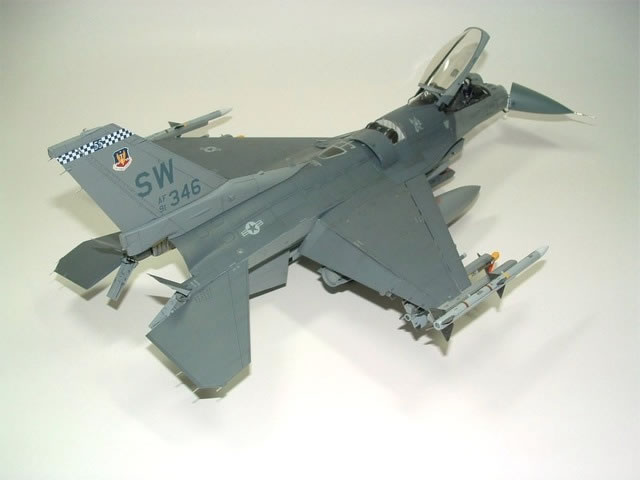
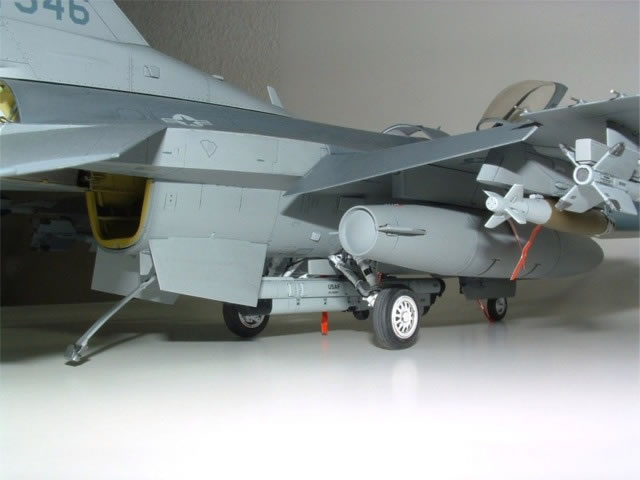
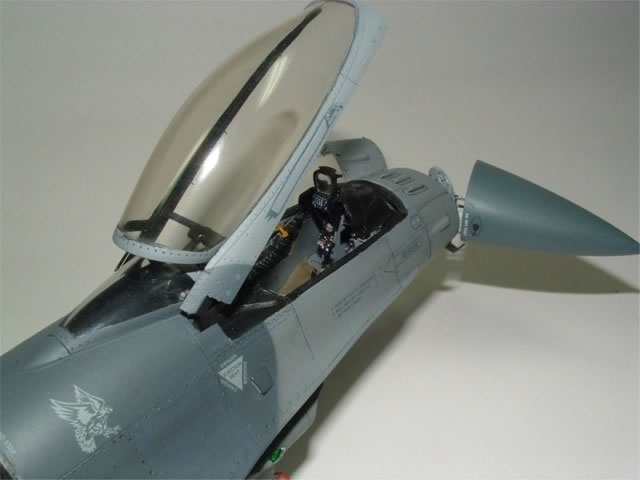
I originally intended to build a F-16CJ of the 55th Fighter Squadron, Shaw AFB, SC that would have be seen in early OIF/OEF theaters.
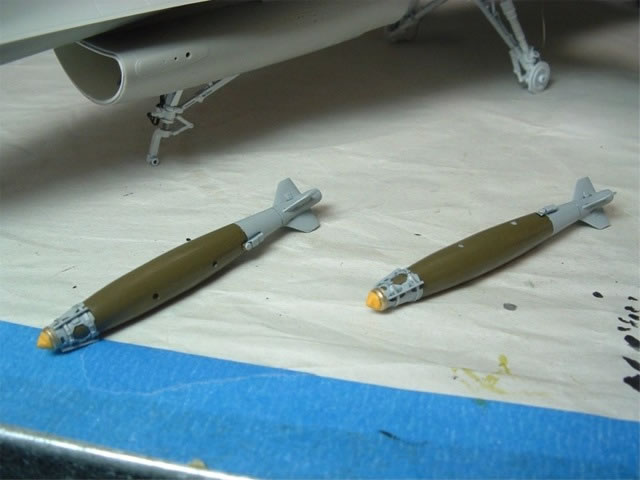
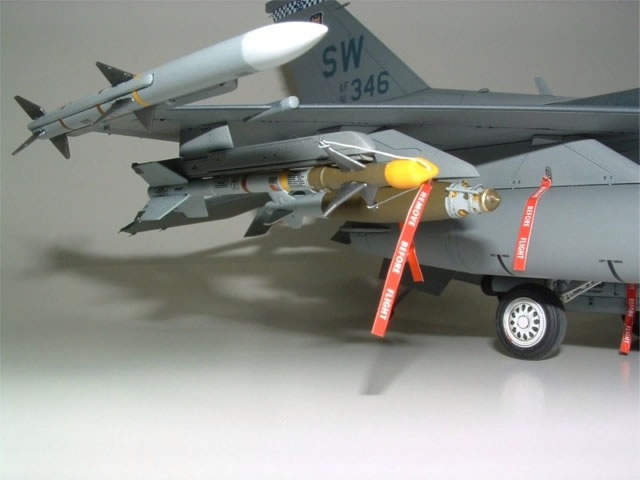
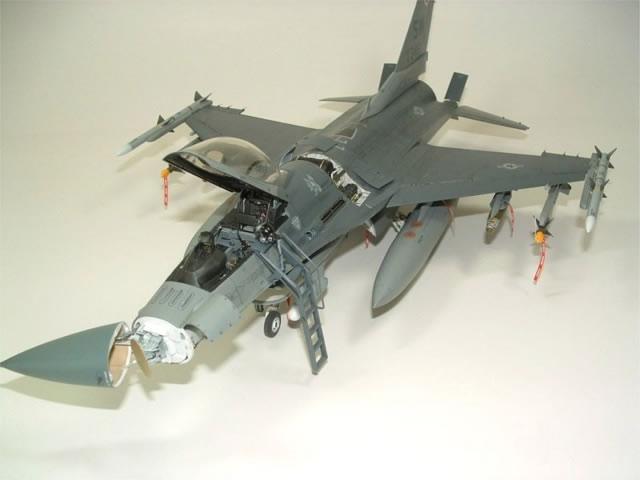
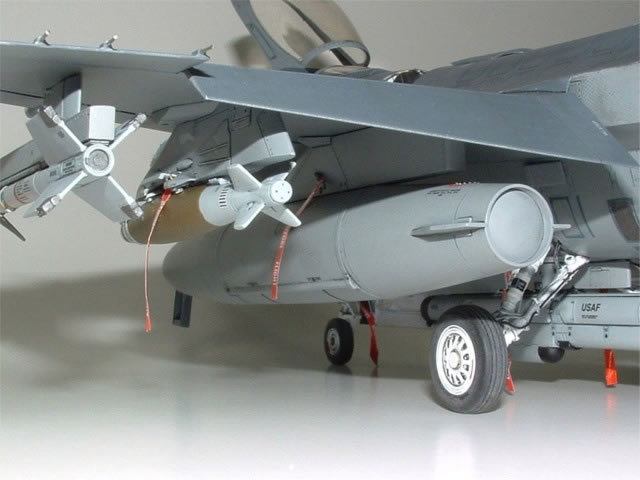
However, as new aftermarket external ordinance and pods became available, I adjusted my Falcon to reflect a more updated aircraft with items such as the Sniper Pod, War HUD and GB-38 JDAMS.
 This project started a few years ago with the beautifully engineered Tamiya 1/32 F-16CJ. Like many of us do with big projects, you have a couple of starts and stops along the way, one being attributed to a state to state move. This project started a few years ago with the beautifully engineered Tamiya 1/32 F-16CJ. Like many of us do with big projects, you have a couple of starts and stops along the way, one being attributed to a state to state move.
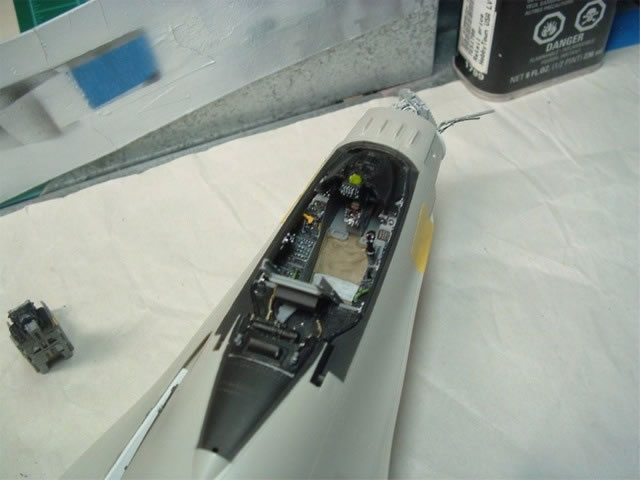
Another goal with this kit was to push my abilities up a notch since getting back into the hobby. On previous builds, I usually just added detail on the peripheral, but never actually scratch built anything of significance.
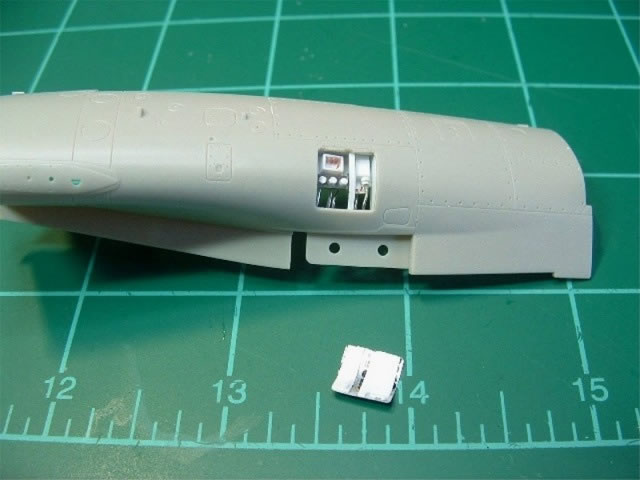
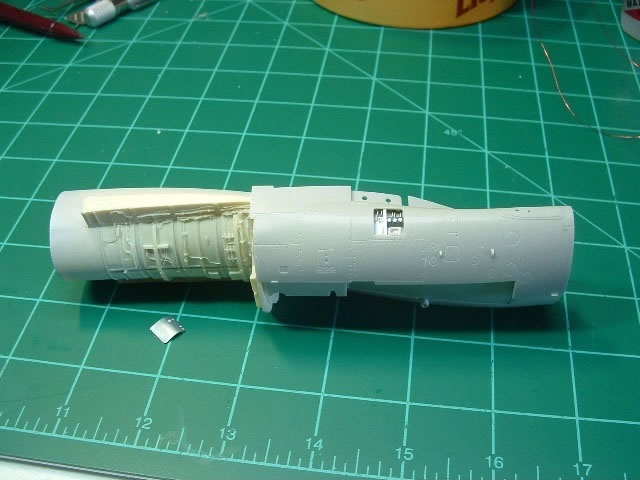
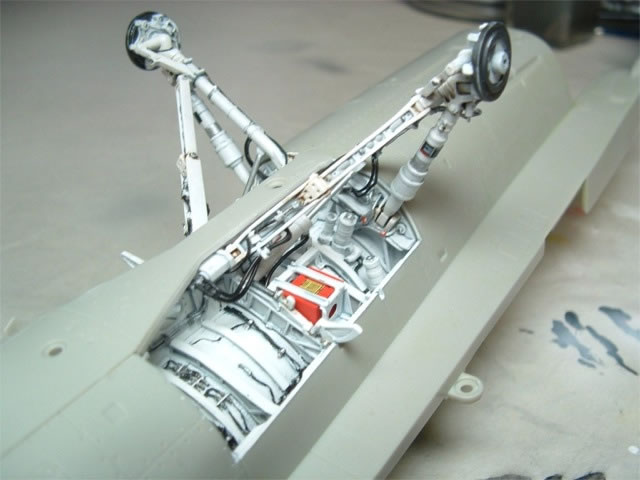
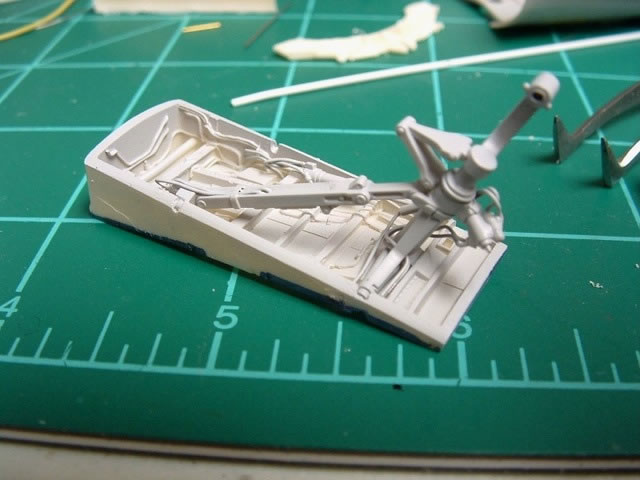
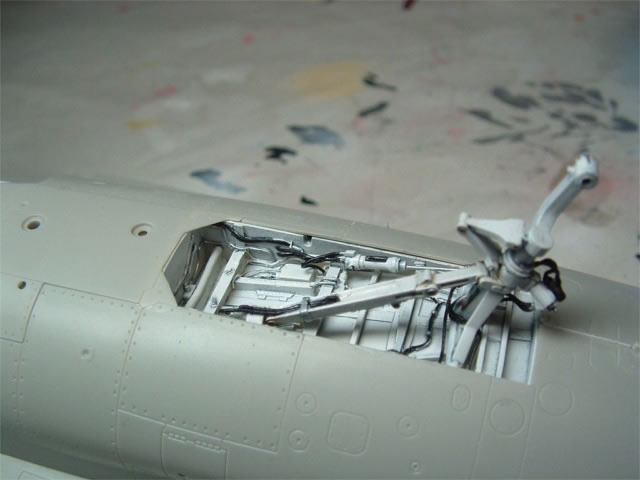
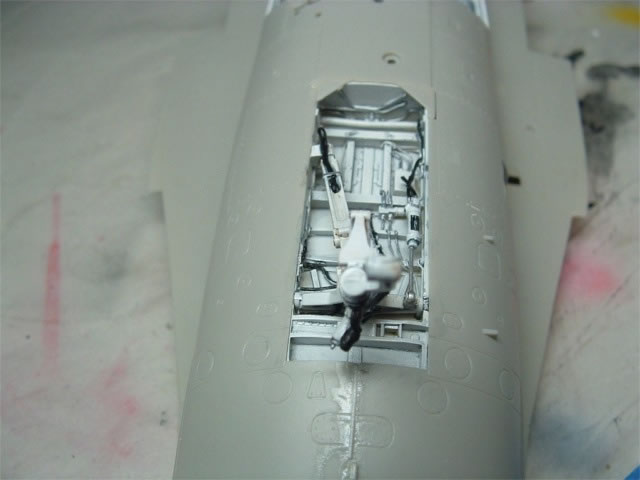
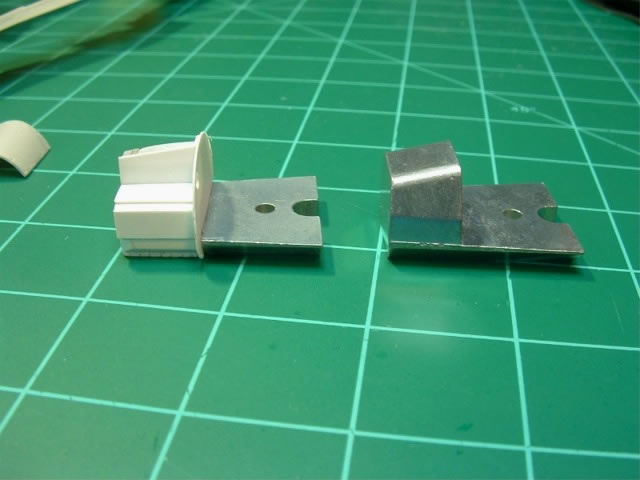
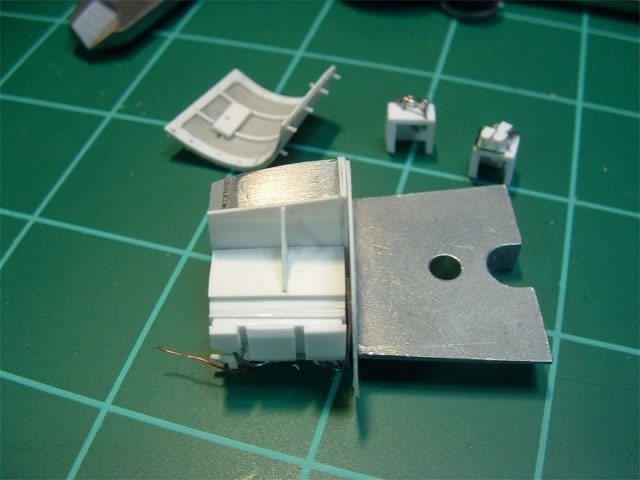
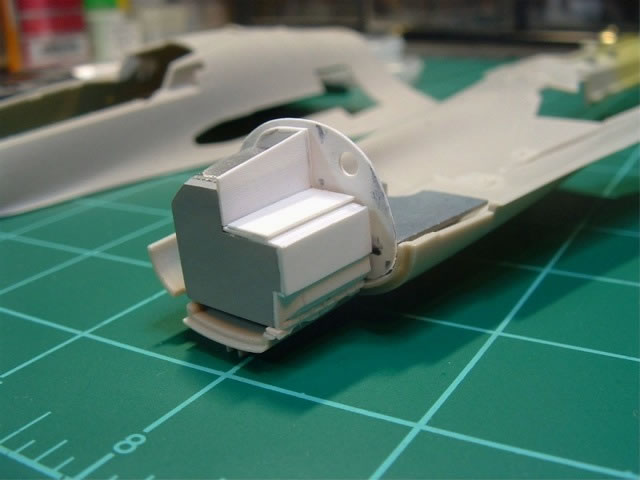
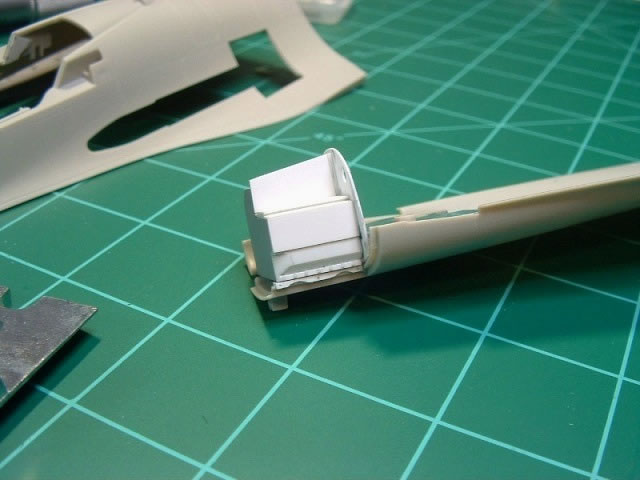
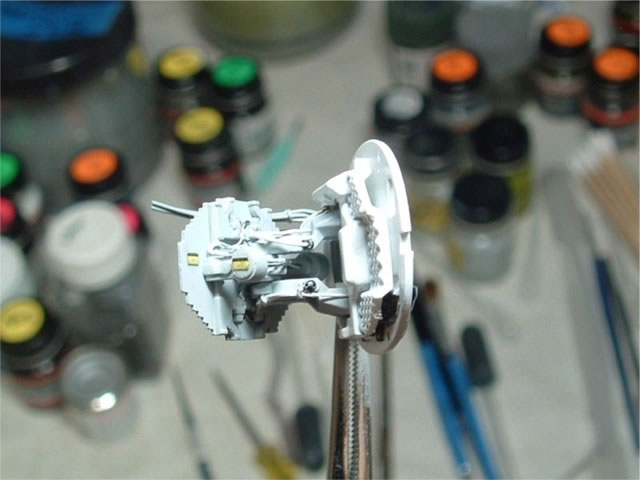
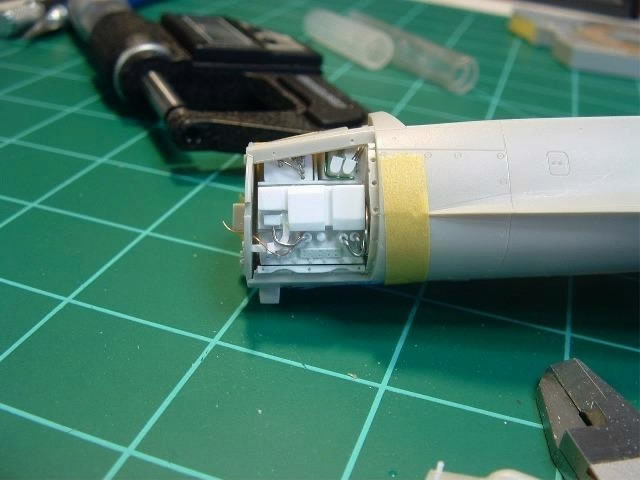
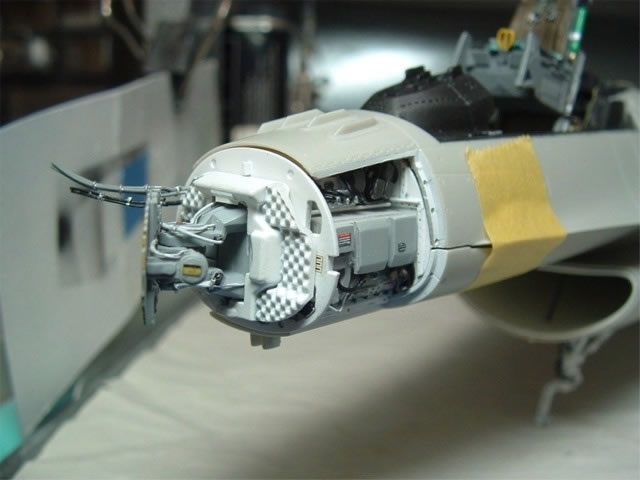
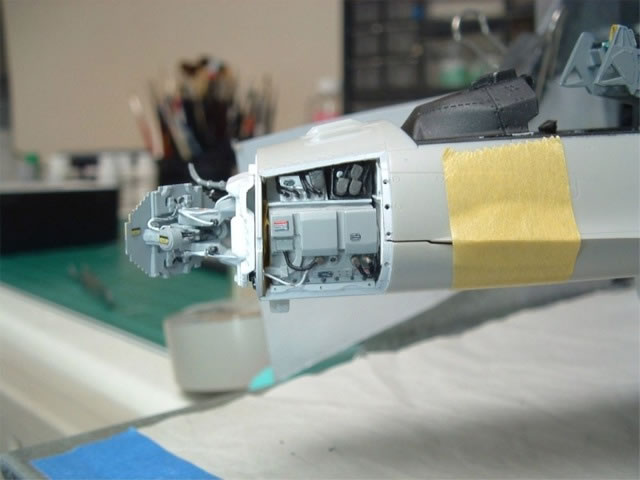
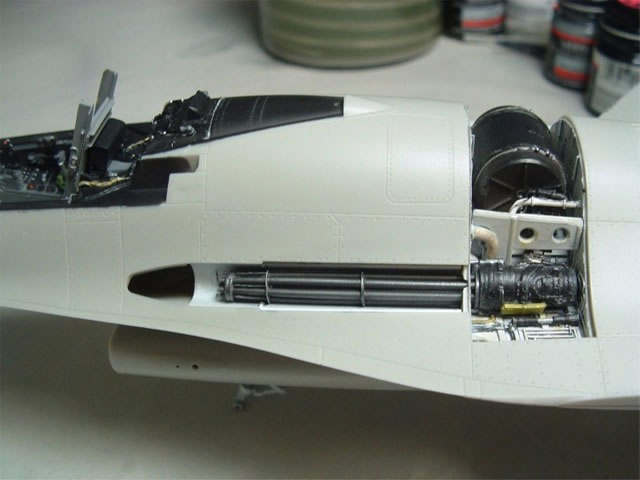
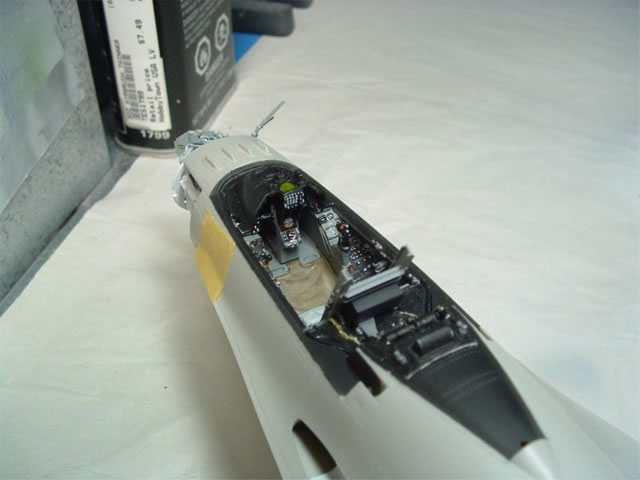
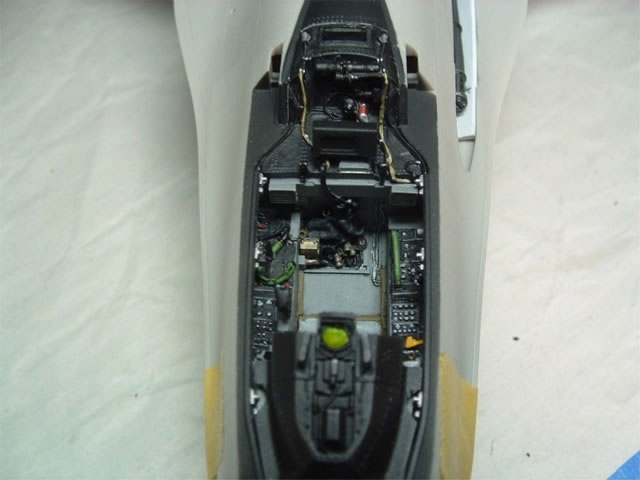
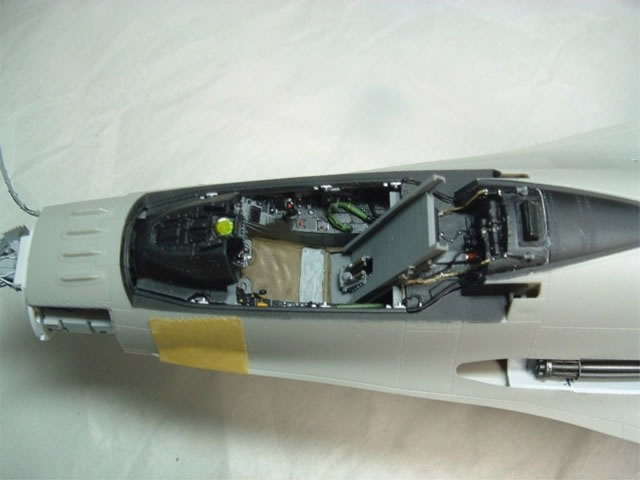
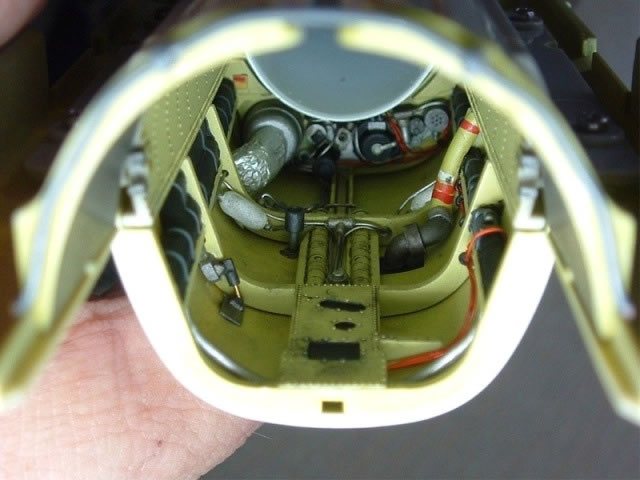
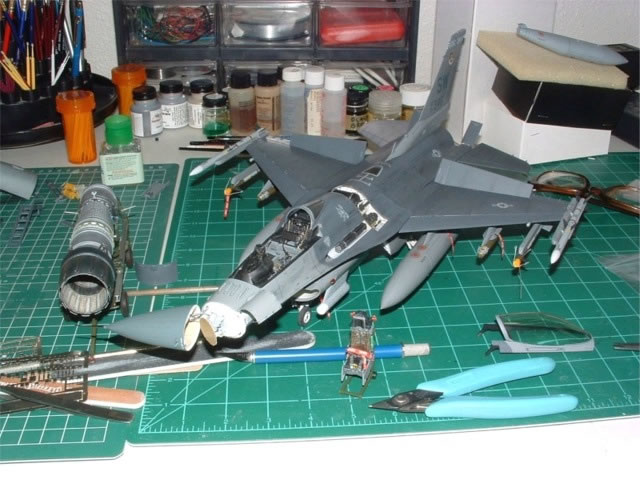
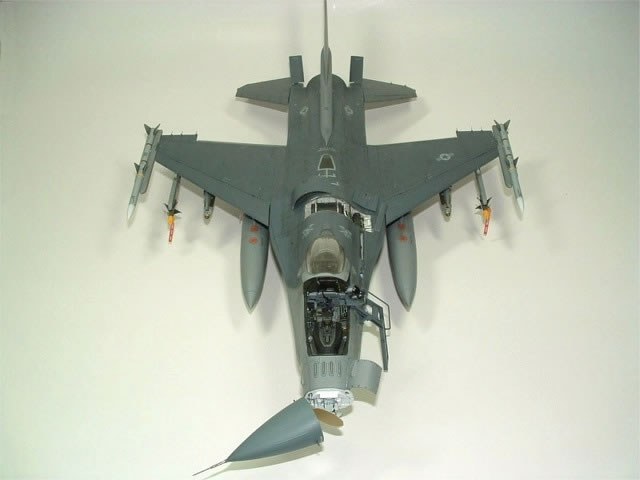
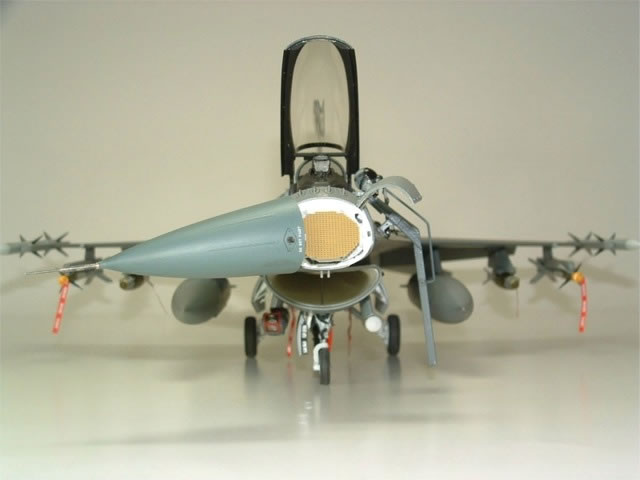
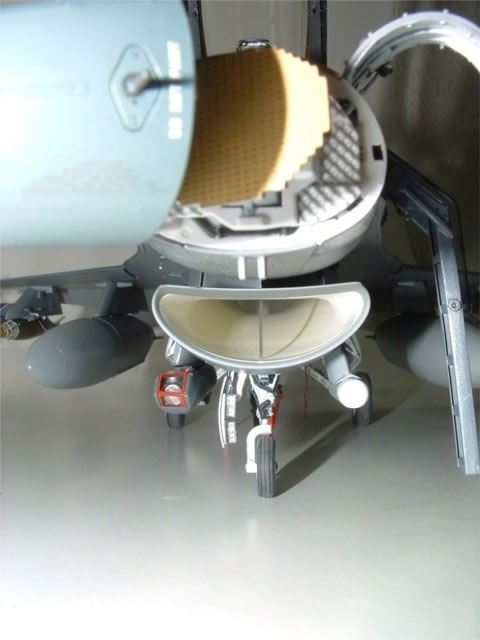
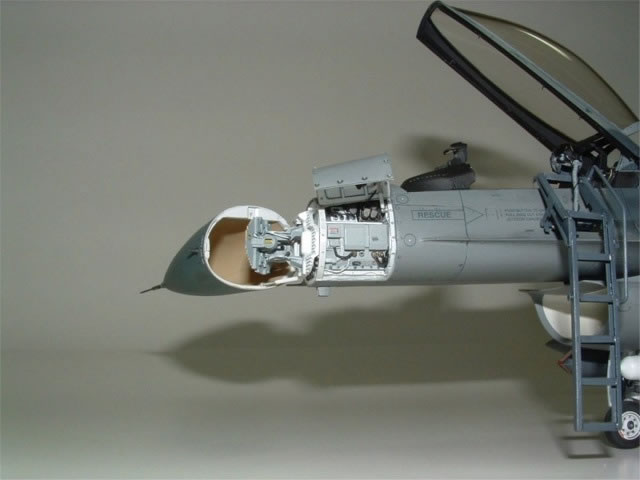
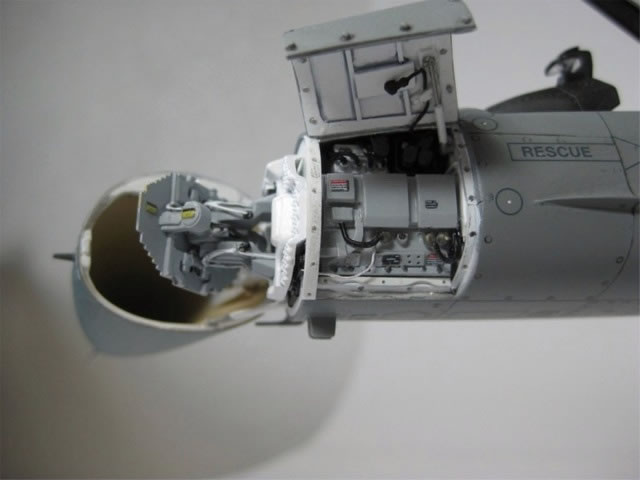
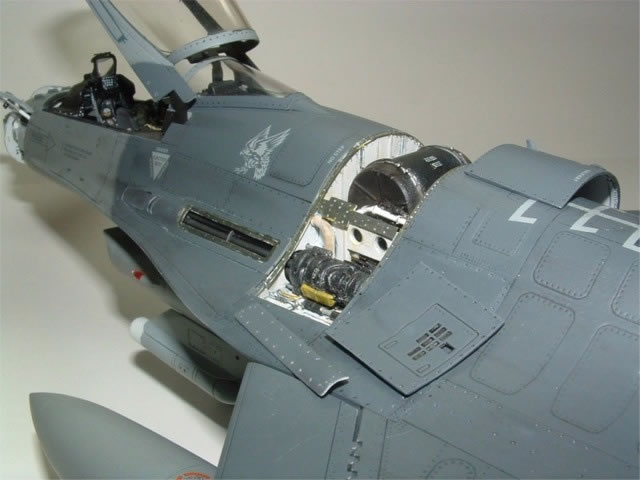
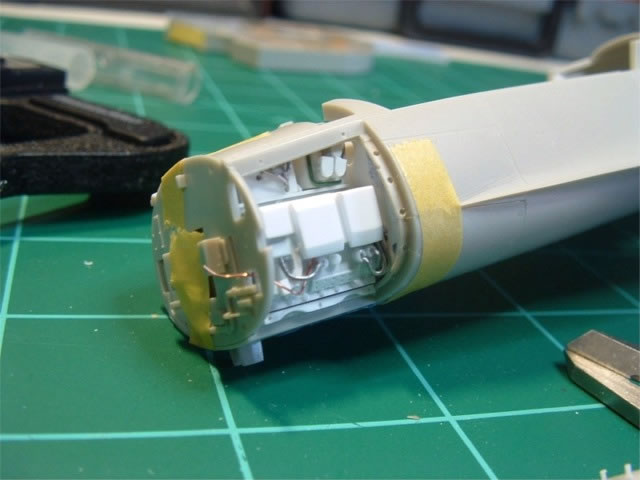
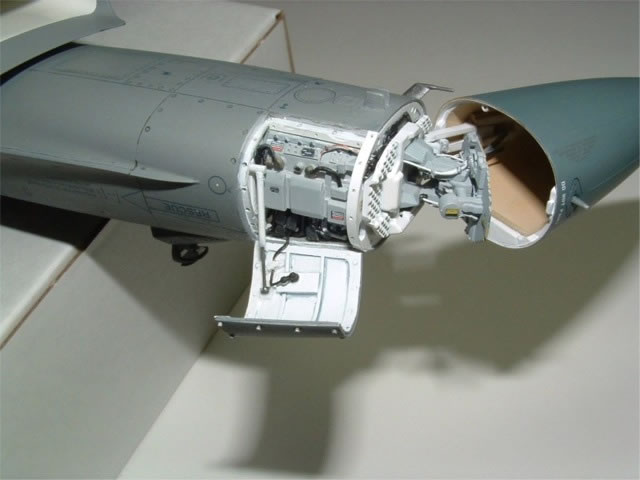
Having built the 1/32 Tamiya F-15E several years ago, I liked the way Tamiya opened the left side radar access panel, thus revealing the electronics under that panel. On their F-16CJ kit, Tamiya elected to keep the radar access panels closed. I can understand why since the provided nose weight takes up that entire area. So with a little planning and cutting of the nose weight, it was possible to add that radar detail and still retain the weight. Though doing this with an aftermarket cockpit (Blackbox/Avionix) complicated it a bit more since room is at a premium, but I think the extra effort was worth it and boosts the look of realism that I felt it was missing.
While I was in scratch building mood, I ...
-
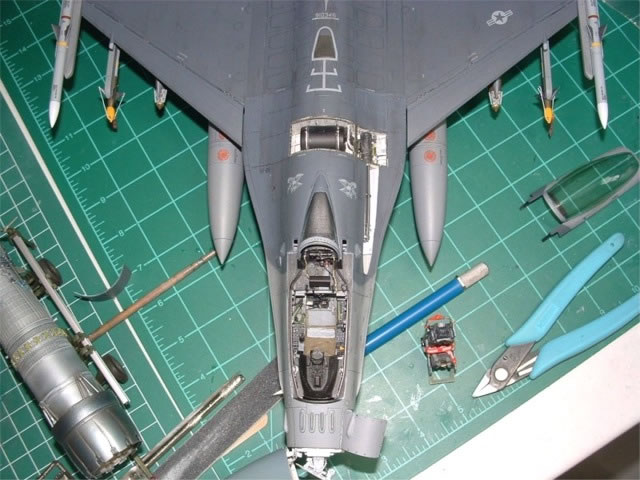
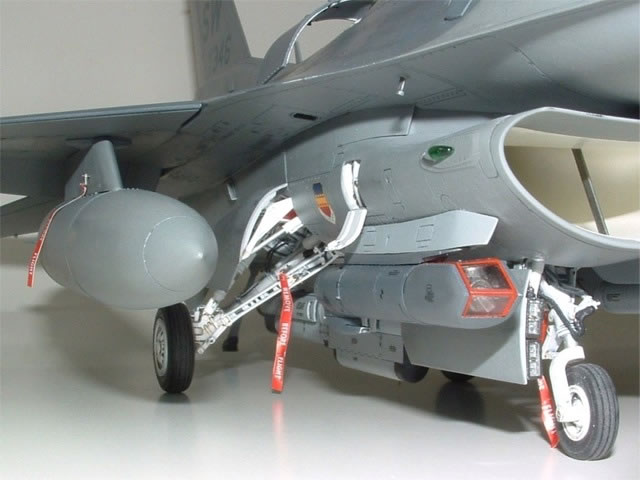
Opened/scratch built external ground power access panel
-
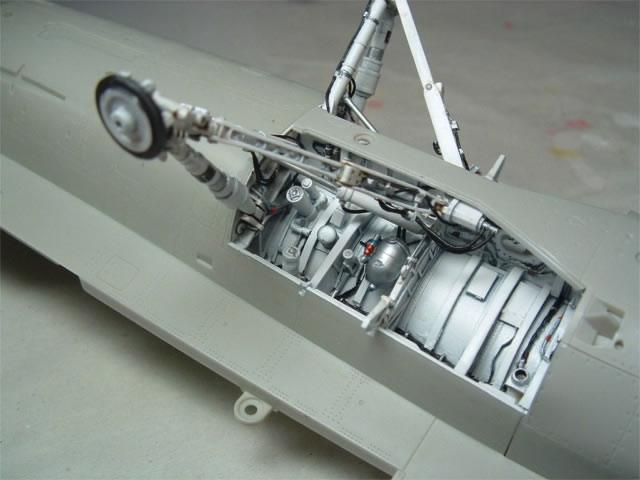
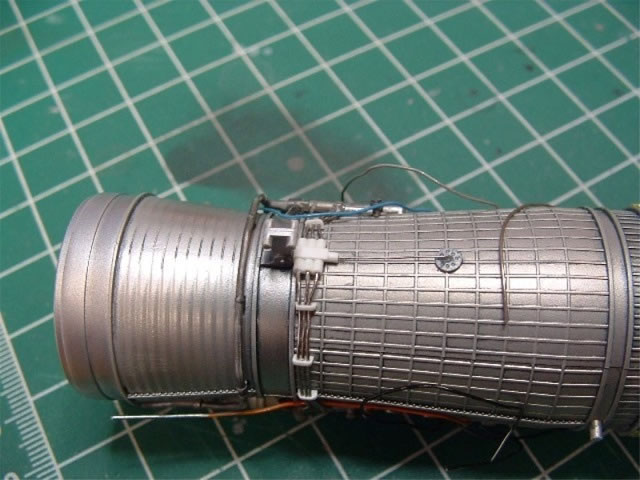
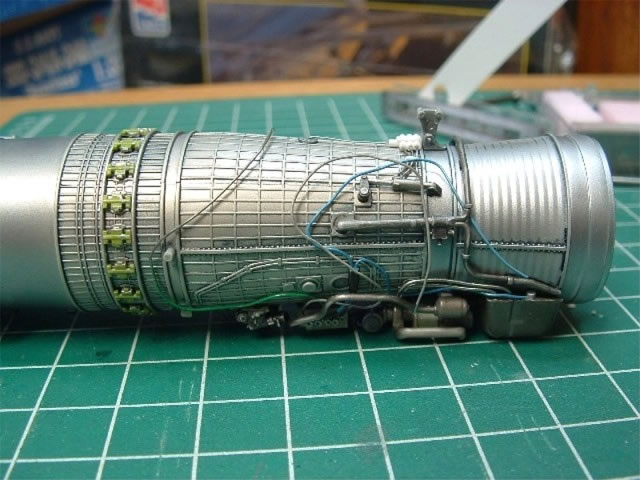
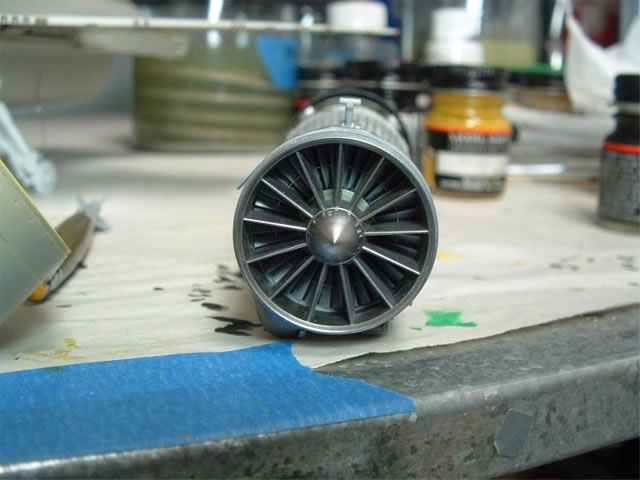
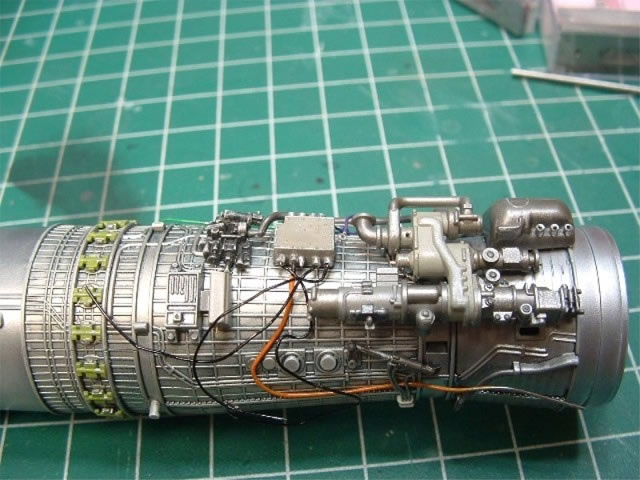
Added miscellaneous Radar, Engine and Wheel Well components/plumbing/wiring
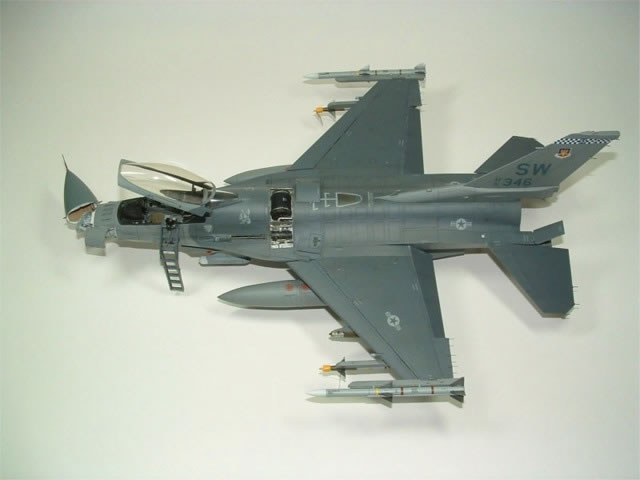
Accessories used were as follows:

-
CMK Armament set 5007
-
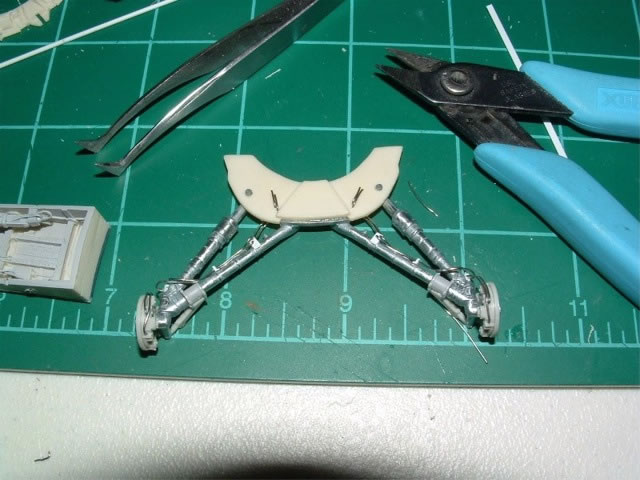
CMK Undercarriage Set 5008
-
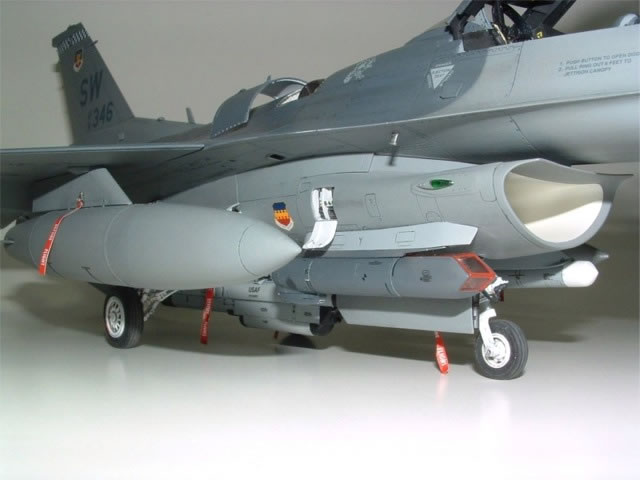
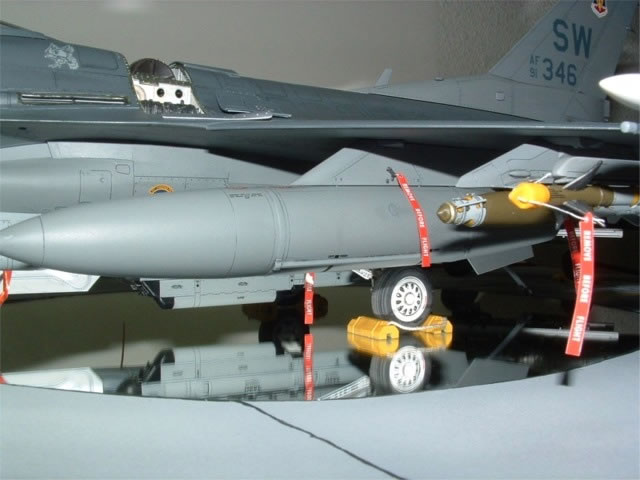
Wolfpack GBU-38 JDAMS 32012
-
Wolfpack AN/AAQ-33 Sniper Pod 32017
-
Afterburner F-16CJ - Shaw Shooters decals 32007
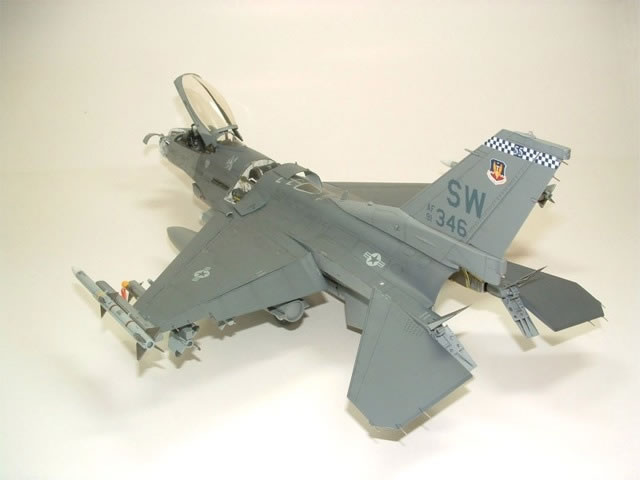
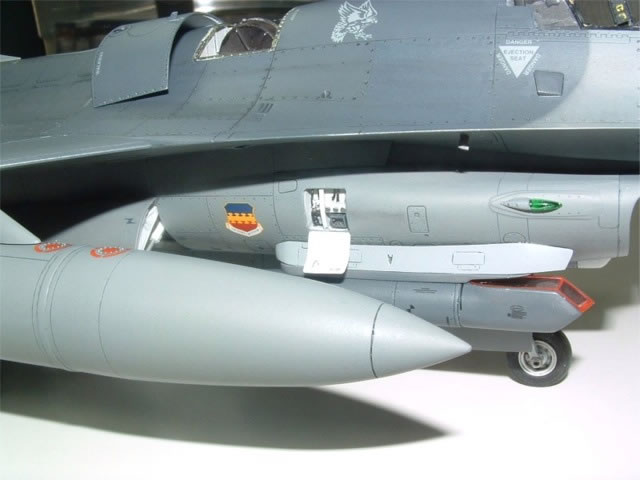
My mode was painted with Testor's Model-Master enamels and Alclad 2.
Weathering was done using "The Detailer" washes, and various Tamiya Weathering Master powders.
Text and Images Copyright ©
2012 by Keith Pardini
Page Created 3 August,2012
Last Updated
3 August, 2012
Back to
HyperScale Main Page

|
 Home
| What's New |
Features |
Gallery |
Reviews |
Reference |
Forum |
Search
Home
| What's New |
Features |
Gallery |
Reviews |
Reference |
Forum |
Search