Scatch Built 1/32 scale
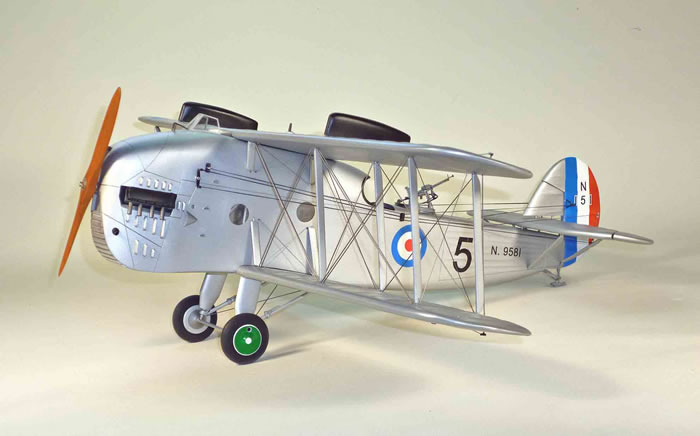
Blackburn Blackburn
by Frank Mitchell
|
|
The Blackburn Blackburn |

Airfix's 1/48 scale Spitfire Mk,Ia is available online from Squadron.com
Just to get this out of the way, the answer to the question that is probably on your mind:
I felt sorry for it.
After all, how would you like to be known as one of the, if not THE ugliest aircraft ever built?
Some of the interesting (and not so interesting) things about this airplane are:
-
There were a total of 30 of them built in two versions over the period 1922-1926.
-
It had a career of ten years in the Royal Navy as a 3-place gunnery trainer and observer aircraft.
-
Total weight was a little over 6,600 pounds.
-
Its “performance” figures included a top speed of 122 mph (crew of three).
-
It took 49 minutes to get to its max ceiling (10,000 feet).
-
It served from both land-bases and from aircraft carriers.
-
Float-equipped versions were built, but were considered to be “unsuitable for use as a seaplane”.
The Model
 As with too many of my projects, lots of aviation-aware persons are familiar with it in general terms, but when it came to preparing drawings and gathering details, there was not really that much information available. The number of pictures are very limited, and a majority of them are of the Mark II, which figures, since I had decided to build a Mk. I. Only one decent set of 3-views were found and they needed some changes. Even my British contacts could not add much. As with too many of my projects, lots of aviation-aware persons are familiar with it in general terms, but when it came to preparing drawings and gathering details, there was not really that much information available. The number of pictures are very limited, and a majority of them are of the Mark II, which figures, since I had decided to build a Mk. I. Only one decent set of 3-views were found and they needed some changes. Even my British contacts could not add much.
Assuming that you might be interested, be aware that if you don’t like detail, this is not your airplane; it is very typical of the early between-the-wars period, which means lots of struts, rigging, outside control cables, etc. On the other hand, to finish each little piece was satisfying, in a masochistic sort of way, and semi-logically led to the next one.
As usual, the pictures will tell most of the story, but if you can’t wade through all this ,just assume that everything was made in my usual way.
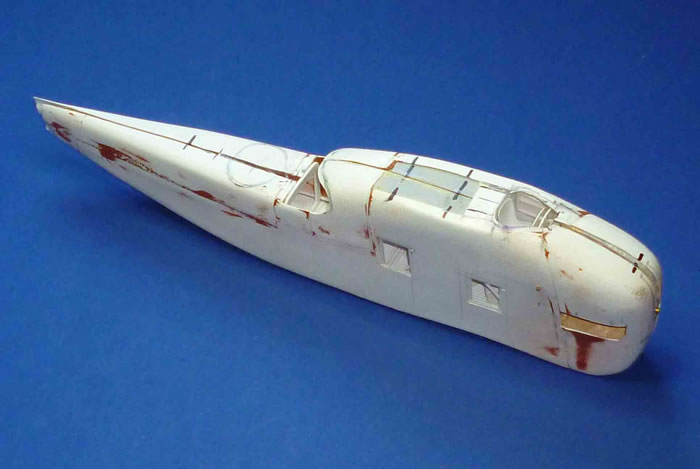
Molds for the basics (fuselage, wings, tail, etc.) were carved from balsa and vacuum-formed from .030 styrene.
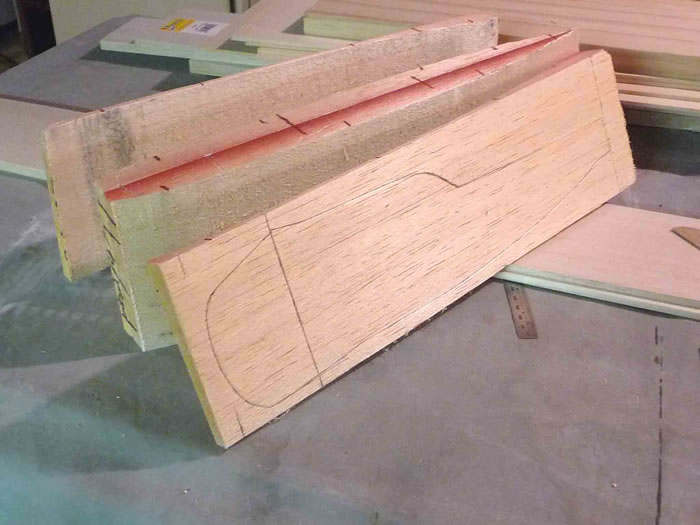
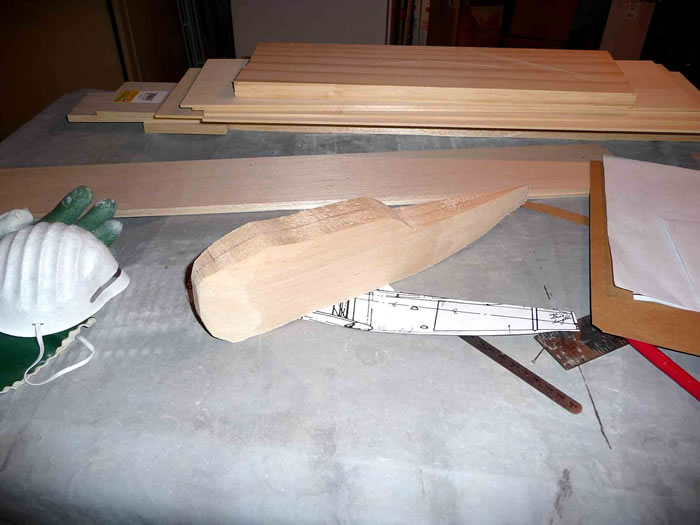
Next came probably the most important part: Building a ¾” straight and square assembly board to serve as a jig for the rest of the model.
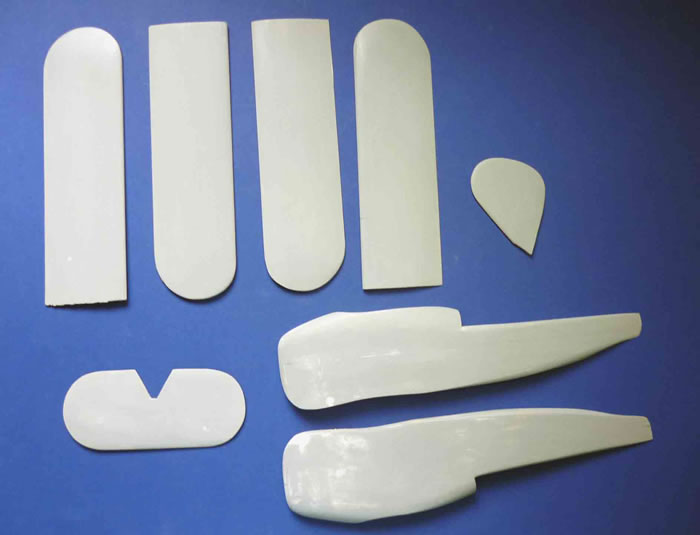
After that came the interior, which took forever to build (I won’t say finished—that would take the rest of the Century). Basically, it just consists of adding one small piece at a time until you fill up a reasonable amount of that yawning space inside the fuselage.
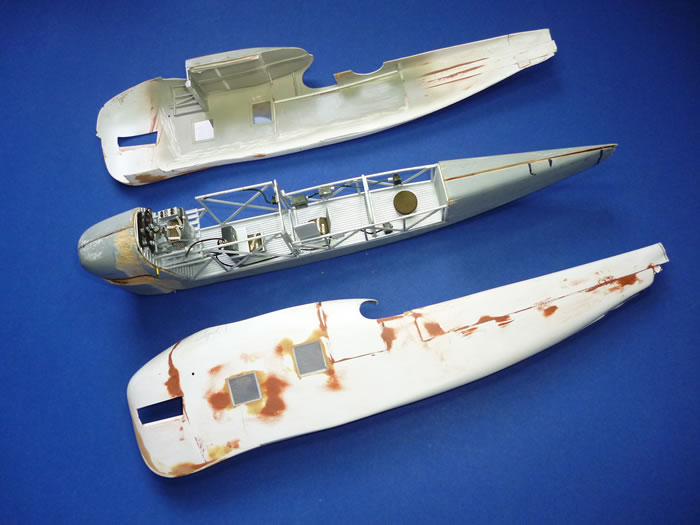
I did cheat a bit by leaving a little more wood in the top, bottom, and tail of the fuselage, which made mounting the wings, tail surfaces, and landing gear much easier.
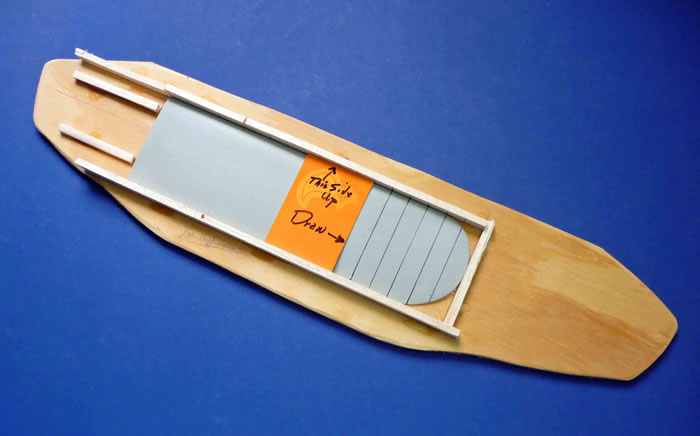
The skins were attached to the completed fuselage with epoxy, and .010 strips added to the rear portions for fabric simulation.
The molds for the wings and tail had had .020 styrene strips attached before vacuum-forming to represent the ribbing, and .010 strips added to that before painting.
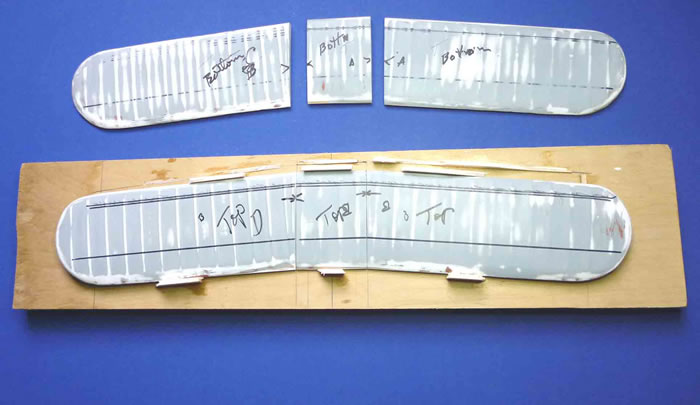
The struts were made from brass wire and basswood and let’s just leave it at that; there are lots of them----
The engine in the Blackburn was a Napier Lion, which you car folks will know was widely used in land-and water-speed record attempts during that period. It was a large and heavy W-12 (meaning three banks of four cylinders each, two of which stuck out the sides of the nose). These were cobbled up from a Verlinden Tank-engine set that was about as old as I am.
The landing gear was made up of basswood, brass tubing, and aerofoil-shaped aluminum tubes. The basic wheels were first molded from some ancient 24th scale (I think) wheels but had to be thinned considerably and new centers formed from styrene sheet over turned wooden molds.
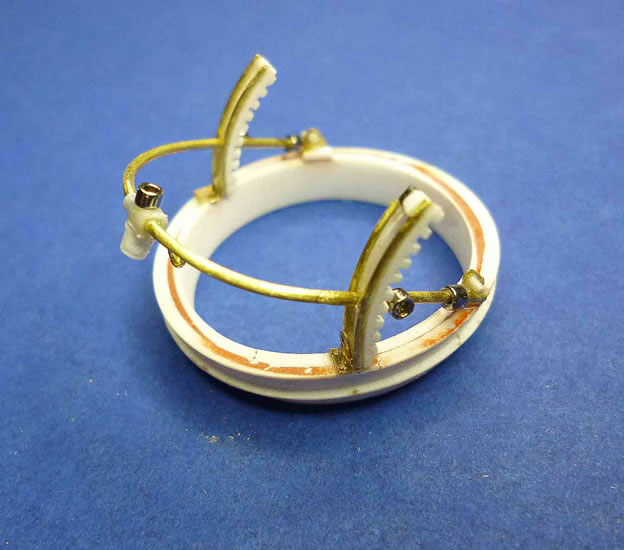
The Scarff ring for the Lewis gun was a little model all of it own and was made up of plastic strips formed into a circle around a turned plastic mold and soaked in boiling water for about 5 minutes, along with all sorts of other little bits and pieces including some E-Z Line. The Lewis gun itself was borrowed from my Wingnuts Wings FE-2b (but there are lots of other options for the Fee in the kit).
The prop was carved from a piece of hard wood of unknown type, and the prop mounting plate came from a very old photo-etch sheet that I have little memory of acquiring.
Painting
The paint was my usual mixture of a small bottle of Testor’s Flat Aluminum mixed in an empty large Floquil bottle with the same amount of Floquil Flat Finish and topped off with lacquer thinner.
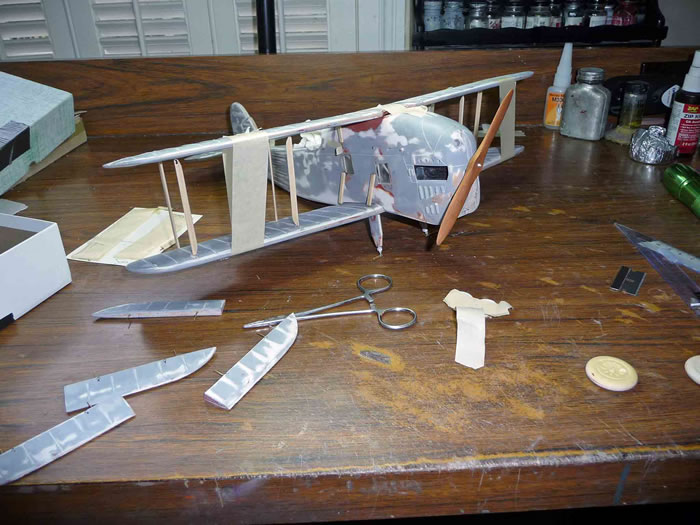
The paint was then covered with a coat of Floquil Flat finish highlighted here are there with Floquil Crystal Cote.
Markings
The roundels and rudder stripes are painted on using homemade Frisket masks and the numbers were done on the computer and printed on blank decal sheet. (There is, by the way, a new supplier for all of this which I can recommend: adastramarks.com). This particular aircraft was the performance testing bird which carried a different rudder, which explains the two serial numbers (the one on the fuselage is the correct one). I cannot verify the green wheel centers, but they looked cool---.
Rigging
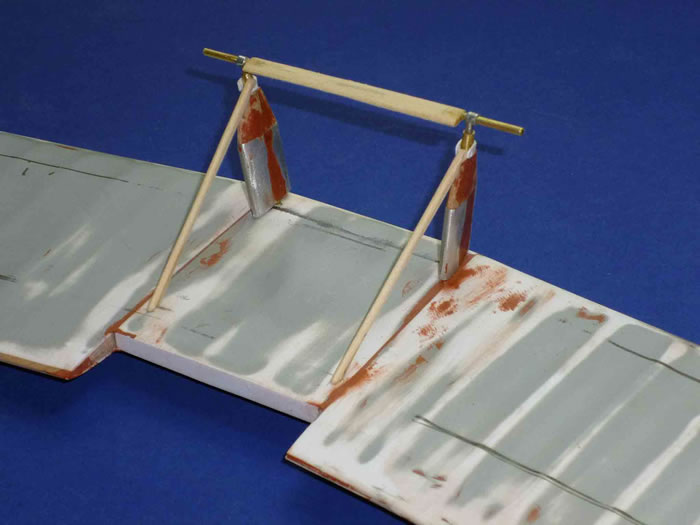
Even after building a weird-looking, but very effective elevated jig, fitting all the struts was time-consuming and a bit maddening, but was accomplished with only moderate psychic trauma. The rigging, on the other hand, almost caused the model to be thrown out the window. After trying and rejecting E-Z Line (which is a neat product in some ways, but I just could not get a feel for it), the wing rigging was finally done with my old standby of stainless steel wire. The outside control cables were done with black E-Z Line.
In summary, this is a model I have thought about for years and finally decided to give it a try, but I can assure you, dear reader, that I won’t be building any more of this era for at least as long as it takes for the pain to go away.
Jets do have some advantages.
Images and Text Copyright ©
2012 by Frank Mitchell
Page Created 22 March, 2012
Last Updated
22 March, 2012
Back to
HyperScale Main Page

|
Home
| What's New |
Features |
Gallery |
Reviews |
Reference |
Forum |
Search