HobbyBoss 1/72 scale
Lynx and Black Cat
by Vitor Sousa
|
|
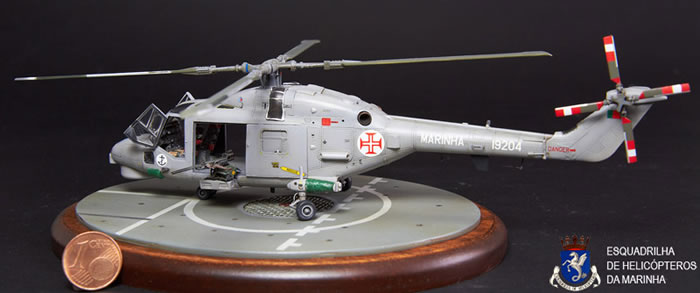
Portuguese Navy Lynx |

HobbyBoss' 1/72 scale Lynx is available online from Squadron.com
I present to you my 1/72 construction of a Portuguese Navy LYNX
and in a side project I took the opportunity and made??a Royal Navy Black Cat.
I’ve used the HobbyBoss kits for both.
But be aware that the HobbyBoss kit for the Black Cat is for the HAS.3 Lynx, not for the recent Lynx used by Black Cats in the Royal Navy, so I had to make some modifications, mainly on the main rotor blades (that now are BERP blades), biggest tail rotor (with different rotation side) and wheel undercarriage.
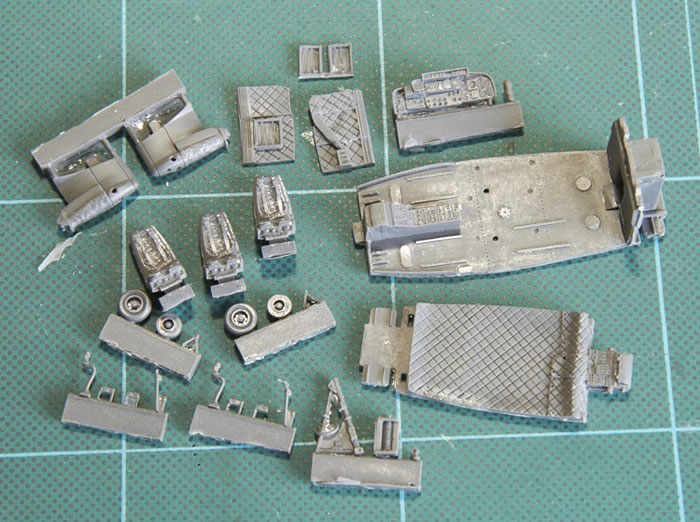
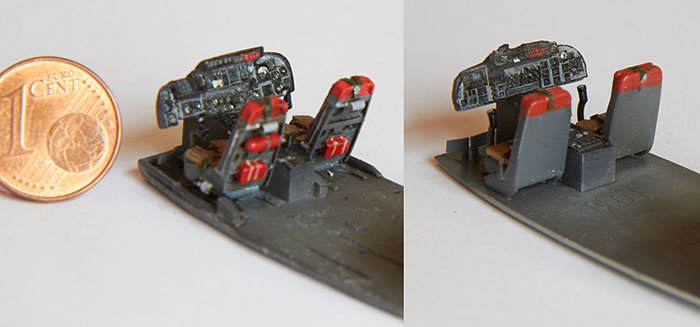
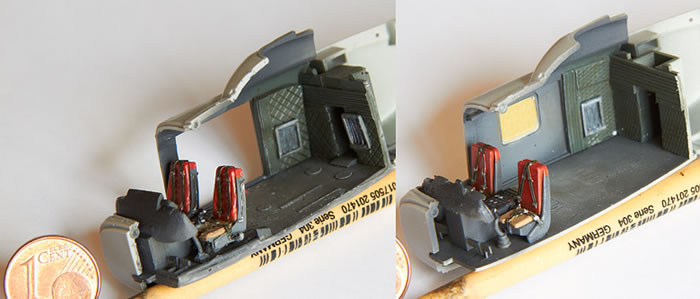
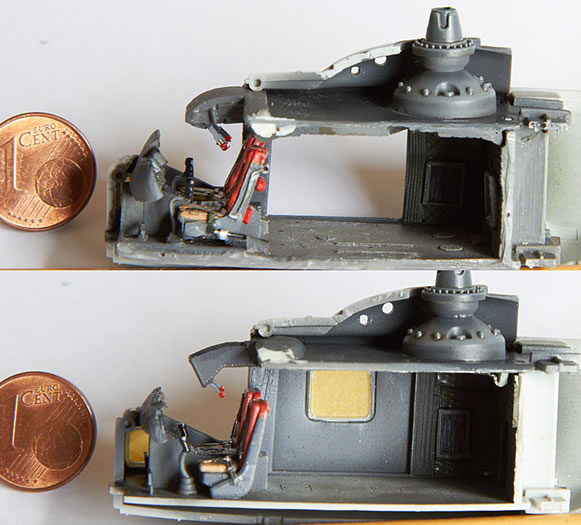
I’ve also used a few sets from Pavla to increase the detail on the open doors Lynx
I was about to close the two halves when:
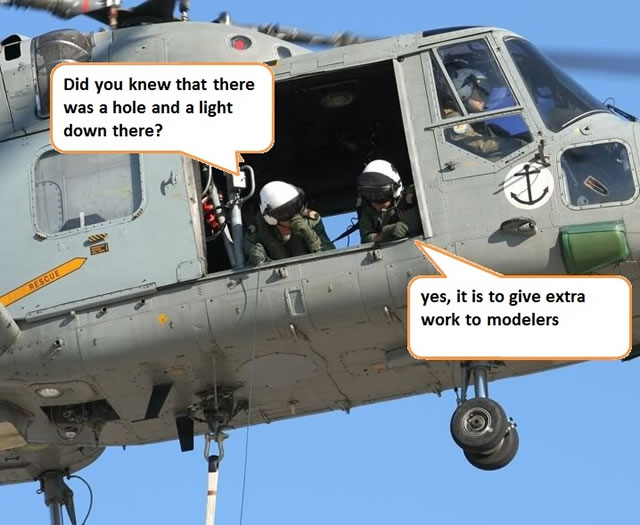
So let’s do something about it.
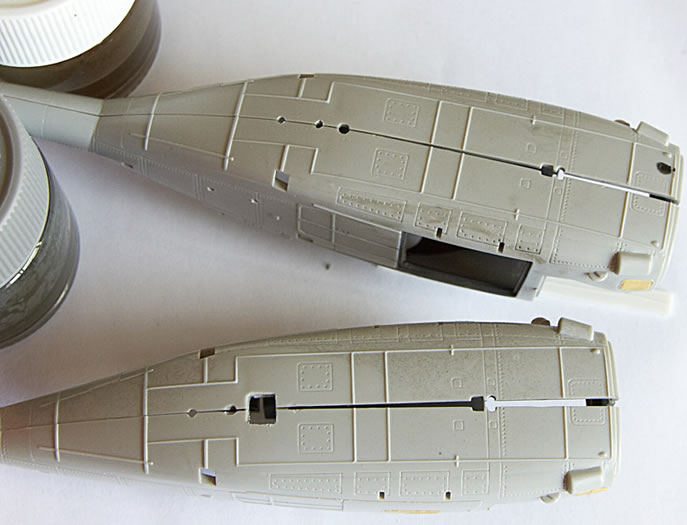
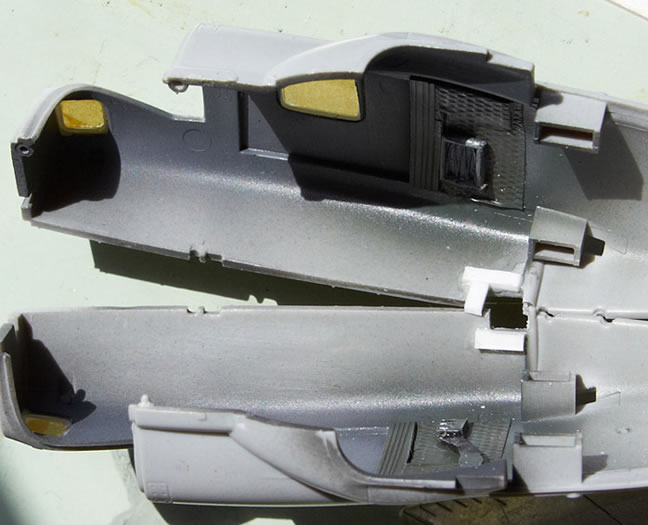
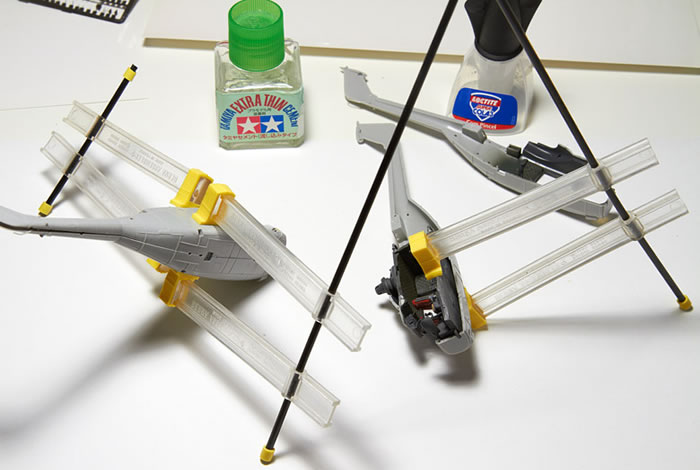
Gluing the two halves of the fuselage is made progressively from nose to tail .
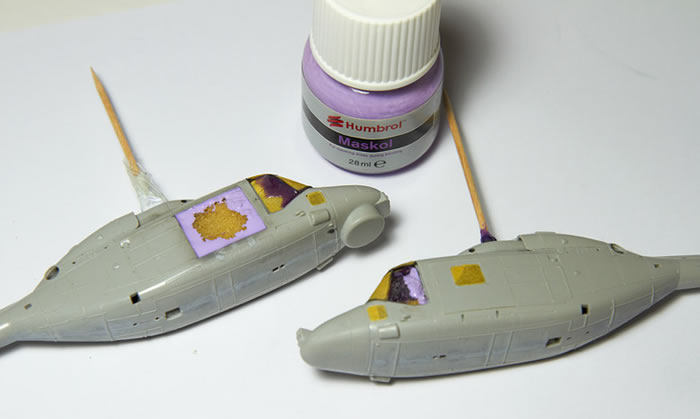
A easy way to cover doors is with a sponge and Maskol on the border to cover it all, the Maskol is very easy to apply and clean it thoroughly excesses with finger.
I use some sticks to better measure the alignment and do not be surprised after.
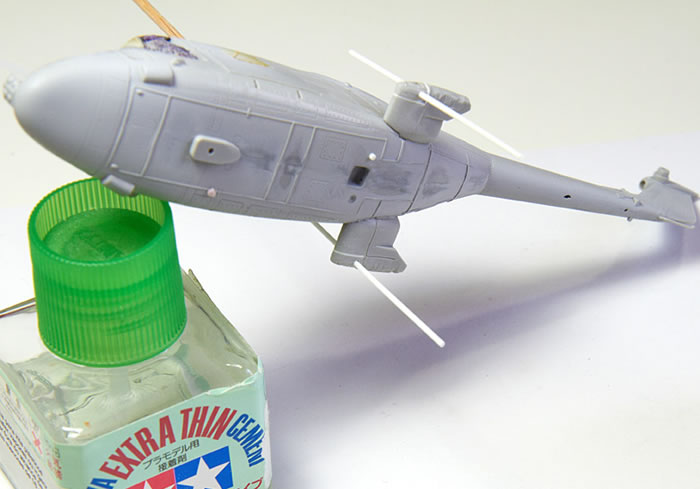
On this scale the thickness of the plastic is ungrateful, some sanded need.
Here is a detail that (in my opinion) will make a difference in the end.
Compare the Before and the After.
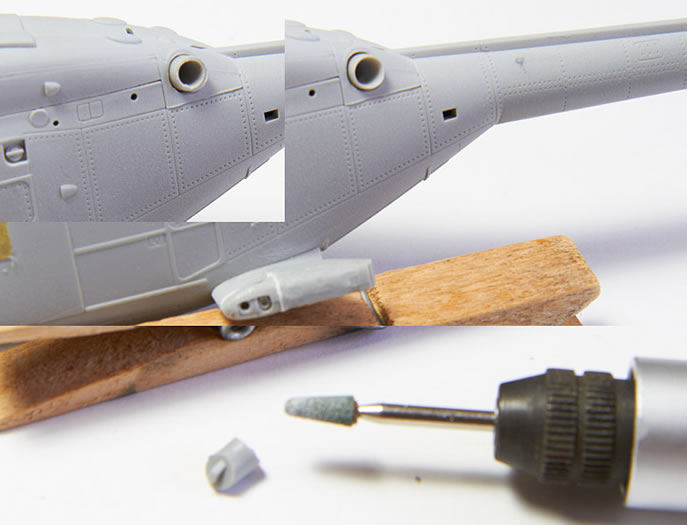
Be aware of the differences of the HAS.3 and Mk.9.
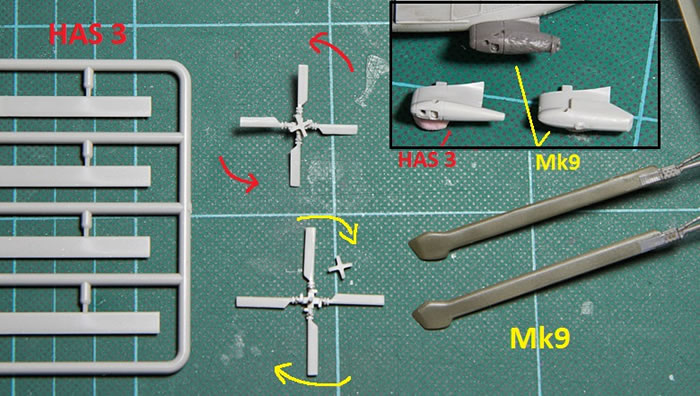
I paint using a first coat of the base color, the a panel shade, and after another thin coat of base color with a touch of white
Instructions indicate the Tamiya XF-19 for the Portuguese Lynx, which I think works very well. But I'm not sure the XF-20 for the Black Cat Lynx
After two thin coats of Klear it’s time for the Decals.
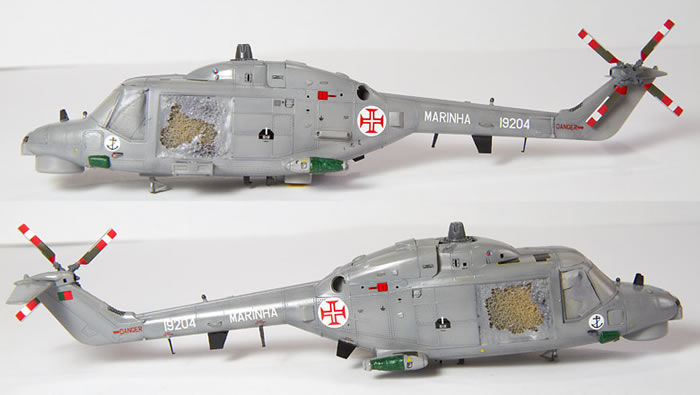
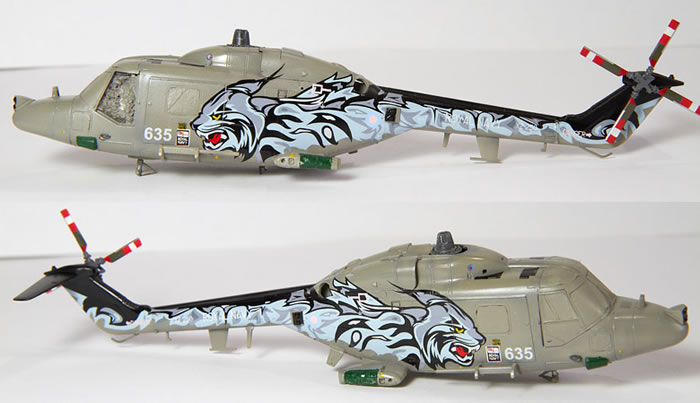
I’ve used “Santa Cruz” brand on the Portuguese letters and Cross and the Black Cat sheet from Model Alliance that provides enough service marks for both Lynxs
Meanwhile I’ve raised the bar and scratch build the M3M Browning used by Navy Lynxs.
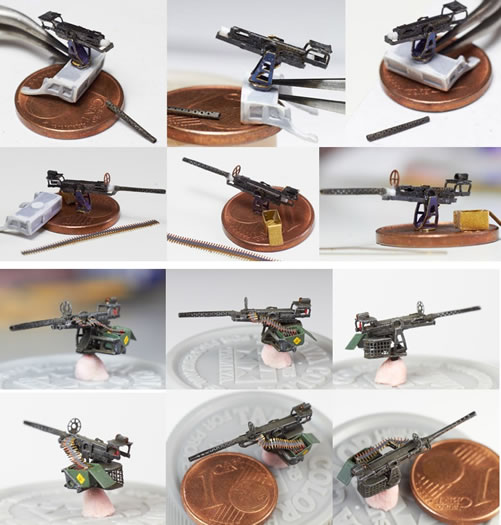
I used only 4 pieces from Eduards B25s Browning and around 30 leftover pieces of photoetch and came out with this.
Rigging
The way I got to put the wire line was this one:
Glue the cable to the first point than stick the heli against the wall, with a weight (the clamp) on the line try to move the heli into position to glue the other two points, one by one. This helps keep the wire well stretched.
So where it is the final result.
I hope you enjoyed these buildings and have served for someone to get enthusiastic about this helicopter kit.
Model, Images and Text Copyright ©
2011 by Vitor Sousa
Page Created 27 December, 2011
Last Updated
27 December, 2011
Back to
HyperScale Main Page

|
Home
| What's New |
Features |
Gallery |
Reviews |
Reference |
Forum |
Search