|
Pacific Coast Models' 1/32 scale
Hawker Hurricane Mk.I
by Mike Millette
|
|
Fabric Wing Early Hawker Hurricane Mk.I |

HyperScale is proudly supported by Squadron.com
I was super excited when I heard the news that Pacific Coast Models was going to release an all new Hawker Hurricane in 1/32 scale. That it was the early Hurricane with fabric wing was the icing on the cake. PCM’s efforts have improved with every kit so I was eagerly anticipating the kits arrival at my local hobby store.
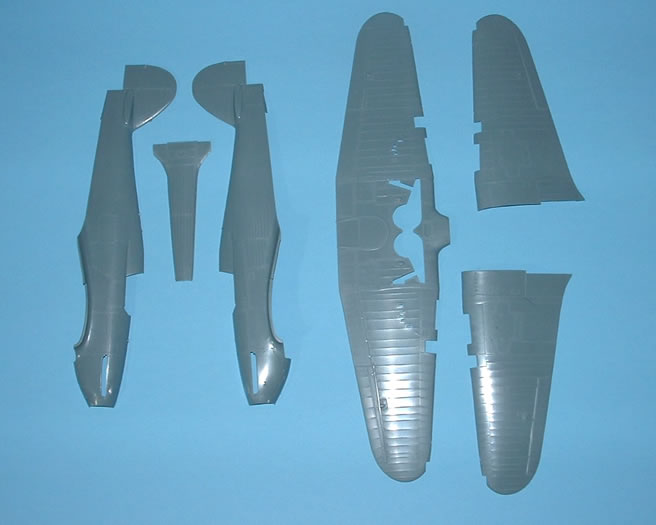
A quick review of the kit revealed some beautiful details. The molding is really clean and the kit looks overall to be nicely in scale. The rivet detail on the metal portions of the wing is very fine and I had to be careful not to lose it under paint. No divots for rivets on this kit! The fabric detail on the wing, fuselage & vertical tail looks quite realistic, but slightly heavy on the horizontal tail surfaces.
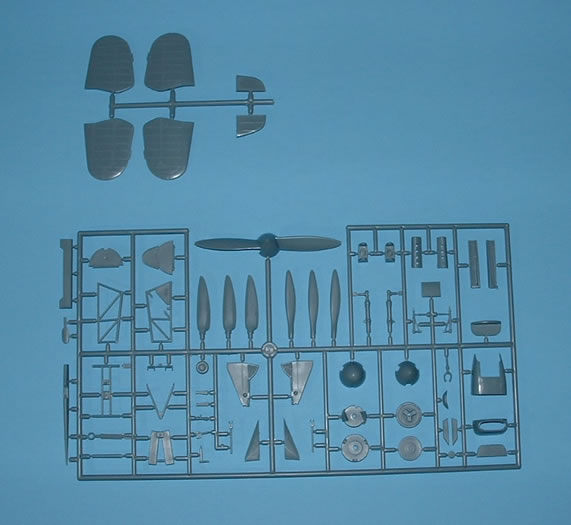
The option of three different props and two different tail wheel installations is super, giving you the option to do a variety of aircraft, as are the two different exhausts and four & five spoke wheels.
All of the resin parts were really well done with excellent detail and good depth. There were, however, a couple of areas that were obviously going to need of attention from the start. These being some notable sink marks in the lower strake/tail wheel fairing and in the bottom wing roots that need putty or Mr. Surfacer to fill. The aircraft I intended to depict used the windscreen without the external armored windscreen, which is fine, but the one with the armored windscreen has a sink mark in it too. I'm not sure how I'd fix that.
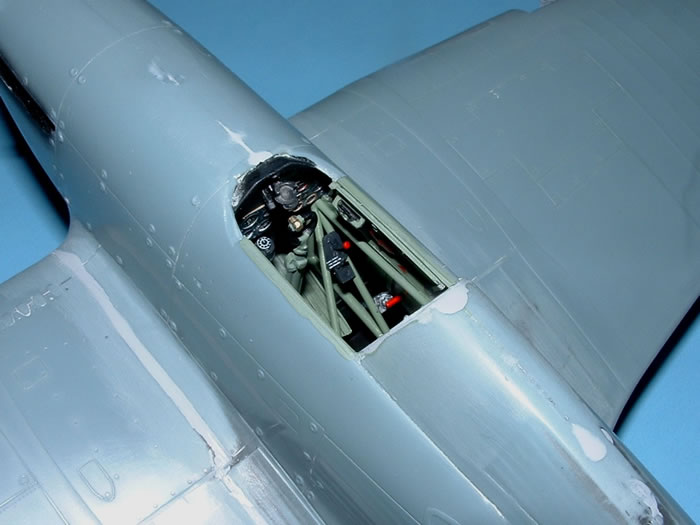
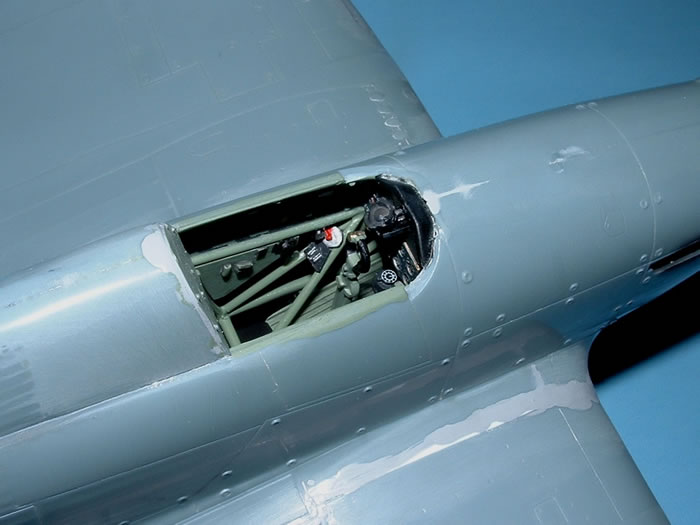
The kit didn’t sit long in the box. As soon as I got it home it was off to the races… As usual, construction began with the cockpit. One of my cockpit sidewall pieces had a short shot, but five minutes of work with some plastic rod & strip fixed that. The cockpit frame pieces use locating pins and sockets. I opened them up a little on my kit, but liquid glue all by itself would probably do the job. The parts fit very nicely. The kit instructions would have you glue the inside surface of the cockpit access door on the right to the cockpit frame pieces. Since this was a resin piece that needed to be superglued to the plastic parts, it seemed like there was just too much opportunity to glue it at the wrong angle. I carefully lined it up with the door on the outside and superglued it to the right fuselage piece instead. That worked perfectly.
As with a number of limited production kits, there are no locator pins to help you line the major pieces up. I found fuselage left-right alignment to be helped by gluing in some tabs along the upper spine and at the lower "corners" of the fuselage where the bottom piece attaches.
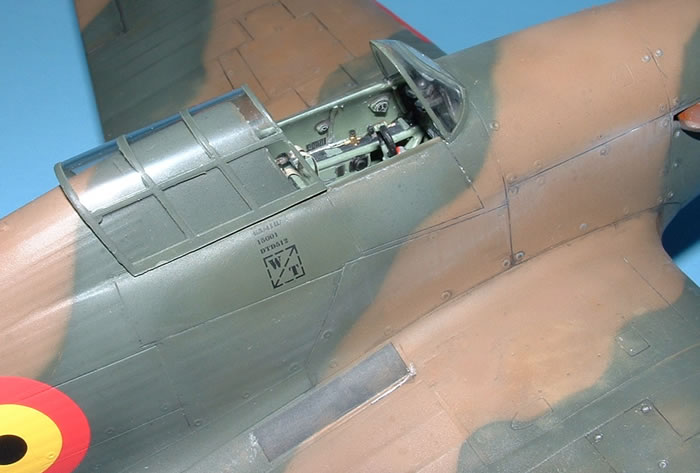
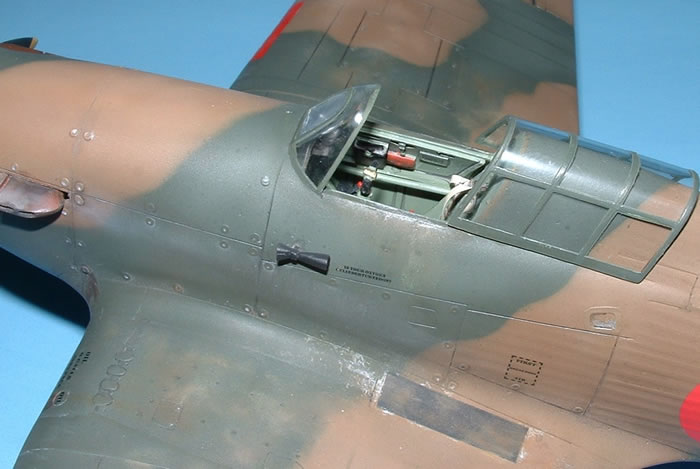
The PE instrument panel slips into the fuselage after the left & right halves are assembled. I found I needed to spread the fuselage apart to get the instrument panel in without bending it, but once I let go it stayed nice & straight. Another cockpit assembly sequence I will tweak on my next kit is the installation of the instrument coaming. In the instructions, this comes much later. I had already glued the gun sight to the instrument panel and installed the cockpit (per the instructions) by the time I got to the coaming. As a result I needed to do a lot of fiddling to get the coaming in place. I ended up breaking the gunsight loose and gluing it back in after installing the coaming. It was a pain. Next time I’ll install the coaming from below, before installing the gun sight or the rest of the cockpit. I wanted to build this kit straight out of the box so I didn’t go hog wild in the cockpit, but I did add a few small decals. The compass and some of the sidewall details were addressed with a few Mike Grant 1/32 instrument decals and reference photos show small placards in a few places so I found some small data decals from an old 1/72 sheet of decals and they worked just great.
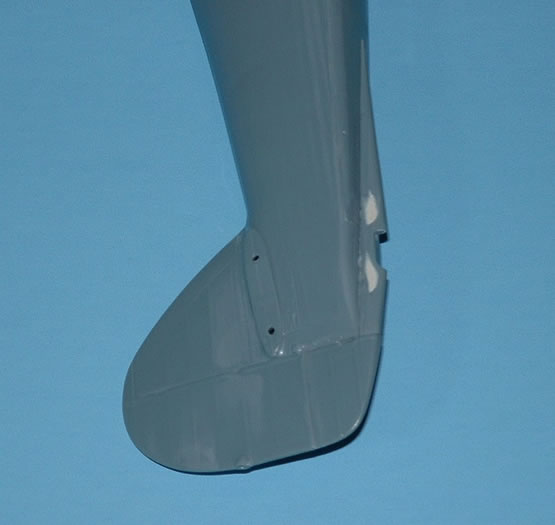
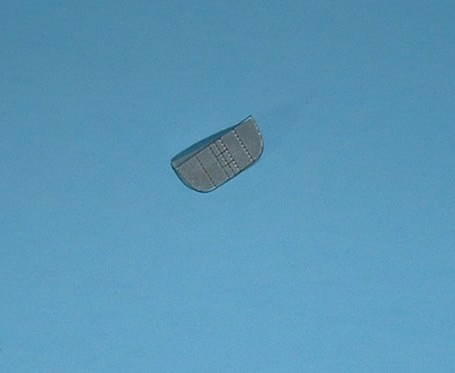
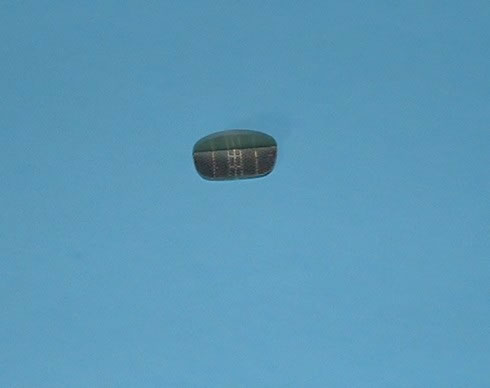
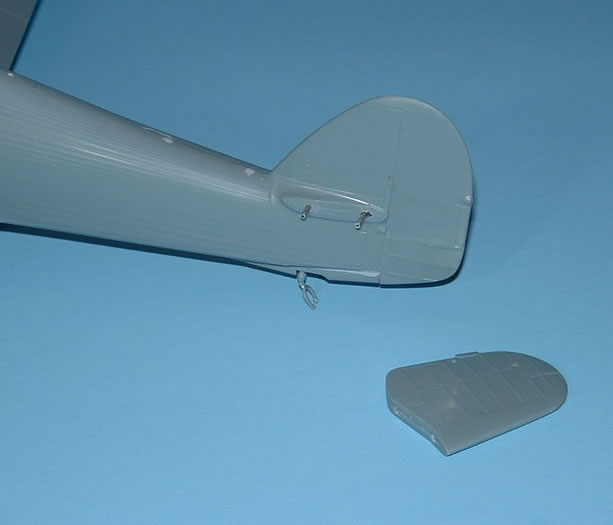
Once the fuselage was glued together I turned my attention to the horizontal tail. They are butt joined to the tail which I tend to think is a bit tricky to align and a little weak, structurally. I drilled some holes in the aft fuselage and matched them in the horizontal tailpieces. Once that was complete, I ran some stainless tubing through the holes and everything lined up perfectly. The tail piece mating surfaces do need a bit of trimming (scraping) to match the fuselage, but it wasn’t too tricky.
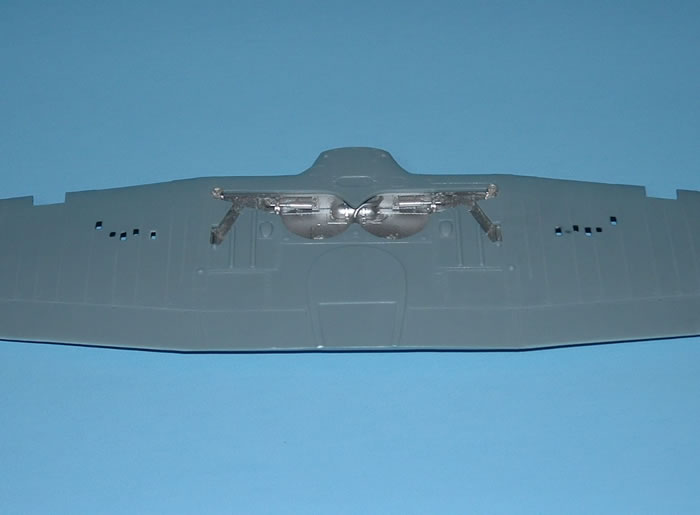
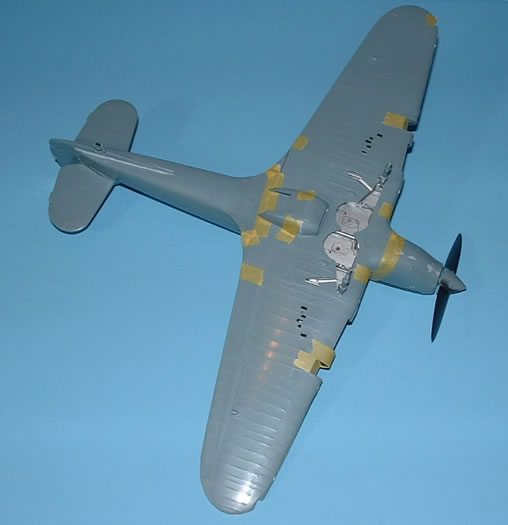
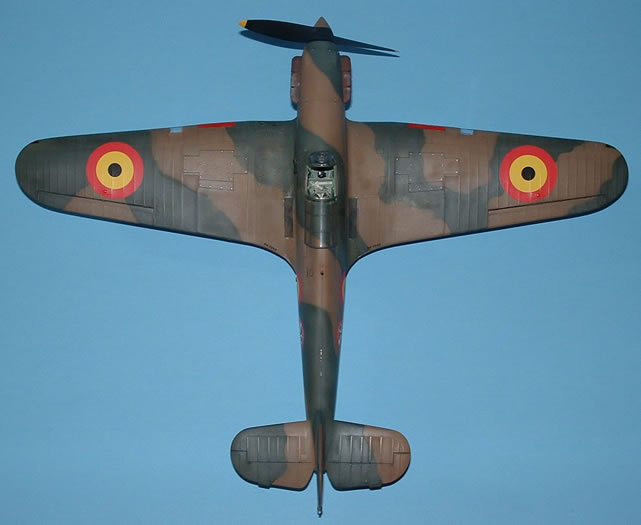
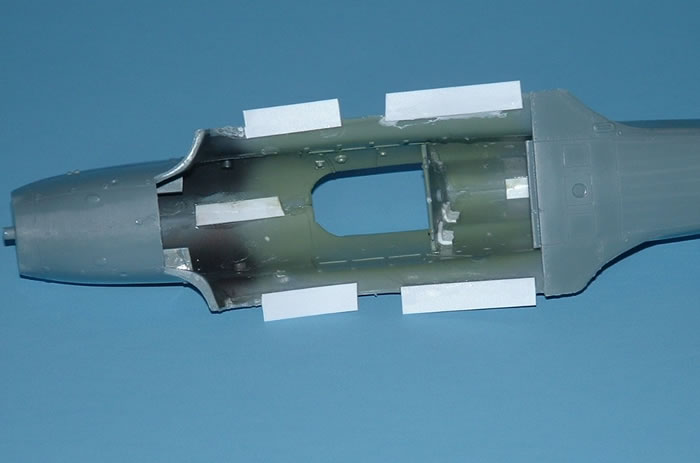
Once all of the fuselage pieces were together, I turned my attention to mating the wing. The wing consists on one lower surface plastic part with the two mating upper wings and a couple of resin pieces, which make up the wheel well. The resin wheel well goes together without any problems and fits perfectly in the bottom wing. The gear stubs basically self align the whole wheel well assembly in the wing, which is really great! When I glued the wheel well into the bottom of the wing I used a couple of spring clamps. The lower wing surface curves just a little and if the wheel well isn’t glued in perfectly flat, I suspect there will be interference between the wheel well & the fuselage. Having clamped the wheel well in place, I only needed to round off the upper leading edge of the well to avoid any interference with the fuselage.
The wing itself has a couple of things than need to be addressed. First, the inboard shell ejector slot on the right wing seems to be flashed over. I can’t find any reference material that indicates this should be the case so I opened it up. If it’s supposed to be closed, I’m sure that detail will emerge after this article is complete, but for now, I opened it up.
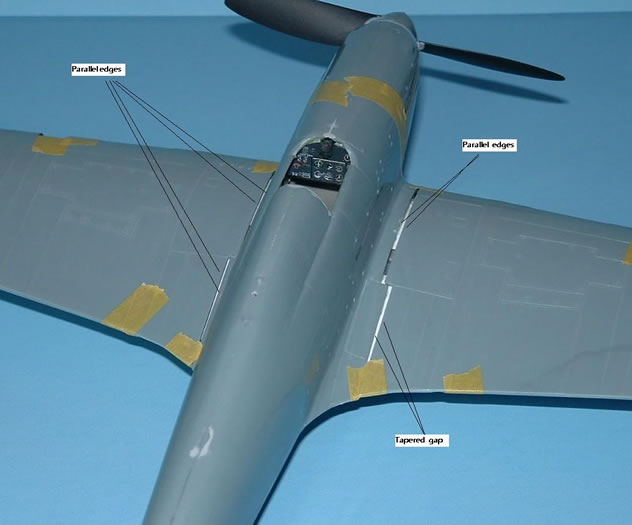
The next thing is the upper wing surfaces seem to be molded slightly flat. There’s a couple ways to address this that I could think of. Pre bend the wings to match the curvature of the wing root or, what I did was glue in some additional tabs. Once the tabs were in place I taped the whole wing and fuselage together and the biggest issue with the kit emerged. With the kit in this state a 1/32 inch gap on the left wing root and a 1/16 inch gap on the right side became apparent. Initially I tried some spreader bars but the fuselage looked swollen when I did and it bent the fuselage in a way that makes it really hard to install the bottom wing piece so I pulled them out. What I ended up doing was simply gluing a 1/32 thick strip of plastic to the inner end of the left wing and fortunately the entire gap was parallel so this fixed that situation with no problem. On the right side, I did the same with 1/16 thick strips on the right. The gap on the front part of the wing is parallel but the aft gap is tapered so I test fitted and sanded a bit and two or three tries later everything lined up. To address the upper surface wing curvature vs the wing root curvature, I first glued the leading edge along it’s entire length and the first ½ of the wing root. I then slowly squeezed the upper wing and glued as I went (the tabs helped too) and wing and fuselage lined up just right. A little Mr. Surfacer in the upper wing roots and the lower inboard trailing edges (sink marks) and everything was nice & smooth.
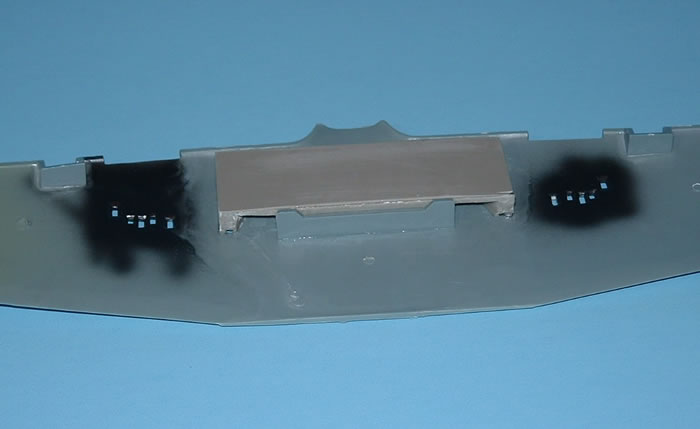
Next on the agenda was the radiator. The PE fret includes very nice pieces for the radiator inlet & outlet. I painted the plastic pieces black and then carefully superglued the stainless PE to the plastic radiator exhaust piece. The inlet piece however, proved to be a bit perplexing. Initially the PE piece (#10) looked too large. I thought I must have glued the wrong one to the exhaust at first. On second review though, it appears that the PE was sized to fit the inside of the inlet rather that the side facing forward. I trimmed about three rows of holes from the top of the PE piece and it fit just fine. The radiator was installed with a little liquid cement and everything came together quite nicely.
The gear went together without any problems. Everything lined up perfectly. I would suggest drilling out the tail wheel to fit it into the tail gear forks and drilling the main wheels a little deeper, but that’s about it.
The last construction issue I addressed was the Dzus fasteners on the engine cowl & forward fuselage. While they do appear slightly prominent on the real aircraft, they look a bit thick on the kit. A couple of swipes with 800 grit sandpaper and they looked just fine to me.
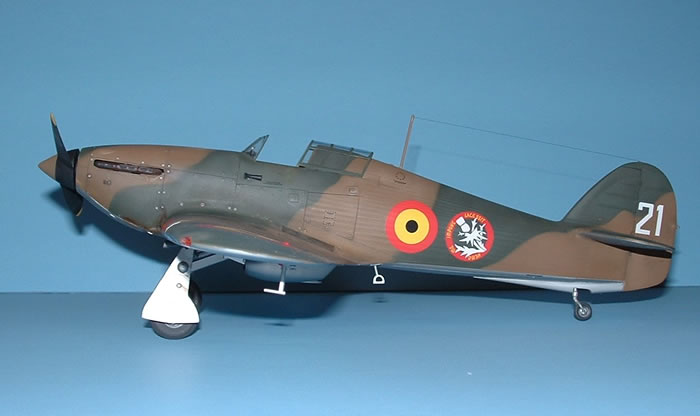
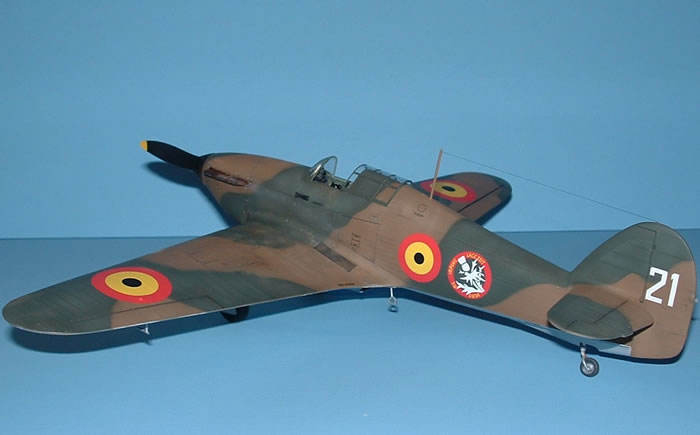
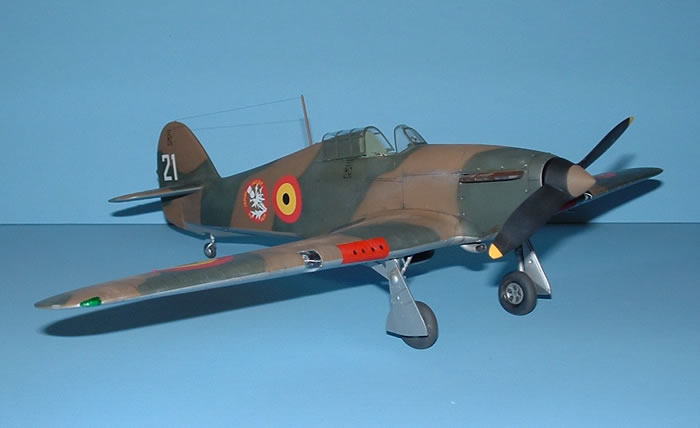
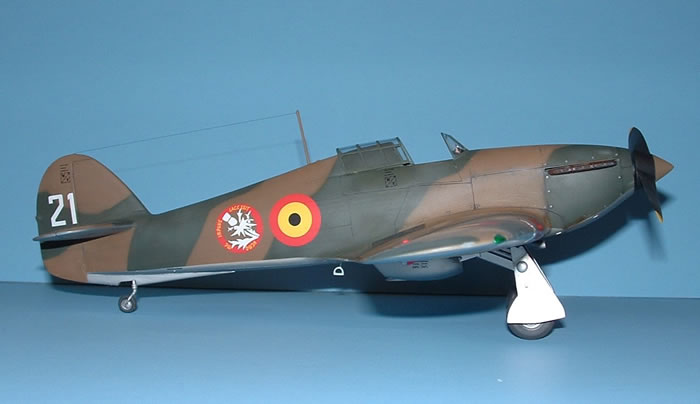
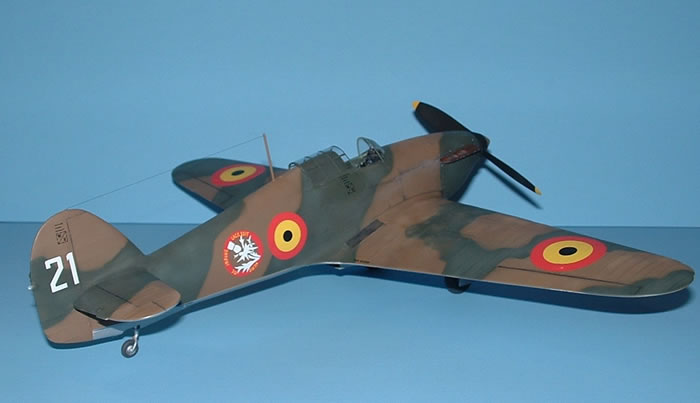
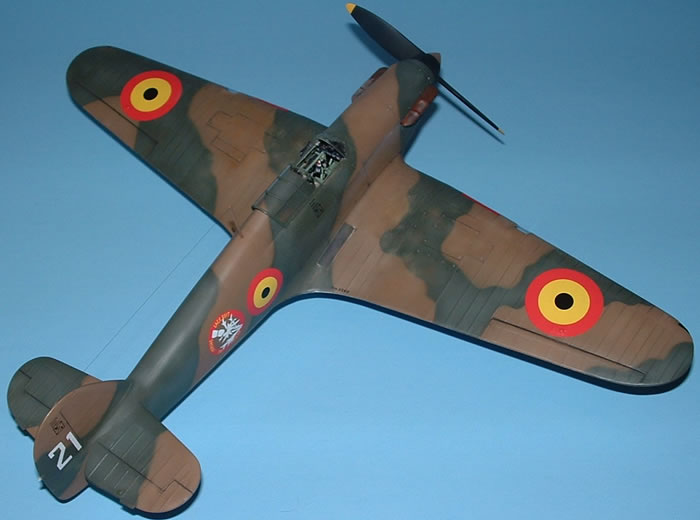
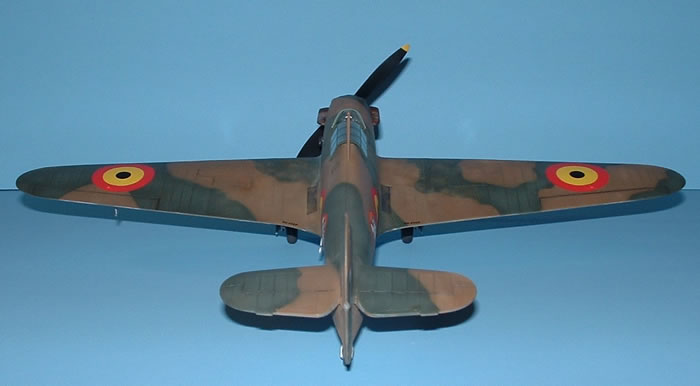
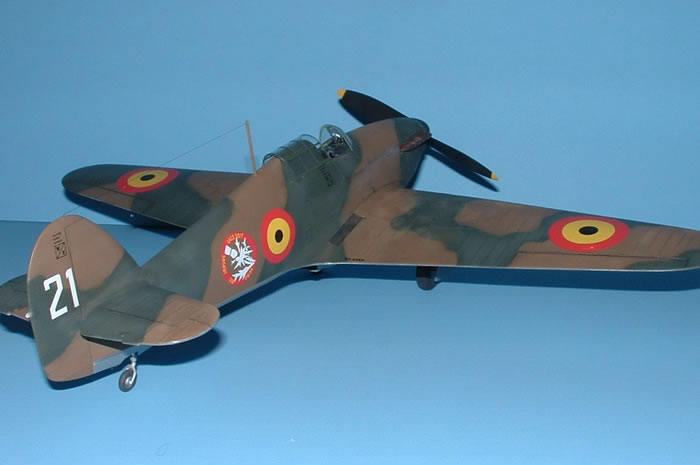
PCM has included decals for six different aircraft in the kit; three British, one Belgian, one Finnish and one Italian. I was eager to depict the one in Belgian markings. I started with the bottom color. Floquils “Platinum Mist” was used to paint the silver bottom. Model Master “Dark Earth” and “Dark Green” were used for the upper surfaces and then weathered with several lighter& darker variations to provide some modest weathering. Deciding on how much to weather is always an interesting proposition. I approached it from the perspective that these aircraft weren’t very old so the paint shouldn’t show heavy fading, or chipping, but they would show some oil leaks and period pictures seem to indicate a lot of dirt on the inboard upper wing surfaces. The kidney exhausts were painted with “Burnt Iron” and then further weathered with “Rust All”.
The decals are excellent, all in register. Virtually no carrier film surrounds the roundels, though there is someone the inside of the other decals. A little Solvaset and the decals just disappear.
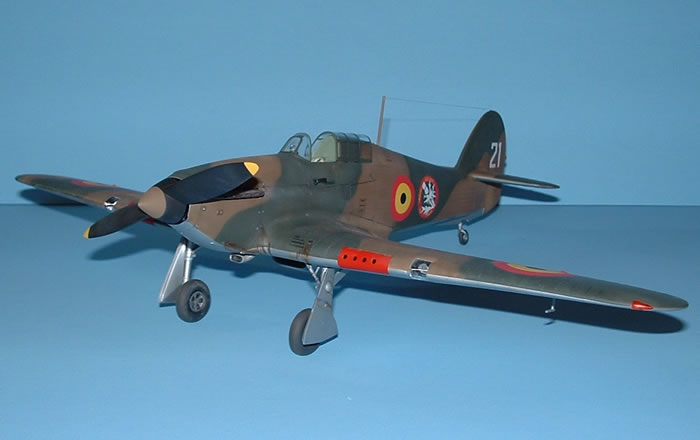
That’s about it. It took me 12 hours to complete construction and another 15 or so for paint & decals. While there were a few minor issues to address, I’d have to rate this a pretty cool model. If PCM continues to do for British single engined fighters what they have done for their Italian brethren, I can only hope that we see some later Hurricanes and even better yet, perhaps a Typhoon, or even better a Tempest in 1/32!
Model, Images and Text Copyright ©
2009 by Mike Millette
Page Created 2 February, 2010
Last Updated
2 February, 2010
Back to
HyperScale Main Page

|
 Home
| What's New |
Features |
Gallery |
Reviews |
Reference |
Forum |
Search
Home
| What's New |
Features |
Gallery |
Reviews |
Reference |
Forum |
Search