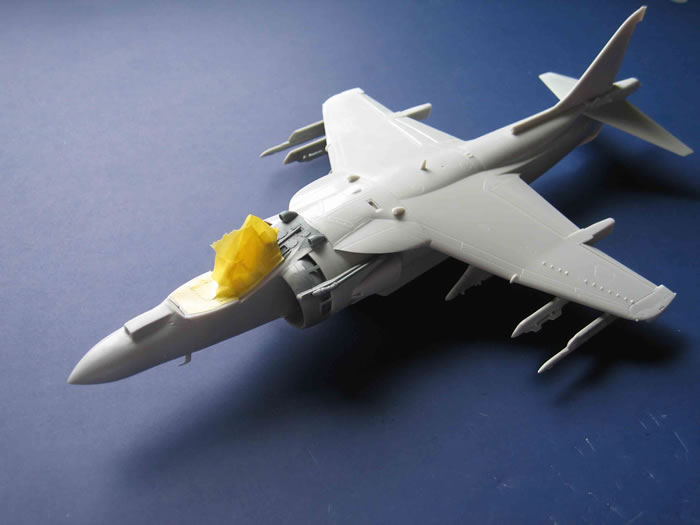
Hasegawa's 1/48 scale
AV-8B Harrier II Plus
by Doug Esson

Hasegawa's 1/48 scale AV-8B Harrier II Plus is available online from Squadron
Here are a few images of my latest addition – the 1/48 scale Hasegawa AV-8B Harrier II Plus. I’ve always liked the shape of this aircraft and after getting up close & personal with one at a local fly-in, I did a little reading about the P.1127, Kestrel and subsequent Harrier evolution.
My favorite book along the way was Alan Bramson's excellent biography of Tommy Sopwith entitled "Pure Luck" which covers the path from Camel to Harrier.
Basic assembly was performed per the instructions, running thin Tamiya cement into the grooves and using small amounts of cyano here and there to minimize the amount of glue involved.
I added the Aires cockpit (except for the instrument console cover since the kit part fits so much better) and the Aires wheel-wells & doors (glaringly missing from the kit!).

The kit suffers (in my opinion) from its overly composite design – intended no doubt to facilitate the production of multiple variations using common tooling. The result, however is poor fitting in several areas (most notably the wing-root) to a degree far below what might be expected of this manufacturer.
After basic assembly, I pre-shaded with Humbrol black enamel (the USMC being good enough to share drying space on my desk with the budding Luftwaffe!). I used “blu-tac” to mask the grey color-change (the trick being to use a single piece, as opposed to several bits – thereby providing a continuous line). I chose and mixed my own set of greys – the variation in field-color schemes on these machines being truely enormous – almost approaching late-war Luftwaffe-standards!
Selected panels were post shaded and faded using various tones of the 2 basic colors. I kept weathering to a minimum and Model Master provided the burnt-jet metal finish. Dangly bits were added and aftermarket decals applied over a gloss-coat and under a flat-coat (again using Humbrol enamels).
Two neat tricks were 1) using an MV Products railway light for the nose-gear light and 2) using the Orion Models self-adhesive canopy detonation-chord (minus the overly-sticky backing sheet which is provided!).
Overall I'm pleased with how the kit turned out but can't say I enjoyed all of the fit/filler moments when it was sometimes in danger of landing (vertically of course) in the trashcan! Just when I thought I could start to clear some of my stashed kits, what does Eduard go and do - they turn out a STUNNING looking BF-110G4!
My wife is not pleased Eduard. Not pleased at all.
Model, Images and Text Copyright ©
2010 by Doug Esson
Page Created 16 August, 2010
Last Updated
16 August, 2010
Back to
HyperScale Main Page |
Home
| What's New | Features | Gallery | Reviews | Reference | Resource Guides | Forum |