|
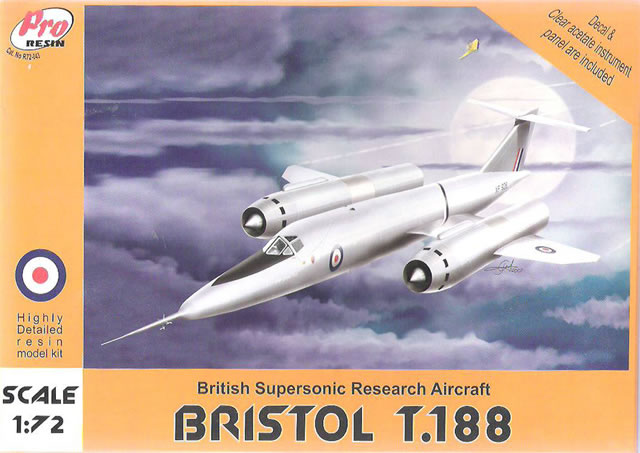
ProResin's 1/72 scale
Bristol T.188
by Bill Dedig
|
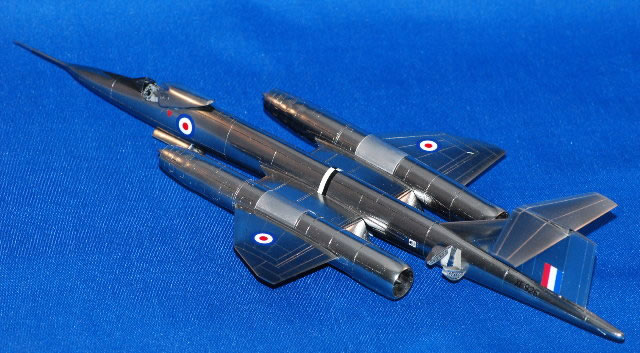
Bristol T.188 |

HyperScale is proudly supported by Squadron.com
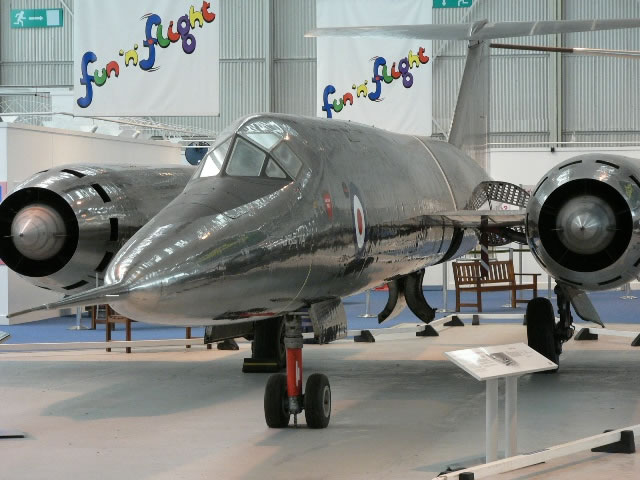
If you have ever traveled to Telford for the IPMS ScaleModelworld Show do not miss the local RAF museum at Cosford. That is where I fell in love with the Bristol T.188.
This is the 1/72 scale ProResin kit that I obtained it at 2009 IPMS Nationals in Columbus. Thanks to Barry Numerick for kicking me in the butt to purchase.
I had never built a resin kit in the past so my expectations where limited. After opening, I figured to just utilize some modeling skills and see what happens. I did utilize some respiratory protection for resin plug removal (helps to work for a respiratory safety company). Lots of resin dust. There were a few non-plastic problems I encountered:
-
One fuselage was broken near the dive brakes( Little crazy glue and some support)
-
The front wheel well need some resin removed
-
Some of the casting of the tires and wheels was not complete
-
Had to add some metal pins for alignments and leveling due to flush attachments
-
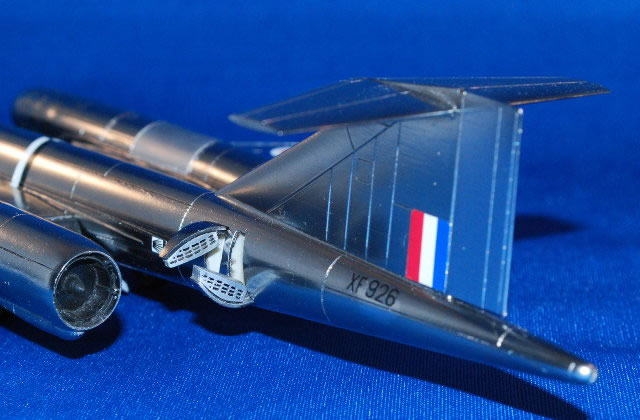
Wish the Speed Brakes were Photo-Etched (see photos later)
Pins insertion for support of the flush connections between the wings, the nacelles and the fuseage. These were needed to ensure alignment and offer support. I also used metal supports for all the landing gear. (PS.. this is a heavy model).
 Here are a few construction notes: Here are a few construction notes:
-
I attached the forward fuselage sides to the rear sides for ease of seam-work.
-
Left the very long Nose Pitot for near the end and inserted a needle at tip (Broke once)
-
Seat needs thinned to fit in cockpit tub. Instrument panel needs reduced also.
-
Quite a bit of work to get fuselage to close up around cockpit tub.
-
Decals completely shattered into pieces. Coated with Testors clear gloss to save numbers, but used spares for roundels.
-
Model was primed with Mr surfacr 1000 thinned. Some small resin holes appeared at this point and were filled and sanded very lightly.
-
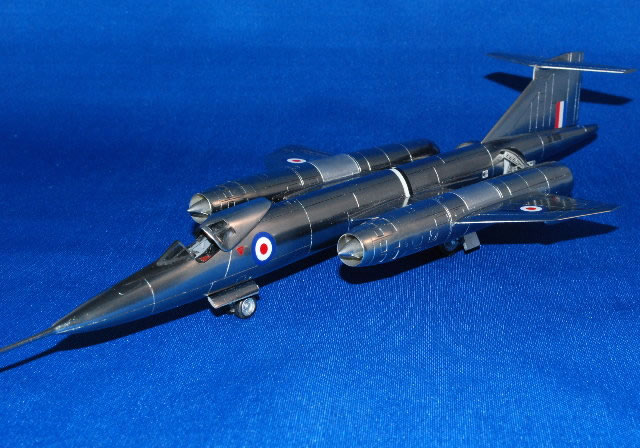
Model was given a 3 coats of Tamiya gloss black spray decanted and thinned until final coat of gloss black was almost pure lacquer thinner with a touch of paint. I allowed a week to dry (hardest part of build) there was other things to do on parts.
-
Final finish was Alclad Stainless Steel. (Engine panels are different because of lack of black primer)
-
Nose Pitot still wants to shape shift to the starboard, but I keep try to straighten.(Resin)
Models, Description and Images Copyright © 2010 by Bill Dedig
Page Created 19 January, 2010
Last Updated
19 January, 2010
Back to HyperScale
Main Page

|
 Home
| What's New |
Features |
Gallery |
Reviews |
Reference |
Forum |
Search
Home
| What's New |
Features |
Gallery |
Reviews |
Reference |
Forum |
Search