Mirage III E/O Cockpit

Fisher Model & Pattern, 1/32 scale
S u m m a r y |
Catalogue Number: |
3214 – Mirage III E/O cockpit set. |
Scale: |
1/32 scale. |
Contents and Media: |
7 parts in resin, 4 photo etch, 3 film and one piece of clear acetate. |
Price: |
$35 USD from Fisher Model & Pattern |
Review Type: |
Build review. |
Advantages: |
Perfectly cast resin set; only small casting blocks to be removed prior to use. |
Disadvantages: |
Face blind ejection seat handles not included in review set. |
Recommendation: |
Highly Recommended. |
Reviewed by Mark Lynch

HyperScale is proudly supported by Squadron.com
It really is a great time to be a modeler. There are a lot of model companies out there producing kits of aircraft, tanks, cars & trains to keep us busy at our chosen hobby. Add to that, a healthy aftermarket industry staffed by a host of talented individuals. These guys and girls are continually churning out details sets and conversions for not only new kits, but those that have been around a while and are nice kits in their own right, but could do with a bit of aftermarket help.

One such kit needing a little help is the 1/32 Mirage III, released by Revell sometime in the ‘70s. The kit has been released a number of times since that original release. Overall the shape of the kit is sound with relatively nice details. One glaring exception to this is the cockpit.

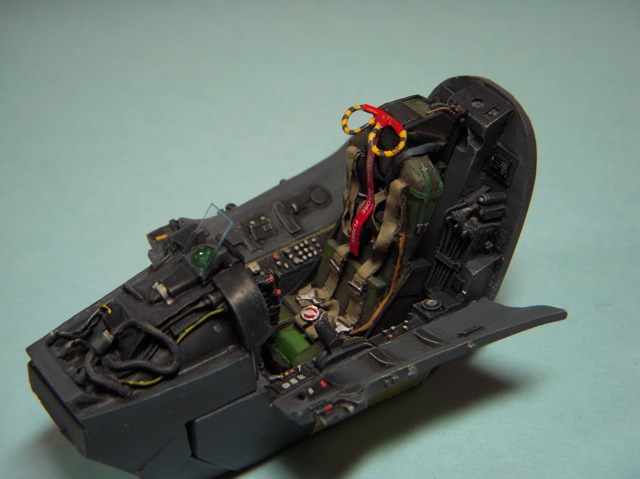
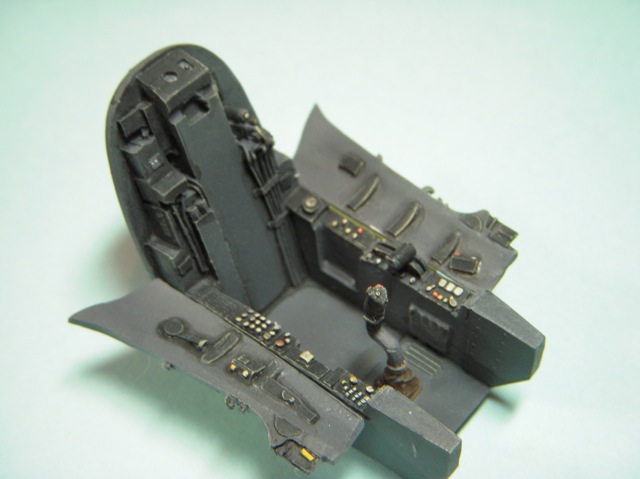
This is where those talented folks I mentioned earlier step in. I was fortunate enough to have received an early test shot of the cockpit in question. The set, including the Mk 6 ejection seat, is mastered by Harold Offield from AMS Resin; the included Mk 4 seat was mastered by Juan Carlos Heredia. The set arrived in a small rigid cardboard box protecting the contents during shipping. The box contained a number of small plastic bags with the components listed above. Notably, both MB Mk 4 and Mk 6 seats are included as they were the most common type of seat fitted to the Mirage III in service. I immediately washed the resin parts and placed them aside to dry. While that was happening I cleared a space at the work bench in preparation for painting. The set I received is one of the first sets produced and did not have instructions. Despite this, it is quite obvious which pieces should go where.

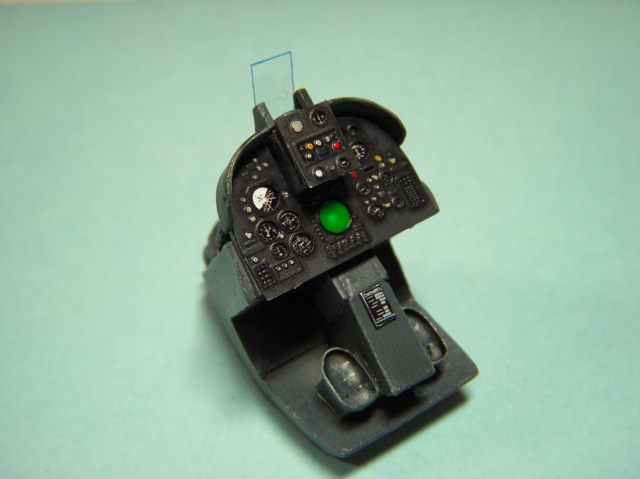
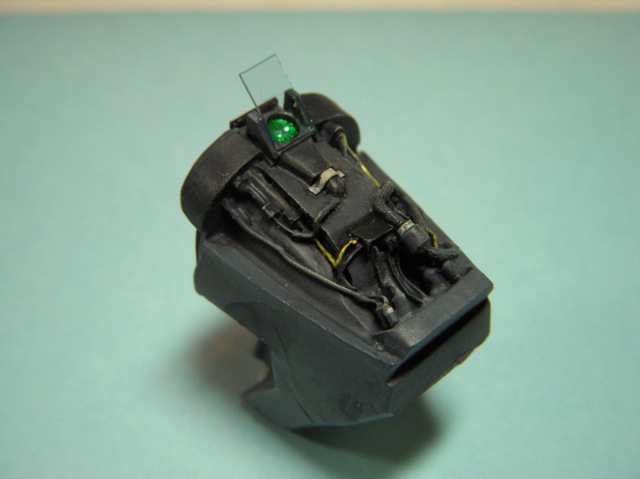
I painted the cockpit using a number of different brands of paint and a few techniques that seem to work for me. I did add a couple of extra details, an Eduard RBF tag for the seat and a couple of Mike Grant Decals instrument placards on the cockpit tub.
Once completed, I took a couple of minutes and removed the glare shield from the kit in preparation for the completed cockpit to be placed inside the fuselage. As you can see in the photos, I removed a little too much material from this area on the kit. Please learn from my mistake! I know measure twice & cut once.
Well, it may have taken over 30 years, but there you have it; a really nice cockpit for your 1/32 Mirage III. This kit just made its way a lot closer to the top of my ‘build pile’.
This set is highly recommended.
Thanks to Fisher Model & Pattern for the review sample
Fisher Models are
available from their website
Images and Text Copyright © 2009 by Mark Lynch
Page Created 22 September, 2009
Last updated
9 September, 2008
Back to HyperScale
Main Page
Back to Reviews Page

