Building the
SR-71
and its Variants in 1/48 scale
by
Don Fogal

|
Lockheed M-21 |
Part Two
Building the M-21

Testors' 1/48 scale SR-71A Blackbird is available online from Squadron.com
This is the second instalment of a six part series on building the Lockheed SR-71 and its variants in 1/48 scale. Click here to return to Part One which includes historical background and a list of variants.
The Aircraft
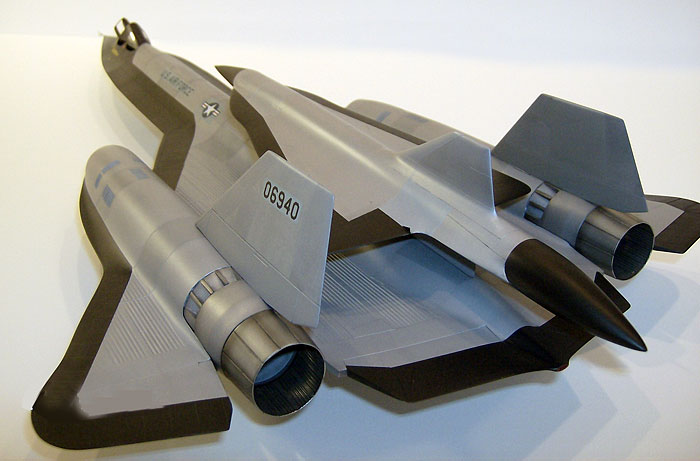
 Only two A-12s were specially modified to carry the GTD-21 unmanned reconnaissance drone, aircraft 60-6940 and 60-6941. Only two A-12s were specially modified to carry the GTD-21 unmanned reconnaissance drone, aircraft 60-6940 and 60-6941.
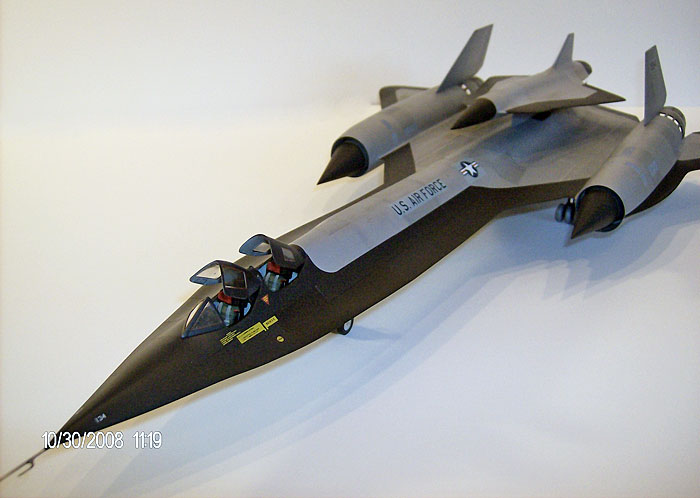
A second cockpit was installed, in place of the Q-bay, for the LCO, (Launch Control Officer) and a large pylon was installed between the twin vertical stabilizers to hold the drone prior to launch.
The aircraft was re-designated M-21, ‘M’ for Mother, the Drone was designated D-21, ‘D’ for Daughter.
Aircraft 06941was lost during a launch accident. The M-21 pitched up and collided with the just launched drone, both the drone and aircraft were lost. The second aircraft 06940 survives today, on display at the Museum of Flight in Seattle, Washington.
The Model
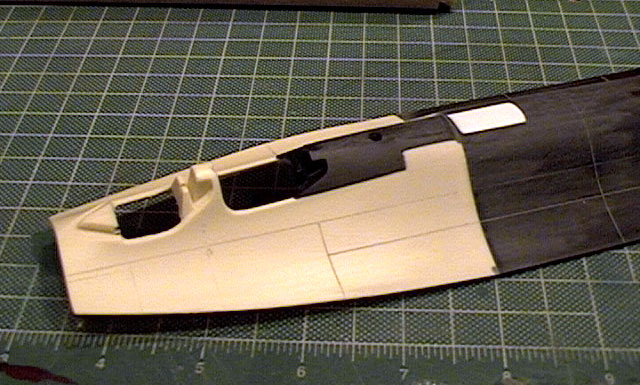
This one was the 4th one I built in the family. I built this one much the same as the A-12, basically leaving the second cockpit installed, I just altered the second cockpit instrument panels slightly. The real M-21 had basic flight instruments, and instrumentation for the operation, and launch of the GTD-21 Drone.

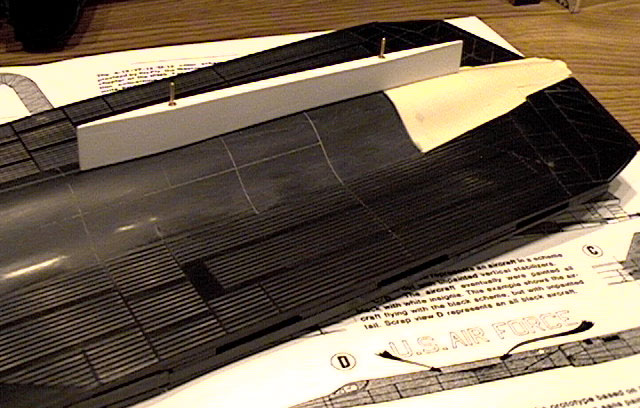
I also had to add the large pylon to the top, rear of the aircraft. The pylon comes with the GTD-21 kit.
The fitting of the pylon was really the only hard part. I felt the kit pylon was too low in height, and needed more of a nose up attitude, so I made a new one from plastic stock. Being that it had to conform to the contours of the rear of the A-12, I used a carpenters ‘copy cat’ also known as a contour gage, to give me the correct profile, then I transferred it to paper, cut out the paper shape, and tweaked it some here and there, then transferred the shape to plastic card. It was reinforced internally, as it would have to hold the weight of the drone. Also, I needed to provide a somewhat aerodynamic shape to it.
I used a couple of electrical connector pins to mount the pylon to the spine of the M-12. I did this so I can remove the pylon if I wanted to. The pins worked out great. The have enough friction to hold on really snug, and are strong enough to hold the drone. I’ll be using the same pins on the drone.

The pins are male and female, I used the male pins on the pylon, and the female pins on the aircraft, and drone.
After all the measurements were made, I drilled the holes for the female pins, a quick fit test, then used liberal amounts of super glue to fix them in place. Then I sanded the pins flush with the aircraft’s skin.
It was while building the M-21 that I tried using the True Details wheels. I was slightly disappointed. Firstly, the nose wheels are all the same diameter as the mains, which is wrong. The nose gear wheels are definitely smaller, in diameter, and width. So, to fix them, I used an X-acto saw, and cut the nose wheels in half vertically, sanded them down, and glued the halves back together, that takes care of the width. Then, using my Dremel tool, I put the wheels on a piece of round stock plastic, chucked them in my Dremel tool, and sanded them down in diameter using some course sand paper.

As for the main wheels, I really didn’t like the level of detail on them, the area where the tires meet the rim is rather soft, and would be difficult to paint, so I used the kit wheels.
Model, Images and
Text Copyright © 2009 by Don Fogal
Page Created 16 February, 2009
Last Updated
16 February, 2009
Back to HyperScale
Main Page |
Home
| What's New |
Features |
Gallery |
Reviews |
Reference |
Forum |
Search