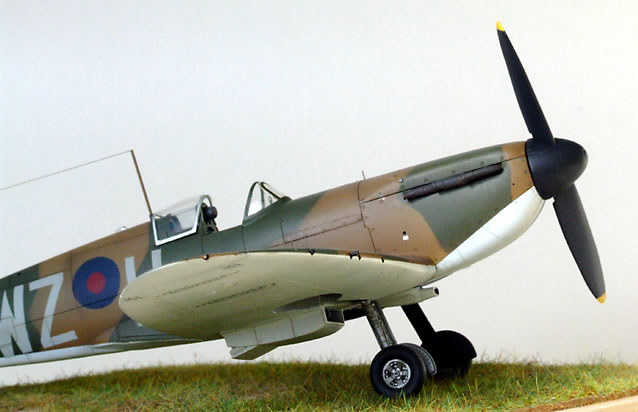
Tamiya's 1/48 scale
Supermarine Spitfire Mk.I
by Charles Whall
|
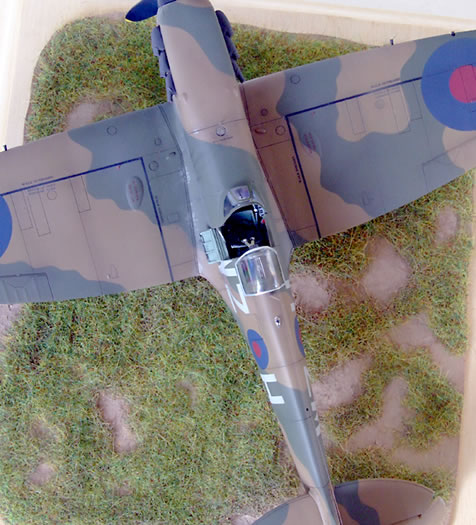
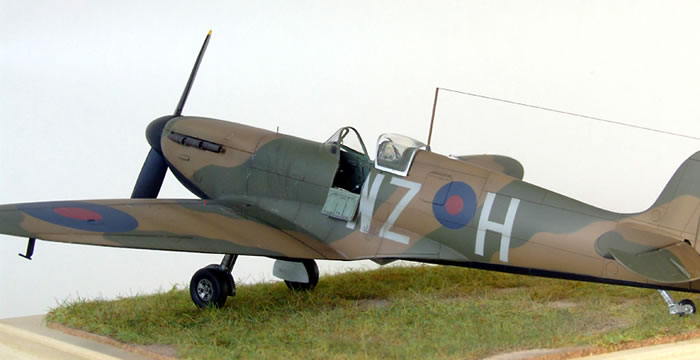
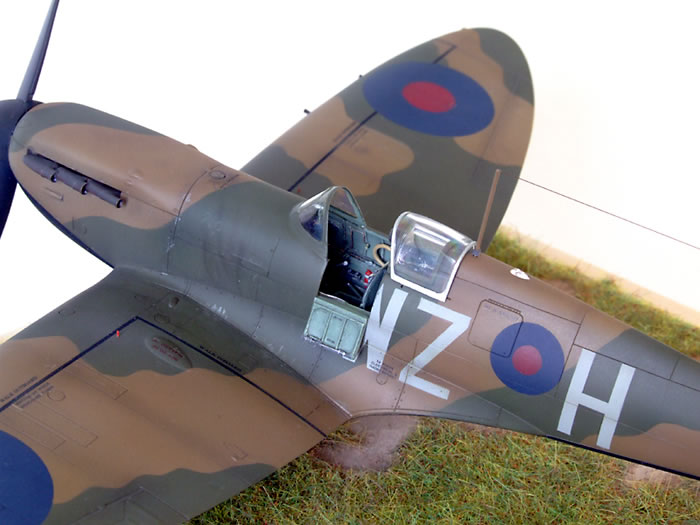
Supermarine Spitfire Mk.I
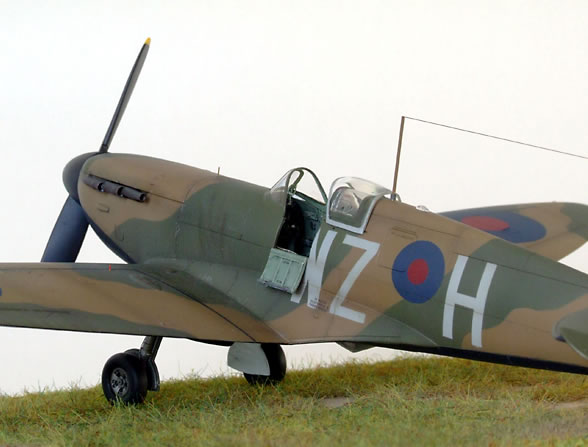
WZ-H of 19 Squadron, Duxford, 4th May 1939 |

Airfix's 1/48 scale Spitfire Mk.I is available online from Squadron
The ubiquitous Tamiya Spitfire, like it or loathe it for all its little problems regarding shape, for me it’s the kit of choice every time.
19 Squadron based at Duxford were the first to receive the Mk1 in 1938. I live close to the airfield (my spiritual home!), and I have always had a soft spot for the very early Mk1’s. When Aeromaster released their Watts two-bladed prop I finally had an opportunity to build one! I took lots of pictures of the oldest surviving Mk1 now residing at Cosford Museum in Lincolnshire for reference.
Additions
-
Czechmaster resin cockpit set (parts of)
-
Czechmaster control surfaces (elevators)
-
Eduard photoetch set
-
Moskit copper exhausts
-
True Details weighted wheels
-
Quickboost .303 machineguns
-
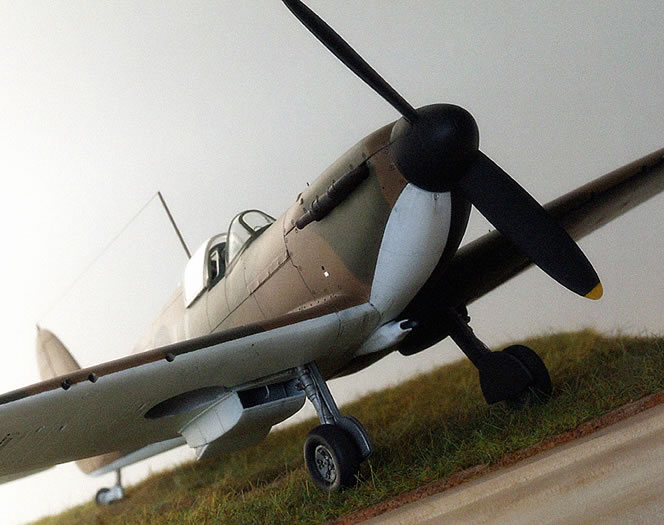
Aeromaster Watts two blade fixed-pitch propeller
-
Gunze/Aircraft Colors/Tamiya acrylics
References
-
Photographs of Mk1, Cosford, UK
-
Spitfire, The History, Morgan & Shacklady
-
SAM Modellers Datafile #3, Spitfire part 1
Interior
The CMK cockpit is meticulously detailed, but I found the top of the port sidewall rather thick when fixed to the fuselage which creates a rather big step when if the side access door is to be lowered. I would advise that this part is thinned down by anyone planning to use the set.
I used the fantastic Quickboost seat and rebuilt the control column as again, the resin set offering looks very clunky and badly cast. Other parts of the set that were omitted due to bad casting were the section the headrest attaches to and the instrument panel. The set is rather expensive and I was disappointed to have to leave out so many parts!
The resin cockpit went together very well with no problems and I decided to spruce it up with some extra 0.2mm copper wiring from Plusmodel-not necessary really as most of it is invisible once the fuselage has been constructed but I know it’s there! The oxygen hose was created using lead wire from PlusModel. The headrest and supporting frame were kit parts but I cut it in half and used the resin parts for the seat support.
The cockpit door detail (and that damned crowbar) was removed and replaced with photoetch framing. I scratchbuilt the ring and bead sight from copper wire.
Exterior
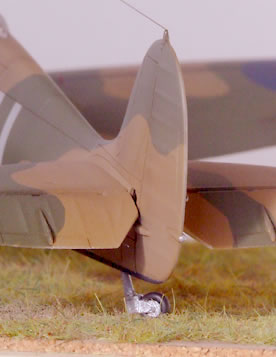
As expected, the kit practically fell together. I dropped the elevators by replacing the kit parts with a resin set from CMK. Radiator flap was also dropped by scratch building a replacement flap. I added hydraulic lines to the undercarriage oleo’s with copper wire and the locking tabs were photoetch.
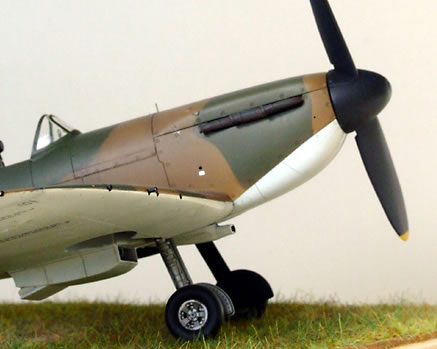
The early Spits seemed to have some kind of reinforced strip along the fuel tank cowl so I added these using brass shim and used a pin to emboss the rivet detail (see below).
I introduced a number of other additions to add as much authenticity as I could;
-
replacement fuel filler cap
-
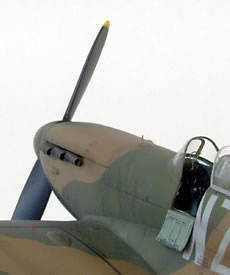
sighting bar added on cowl
-
flare-chute hole on starboard fuselage
-
starter handle aperture on starboard cowl below exhausts
-
scratchbuilt replacement canopy windscreen
-
undercarriage indicators
-
scratchbuilt early type radio antennae
-
cooling ports on underside of wings
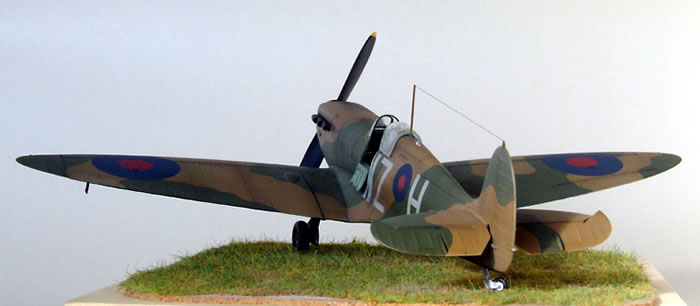
Making the Base
Hand-made routed Jelutong base. Celuclay was used for the ground and sprayed with diluted PVA glue to create a base for a sprinkling of static grass.
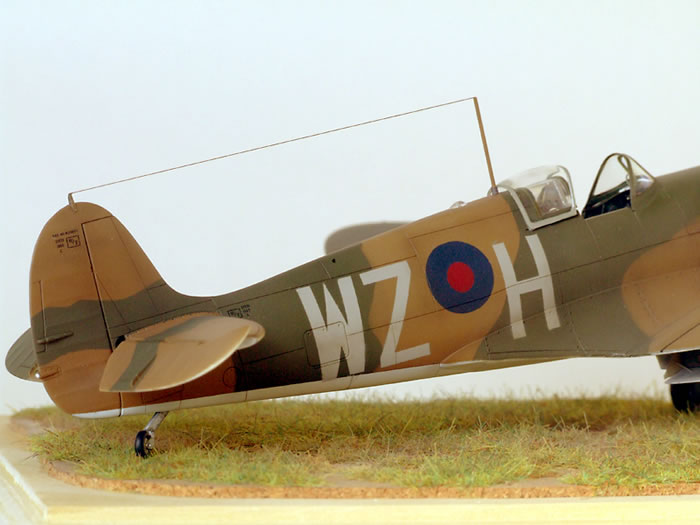
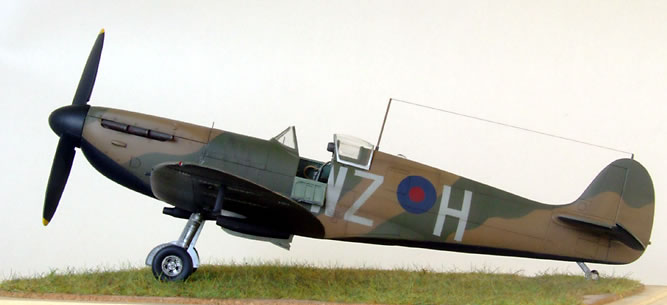
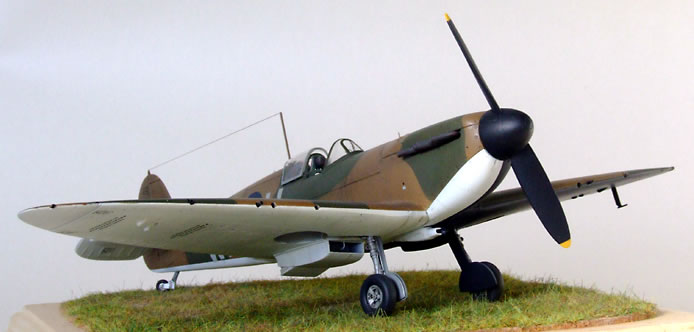
Standard B Scheme markings with codes and roundels sprayed on. Paints used included Gunze DE/DG and Tamiya acrylics for the B&W undersides. I held back on the weathering as these aircraft would have been more or less brand new at the time.
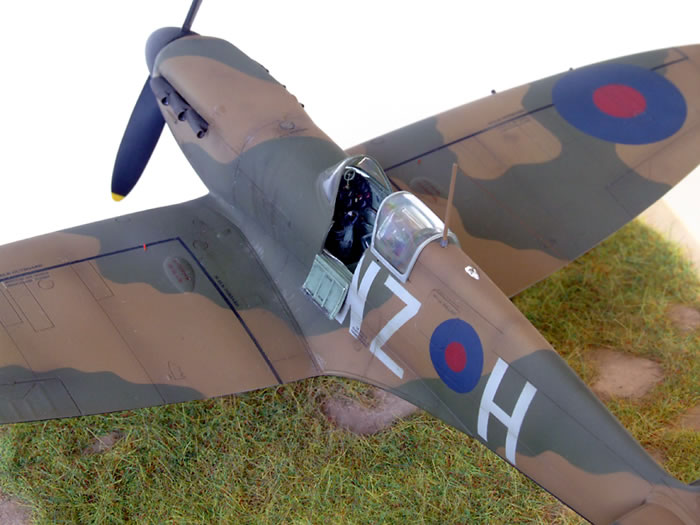
I notice however in my references that there is some fuel/oil staining around the engine cowl area. Interestingly, the sliding canopies on some of the aircraft in the famous Duxford line-up are earlier, flat versions mixed with later bubble types. Some of the canopies are unpainted, showing the aluminium framing so I thought this would make a nice touch and used Alclad Aluminium for my canopy.
I finished the model with a mix of semi-gloss and flat varnishes, varying where light would reflect but this is not very apparent in my photographs. All in all a very enjoyable and surprisingly quick build!
Photography
Fuji finepix 9500S using a sheet of white card as background and just experimented until I was happy with the results.
Model,
Text and Images Copyright ©
2009 by Charles Whall
Page Created 21 October, 2009
Last Updated
21 October, 2009
Back to
HyperScale Main Page

|
 Home
| What's New | Features | Gallery | Reviews | Reference | Resource Guides | Forum |
Home
| What's New | Features | Gallery | Reviews | Reference | Resource Guides | Forum |