Revell 1/32 scale conversion
Junkers Ju 88 C-2
Part One - Construction
by Rev John McIllmurray
|
|
Junkers Ju 88 C-2 Night Fighter |

Revell's 1/32 scale Junkers Ju 88 A-1 is available online from Squadron
Revell’s excellent 1/32 Ju 88 A-1 kit provides the perfect impetuous for large scale modellers and night fighter fans alike to build an early example of what went on to become the Luftwaffe’s main nightfighter as the trickle of Ju 88 C-2s and Ju 88 C-4s in the summer of 1940 slowly turned into the tidal wave production of the ultimate Ju 88 – the G-6 when the war was all but over in the summer of 1944. Four years before such code names as ‘Berlin,’ ‘Morgenstern’ and ‘Neptune,’ even before ‘Lichtenstein’ the humble eyeball was straining into the dark trying to pick out targets over British aerodromes and then over the waters of the Mediterranean and North African coastline; their aircraft painted all over black – or partially black for in common with a number of other air forces the Luftwaffe shared at this time the belief that the colour black gave the best chance of concealment for their nocturnal predators.
Although some debate rages over the correct designation of the heavy Ju 88 fighters Zerstorerstaffel/KG 30 used in Norway two things are for sure, by the time the unit had been converted into 2./NJG 1 in July 1940 their remaining Ju 88 C-2s had already been retrofitted with the new longer ‘B wing’ and had even began to be painted all over black whilst still carrying the KG 30 diving Eagle badge. Soon the badge would be replaced by another rendition of that famous bird of prey.
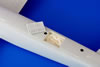
Although helped a bit by Revell’s lack of external bomb racks to build an authentic A-1 bomber variant I wanted to model a C-2 or 4 anyway and so set out to try my best to sculpt new wing tips and ailerons to go with the solid nose and gondola ejector I already had in my AIMS range. These products would be useless however unless I had some markings for such aircraft so a decal sheet was designed as well although I wish I had waited till I had purchased ‘Zerstorer – und Nachjagdverbande Teil 2’ by Michael Meyer and Paul Stipdonk first which is packed full helpful photos of these early blackened Ju 88 fighters. I would also need a weapons battery for the cockpit and so an attempt was made to try and cobble something together that looked in keeping with plans and photos available. I still do not understand the ammo feed set up but hopefully have managed to present something suitable.
The nose could have been much better and much detail had to be replaced by trying to achieve just that. As for the early style gondola ejector it is far too pronounced and needs to have a much shallower curve and only slight difference in height to the gondola behind it. The MG FF barrel is tubular steel supplied by Cammett Ltd.
A number of external features would depend on what decal option I went for. What I mean is this, if you are modelling a C-2 retrofitted with the B wing you will need to keep the small dinghy compartment as given in the Revell kit but not the kit's left fuselage footwells which came along with the A-5 production, conversely if you are modelling a C-4 you need to keep the footwells and lose the small dinghy compartment in favour of one much longer at the back.
The problem is how do you know the difference between a C-2 and a C-4 airframe on a black and white photo of a black aircraft? Basically you either need supporting written evidence or have a photo that is close up enough either to see what length of dinghy hatch is present or whether the gondola has two extra MG FF 20mm cannons with the revised ejector for the internal weaponry confirming it as a C-4.
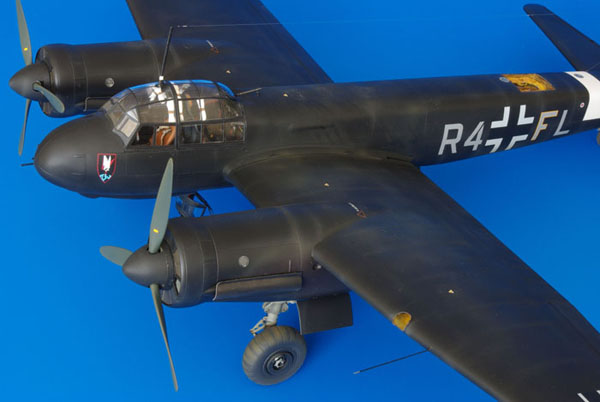
I ended up modelling R4+FL of 3./NJG 2 at Benghasi-Berka during the spring/summer 1942 and crewed by S. Bichler, Basner and
Wolcke simply because it was the only photo where I could positively identify the gondola as being that belonging to a C-2! If however you wanted to model Alfons Koster’s Ju 88 with everything but the Swastika and yellow outlined ‘K’ you could simply amend the AIMS decals and would see from photos that this machine has a longer dinghy hatch and so you could be almost positive that this C-4 had the revised gondola with extra weaponry!
There are three external features however that both C-2s and C-4s share and all will need careful thought.
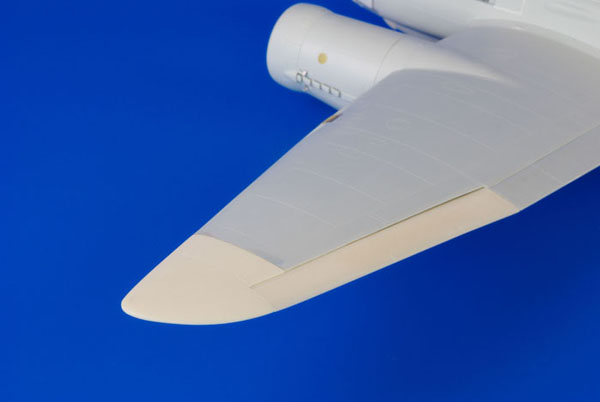
The wing tips were designed with e it extra length to the ailerons than necessary as it was realised that no two fittings of the wing tips would turn out the same and it was best to leave room for careful adjustment. I chickened out of remodelling the kits aileron hinges to set the ailerons out of neutral.
Firstly most probably at the same time Zerstorerstaffel/KG 30s C-2s were having their aircrafts wings retrofitted the forward firing MG 15 was deleted and the windscreen replaced for one devoid of the aperture, although the hinge for the ball socket on the canopies internal framing still existed as did the aperture for the external cradle that fixed the weapon in the forward firing position right up until production of the C-6. Modelling this feature is best done by carefully chain drilling out the existing window and replacing it with clear acetate PVA glued into place. Getting the right shape will be aided either by using an aftermarket mask set like the fantastic one produced by Montex or by your having pressed Tamiya masking tape over the window area before drilling in order to carefully slice through the tape along the borders of the framework.
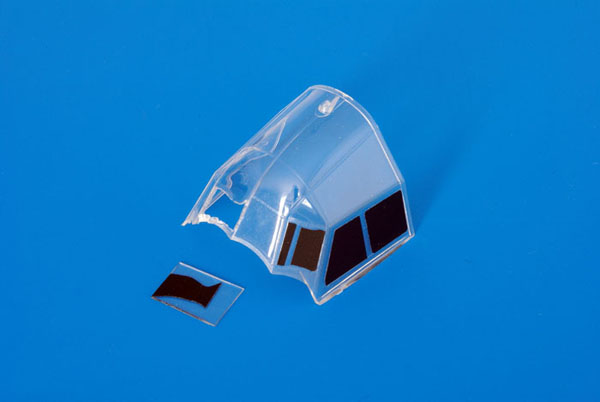
Fantastic Montex canopy masks were used on this kit with the masks for the front windscreen altered and added to a piece of clear acetate to represent the latter style window devoid of MG 15 position. Note like the Revell kit Montex have forgotten all about a number of exterior canopy frames – these can be added by altering the masks before fitting.
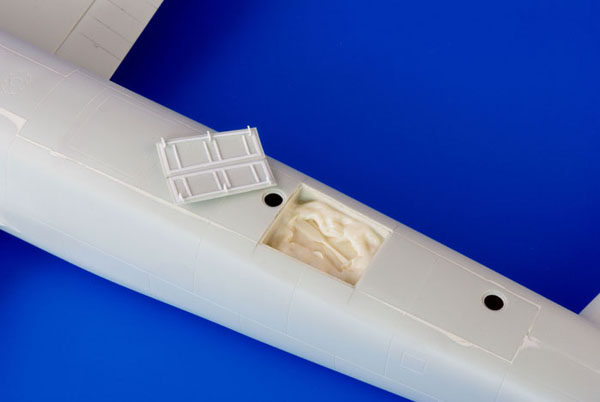
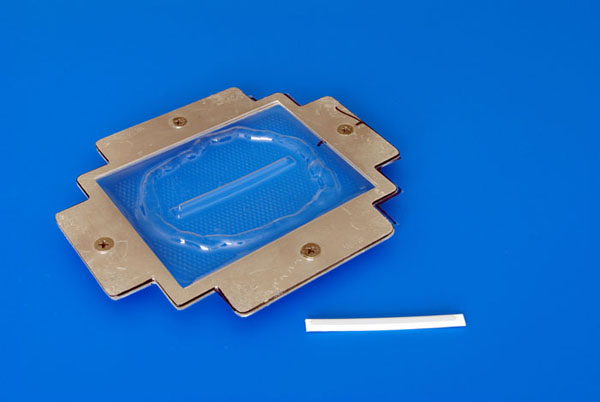
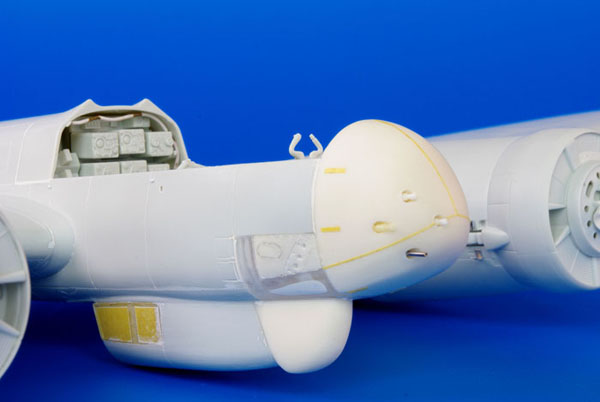
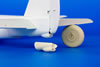
Secondly the FuBI homing rack on the kits belly needs both moved rearward 15mm and enclosed. I found the best way to represent this was to use a home made vac form machine over a piece of aerofoil rounded off at the ends and secured to a flat strip of 1mm plastic card. The result gave the perfect shape, as the machine was not powerful enough to pull the material in at the sides too tightly.
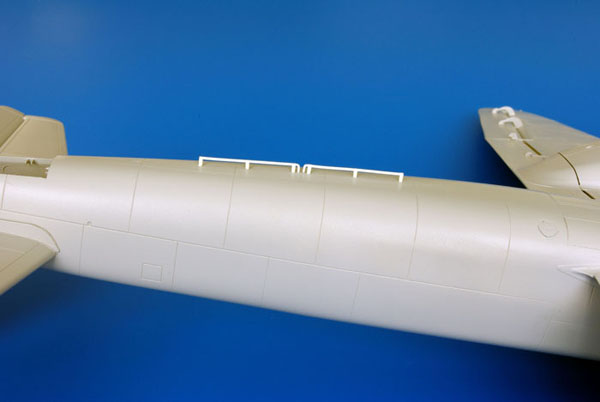
Another external feature of these early Ju 88 fighters is that the FuBI rack on the belly is moved rearward by the length of just one half of one section. In some plans this can be seen drawn at least a full section to the rear but photographs do not bear this out.
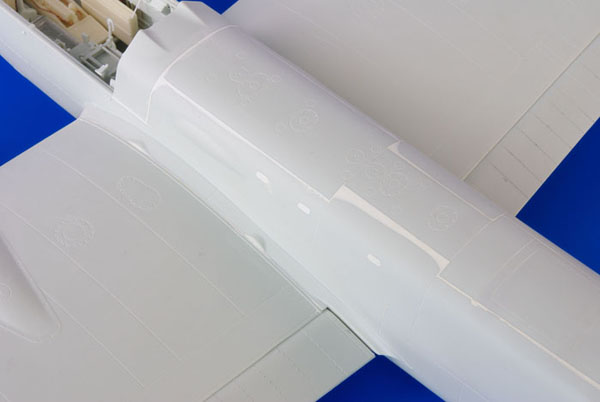
Thirdly and finally the exhaust shrouds will need representing and pewter sheet came in very handy for this. Flat oblongs of the material were prepared and then the forward ends with given a semi circular shape, the sheets were then pressed over a drill piece or something and 1mm of each side bent up flat. Other tabs in the same material were used as mounting brackets on the engine sides as photos show that these shrouds were not fitted tight to the contours of the nacelles.
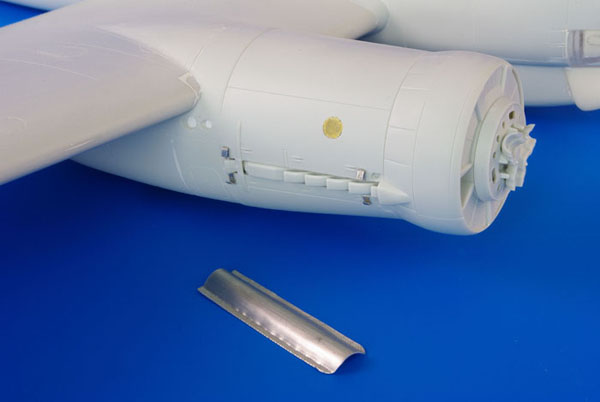
Another key external feature of converting your Revell A-1 bomber into a fighter is the need for exhaust shrouds. Pewter sheet bent to shape and with a curved forward face is a simple and realistic way of modelling these shrouds.
The only other modelling work was the addition of curtains inside the canopy parts made as before from spray suit material and that work resulting from my desire to re-position the elevators with its knock on effect on the trim tabs which need cut out and set back at neutral. I was also unhappy with the overly curved profile of the radiator section of the engines; the cowling forward of the cowl flaps needs to be much flatter than presented by Revell and so much time was spent correcting this although you can buy corrected fronts from Andreas Duda along with his other fine products.
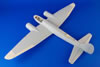
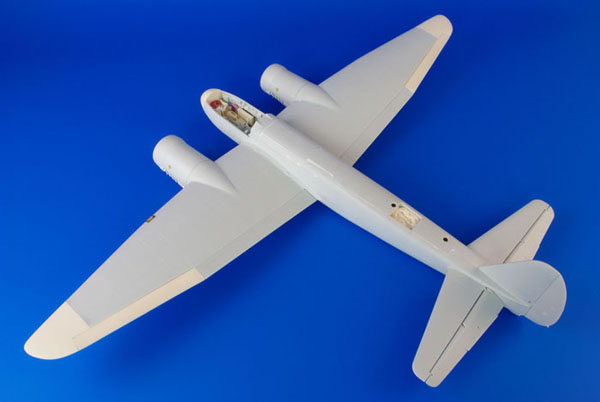
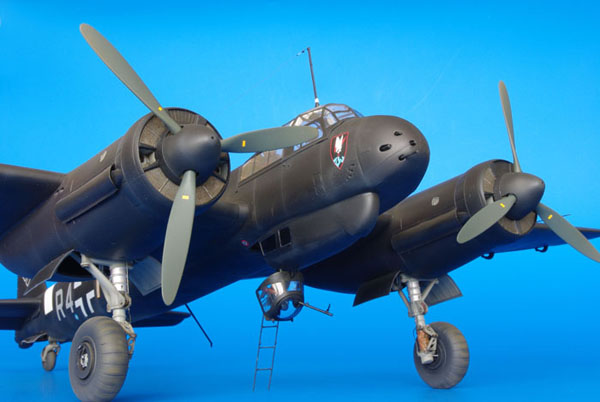
My AIMS resin fighter nose, interior gun battery and extended wing tips certainly make Revell’s Ju 88 A-1 kit a very different warbird not to mention a weightier one!
Getting away from the conversion now to other related issues – if you are modelling a C-2 the airframe is based on the A-1 and so the dinghy compartment will be the short version (not the other way around as I said in my last Ju 88 A-1F article). I thought this would help break up the overall black camouflage latter on!

Also if you are doing a C-2 remember that the A-1 and associated variants did not have the left fuselage side foot wells – these were introduced on the A-5 (with its C-4 and D-2 counterparts).
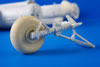
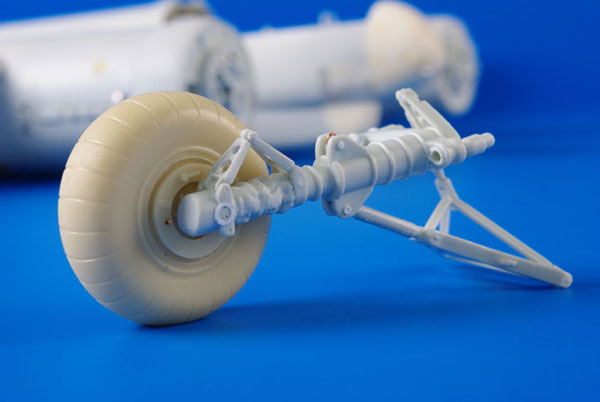
The A-1 and A-5 with their related variants used a much smaller tyre with a more pronounced hub. These are available from Airdoc but seem too small height wise compared to photos – the answer lies in chopping 1mm off the boot area of the kits oleo legs to give the torque bars a much more realistic compressed look – then the early style wheels look perfect.
A great product from Andreas Duda is the early style fuel dump at least found on the A-1 and C-2. My aircraft was sure to have it but the product came after main assembly.

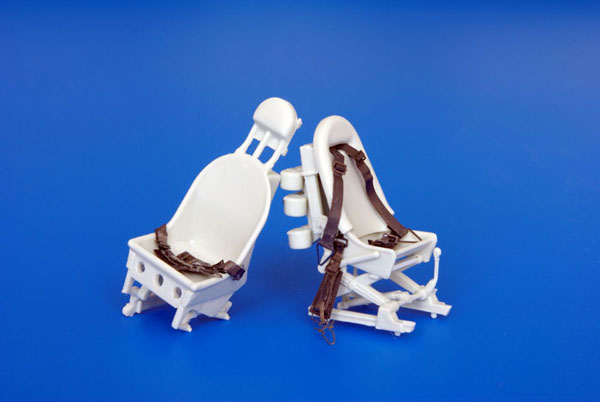
The only other after-market material that was utilised was the excellent seat belts available from Eduard in either painted or unpainted finish. Not the perforated plate at the face of the rear gunners seat base.
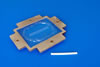
The rack was given a clear cover by using a homemade vac form machine on a piece of aerofoil set on a flat plate.

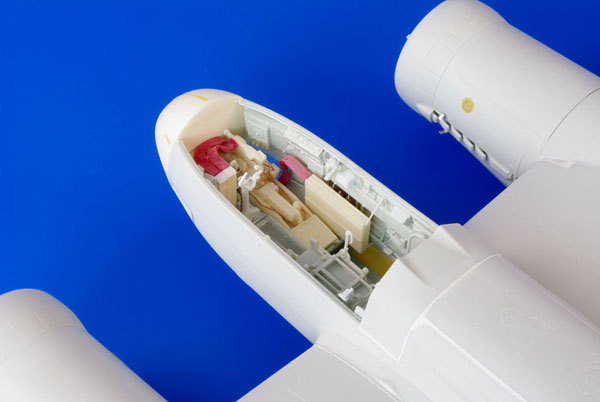
Coming to the interior of the conversion the fighter will need the weapons battery and ammo bins fitted. Note of the lowest weapons barrel does not protrude from the nose the aircraft is using a drum fed 20mm MG FF cannon, if the barrel protrudes it is a belt fed MG 151.

Cockpit instrumentation for fighter variants was constantly changing – this is but one photo-based representation of an easy conversion from the standard kit supplied panel.
Thumbnail panels:
To be continued.
Images and Text Copyright ©
2009 by Rev John McIllmurray
Page Created 10 August, 2009
Last Updated
14 August, 2009
Back to
HyperScale Main Page

|
 Home
| What's New | Features | Gallery | Reviews | Reference | Resource Guides | Forum |
Home
| What's New | Features | Gallery | Reviews | Reference | Resource Guides | Forum |