|
Academy's
1/48 scale
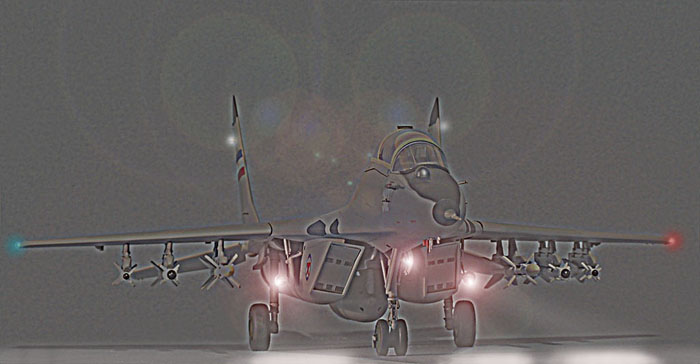
MiG-29 UB Fulcrum B
by Bob Aikens
|
 |
|
MiG-29 UB Fulcrum B |

Academy's 1/48 scale MiG-29 UB is available online from Squadron.com
The copyright date on this kit reads 1993. This and it's sister
Fulcrum A kit remain the only 1/48 Fulcrums on the market today.
The Monogram Fulcrum was issued in (I think) 1990 and was based on
the early Fulcrum A design-and as far as I know was never upgraded. The
awaited Academy offering was quite a step up from the
Monogram-especially the very nice surface detailing.
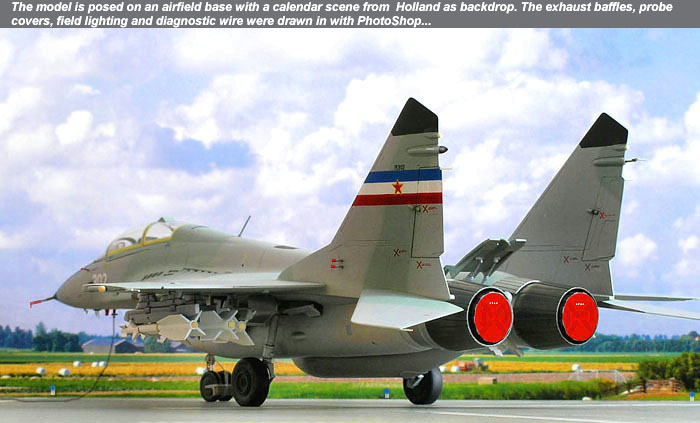
I picked up this UB example on the swap/sale table at our local (Island
Hobby Group) springtime show here in St. John's. And it sat there for
many months (it looked like one of those intimidating Hasegawa kits in
the box). I haven't built the 'A' version, but I assume it's fashioned
in the same way presented here - with a main joint at mid-point - with
the forward components being suitable to the single seat, larger-radomed
'A'.
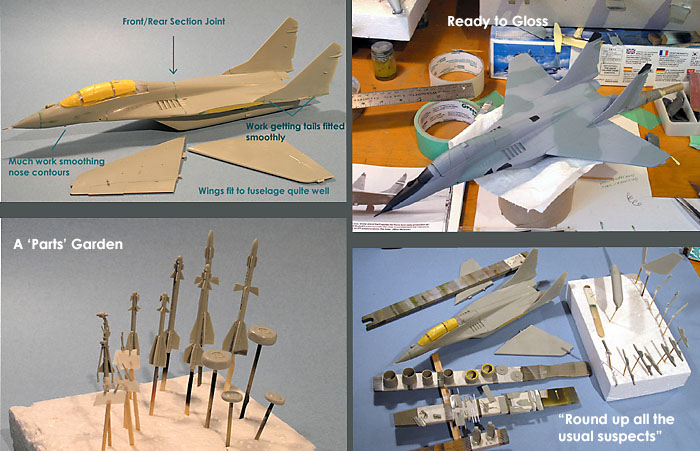
The model itself is not complicated, nor does it have a
superabundance of parts - but the component arrangement makes for quite
a bit of filling and sanding work to smooth out the nose contours (see
pic montage). The intake / nacelles also need attention - the front
parts are 2-piece arrangements that must be fared into the rear
nacelles. This lower arrangement is then fitted clamshell-like onto the
upper fuselage section.
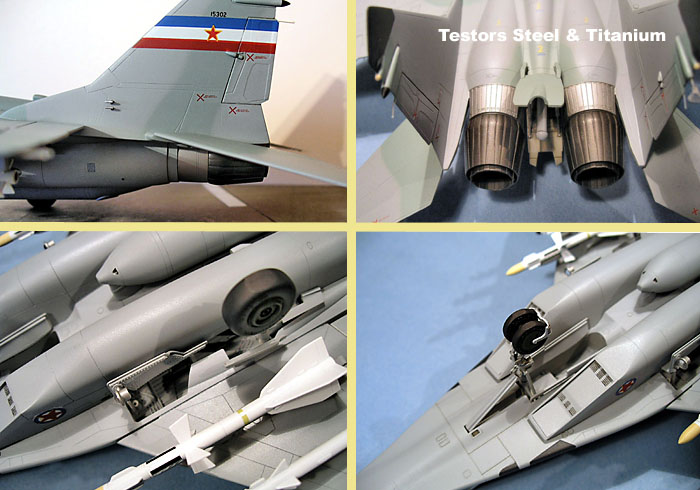
At first the landing gear and the doors looked quite daunting, but once
the main legs were in , the coverings all set in
place very neatly with small drops of crazy glue.
Click on the thumbnails
below to view larger images:
[../../photogallery/photo00019059/real.htm]
To have an open canopy, new seats at least are required. Someday this
model may have them.
As mentioned above it took quite a number of the 'filling,sanding,priming'
cycle to get the nose and the nacelle areas
looking adequate. That done however, the main painting went along very
smoothly with the use of card masking held
slightly off the surface with rolled-up masking tape. Masking off the di-electric
panels on the LEXs was done a bit more gingerly to ensure no
under/overspray. Ditto for the small radome .
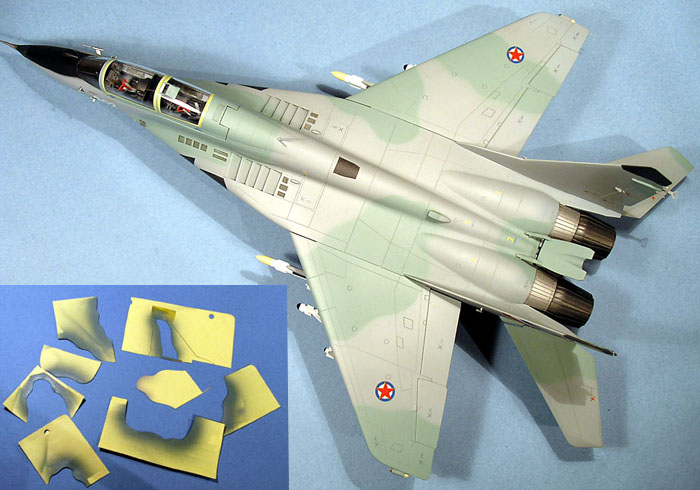
With the unfailingly clear vision that hindsight always produces I
realized that I ought not to have used the kit decals.
The larger ones were merely adequate - the small warning markings all
silvered. The pin-prick solvaset method helped somewhat, but slight
blasts of the original colors were needed to get them to 'blend' with
the surface.
I applied a bit of wash at the wing control surface indents- other than
that the paneling looked quite adequate.
Click on the thumbnails
below to view larger images:
[../../photogallery/photo00031164/real.htm]
Model, Images and Text Copyright ©
2007 by Bob Aikens
Page Created 29 November, 2007
Last Updated 24 December, 2007
Back to HyperScale
Main Page
|
Home
| What's New |
Features |
Gallery |
Reviews |
Reference |
Forum |