|
Wasserfall W1
by William Moore
 |
|
Wasserfall W1 |

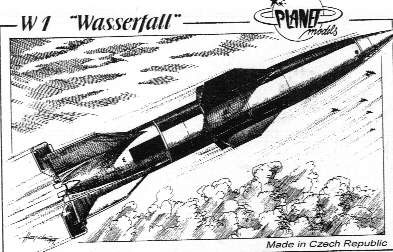
Planet Models' 1/72
scale Wasserfall is available online from Squadron.com
 Planet
Models' 1/72 scale Wasserfall W1 kit comes in their standard box with a black
and white drawing on the cover. Planet
Models' 1/72 scale Wasserfall W1 kit comes in their standard box with a black
and white drawing on the cover.
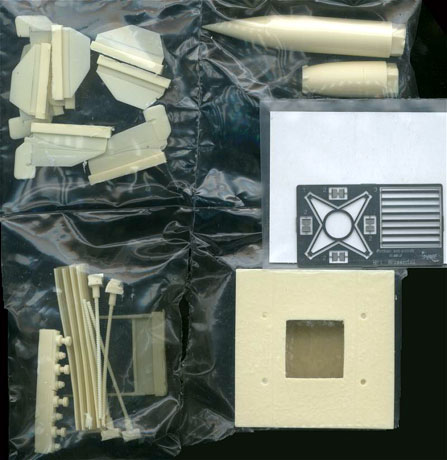
Most of the resin pieces come with moulding plugs . The panel
lines in some parts are a little faint and require work but overall it is
another good kit from Planet .
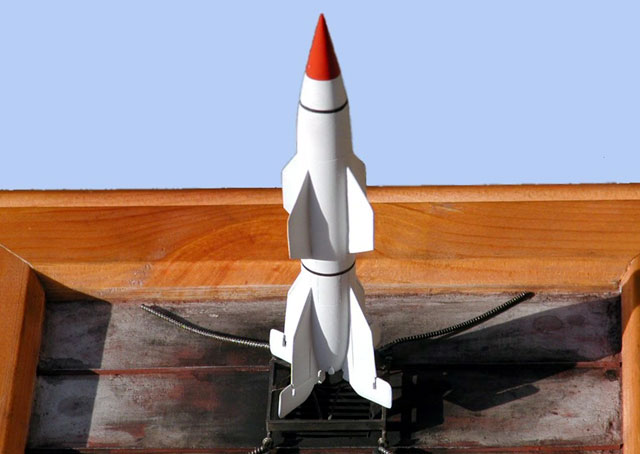
What surprised me about this kit is the inclusion of a base and
trolley to mount the rocket on unlike the other two kits of the Wasserfall that
have been issued.
Yes, this is the third kit in as many years of this late
WW2 German antiaircraft rocket , that was never used in anger. The doubling up
by manufacturers of the same plane etc doesn't just apply to Spitfires
and Fw 190's .
The instructions are the usual double sided A4 sheet.
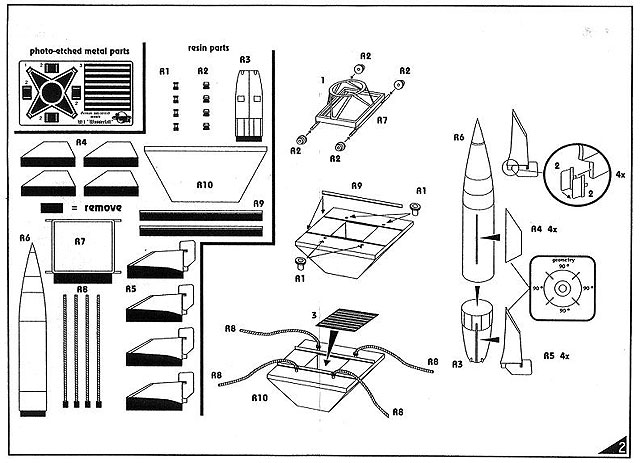
On the front is a brief history and technical specifications as
well as three suggested paint schemes with Humbrol colours called out although
this is not mentioned specifically. The other side contains a parts breakdown as
well as clear assembly diagrams with extra details explained where needed.
Construction started with trimming away all moulding plugs and
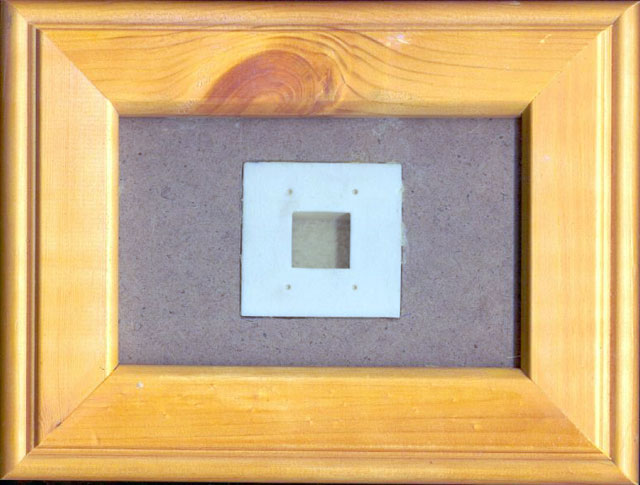
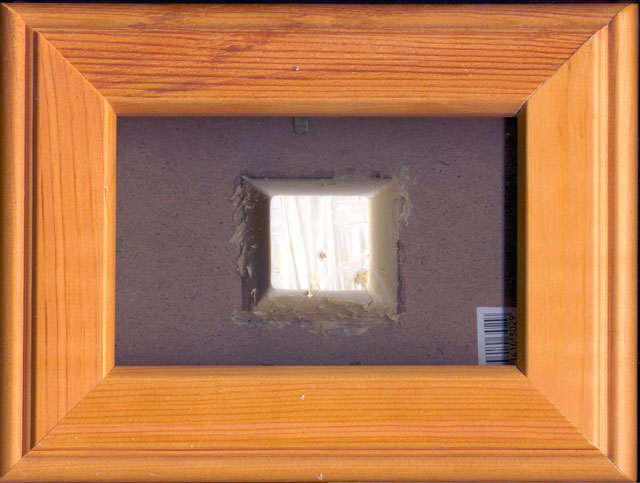
sanding the parts before attacking the base and it was here I got a little
carried away . Instead of mounting the very good base on a plinth it was mounted
inside 2 photo frames . This gave the launch base a larger area , otherwise the
instructions were followed exactly .
Click the thumbnails below to view
larger images:
Next to be added were the rails for the launch trolley and here
I did run into a problem . Every time I tried to separate the rails from their
moulding plug they broke no matter how careful I was . As they were fairly
twisted anyway they were replaced . A length of 1/32 inch T beam from Plastruct
or Evergreen does nicely and at a pound they are cheap. The launch blast tube
hole was severely weathered and the pylons and ropes added . The four ropes were
brushed in Model Master Exhaust and then lightly rubbed with a Prismacolour
silver pencil . Despite consulting an expert the exact use of these ropes is
unclear . Finally the etched brass grate is added over the blast tube which
fitted perfectly.
The launch trolley is very simple with the main body in resin. Etched brass is
used for the rocket support and this requires a little fiddling . Whilst the
brass is square the base is slightly rectangular . By attaching two opposite
sides at the top and the other two midway down on the inside the correct effect
is obtained. Lastly add the four tiny wheels after filling their airbubbles ,
being careful to test fit the completed trolley against the rails.
|
Wasserfall
Kit Data |
Scale:
Kit No:
Price:
Panel Lines:
Status:
Origin:
Type:
Parts:
Decal Options:
Manufacturer:
Obtain in UK via: |
1/72nd
076
???
Recessed
New Tooling
Czech Republic
Resin and Etched Brass
Resin 28 Cream, Brass 6
0
Planet Models
Hannants |
Now weather like crazy . A rocket test launch area like this
would build up a lot of muck and dirt and the exhaust gases from many launches
would have stained the trolley and base . Remember to decrease the effect the
further away from the rocket you get . I used a combination of paint ( mostly
Model Master metallics - despite the labels they can be handbrushed in small
areas ) and pastel chalks for most of it though do not forget the rail tops and
trolley wheels will be shiny where they meet .
After all that fun it was hard to get back to serious modelling. This probably
explains the stuffup I made. The rocket comes as two parts which need a little
sanding and filling before joining. The example I received had the top half
slightly out of shape and needed a little work to get back into a circular
planform. At this stage it is necessary to line the two halves up so that the
fins on the top half will be in line with those on the bottom half . These are
clearly indicated on the kit with a raised line for each fin but somehow I
forgot . Fortunately superglue has poor shear strength and I got it apart .
The top and bottom fins were now added after straightening two in hot water -
this is not unusual in resin . Care is needed here to ensure good alignment . A
little white glue was used to blend these into the main body . The only parts
left to add were the control vanes from etched brass. There are eight of these
and they must be folded , split then glued below the engine . This is fiddly and
hopefully you'll retain more than the six I did though as long as you have at
least four it isn't noticeable.
The dimensions supplied agree with the Putman German aircraft
book but the height is a bit low , to the tune of a 1/4 inch in scale which
seems a lot. The rest of the dimensions agree.
Three options are supplied , two for test vehicles and an operational scheme .
The latter is slightly unlikely because by war's end the Germans were up to
version W10 of this missile and had still not used it in anger.
Having said that it is the easiest option being Matt Desert
Yellow overall except for the lower rudders in Matt Dark Grey . I chose the
second option which is white overall with a Signal Red nose and two black
stripes further down ( I used black decals for this ) . The last option is for
the very keen with lots of masking involved .
|
Conclusions and
Recommendations |
The use of a launching base and trolley makes this kit stand out from it's
opposition .
The work involved is not beyond the average modeller and any
resin junkies will welcome the ease of assembly for a great looking model. The
small niggles are those common to most resin kits and provided you're not
expecting a Tamiya kit then you will be rewarded with the ancestor of the
American anti aircraft rockets of the 50's and 60's. This is a nice fun kit that
restored my jaded palate.
My thanks to Planet Models for the review sample as well as Dan Johnson of
www.luft46.com for assorted advice and details.
Photos by Liz Moore
Model and
Article Copyright © 2002 by William Moore
Images Copyright © 2002 by Liz Moore
Page Created 19 January 2002
Last updated 04 June 2007
Back to HyperScale Main Page
Back to Features Page |
 Home
| What's New |
Features |
Gallery |
Reviews |
Reference |
Forum |
Search
Home
| What's New |
Features |
Gallery |
Reviews |
Reference |
Forum |
Search