|
Douglas F3D Skyknight
by
Fotios Rouch
 |
|
Douglas F3D Skyknight |

HyperScale is proudly supported by Squadron.com
The F3D Skyknight was developed by Douglas to address the need
for a carrier based night fighter.
Less than 270 were built altogether.
The first Skyknights started flying around the very early 50s
and some were flying up to the late 70's. The Skyknight is the only Navy/Marine
fighter to fly combat both in Korea and Vietnam. Examples were flying for
Raytheon/Hughes up until recently.
Do not miss the Steve Ginter book as it is an excellent
reference for making the model and for its funny accounts of pilots that flew
the Drut (nick name - reads backwards too!). Another nice book to read is the
Night Fighters over Korea by Lt. G. G. O'Rourke. This is a very nice first-hand
account of what it meant to be a Marine pilot during those years and conditions.
|
Collect-Aire's 1/48
Scale Skyknight |
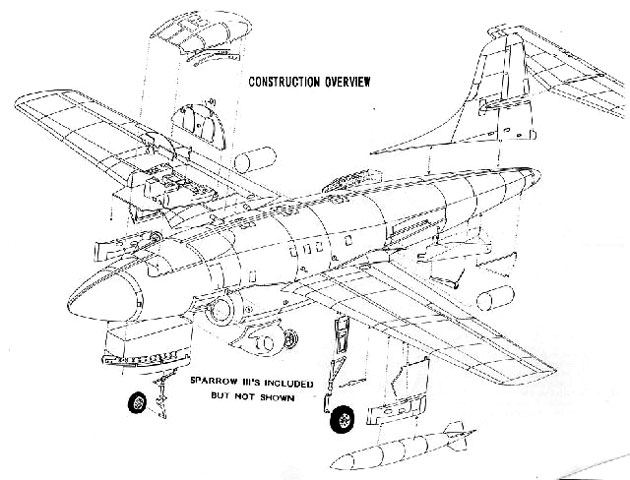
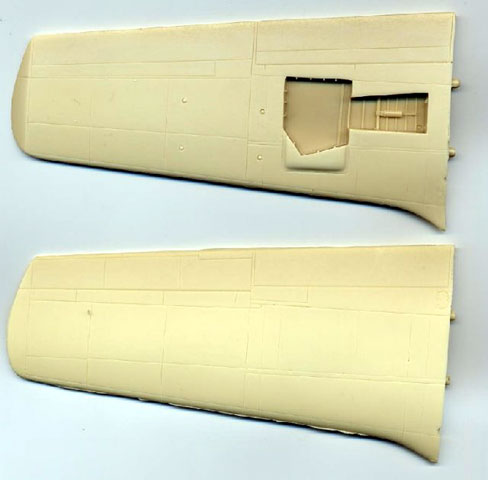
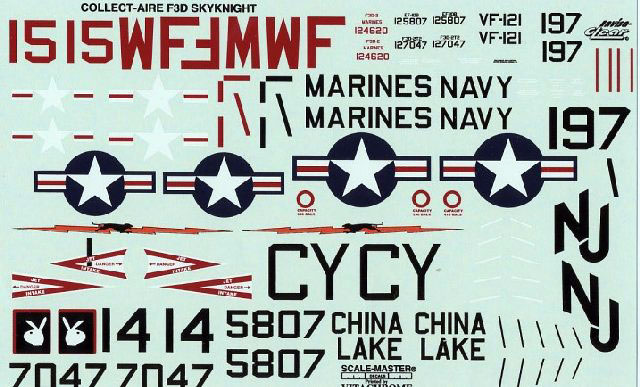
The Collect-Aire 1/48 scale F3D Skyknight kit fills an important
gap in aviation history. It is mastered and produced in Eastern Europe. I have
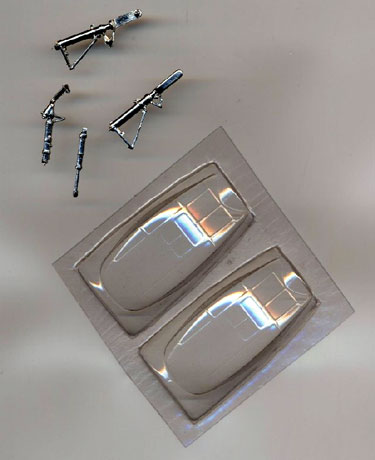
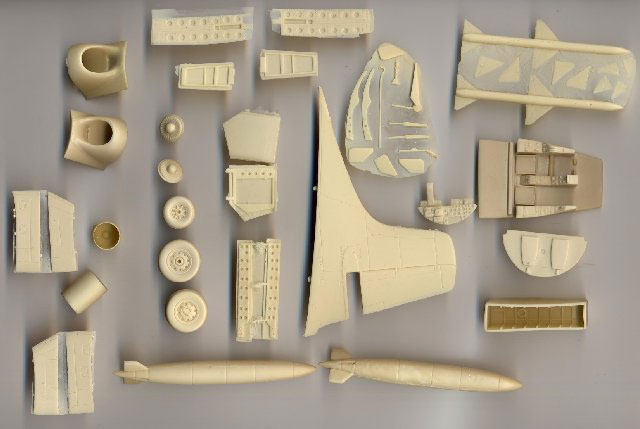
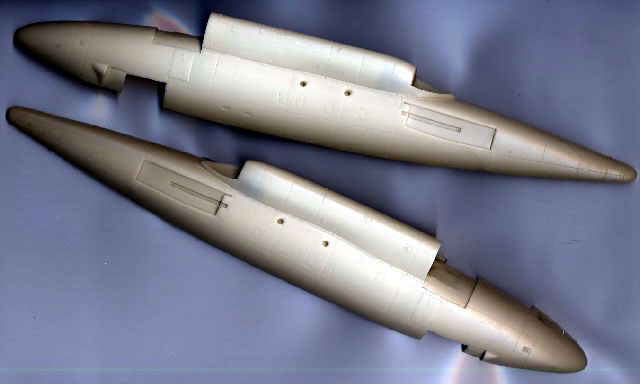
included scans of the kit contents so you can get an idea of what the parts look
like.
Click the thumbnails below to view
larger images:
The assembly effort required is typical of most resin kits. You
will need to patiently prepare each part individually before thinking about
bringing out the CyanoAcrylate glue.
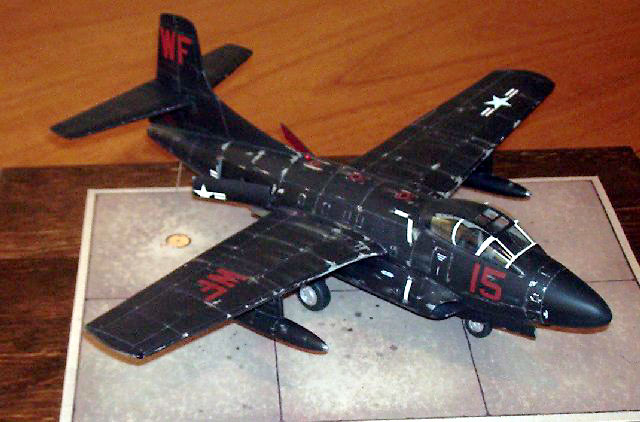
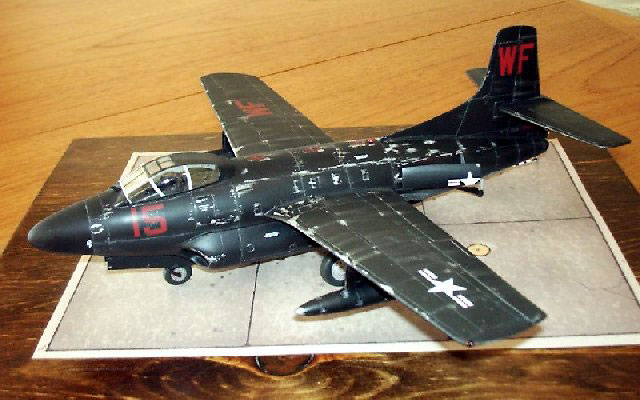
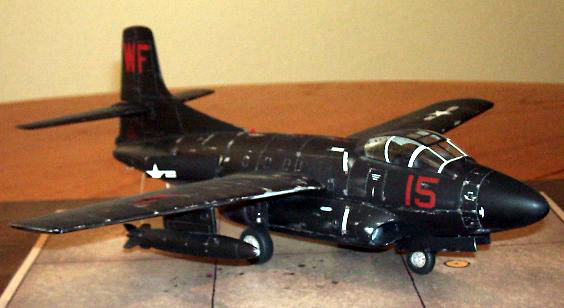
I chose to model my kit in the colors of Marine Night Fighter
Squadron 513 (VMF[N]-513) as they were in Korea. One of the reasons was that I
have the Tigercat and the Corsair (with Victory decals) from the same era. I
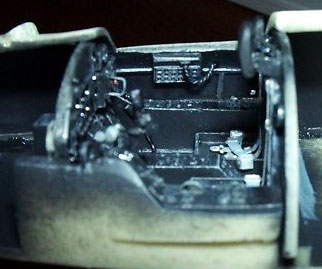
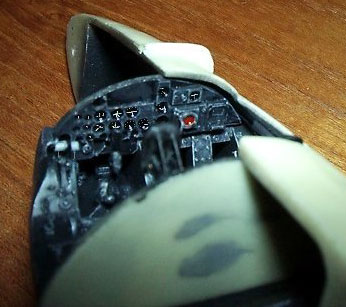
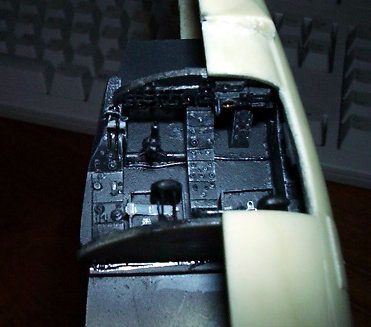
also decided to add a little more cockpit detail to my kit thinking that it
would look great under that big canopy. Well, very little shows through the
canopy because the interiors for the marine black jets were where very dark.
Click the thumbnails below to view
larger images:
I had some small problems with the fuselage fit but they were
mostly corrected with hot water. I chose to get my best fit along the top seam
of the fuselage.
After that was reinforced with epoxy glue and had dried, I
coaxed the lower fuselage seam to shape and glued it with CA glue and
accelerator working from the nose and finishing at the tail. This way little
sanding and putty was used and not too much rescribing was necessary. This plane
is a tail sitter so you might want to figure out a solution for that.
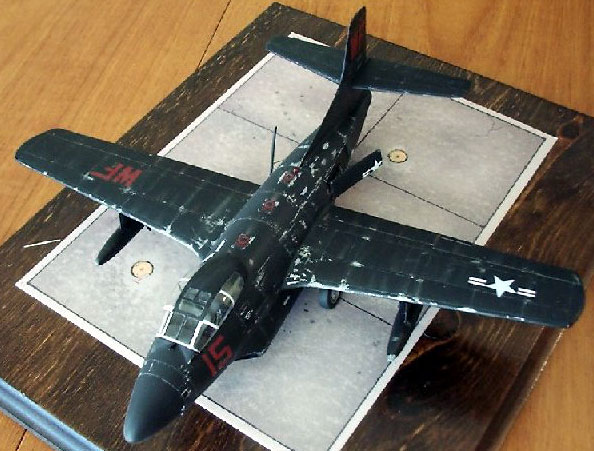
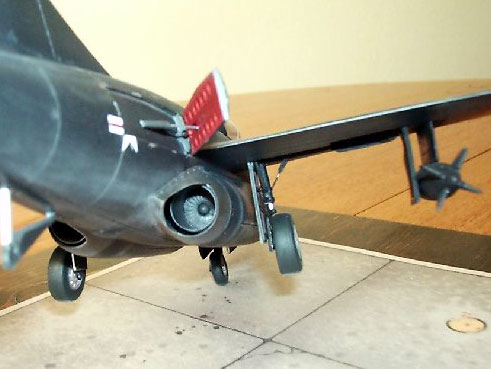
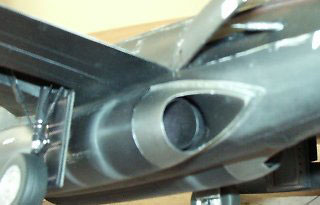
Something that I do not like in retrospect is the position of
the intake fan blades. They are too far out and the shape of the fan blade
spinner is too blunt. Look at the accompanying walkaround pictures. Also the
main wheels appear to be a little too thick and too large in diameter. Look at
the pictures for this reference as well.
All in all it was a satisfying build. I heard rumors to the effect that HiPM
might be doing a styrene Skyknight but so far it has been pretty quiet.
Was it worth the money? Yes, to me it was. Much cheaper than the
time required trying to scratchbuild one - as if I could!
Click the thumbnails below to view
larger images:
Model, Images and
Article Copyright © 2002 by Fotios
Rouch
Page Created 13 March 2002
Last updated 04 June 2007
Back to HyperScale Main Page
Back to Features Page |
 Home
| What's New |
Features |
Gallery |
Reviews |
Reference |
Forum |
Search
Home
| What's New |
Features |
Gallery |
Reviews |
Reference |
Forum |
Search