|
Messerschmitt
Me 262A-1/U4
by
Aleksandar Sekularac
|
|
|
Messerschmitt Me 262A-1/U4 |

HyperScale is proudly supported by
Squadron.com
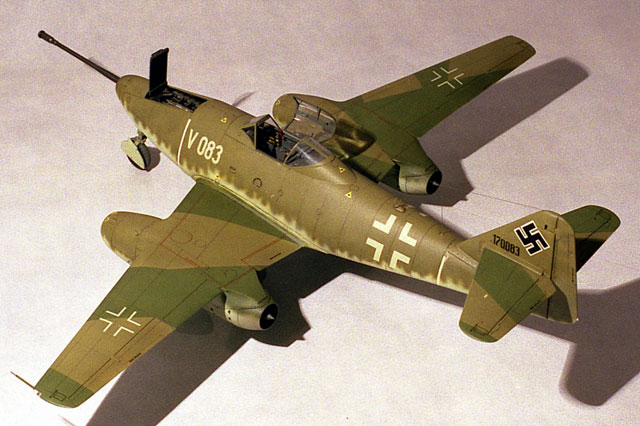
Here is my model of a Messerschmitt
Me-262A-1/U4 in 1/48 scale by Dragon.
I feel that a tribute to this manufacturer is due. Trimaster/Dragon is
the name that introduced “super-models” in this hobby in the late
1980’s. There was no other producer of kits at the time that marched the
level of detail and accuracy of the Dragon. They introduced inclusion
of photo-etched details as a part of the kit, and simply raised the bar
in the industry for several notches. I‘ve come across some words of
criticism about Dragon kits lately, mostly concerning complicated
assembly and some parts not falling together. Well gentlemen, Dragon
kits did not include sand paper and putty, but it was assumed that you
should have some. These kits were cutting-edge, not for everybody; well,
everybody couldn’t even afford them.
I have seen the sprues of the new Tamiya Me-262 in the box. While I
don’t doubt that this kit builds into an excellent replica, if I was to
build another one, I would have to think carefully whether to use the
new Tamiya kit, or the old Dragon family. Features like open cannon bay
(with 4 standard cannons), details of the jet engine, workable canopy
and plethora of variants found in Dragon kits of the “first jet fighter”
is hard to beat by anybody even today.
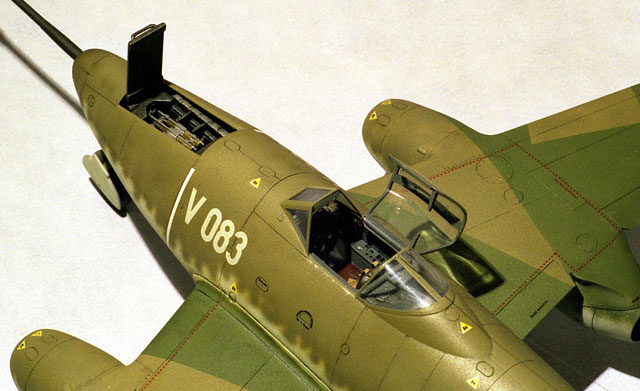
This said, I will talk just a bit about
construction of this model. The cockpit is excellent straight from the
box, with the tub having outside details for the wheel wells.
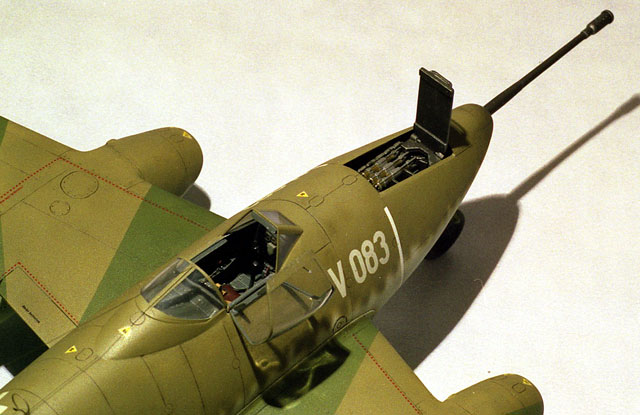
The windshield of the canopy broke in
construction, so I had to make one from transparent foil. This wasn’t
that hard, as Me-262 had simple flat windshield, which you can just cut
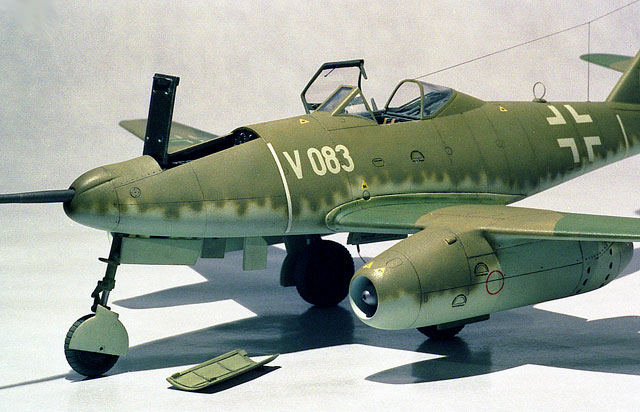
and bend into shape. Another feature worth mentioning are workable
hinges for the main canopy that are actually to the scale, and allow for
opening and closing of the canopy. This solves a dilemma if to have
closed canopy, to depict handsome lines of this aircraft, or display it
open and allow for all the inside details to be visible. You can have
both! Granted, the assembly is a little fiddly, but if you invest some
time in test-fitting, you will be rewarded with perfectly functional
canopy.
I wanted to build one of the two prototypes with regular armament
replaced with a single hard-hitting 50mm cannon. In the desperate
months before the end of the war Germans tried out many different
radical weapons, and this one was supposed to be able to take down heavy
four-engine bomber with one shell. As it turned out, it was to late…
Cannon details in the kit, are again excellent. I added corner lips to
the access panel, so that it can stay closed on the model, or be opened
to reveal the cannon.
Wheels on this model are plastic rims and vinyl tires. I heard that
vinyl is prone to reacting with plastic over time, but if you cote the
rims with paint and varnish, there won’t be any problems. My wheels look
just like new, after some five years of shelf life.
Main wheel wells include some tricky photo-etched elements, which should
be folded in very realistic looking boxes. Again, patience will bring
it’s reward.
The bottom of the wing is one part together with the center section of
the fuselage. The back of this element will be hard to matt flush with
the rest of the fuselage, as it will tend to sink in, with everything
else aligned. I had to use some superglue and above-mentioned putty to
correct this. On reflection even this bother can be avoided if one makes
inner lips in the fuselage openings, that would support the center part
of the bottom wing. Oh well...
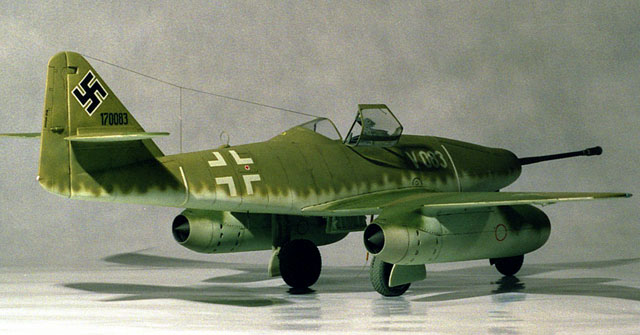
As far as colors go, at the time I was not sophisticated enough to
search for exact RLM standards, so I just mixed my own brew. I think
they look fine.
The only gripe that I have about this model
is that it did not included extended slats, which were automatic, as I
understand, and therefore always extended when at rest. If Tamiya were
to include this detail in their new kit, I would tip my hat to them, but
they didn’t…
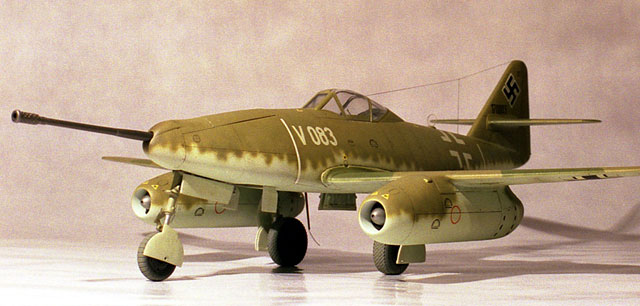
Overall, Dragon's 1/48 scale Me 262A-1/U4
is an excellent kit, and it can still hold its own today.
Click on the thumbnails
below to view larger images:
Model, Images and Text Copyright © 2002 by
Aleksandar Sekularac
Page Created 08 September, 2002
Last Updated 04 June, 2007
Back to HyperScale
Main Page
Back to
Features Index
|
 Home
| What's New |
Features |
Gallery |
Reviews |
Reference |
Forum |
Search
Home
| What's New |
Features |
Gallery |
Reviews |
Reference |
Forum |
Search